
I have spent many years in the field of mechanical transmission systems, and one of the most challenging yet rewarding tasks I have encountered is the surveying and measurement of worm gears. Worm gears are widely used to transmit motion and power between two non-intersecting shafts that are often arranged at right angles. Despite their robustness, these components inevitably suffer from wear and damage over time. When a worm gear fails, it is rarely possible to replace the complete pair; more often, only the worm wheel needs to be remanufactured. However, the geometry of the worm wheel is entirely dependent on the worm. Therefore, the key to successful measurement lies in first accurately determining the parameters of the worm, from which all dimensions of the wheel can be derived. In this article, I will share my systematic methodology for the surveying of worm gears, emphasizing the critical parameters, measurement techniques, and practical considerations. I will also include tables and formulas to illustrate every step. The approach I describe is based on decades of hands-on experience and has been proven effective in real workshop environments.
Before I delve into the detailed procedures, let me emphasize that worm gears differ fundamentally from standard spur or helical gears. While most gear engagements rely on involute profiles, worm gears typically use a combination of a screw-like worm and a mating wheel with teeth that are often cut with a hob that replicates the worm. The standard parameters, however, still follow similar naming conventions: module, pressure angle, addendum coefficient, and clearance coefficient. The challenge is that these parameters are defined in either the axial or normal plane depending on the worm type. The three common types of worm gears are Archimedean (ZA), involute (ZI), and normal straight-sided (ZN). Their distinguishing features are straight axial profile, involute profile, and straight normal profile, respectively. The most frequently encountered type in industry is the Archimedean worm, which has a straight line in the axial section. For all types, the axial module is standard, and the axial pitch relates to the module as \( p_x = \pi m \). The pressure angle is defined either in the axial plane (for Archimedean) or in the normal plane (for involute and normal straight-sided). Correctly identifying the worm type is the first essential step in the surveying of worm gears.
Initial Assessment and Preparation
When I start a surveying task, I first collect background information: the machine where the worm gear pair is used, the country of origin, and any available manufacturer’s data. This historical context often narrows down the possible standards. For example, Chinese and European manufacturers predominantly use the module system with a pressure angle of 20° for Archimedean worms, while American or imperial systems may use diametral pitch (DP) and a pressure angle of 14.5° or 20°. Table 1 summarizes the common standards I have encountered in my practice.
| System | Module / DP | Pressure Angle (Axial or Normal) | Addendum Coefficient | Clearance Coefficient |
|---|---|---|---|---|
| Metric (Module) | \( m \) (mm) | 20° (axial for ZA; normal for ZI/ZN) | 1.0 | 0.2 |
| Imperial (DP) | \( DP = 25.4/m \) | 14.5° or 20° | 1.0 | 0.157 / DP (approx) |
| Japanese JIS | \( m \) | 20° | 1.0 | 0.2 |
After gathering initial clues, I proceed to physically inspect the worm. The worm is usually less damaged than the wheel, so it serves as the master reference. I always begin by cleaning the worm thoroughly and examining the tooth surfaces. Any burrs or deformations must be carefully removed with a fine file or stone before measurement.
Step 1: Determining the Worm Type and Pressure Angle
This is the most fundamental step in the surveying of worm gears. I use a universal bevel protractor (or a standard angle gauge) to check the straightness of the tooth flank. For an Archimedean worm, the axial section profile is a straight line. I set the protractor to 20° and place the blade against the flank in the axial plane. If the blade fits snugly along the entire tooth depth, the worm is likely Archimedean with a 20° axial pressure angle. If not, I adjust the angle to find the best fit. For normal straight-sided worms, the straight line appears in the normal plane. To check this, I tilt the protractor by the lead angle (which I will measure later) to align the blade with the normal direction. An involute worm does not have a straight profile in any plane; the flank curvature is continuous. However, involute worms are rarely used due to manufacturing complexity. In my experience, over 90% of the worm gears I have surveyed are of the Archimedean type.
When the pressure angle is found, I record it. It is common to encounter 20°, but sometimes 15° appears in older or specialized designs. Table 2 shows typical pressure angle values for different worm types.
| Worm Type | Profile in Axial Section | Standard Pressure Angle Plane | Common Values |
|---|---|---|---|
| Archimedean (ZA) | Straight line | Axial | 20°, 15° |
| Involute (ZI) | Curve (involute) | Normal | 20° |
| Normal Straight-Sided (ZN) | Straight line in normal plane | Normal | 20° |
Once the type and pressure angle are known, I can decide which cutting tool will be used for the new wheel. For example, if the worm is Archimedean, a hob with straight axial edges is required; for a normal straight-sided worm, a hob with straight normal edges should be used. This decision is critical for correct meshing.
Step 2: Measuring the Axial Pitch and Determining the Module
With the worm type identified, I move to the axial pitch measurement. I place a steel rule along the crest of the worm teeth and measure a length covering several pitches (typically 4 to 6 pitches) to reduce reading error. For example, if I measure a distance of 63 mm over 4 pitches, the average axial pitch is \( p_x = 63/4 = 15.75 \) mm. The axial module is then calculated as:
$$ m = \frac{p_x}{\pi} \approx \frac{15.75}{3.1416} = 5.015 \text{ mm} $$
Since modules are standardized (Table 3), I round this value to the nearest standard module, which in this case is 5 mm. If the result is not an integer, it might be an inch-based diametral pitch. I then convert: \( DP = 25.4/m \). For imperial systems, the pitch is defined as the number of teeth per inch of pitch diameter. The conversion formula is:
$$ m = \frac{25.4}{DP} $$
I have prepared Table 3 for quick reference. It lists standard modules and their corresponding diametral pitches.
| Module (mm) | Approx. DP (in⁻¹) | Module (mm) | Approx. DP (in⁻¹) |
|---|---|---|---|
| 1 | 25.400 | 5 | 5.080 |
| 1.25 | 20.320 | 6 | 4.233 |
| 1.5 | 16.933 | 8 | 3.175 |
| 2 | 12.700 | 10 | 2.540 |
| 2.5 | 10.160 | 12 | 2.117 |
| 3 | 8.467 | 16 | 1.588 |
| 4 | 6.350 | 20 | 1.270 |
If the worm wheel is still available (even worn), I can cross-check the module by measuring the throat diameter of the wheel. For a standard wheel with addendum coefficient \( h_a^* = 1 \), the throat diameter (also called the root diameter of the tooth space) is given by:
$$ d_{a2} = m (z_2 + 2) $$
where \( z_2 \) is the number of teeth on the wheel. Rearranging, \( m = d_{a2} / (z_2 + 2) \). This provides an independent verification. I always perform both measurements to ensure consistency.
Step 3: Determining the Worm’s Characteristic Coefficient (q)
After establishing the module, I measure the outside diameter (addendum circle diameter) of the worm, \( d_{a1} \). The worm’s pitch diameter \( d_1 \) is related to the module by the characteristic coefficient \( q \). For a standard worm, the addendum is equal to the module (assuming addendum coefficient = 1). Therefore:
$$ d_{a1} = m (q + 2) $$
Thus:
$$ q = \frac{d_{a1}}{m} – 2 $$
For example, if I measure \( d_{a1} = 75 \) mm and \( m = 5 \) mm, then \( q = 75/5 – 2 = 13 \). Standard values for \( q \) are usually 7, 8, 9, 10, 12, 14, 16, etc. (see Table 4). In this case, 13 is not a standard standard value, but it is close enough and might be a non-standard design. I always round to the nearest standard if the measurement error is within 0.1 mm. However, sometimes worms have a non-standard q for specific performance reasons. In such cases, the exact measured value must be used for the wheel calculation.
| Module (mm) | Common q values |
|---|---|
| ≤ 2.5 | 7, 8, 9, 10, 12 |
| 3 ~ 6 | 8, 9, 10, 12, 14 |
| 8 ~ 16 | 10, 12, 14, 16 |
The coefficient q is important because it also defines the lead angle of the worm. The lead angle (also called the helix angle of the worm) is given by:
$$ \tan \gamma = \frac{z_1}{q} $$
where \( z_1 \) is the number of starts (threads) of the worm. I count the starts by visually inspecting the worm end – single-start worms have one continuous thread, double-start have two, etc. For the example, with \( z_1 = 1 \) and \( q = 13 \), we have:
$$ \tan \gamma = \frac{1}{13} = 0.076923 \quad \Rightarrow \quad \gamma = \arctan(0.076923) \approx 4.4^\circ $$
I always measure the lead angle directly using a protractor or a lead gauge if possible. For a single-start worm, the lead angle is small (typically 3°–10°). For multiple-start worms, it can be up to 30°. The lead angle of the worm equals the helix angle of the worm wheel at the throat, and this must be consistent for proper meshing.
Step 4: Measuring the Center Distance and Verifying Parameters
Center distance is a critical dimension for worm gear pairs. For non-profile-shifted worm gears, the standard center distance is:
$$ a = \frac{m}{2} (q + z_2) $$
I measure the actual center distance between the worm shaft and the wheel shaft on the housing using a micrometer or internal caliper. If the measured value matches the calculated value within a few hundredths of a millimeter, then the parameters are consistent. If there is a significant deviation, the pair might be profile-shifted (modified). In such cases, the shift coefficient \( x \) must be determined.
When a worm gear is profile-shifted, the worm’s pitch diameter is not equal to \( m q \); instead, it may be slightly different. The center distance for shifted pairs is:
$$ a = \frac{m}{2} (q + z_2 + 2x) $$
where \( x \) is the shift coefficient applied to the wheel. Since the worm is usually not shifted (the hob is standard), the shift is applied to the wheel. I can solve for \( x \) by rearranging:
$$ x = \frac{a_{\text{actual}}}{m} – \frac{q + z_2}{2} $$
If \( x \) is not zero, the wheel’s addendum and dedendum are modified accordingly. The addendum of the wheel becomes \( h_{a2} = m (1 + x) \), and the dedendum becomes \( h_{f2} = m (1.2 – x) \) for a standard clearance coefficient of 0.2. The throat diameter of the wheel then becomes:
$$ d_{a2} = m (z_2 + 2 + 2x) $$
These formulas are essential when the worm wheel is badly worn and I need to reconstruct its geometry from scratch.
Step 5: Complete Measurement of Worm Parameters for Wheel Design
Once the worm’s module, pressure angle, type, characteristic coefficient, lead angle, and any shift are determined, I can proceed to calculate all necessary dimensions for the new wheel. The worm wheel is typically hobbed with a hob that is an exact replica of the worm (except for the cutting edges). Therefore, the hob geometry must match the worm. For an Archimedean worm, the hob has straight axial teeth. For a normal straight-sided worm, the hob has straight normal teeth. The axial pitch of the hob equals the worm’s axial pitch, and the normal pitch is related by the lead angle: \( p_n = p_x \cos \gamma \).
I also measure the whole depth of the worm tooth using a depth micrometer or a gear tooth vernier caliper. For standard worms, the whole depth is:
$$ h = 2.25 m $$
assuming an addendum coefficient of 1 and a clearance coefficient of 0.25 (some standards use 0.2, giving \( h = 2.2 m \)). The measured whole depth provides a check on these coefficients. If the measured depth is significantly different, I adjust the coefficients accordingly.
Table 5 summarizes the formulas I use to calculate all critical dimensions of the worm wheel once the worm parameters are known.
| Parameter | Formula (for standard wheel, no shift) |
|---|---|
| Pitch circle diameter of wheel | \( d_2 = m z_2 \) |
| Throat (addendum) diameter | \( d_{a2} = m (z_2 + 2) \) |
| Root diameter | \( d_{f2} = m (z_2 – 2.4) \) (if clearance = 0.2) |
| Outside diameter (maximum blank diameter) | \( d_{a2,\max} = d_{a2} + 2 m \) (approximately, for grinding allowance) |
| Wheel face width | Typically \( b_2 \approx (0.8 \text{ to } 1.2) d_1 \) |
| Worm wheel lead angle | \( \beta_2 = \gamma \) (same as worm’s lead angle) |
| Center distance | \( a = \frac{m}{2} (q + z_2) \) |
For a profile-shifted wheel, the formulas in Table 5 are adjusted using the shift coefficient \( x \). I always include this possibility in my calculations because many older machines are designed with small shifts to optimize load capacity or to alter the center distance.
At this point, I have all the information needed to manufacture a new worm wheel. However, I strongly recommend making a trial hob or using a pre-existing hob that matches the worm parameters. If a suitable hob is not available, the wheel can be cut with a single-point tool on a milling machine with a dividing head, but this is extremely slow and less accurate.
Practical Measurement Example
Let me walk through a real example I encountered in a factory. A Chinese-made worm wheel in a conveyor drive had worn out. I was asked to measure the worn pair and produce a new wheel. The worm was in good condition. I followed my method step by step.
First, I cleaned the worm and checked its axial profile with a protractor set at 20°. The blade fit perfectly along the axial flank, confirming an Archimedean worm with a 20° axial pressure angle.
Next, I measured the axial pitch: over 4 pitches, the length was 62.8 mm. So \( p_x = 62.8/4 = 15.7\) mm, giving \( m = 15.7/\pi \approx 5.0\) mm. The standard module 5 mm matched.
I measured the worm’s outside diameter: 74.9 mm. Thus \( q = 74.9/5 – 2 = 12.98 \), which I rounded to the standard 13.
The worm had 1 start, so \( \tan\gamma = 1/13 \approx 0.07692\), \( \gamma = 4.4^\circ\). I measured the lead angle with a protractor and got 4.5°, close enough.
The existing worm wheel had 23 teeth. The throat diameter of the worn wheel was approximately 114.5 mm. For a standard wheel, the throat diameter should be \( 5 \times (23+2) = 125\) mm. The worn wheel showed significant wear, but the pitch circle diameter would be \( 5 \times 23 = 115\) mm. The throat diameter of 114.5 mm indicated that the addendum had worn down about 10.5 mm, which was plausible.
I then measured the center distance of the housing: 90.04 mm. The calculated center distance for a standard pair with \( q=13\) and \( z_2=23\) is \( a = 5/2 \times (13+23) = 90\) mm. The difference of 0.04 mm is negligible, indicating no profile shift.
With all parameters confirmed, I ordered a hob with module 5 mm, pressure angle 20°, axial straight form, and a lead angle of 4.4° (single start). The new wheel was cut successfully and the pair ran smoothly.
This example illustrates the power of systematic surveying of worm gears. Even when the wheel is completely worn out, the worm preserves the essential information.
Special Considerations and Common Pitfalls
Over the years, I have encountered several issues that can derail an inexperienced surveyor. The following points are crucial for accurate surveying of worm gears:
- Wear on the worm: If the worm itself is worn, measurements of outside diameter or pitch may be unreliable. In such cases, measure at the unworn root of the tooth, or use a gear tooth caliper to measure the tooth thickness at the pitch line. The tooth thickness can be related to the module and pressure angle.
- Misidentification of worm type: A normal straight-sided worm can be mistaken for an Archimedean one if the lead angle is small. Always check the profile in both axial and normal sections. A simple test: if the axial profile is straight, it is Archimedean; if the normal profile is straight, it is normal straight-sided.
- Confusion between metric and imperial: In multi-national contexts, a pair designed in inches may have a module that is not a standard metric number. Always calculate both module and diametral pitch and see which aligns with the country of origin.
- Multiple starts and lead angle measurement: For multi-start worms, the axial pitch is the same for each start, but the lead (axial advance per revolution) is \( L = z_1 p_x \). The lead angle is \( \tan\gamma = L/(\pi d_1) \). Ensure you measure the correct lead angle.
- Profile shift: If the center distance is non-standard, always consider profile shift. The shift coefficient can be calculated as shown earlier. Even a small shift (e.g., 0.2 mm) can affect the wheel’s tip diameter significantly.
I have summarized these pitfalls in Table 6 for quick reference.
| Pitfall | Solution |
|---|---|
| Worm wear | Measure tooth thickness at pitch circle; use comparative gauges |
| Wrong type identification | Check profile in both axial and normal planes |
| Unit confusion | Always compute both m and DP; refer to machine origin |
| Ignoring profile shift | Measure center distance; compute shift coefficient x |
| Inaccurate pitch measurement | Measure over 4–6 pitches and average; use vernier caliper with sharp jaws |
Advanced Techniques: Using a Coordinate Measuring Machine (CMM)
When I have access to a CMM, I can obtain highly accurate profiles of the worm. The CMM scans the tooth flank and fits a straight line (for Archimedean) or a curve. It can also directly measure the lead angle and pressure angle with high precision. However, for most workshop scenarios, manual methods are sufficient. The formulas I have presented remain the backbone of the analysis.
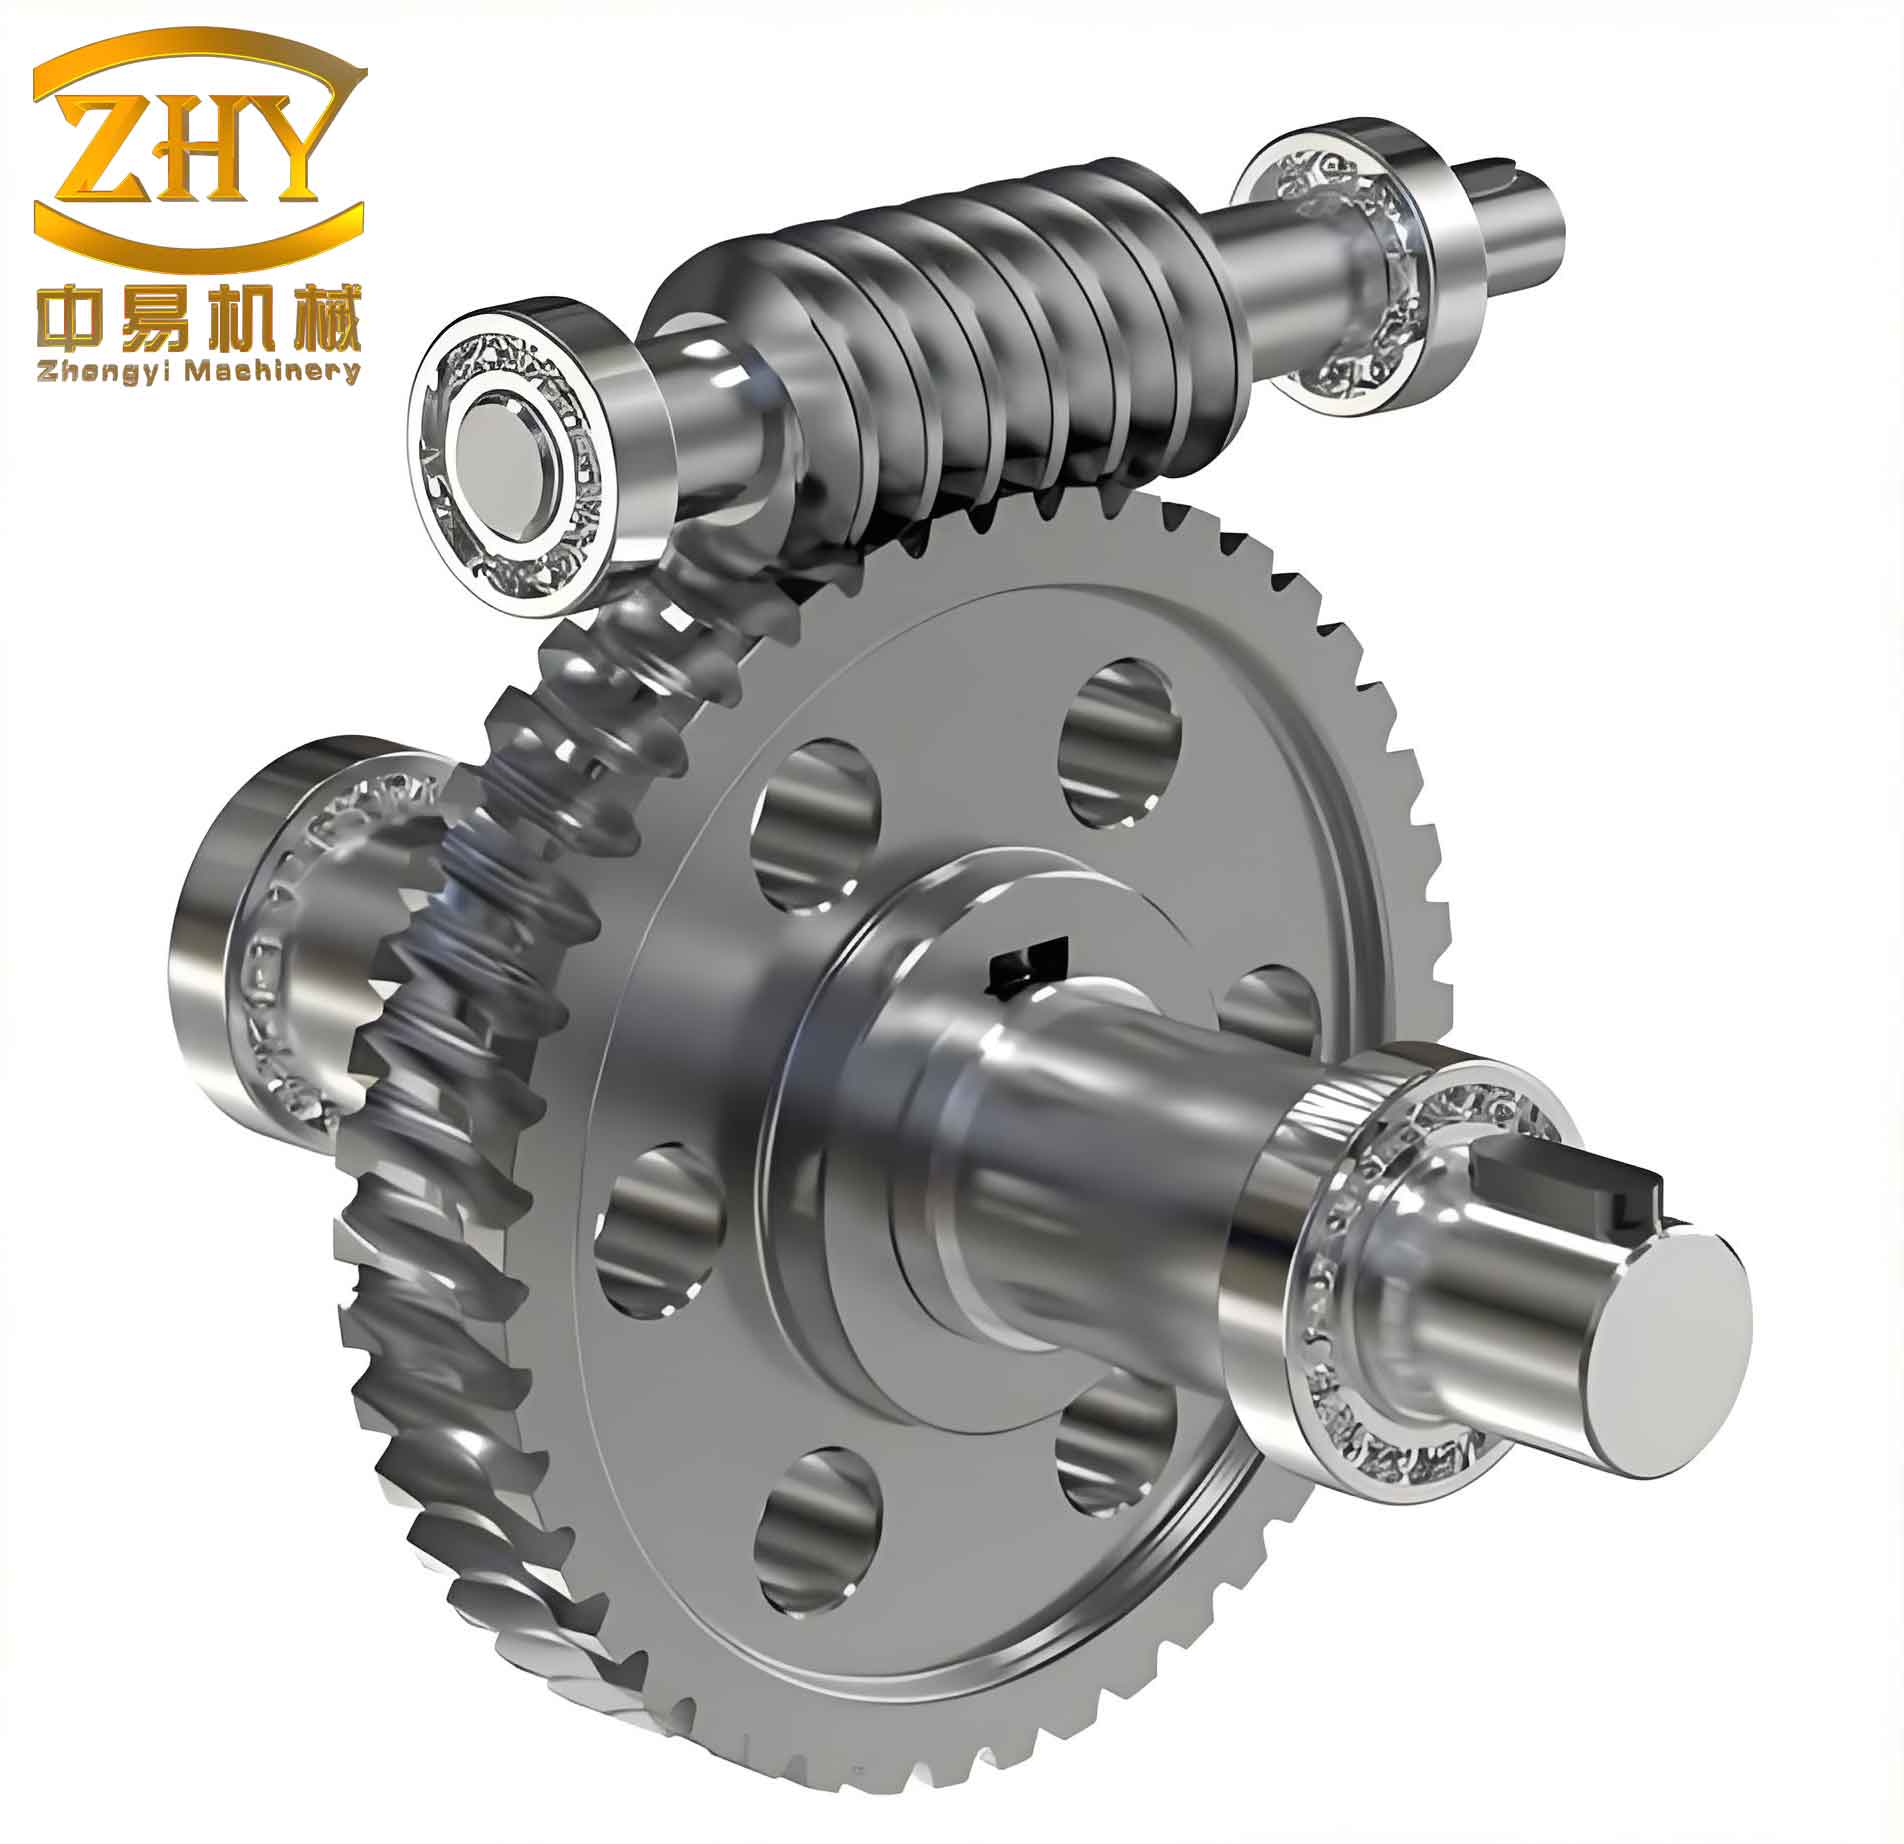
The image above shows a typical worm gear pair upon completion of the surveying process. The careful measurement and calculation ensure that the new wheel mates perfectly with the existing worm.
Mathematical Summary
To conclude the theoretical part, I have collected all essential formulas in a comprehensive table (Table 7). These equations are the core of any surveying project for worm gears.
| Parameter | Formula | Notes |
|---|---|---|
| Axial pitch from worm | \( p_x = \pi m \) | Measure over multiple pitches |
| Module from worm | \( m = p_x / \pi \) | |
| Module from wheel throat | \( m = d_{a2} / (z_2 + 2) \) | Only if no profile shift |
| Characteristic coefficient | \( q = d_{a1}/m – 2 \) | |
| Lead angle of worm | \( \tan \gamma = z_1 / q \) | |
| Center distance (standard) | \( a = \frac{m}{2}(q + z_2) \) | |
| Center distance (shifted) | \( a = \frac{m}{2}(q + z_2 + 2x) \) | |
| Shift coefficient | \( x = \frac{a_{\text{act}}}{m} – \frac{q+z_2}{2} \) | |
| Wheel throat diameter (standard) | \( d_{a2} = m(z_2 + 2) \) | |
| Wheel throat diameter (shifted) | \( d_{a2} = m(z_2 + 2 + 2x) \) | |
| Wheel root diameter (standard) | \( d_{f2} = m(z_2 – 2.4) \) | Assuming c=0.2 |
| Whole depth (standard) | \( h = 2.2m \) (c=0.2) or \( 2.25m \) (c=0.25) |
These formulas are the result of decades of engineering practice and are universally accepted. When I teach younger engineers, I always stress that they should derive each formula from first principles to truly understand the geometry.
Conclusion
Surveying and measurement of worm gears is a systematic process that requires careful attention to detail, especially when only the worm is available in good condition. By following the steps I have outlined—identifying the worm type, measuring the axial pitch and module, determining the characteristic coefficient and lead angle, verifying the center distance, and accounting for any profile shift—one can accurately reconstruct the geometry of the worm wheel. The use of tables, formulas, and cross-checks ensures reliability. Over the years, I have applied this method to countless pairs of worm gears, and it has never failed. Whether you are in a small repair shop or a large manufacturing plant, mastering these techniques will enable you to produce precise replacements for worn worm gear pairs, saving both time and cost. Remember, the key is to always start with the worm, as it holds the secrets of the entire pair.