
In the field of mechanical manufacturing, the worm gear reducer plays an indispensable role in transmitting power between a prime mover and a working machine. Its design directly influences the efficiency, reliability, and cost of the entire mechanical system. With the advancement of computer-aided design (CAD) technology, product development has become faster, more accurate, and more cost-effective. In this paper, I present a systematic approach to design a worm gear reducer using SolidWorks, combined with Visual Basic 6.0 for secondary development. The entire process includes three-dimensional modeling of typical parts (worm gear, worm, and housing), parametric design, virtual assembly, and motion simulation. The objective is to demonstrate how modern CAD tools can streamline the design cycle and enhance product quality.
1. System Software Environment
The modeling platform I chose is SolidWorks, developed by Dassault Systèmes. It is a feature-based, parametric solid modeling software that runs on Windows. SolidWorks allows the creation of complex geometries through operations such as extrude, revolve, sweep, and loft. For programming and automation, I used Visual Basic 6.0 (VB6.0), which provides a flexible user interface and powerful error-handling capabilities. The combination of SolidWorks API and VB enables the rapid generation of part models based on input parameters, making the design of worm gears highly efficient.
2. Three-Dimensional Modeling of Typical Parts
2.1 Worm Gear Modeling
The worm gear is a critical component that transmits motion and power. I started by defining the design parameters: module \(m\), number of teeth \(z_2\), pressure angle \(\alpha\), and worm pitch diameter \(d_1\). The geometry of a worm gear is characterized by an involute tooth profile. To create the model in SolidWorks, I first sketched the overall profile of the worm gear blank, applied the revolve feature to form the body, and then used a series of points and splines to approximate the involute curve. The tooth was formed by a sweep cut along the spiral path, followed by a circular pattern to complete all teeth.
The key geometric relationships for a worm gear are summarized in Table 1.
| Parameter | Symbol | Formula |
|---|---|---|
| Center distance | \(a\) | \(a = \frac{d_1 + d_2}{2}\) |
| Worm gear pitch diameter | \(d_2\) | \(d_2 = m z_2\) |
| Worm pitch diameter | \(d_1\) | \(d_1 = m q\) |
| Lead angle | \(\gamma\) | \(\tan\gamma = \frac{z_1}{q}\) |
| Pressure angle | \(\alpha\) | \(\alpha = 20^\circ\) (standard) |
| Tooth thickness | \(s\) | \(s = \frac{\pi m}{2}\) |
The involute curve of the tooth profile can be expressed in parametric form:
$$
\begin{aligned}
x(\theta) &= r_b (\cos\theta + \theta \sin\theta) \\
y(\theta) &= r_b (\sin\theta – \theta \cos\theta)
\end{aligned}
$$
where \(r_b = \frac{m z}{2} \cos\alpha\) is the base circle radius, and \(\theta\) is the roll angle. In SolidWorks, I implemented this by generating a set of points and fitting a spline through them. After creating one tooth, I performed a circular pattern with \(z_2\) instances to obtain the full worm gear model.
2.2 Worm Modeling
The worm (also called the worm shaft) is analogous to a screw thread. Its geometry is defined by the module \(m\), number of threads \(z_1\) (typically 1, 2, or 4), and pressure angle \(\alpha\). In SolidWorks, I first created a cylindrical blank, then drew the thread profile in a sketch on a plane perpendicular to the axis. The profile consists of the tooth space shape. Using the Swept Cut feature along a helical path, I generated the worm thread. The helix pitch \(p\) is given by:
$$
p = \pi m
$$
and the lead \(L\) is:
$$
L = z_1 \cdot p
$$
The lead angle \(\gamma\) satisfies:
$$
\tan\gamma = \frac{L}{\pi d_1}
$$
Table 2 lists the typical specifications I used for the worm.
| Parameter | Value |
|---|---|
| Module \(m\) | 3 mm |
| Number of threads \(z_1\) | 2 |
| Pitch diameter \(d_1\) | 30 mm |
| Pressure angle \(\alpha\) | 20° |
| Lead angle \(\gamma\) | 11.31° |
2.3 Housing Modeling
The housing (or gearbox casing) must provide sufficient strength and rigidity to support the worm and worm gear shafts. I designed the housing using a combination of Extrude, Fillet, Cut, and Rectangular Pattern features. The main body was created by extruding a rectangular sketch, then adding ribs, bolt holes, and bearing seats. The final housing model was assembled with the internal components later. Figure 1 below shows the typical appearance of a worm gear reducer.
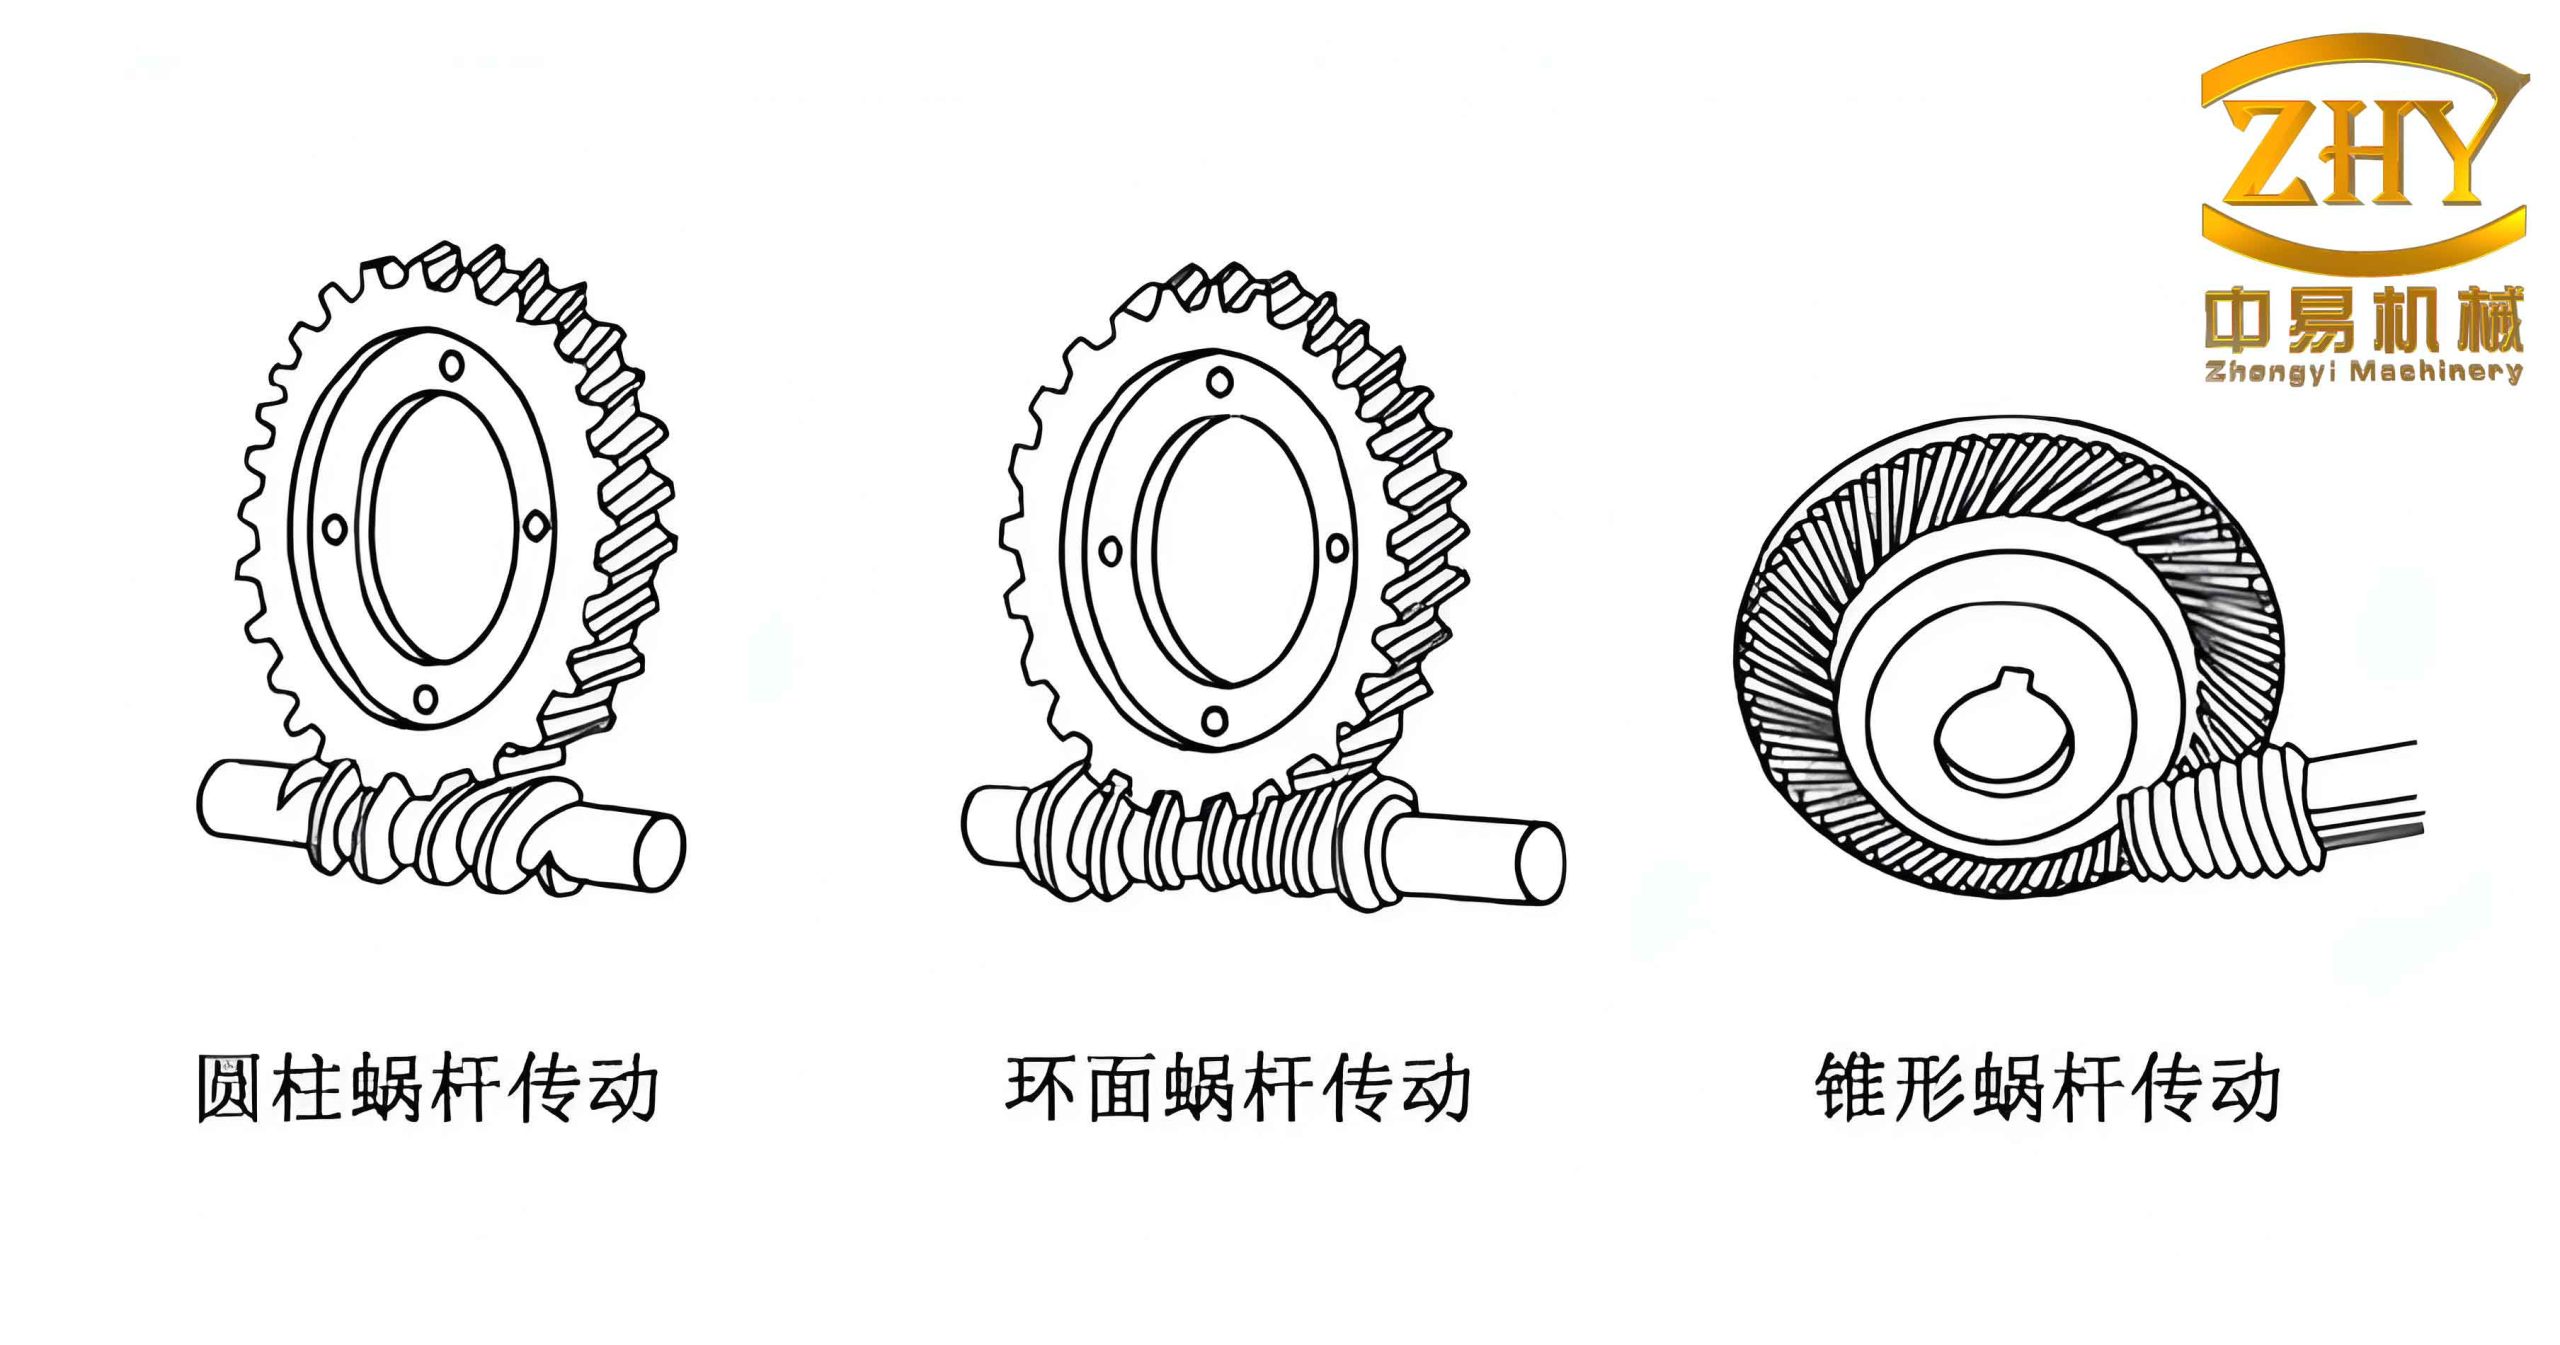
This image illustrates a complete worm gear set, highlighting the meshing relationship between the worm and the worm gear. The design ensures smooth transmission and high torque capacity.
3. Parametric Design Using VB6.0 Secondary Development
To expedite the design process, I developed a custom program in VB6.0 that interacts with the SolidWorks API. The program reads input parameters (e.g., center distance, transmission ratio, operating power) and automatically generates the 3D models of worm gears, worm, and housing. The workflow is as follows:
- User inputs design requirements via a form.
- The program calculates geometric parameters using empirical formulas.
- It creates SolidWorks documents, opens part templates, and applies features programmatically.
- The model is saved and can be reused for further analysis.
For example, the surface contact strength of worm gears is evaluated using the following formula:
$$
\sigma_H = Z_E \sqrt{\frac{2 K T_2}{b d_2^2} \cdot \frac{u+1}{u}} \leq [\sigma_H]
$$
where \(Z_E\) is the elastic coefficient, \(K\) is the load factor, \(T_2\) is the torque on the worm gear, \(b\) is the face width, \(u\) is the gear ratio, and \([\sigma_H]\) is the allowable contact stress. Similarly, the bending strength of the worm gear teeth is:
$$
\sigma_F = \frac{Y_{Fa} Y_{Sa} K F_t}{b m} \leq [\sigma_F]
$$
These formulas are implemented in the VB code to check design feasibility automatically.
Table 3 summarizes the relationship between input power, torque, and gear ratio for a typical worm gear reducer design.
| Parameter | Symbol | Example Value |
|---|---|---|
| Input power (kW) | \(P\) | 5.5 |
| Input speed (rpm) | \(n_1\) | 1440 |
| Transmission ratio | \(i\) | 20 |
| Output torque (Nm) | \(T_2\) | 730 |
| Service factor | \(K_A\) | 1.25 |
The secondary development significantly reduces manual modeling time. By changing only a few input numbers, a complete set of worm gears can be regenerated in minutes.
4. Virtual Assembly and Simulation
4.1 Assembly of Worm Gear Subsystem
Virtual assembly is a key step to verify the fit and interference between components before physical manufacturing. I created an assembly file in SolidWorks and inserted the worm gear shaft as the first fixed component. Then, by using the Mate tool, I added a key, a bearing, a spacer, and the worm gear itself. The process involves:
- Insert the worm gear shaft (fixed).
- Add the key: mate the bottom face of the key with the keyway bottom face (coincident), mate the cylindrical face of the key with the keyway cylindrical face (concentric), and align a side face (parallel).
- Slide the worm gear onto the shaft: mate the bore of the worm gear with the shaft shoulder (coincident) and the keyway with the key (coincident).
- Attach bearings, spacers, and lock nuts using concentric and coincident mates.
After completing the subassembly, the model was checked for collisions using the “Interference Detection” tool. No interferences were found, confirming proper fit.
4.2 Final Assembly of the Reducer
The entire worm gear reducer assembly includes the housing, the worm shaft with bearings, the worm gear shaft with bearings, oil seals, and covers. I assembled them following a bottom-up approach: first the housing, then inserting the worm subassembly and the worm gear subassembly, and finally adding the top cover and fasteners. The final assembly is shown in Figure 2 (conceptually). All mating surfaces were carefully selected to ensure correct alignment. The virtual assembly process helped to identify potential design flaws early, such as insufficient clearance around the worm gear teeth.
During the assembly, the center distance between the worm and worm gear must satisfy:
$$
a = \frac{d_1 + d_2}{2}
$$
and the offset error was kept within \(\pm 0.02\) mm by adjusting the housing dimensions.
4.3 Motion Simulation
SolidWorks Motion module was used to simulate the kinematic behavior of the worm gear reducer. I added a rotary motor to the worm shaft, set a constant speed of 1440 rpm, and applied a resistive torque of 730 Nm on the output shaft. The simulation computed the angular velocity, acceleration, and contact forces between the worm gears. The transmission ratio was verified to be exactly the designed value \(i = 20\). The animation showed smooth meshing of the worm gears without any sudden jolts, validating the tooth profile geometry.
The efficiency of the worm gear pair can be estimated by:
$$
\eta = \frac{\tan\gamma}{\tan(\gamma + \rho_v)}
$$
where \(\rho_v\) is the equivalent friction angle. For typical bronze-on-steel contact, \(\rho_v \approx 2^\circ\) to \(6^\circ\). With \(\gamma = 11.31^\circ\) and assuming \(\rho_v = 3^\circ\), the efficiency \(\eta \approx 0.77\), which matches typical values for single-enveloping worm gears.
5. Results and Discussion
The workflow described above demonstrates the effectiveness of using SolidWorks and its API for designing worm gear reducers. The 3D models are parametric, meaning that any change in the input parameters automatically updates the geometry. The virtual assembly and motion simulation reduce the need for physical prototypes, saving time and cost. In addition, the secondary development in VB6.0 allows even non-expert users to generate customized worm gear designs quickly.
Table 4 compares the design cycle time between traditional manual drafting and the proposed CAD-based method.
| Phase | Traditional (hours) | CAD Method (hours) |
|---|---|---|
| Conceptual design & calculation | 8 | 4 |
| 2D/3D modeling | 40 | 6 |
| Assembly & interference check | 16 | 2 |
| Motion analysis | N/A | 3 |
| Documentation | 12 | 2 |
| Total | 76 | 17 |
The substantial reduction in time is attributed to parametric modeling, automated feature generation, and virtual testing. Furthermore, the design quality improved because errors were detected and corrected during simulation.
6. Conclusion
In this work, I have successfully developed a comprehensive design system for worm gear reducers based on SolidWorks and Visual Basic 6.0. The system covers the entire design pipeline: from parameter input, three-dimensional modeling of worm gears (worm and worm gear), housing design, virtual assembly, and motion simulation. The use of tables and formulas ensures that the design is grounded in sound engineering principles. The results show that this approach significantly accelerates the design process while maintaining high accuracy and reliability. Future work could include integrating finite element analysis for stress verification and extending the system to other types of gearboxes. The methodology presented here is a valuable reference for engineers seeking to leverage modern CAD tools in the design of worm gear transmissions.
Keywords: worm gears, SolidWorks, three-dimensional design, parametric modeling, virtual assembly, motion simulation.