
In my extensive work with power transmission systems, I have found that worm gears represent one of the most fundamental and widely used gear types. They are extensively applied in metallurgy, mining, chemical engineering, defense, and many other industries. Over the years, researchers and engineers have explored the theory and manufacturing aspects of worm gears, including lubricants, materials, and production methods. However, I believe that further optimization is still necessary. In this article, I will share my analysis of the types, measurement techniques, and manufacturing processes of worm gears, with a special focus on Archimedes cylindrical worm gears. I will present my findings using systematic tables and mathematical formulas to provide a comprehensive reference for engineers and technicians.
1. Types and Characteristics of Worm Gears
Worm gears can be classified based on the shape of the worm body and the tooth profile. In my practice, I have encountered four main types of common cylindrical worm gears, as well as toroidal and cone worm gears. Each type has distinct features that make it suitable for specific applications.
1.1 Common Cylindrical Worm Gears
1.1.1 Archimedes Worm Gears
The Archimedes worm gear is characterized by its tooth profile being an Archimedes spiral in the plane perpendicular to the worm axis. In the axial plane, the tooth flanks are straight lines. This type can be easily cut on a lathe using a single straight-edged tool whose cutting edge passes through the worm axis. However, grinding is usually difficult, and if the lead angle is too large, processing becomes challenging. Despite these limitations, Archimedes worm gears remain popular due to their simple manufacturing and compact structure.
1.1.2 Involute Worm Gears
Involute worm gears have tooth surfaces that are involute helicoids, with the end-face tooth profile being an involute. During machining, the cutting edge of the tool is kept tangent to the base circle. This type can be ground, which ensures high precision. I have observed that involute worm gears are particularly suitable for applications with high rotational speeds, multiple worm starts, and demanding precision requirements.
1.1.3 Cone-Enveloping Worm Gears
These are non-linear worm gears that cannot be turned on a lathe. Instead, they are typically milled on a milling machine and then ground on a grinder. In my experience, the manufacturing process involves placing a disk-shaped milling cutter in the normal plane of the tooth space while the workpiece undergoes a helical motion and the cutter rotates about its own axis. This method produces a unique tooth geometry that offers specific advantages in load capacity.
1.1.4 Arc Cylindrical Worm Gears
Arc cylindrical worm gears closely resemble standard cylindrical worm gears but differ in tooth profile shape. The helical surface of the worm is generated by a tool with a convex arc edge, and the corresponding worm wheel is produced using the generating method. In the central plane, the worm tooth profile is concave, while the worm wheel tooth profile is convex. Consequently, the meshing is essentially a concave-convex arc contact, which can improve load distribution and lubrication.
1.2 Toroidal Worm Gears
In toroidal worm gears, the outer shape of the worm body is a rotation surface formed by a concave arc as the generatrix. This configuration is often referred to as an hourglass worm. The pitch circle of the worm wheel lies on the pitch arc surface of the worm. Such designs can provide a larger contact area and higher load capacity compared to cylindrical types.
1.3 Cone Worm Gears
Cone worm gears are used for transmission between crossed axes, typically with a shaft angle of 90°. The worm has a constant lead helix, and the worm wheel resembles a bevel gear with curved teeth. The wheel is manufactured using a cone hob on a standard gear hobber. I have found that cone worm gears exhibit several advantages: a high contact ratio, numerous contact points, a wide range of transmission ratios, excellent load capacity, ease of assembly, and good manufacturability.
To summarize the key characteristics, I present the following table:
| Type | Tooth Profile (Axial/End) | Manufacturing Method | Grindability | Typical Applications |
|---|---|---|---|---|
| Archimedes | Straight line (axial) | Lathe turning | Difficult | General purpose, low-speed |
| Involute | Involute (end) | Lathe with tangent tool | Easy | High-speed, high-precision |
| Cone-enveloping | Non-linear | Milling + grinding | Yes | High-load, specialized |
| Arc cylindrical | Concave/convex arcs | Form tool + generating | Possible | Heavy-duty, improved lubrication |
| Toroidal | Circular arc (axial) | Special turning/milling | Limited | High load capacity |
| Cone | Curved (like bevel) | Cone hob on gear hobbing | Depends | Crossed axes, compact |
2. Measurement of Worm Gears
Accurate measurement of worm gears is essential to ensure proper meshing and to diagnose wear or manufacturing errors. In my experience, the following measurements are particularly critical for Archimedes worm gears.
2.1 Identifying Archimedes Worm Gears
The axial tooth profile of an Archimedes worm gear is a straight line, which distinguishes it from other types. I can easily check this by placing a steel ruler along the tooth flank in the axial plane. If the ruler fits tightly without gaps, the worm is likely of the Archimedes type. This quick test is very useful during routine inspections.
2.2 Measuring the Pressure Angle
To measure the pressure angle, I normally use a universal angle gauge placed in the axial plane. Alternatively, on a lathe, I can adjust the compound slide to match the tooth flank and read the angle. The standard pressure angle for Archimedes worm gears is 20° according to national standards, although 15° is also sometimes used for specific applications. The correct value must be verified to ensure proper tool design.
2.3 Measuring the Axial Module
The axial module m is a fundamental parameter. I measure it by using a steel ruler to measure the axial pitch p over several teeth to improve accuracy. The formula relating axial pitch and module is:
$$ m = \frac{p}{\pi} $$
where p is the axial pitch (distance between corresponding points on adjacent teeth along the worm axis). To reduce error, I measure the total length covering, say, n teeth and then divide by n to get the average pitch. For example, if I measure 10 teeth and get a total length of 62.8 mm, then p = 6.28 mm and m = 2 mm.
2.4 Determining the Lead Angle
Once the axial module is known, I measure the tip diameter d_a of the worm and then compute the lead angle γ. The lead p_z (the axial advance per revolution) for a single-start worm is equal to the axial pitch p, and for a multi-start worm with Z_1 starts, p_z = Z_1 * p. The lead angle is given by:
$$ \tan \gamma = \frac{p_z}{\pi d_1} $$
where d_1 is the pitch diameter of the worm. For standard designs, the pitch diameter can be approximated by d_1 = d_a – 2m (assuming addendum equal to module). Alternatively, if I have the worm wheel center distance, I can deduce d_1. The following table summarizes typical measurements for a sample worm gear:
| Parameter | Symbol | Measured Value | Formula |
|---|---|---|---|
| Axial pitch (average) | p | 6.283 mm | — |
| Number of starts | Z₁ | 2 | — |
| Lead | p_z | 12.566 mm | p_z = Z₁ × p |
| Axial module | m | 2.0 mm | m = p / π |
| Tip diameter | d_a | 40.0 mm | — |
| Pitch diameter (approx.) | d₁ | 36.0 mm | d₁ = d_a – 2m |
| Lead angle | γ | 6.34° | tanγ = p_z / (π d₁) |
3. Measurement of Worm Wheels
For worm wheels, the measurements are equally important to verify correct conjugate action. I focus on two key checks: center distance and coefficient of profile shift.
3.1 Checking the Center Distance
I use a marking-off plate and precision instruments to measure the actual center distance between the worm and the worm wheel assembly. This value helps me assess whether the worm measurements are reliable and whether the wheel has been profile-shifted (modified). The nominal center distance a is given by:
$$ a = \frac{d_1 + d_2}{2} $$
where d_2 is the pitch diameter of the worm wheel. If the measured center distance deviates from the theoretical value, profile shift may be present.
3.2 Determining the Coefficient of Modification
If the hand of the worm and the wheel are the same (i.e., both right-hand), the lead angle of the worm equals the helix angle of the wheel. All structural parameters can be calculated using standard mechanical handbooks, and I cross-check the calculated values against the actual parts. The coefficient of modification x is defined as:
$$ x = \frac{a_{\text{actual}} – a_{\text{standard}}}{m} $$
A positive x indicates that the wheel has been shifted outward from the worm center, which can improve load capacity but may reduce contact ratio. I have found that when the modification coefficient is large, the wheel’s pitch circle approaches the root circle, making chordal tooth thickness measurement difficult. In such cases, I choose to measure the tooth thickness at an easier-to-access point near the middle of the tooth height.
4. Manufacturing Analysis of Worm Gears
Manufacturing worm gears involves various methods, from traditional turning to modern thread rolling. In my analysis, I have examined two prominent techniques: thread whirling and thread rolling (using a rolling machine). Thread whirling is a milling-like process mounted on a lathe, but it often introduces significant lead angle errors. In contrast, a thread rolling machine is more efficient and reliable for producing precision external threads, including worm gears.
The thread rolling machine uses two rotating dies (rolls) that plastically deform a cylindrical blank placed between them. The cold forming process exploits the metal’s plasticity, enabling the workpiece to be shaped without cutting. This method results in a continuous and dense internal fiber structure, which enhances the surface strength. Typically, the rolling process is suitable for carbon steels and non-ferrous metals with elongation greater than 10%, tensile strength below 1000 MPa, and hardness below 37 HRC. To improve production efficiency, I recommend using a thread rolling machine for worm gear fabrication, especially for high-volume runs.
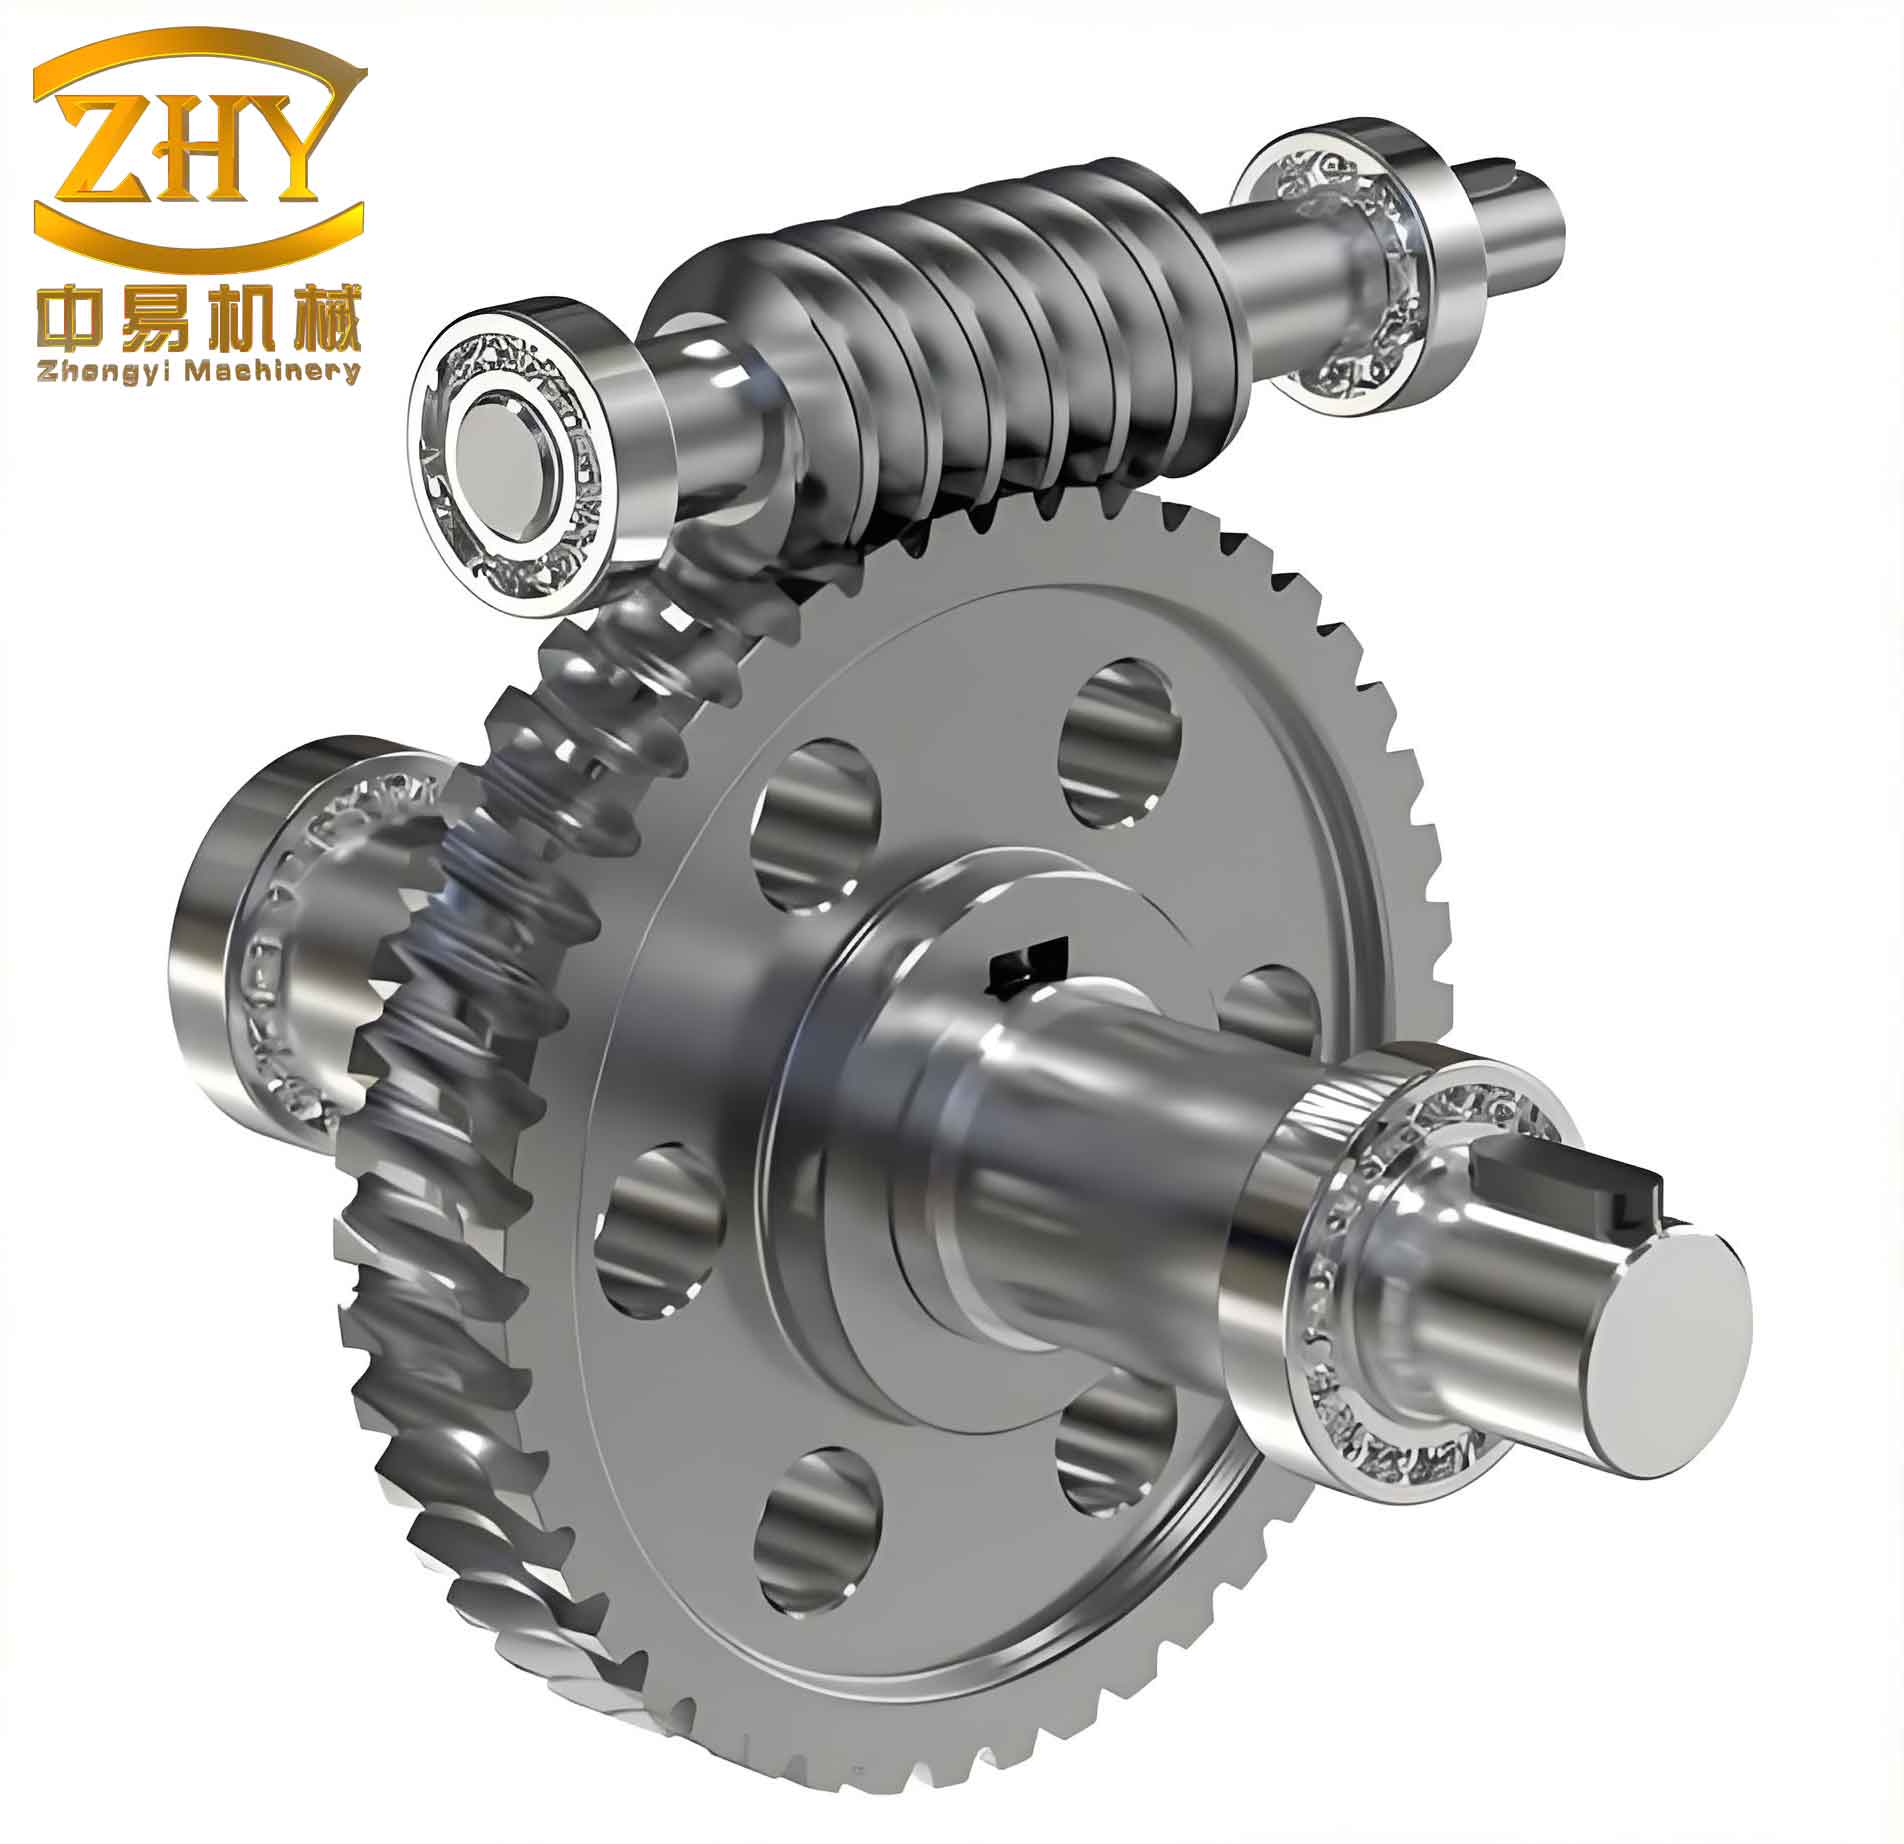
Below, I detail the key adjustments and process specifications I have developed for rolling worm gears.
4.1 Roller Die and Support Adjustment
I adjust a pair of roller dies to a precise axial position, ensuring that the end faces of both dies are as flush as possible to the same horizontal plane. To prevent axial runout, I use shims between the roller dies and the support bearing housings. The support bracket must be located at the center of the workpiece. As the workpiece diameter changes, the support position must be adjusted accordingly. The support block is mounted on the bracket with a cemented carbide tip welded on its side. I adjust the height of the support block by adding or removing shims. The correct height depends on the workpiece material and dimensions. For ordinary carbon steel and good-quality carbon steels, I set the workpiece center slightly below the roll center—typically about 0.25 mm. For high-strength alloy steels and stainless steels, I raise the workpiece center slightly above the roll center. This optimization reduces the risk of over-stressing the dies and ensures uniform deformation.
4.2 Process Specifications
Worm gears differ from screws in that the rolling depth usually exceeds that of standard threads. If the workpiece blank has surface defects such as black skin or internal cracks, the roller dies can be severely damaged. Since the roller dies are made of special materials, heat-treated with complex processes, and expensive to replace, I take great care to ensure that the blank surface is clean and that the material has no flaws. The blank hardness should not be too high, as harder materials accelerate wear. Cold-drawn steel is particularly prone to causing die damage due to its residual stresses.
For single-piece rolling, the width of the roller dies should be slightly greater than the actual thread length on the workpiece. If the die width exceeds the required length by too much, the plastic deformation at the ends can cause chipping or breakage of the die teeth. To protect the dies, I chamfer both ends of the workpiece blank. The chamfer size depends on the thread depth; a common rule is to use a chamfer equal to 0.5 to 1 times the tooth depth. Additionally, I adjust the machine to keep the two spindles parallel, avoiding taper on the workpiece. I then fine-tune the die position and center distance so that the die teeth align perfectly with the worm profile.
4.3 Design Considerations for Worm Wheel Tools
In the design and manufacturing of worm wheels, the tooth profile of the wheel is determined by the worm geometry. Therefore, I need to know the tooth shape at any radius of the worm to obtain the axial or normal tooth profile for designing the wheel cutter. For worm wheel measurement, when the modification coefficient is large, the pitch circle becomes very close to the root circle. If I try to measure the chordal tooth thickness at the pitch circle, the measuring calipers may land near the root, causing significant errors. In such cases, I select a measurement point at the middle of the tooth height where the flank is more accessible and the profile is smoother. This approach yields more reliable data for quality control.
Throughout my work, I have found that a systematic combination of theoretical formulas, careful measurement, and proper machine setup is essential for producing high-quality worm gears. The use of thread rolling technology, when properly adjusted, can dramatically increase production rates while maintaining the required accuracy. I hope that the tables and formulas presented here provide a useful guide for engineers and technicians working with worm gears.