
In my years of experience at our heavy machinery factory, I have been deeply involved in the design, manufacturing, and field installation of worm gear drives for vertical shaft kilns. The worm gear system, specifically the globoidal or cylindrical worm gear, is widely adopted due to its high transmission ratio, smooth operation, compact structure, low noise, and self-locking capability. However, improper installation and adjustment often lead to premature worm gear wear, severely affecting equipment uptime. In this article, I will share my insights and practical precautions, supported by mathematical formulas and comparative tables, to help practitioners achieve optimal performance.
I recall a common debate among quality engineers: when assessing the consistency of output product quality (say, cement strength), two indices — the coefficient of variation (COV) and the assurance coefficient — are often compared. Some argue that COV is more intuitive and scientific. But from a mathematical standpoint, both are linear or inverse linear functions of the standard deviation and mean. They are essentially equivalent as assessment tools, differing only in the baseline. Similarly, in worm gear performance evaluation, we encounter analogous metrics such as transmission accuracy coefficient and load capacity factor. They all derive from the same underlying parameters and, when used properly, offer complementary insights. This analogy is worth keeping in mind as we delve into the specifics of worm gear installation.
Fundamental Geometry and Meshing Conditions
For a worm gear pair to function correctly, the basic parameters must match. The worm has a number of starts \(Z_1\), and the worm gear has teeth \(Z_2\). The axial module of the worm equals the transverse module of the gear, both denoted as \(m\). The pressure angle \(\alpha\) must also be identical. The axis of the worm and the gear are typically perpendicular, with a shaft angle \(\Sigma = 90^\circ\). The meshing condition in the main plane is:
\[
m_{x1} = m_{t2} = m, \quad \alpha_{x1} = \alpha_{t2} = \alpha
\]
The transmission ratio \(i\) is given by:
\[
i = \frac{\omega_1}{\omega_2} = \frac{Z_2}{Z_1}
\]
The worm diameter coefficient \(q\) is defined as \(q = d_1 / m\), where \(d_1\) is the pitch diameter of the worm. The center distance \(a\) is:
\[
a = \frac{d_1 + d_2}{2} = \frac{m(q + Z_2)}{2}
\]
The lead angle \(\gamma\) of the worm is:
\[
\gamma = \arctan\left( \frac{Z_1}{q} \right)
\]
Efficiency \(\eta\) under dry or lubricated conditions can be expressed as:
\[
\eta = \frac{\tan \gamma}{\tan(\gamma + \rho)}
\]
where \(\rho\) is the equivalent friction angle, typically between \(3^\circ\) and \(6^\circ\) for bronze-on-steel worm gears. The following table summarizes typical worm gear parameters used in our kiln drives:
| Parameter | Symbol | Typical Range | Remarks |
|---|---|---|---|
| Worm starts | \(Z_1\) | 1 – 6 | Higher starts for larger ratios |
| Gear teeth | \(Z_2\) | 30 – 100 | Depends on ratio |
| Module | \(m\) (mm) | 6 – 20 | Standard values |
| Pressure angle | \(\alpha\) | 20° – 25° | Typically 20° for general use |
| Diameter coefficient | \(q\) | 8 – 16 | Affects worm stiffness |
| Center distance | \(a\) (mm) | 150 – 600 | Selected based on torque |
| Lead angle | \(\gamma\) | 3° – 30° | Increases with \(Z_1\) |
Critical Installation Requirements for Worm Gear
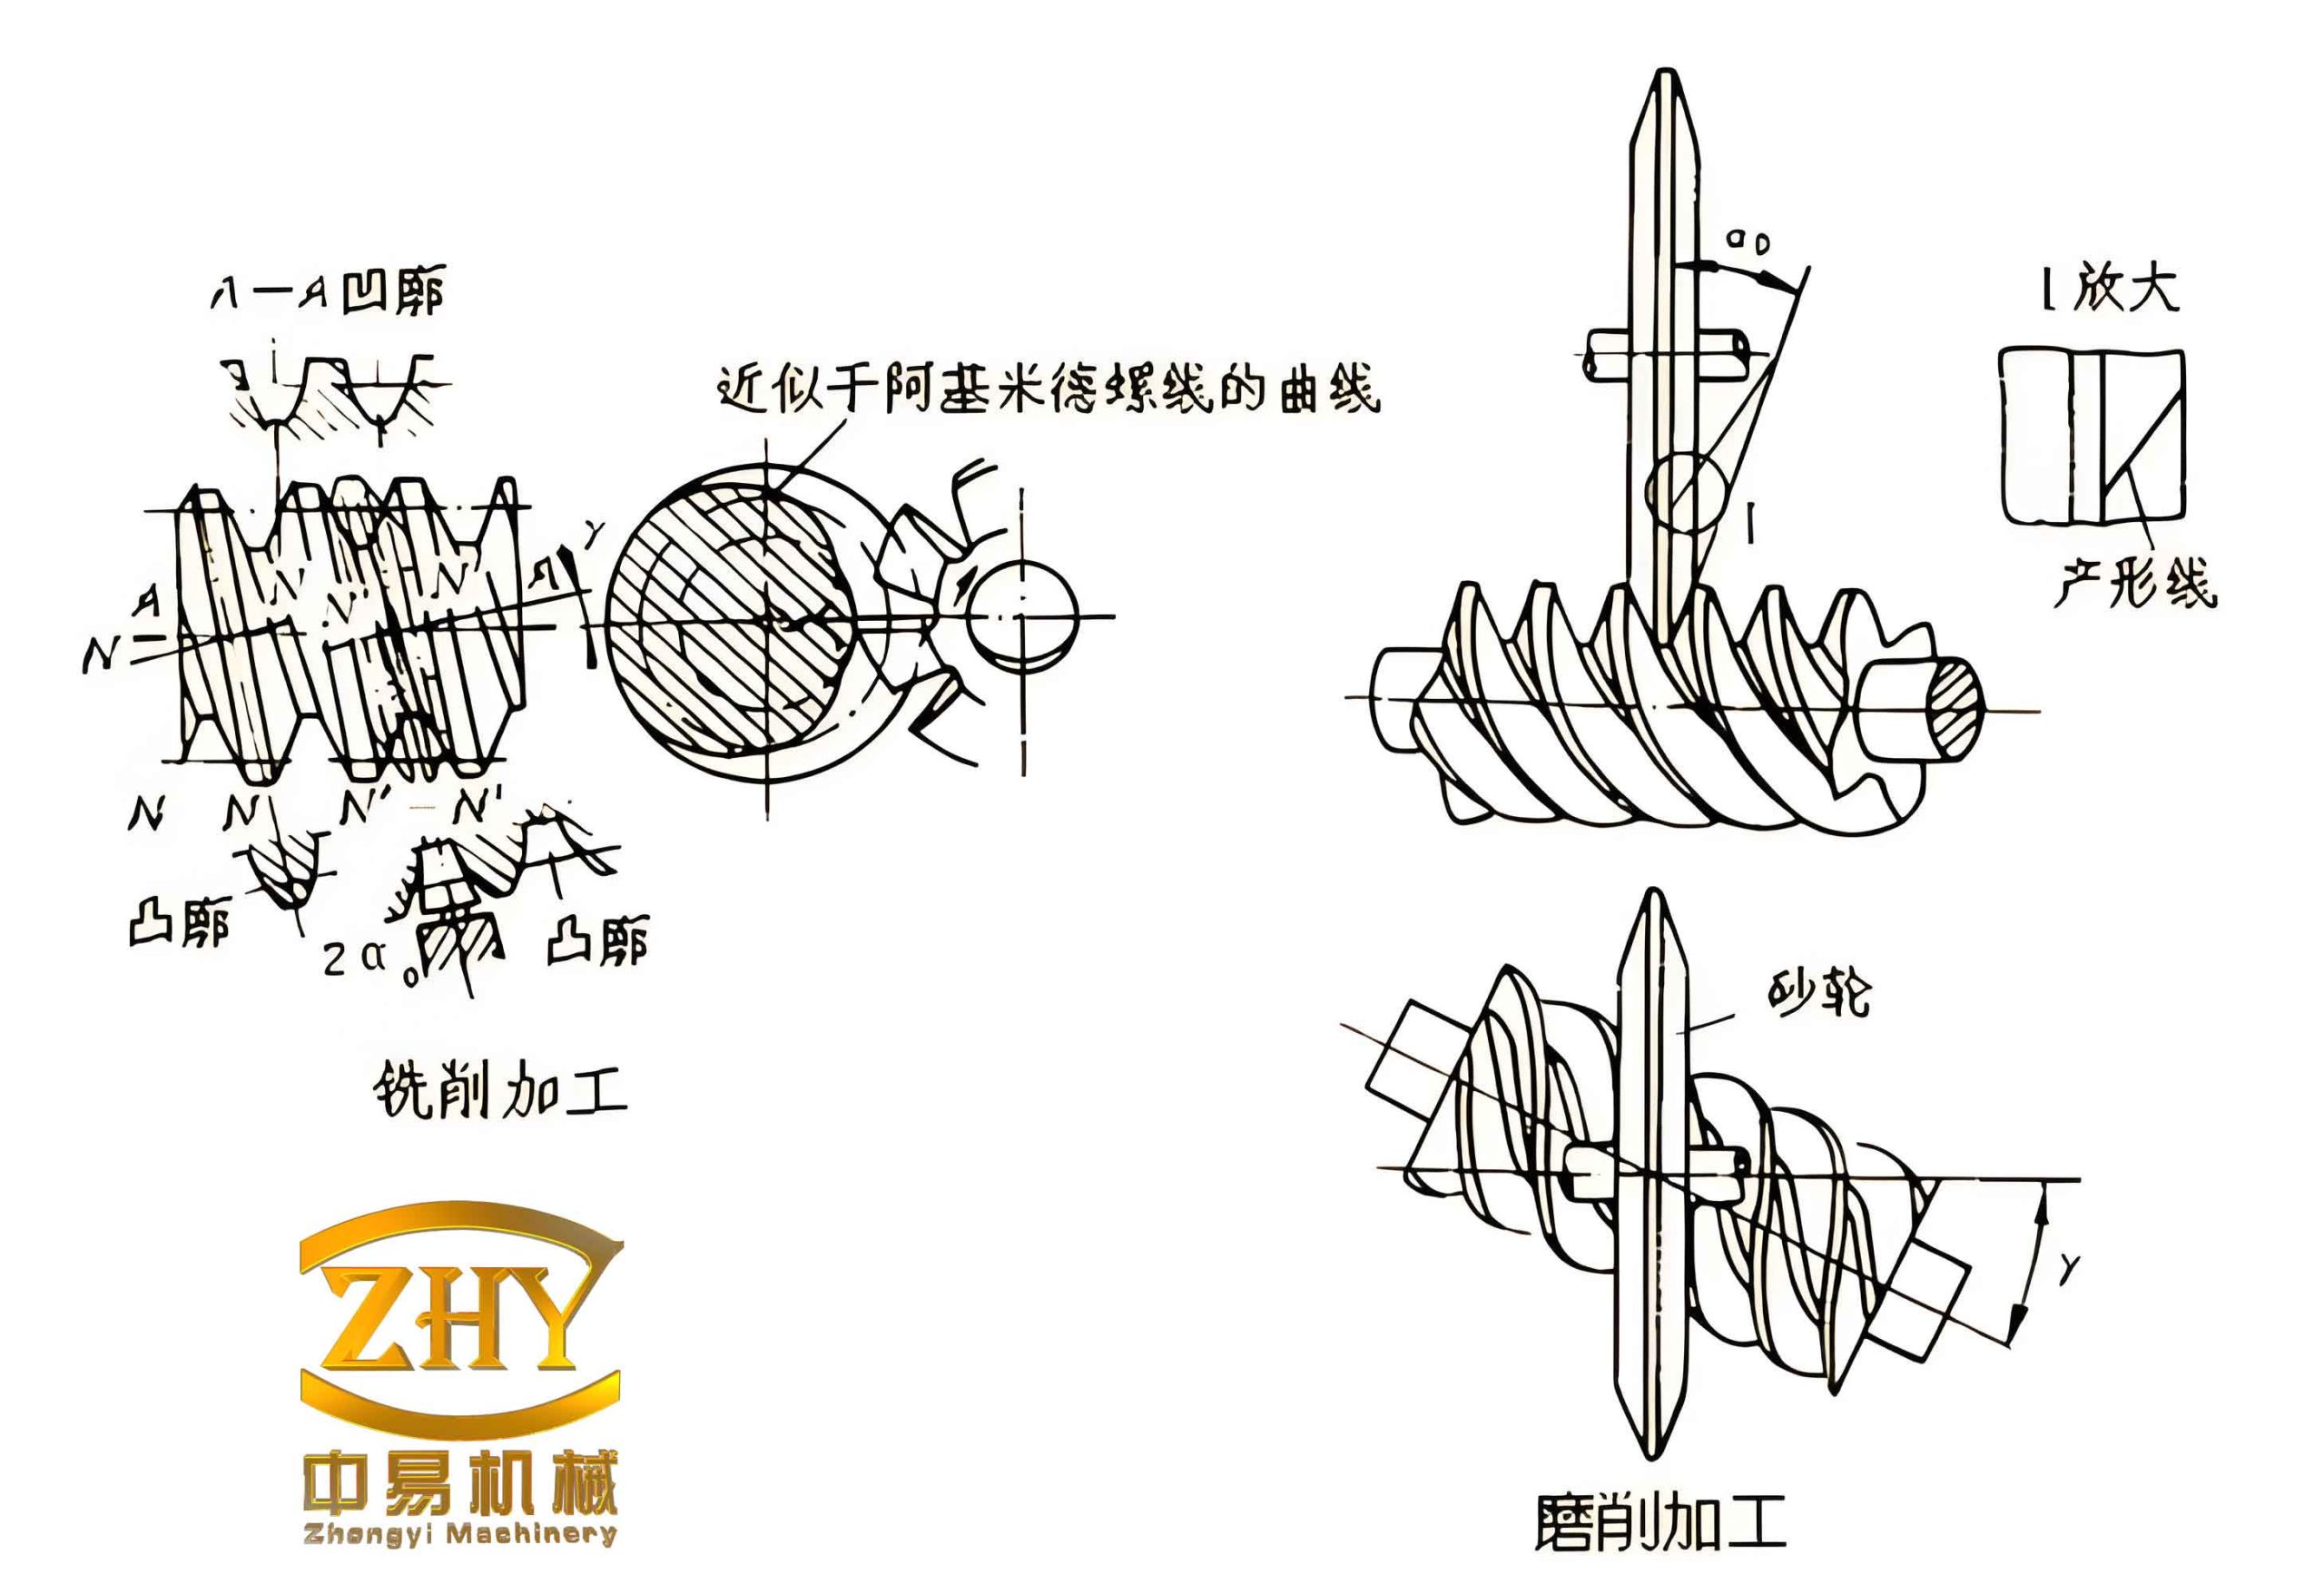
During field installation, many technicians focus on aligning the vertical shaft (Z-axis) and controlling the three dimensions marked as A, B, C in the drawings. While these are important, the most overlooked aspect is the horizontal alignment of the worm shaft (the X-axis direction). If the worm axis is not precisely horizontal, the meshing point deviates from the main plane. This deviation is shown in the following simplified schematic (the actual figure is replaced by the earlier image).
Let us denote the offset of the worm axis from the ideal horizontal plane as \(\Delta h\). The resulting deviation in the axial direction of the gear is \(\Delta x\). For a given worm lead angle \(\gamma\), the contact condition along the tooth flank changes. The normal force distribution becomes uneven, leading to excessive local wear. The wear rate \(W\) (volume loss per unit time) can be approximated by the Archard equation modified for worm gear:
\[
W = K \frac{F_n v_s}{H}
\]
where \(K\) is the wear coefficient, \(F_n\) the normal load, \(v_s\) the sliding velocity, and \(H\) the hardness of the softer material. When meshing is off-center, the local pressure increases drastically, and \(K\) effectively rises due to poor lubrication film formation.
The following table compares the effects of correct versus incorrect installation:
| Installation Condition | Meshing Point | Contact Pattern | Wear Behavior | Re |
|---|---|---|---|---|
| Worm axis perfectly horizontal | At main plane (\(x=0\)) | Elliptical, centered | Uniform, gradual | Long service life |
| Worm axis tilted (height error \(\Delta h > 0\)) | Offset along gear face | Edge contact | Rapid local wear on one side | Premature failure |
| Worm axis shifted laterally | Axial misalignment | Asymmetric | Scoring and pitting | Noise and vibration |
Mathematical Model of Misalignment Effect
Consider the worm gear pair with a nominal center distance \(a_0\). If the worm is displaced vertically by \(\delta\), the actual center distance becomes:
\[
a_{\text{actual}} = \sqrt{a_0^2 + \delta^2}
\]
This changes the operating pressure angle and the backlash. The effective pressure angle \(\alpha’\) can be derived from:
\[
\cos \alpha’ = \frac{a_0}{a_{\text{actual}}} \cos \alpha
\]
The variation in backlash \(j\) (angular) due to center distance error is:
\[
\Delta j = 2 \left( a_{\text{actual}} – a_0 \right) \tan \alpha
\]
These alterations directly affect the load distribution and the sliding velocity profile. To quantify the quality of installation, we can define an installation assurance coefficient \(C_{\text{inst}}\) analogous to the cement quality assurance coefficient:
\[
C_{\text{inst}} = \frac{\sigma_{\text{allowable}}}{\sigma_{\text{actual}}}
\]
where \(\sigma_{\text{allowable}}\) is the maximum permissible contact stress for the worm gear material, and \(\sigma_{\text{actual}}\) is the calculated maximum stress under the actual misalignment. A higher \(C_{\text{inst}}\) indicates safer operation. However, just like the cement example, a large \(C_{\text{inst}}\) does not guarantee that the worm gear is operating efficiently — it could be “running on the edge” with high local stresses. Therefore, we must also monitor the coefficient of variation of contact stress across the tooth flank, which is even more intuitive.
Step-by-Step Adjustment Procedure for Worm Gear
Based on my field experience, I recommend the following procedure to ensure correct worm gear meshing:
- Pre-check the foundation: Ensure the kiln base is level and the vertical shaft housing is aligned within 0.05 mm/m.
- Mount the worm gear assembly: Install the worm gear on its support, check the perpendicularity of the gear axis to the vertical shaft using a dial indicator. The runout should be less than 0.02 mm.
- Install the worm shaft: Place the worm on its bearings but do not final-tighten the bearing housings. Use a precision level across the worm axis to bring it to horizontal (within 0.01 mm/m). Shim the bearing blocks as needed.
- Adjust the axial position of the worm: Place a feeler gauge or use paint (red lead) to check the contact pattern. Rotate the worm gear manually while applying light braking. The contact pattern should be centered and cover about 60–80% of the tooth face width.
- Fine-tune the center distance: Using jackscrews on the worm bearing housing, adjust the horizontal position until the backlash (measured at several points) is uniform. The recommended backlash for a module \(m=12\) mm worm gear is 0.15–0.25 mm.
- Final lock and re-check: Tighten all bolts to the specified torque, then repeat the contact pattern check. If the pattern shifts, re-shim or reposition.
The following table summarizes the acceptable tolerances we adopt:
| Parameter | Tolerance | Measurement Tool |
|---|---|---|
| Vertical shaft perpendicularity | ≤ 0.05 mm/m | Dial indicator + square |
| Worm axis horizontality | ≤ 0.01 mm/m | Precision level |
| Runout of worm gear at pitch circle | ≤ 0.02 mm | Dial indicator |
| Backlash (for m=12) | 0.15 – 0.25 mm | Feeler gauge or indicator |
| Contact pattern offset from center | ≤ 5% of face width | Red lead transfer |
Common Failures and Their Root Causes
Through years of troubleshooting, I have compiled a list of frequent worm gear issues encountered in vertical kiln drives. The following table correlates the symptom with probable installation errors:
| Failure Mode | Observed Symptom | Most Likely Root Cause | Corrective Action |
|---|---|---|---|
| Tooth flank pitting | Small pits on gear tooth near one edge | Worm axis not horizontal; edge contact | Re-level worm; re-check contact pattern |
| Scoring and galling | Severe scratches; material transfer | Insufficient backlash or misalignment causing high localized load | Increase center distance; adjust shims |
| Excessive noise | Whining or knocking sound | Misaligned shafts; loose bearings | Realign and tighten |
| Premature worm wear | Worm thread thinning uniformly | Center distance too small; overload | Check design load; increase a if possible |
| Gear tooth breakage | Complete fracture | Extreme misalignment combined with shock load | Reinforce housing; improve alignment |
Beyond Installation: Long-Term Monitoring with Assurance Coefficients
As I mentioned earlier, the analogy with cement quality indices can be extended. In our factory, we track two key performance indicators for each worm gear drive: the transmission assurance coefficient \(C_t\) and the wear consistency coefficient \(C_w\).
Define:
\[
C_t = \frac{[\sigma_H]}{\sigma_{H,\text{max}}}
\]
where \([\sigma_H]\) is the allowable contact stress for the gear material (e.g., 250 MPa for QT500-7), and \(\sigma_{H,\text{max}}\) is the maximum Hertzian stress calculated from the actual load and geometry, including misalignment factors. Meanwhile,
\[
C_w = 1 – \frac{S_{\text{wear}}}{\bar{W}}
\]
where \(S_{\text{wear}}\) is the standard deviation of wear depth measured at 12 points around the gear, and \(\bar{W}\) is the mean wear depth. A value of \(C_w\) close to 1 indicates uniform wear, indicative of good installation. From the formulas, both \(C_t\) and \(C_w\) are linear functions of the stress or wear magnitude — similar to the cement case where coefficient of variation and assurance coefficient are \(1/\bar{x}\) or \(\bar{x}\) related. They are mathematically equivalent but highlight different aspects. I have found that using both coefficients gives a more complete picture than either alone.
Consider two hypothetical plants, Plant A and Plant B. Plant A has a worm gear with \(C_t = 1.30\) and \(C_w = 0.95\). Plant B has \(C_t = 1.45\) and \(C_w = 0.70\). According to the assurance coefficient alone, Plant B appears safer. However, the low wear consistency (\(C_w\)) reveals that the worm gear in Plant B has non-uniform contact — perhaps due to a slight tilt — and is likely to develop local failure. In fact, our field data shows that drives with \(C_w < 0.75\) have a mean time between failures (MTBF) of less than 6 months, while those with \(C_w > 0.90\) last over 3 years. Therefore, I emphasize that both coefficients are equally important, and relying solely on \(C_t\) can be misleading.
Conclusion
The proper installation of worm gear drives in vertical shaft kilns is a delicate process that demands attention to horizontal leveling, contact pattern, and backlash. By understanding the underlying mathematics — from geometry to wear mechanics — and applying systematic adjustment procedures, we can dramatically extend the service life of the worm gear. The use of complementary assurance and variation indices provides a robust framework for quality assessment, mirroring the principles found in other engineering fields. In our factory, we have reduced worm gear replacement frequency by 60% after implementing these rigorous installation standards. I encourage all engineers involved in kiln maintenance to adopt a similar methodical approach.