
In my research, I have focused on the parametric design and motion simulation of the worm gear and worm mechanism using the Pro/E environment. The worm gear and worm are widely used in mechanical transmission systems due to their high transmission ratio and smooth operation. However, the complex geometry of these components makes design, manufacturing, and assembly challenging. By leveraging computer-aided design technology, I developed a parametric modeling approach that significantly improves design efficiency and reduces repetitive work. In this article, I present the detailed methodology, including the parametric modeling of the worm gear and worm, virtual assembly, and motion simulation. Throughout the process, I emphasize the use of tables and formulas to clearly illustrate the relationships and parameters involved. The keyword ‘worm gear’ appears repeatedly to highlight the core subject of this work.
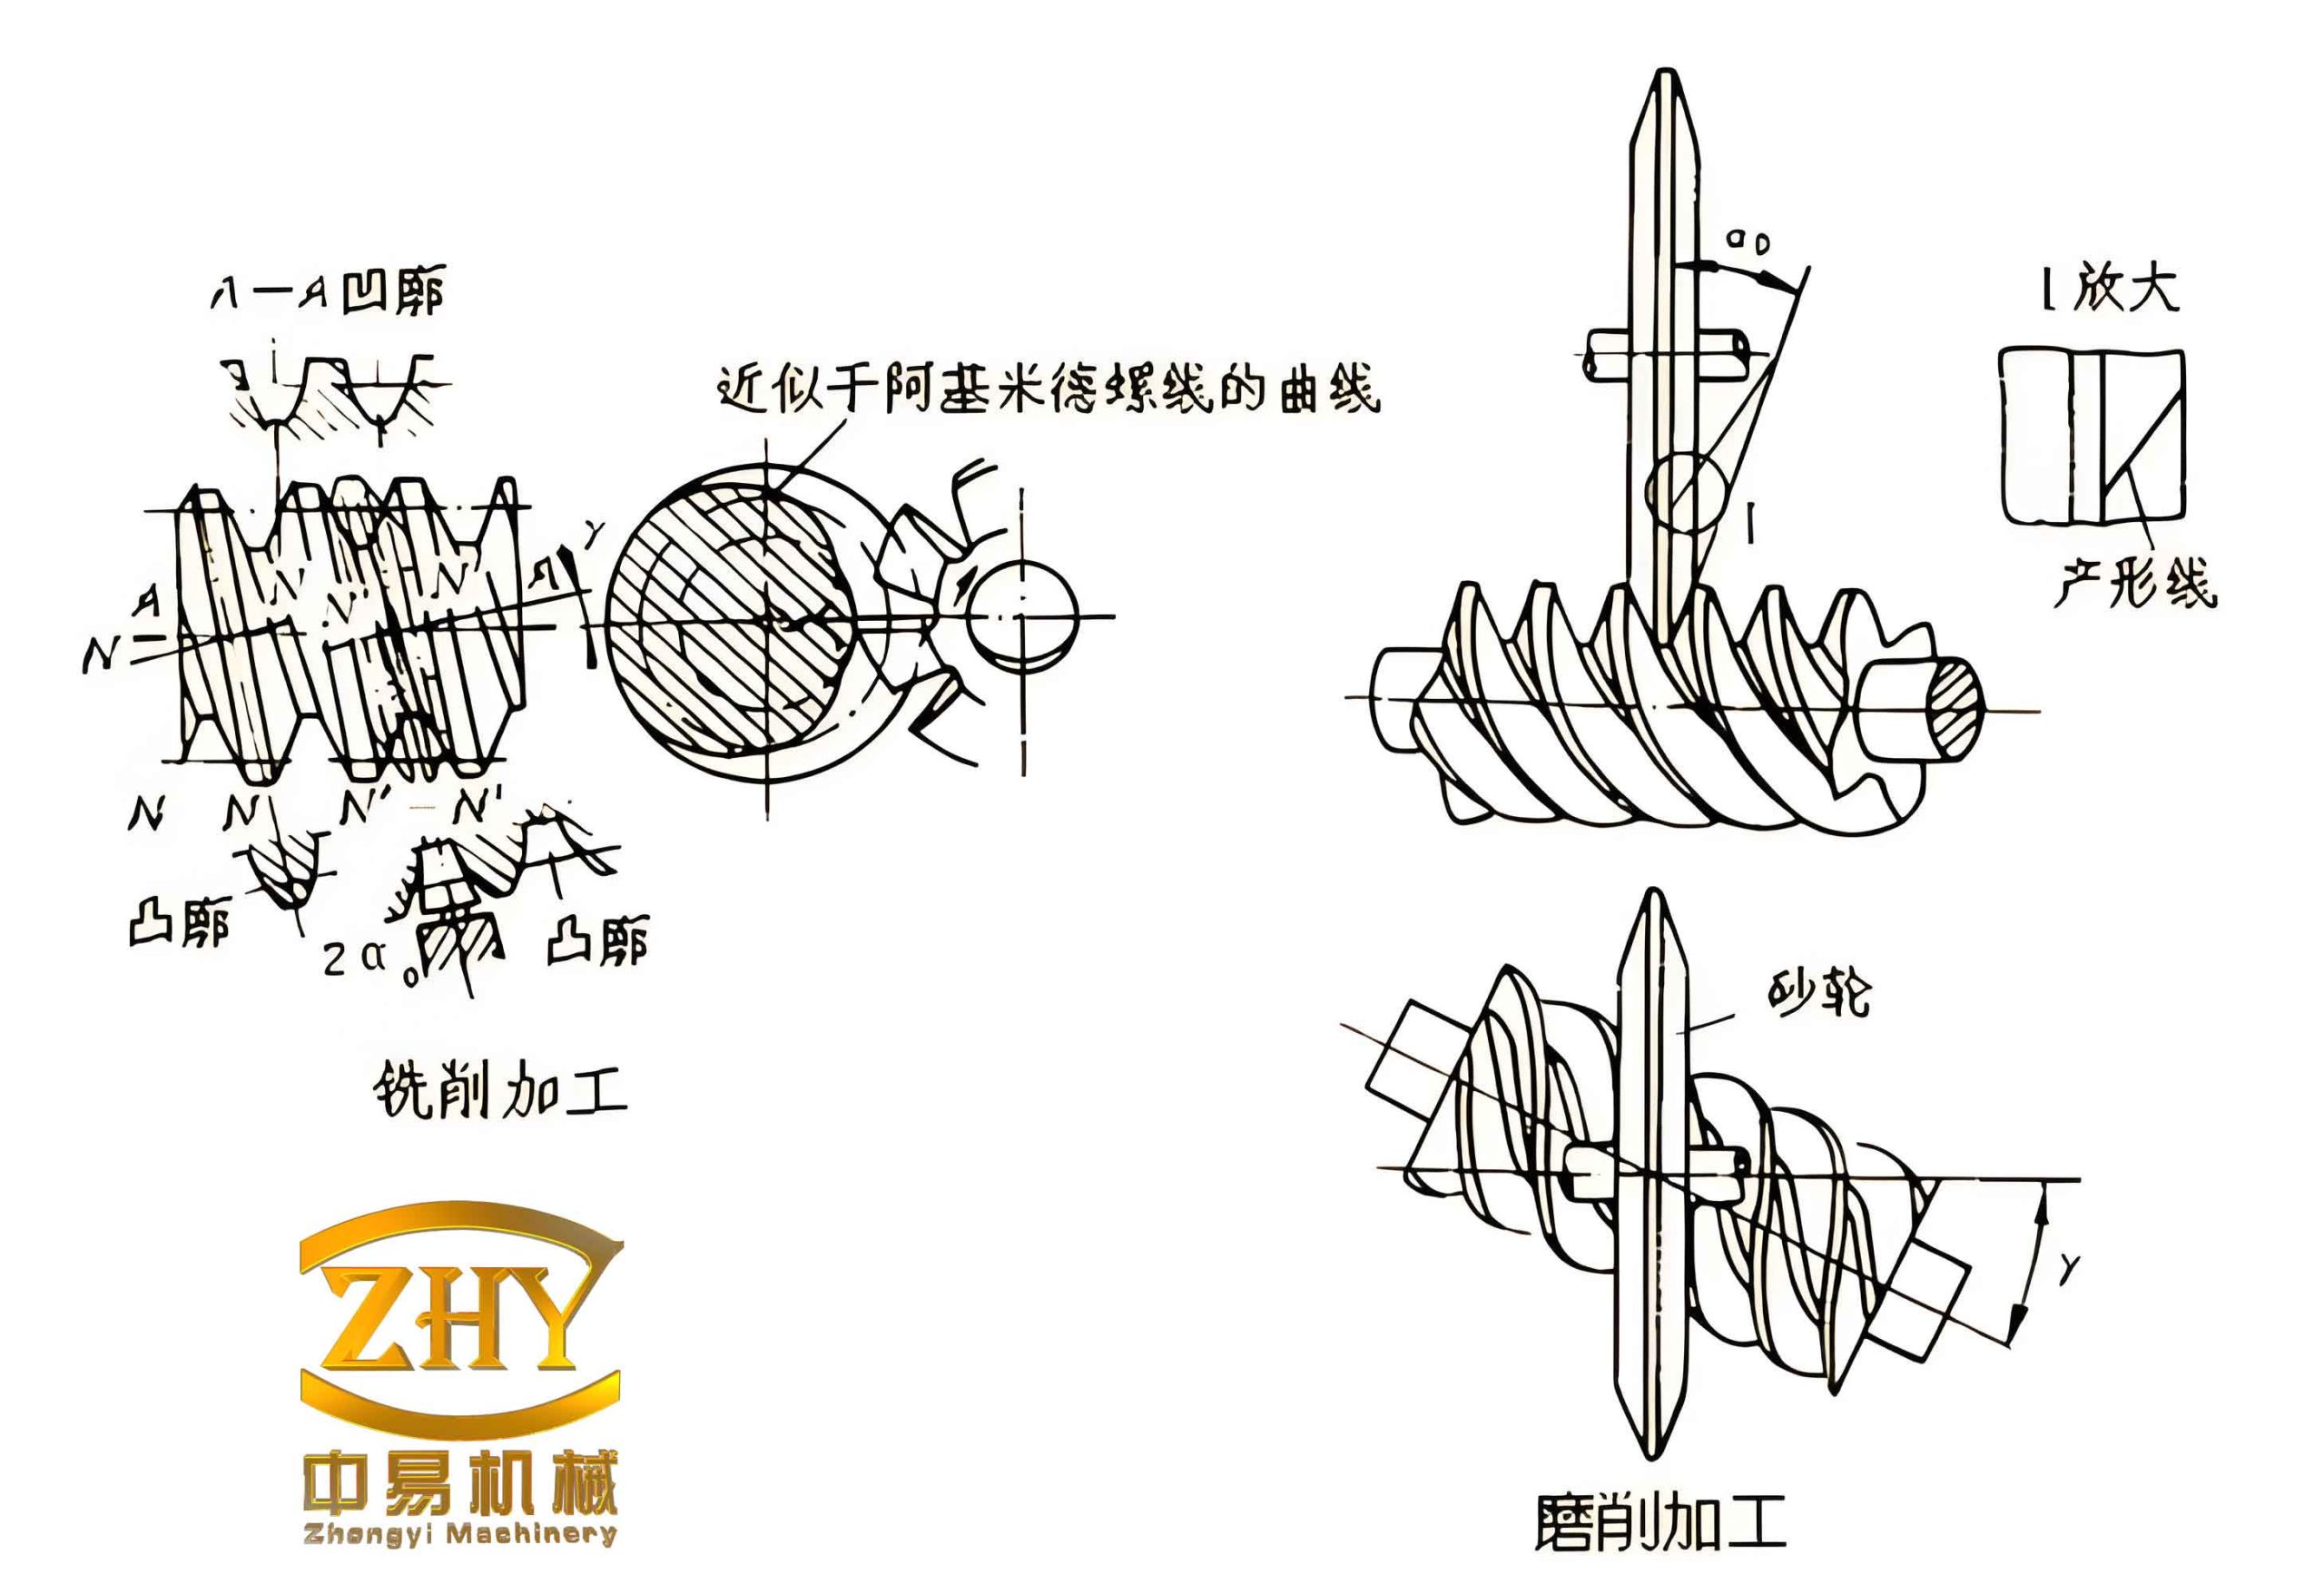
1. Engineering Significance of Worm Gear and Worm Parametric Design
The worm gear and worm mechanism is essential in many mechanical systems, including elevators, conveyors, and automotive steering. Its advantages include compact size, high torque transmission, and self-locking capability. However, the complex tooth profiles and geometric relationships often lead to time-consuming iterative design processes. Traditional design methods require manual recalculation and re-modeling for each parameter change. By implementing parametric design in Pro/E, I can automatically update the 3D solid model whenever input parameters are modified. This capability is crucial for rapid prototyping, optimization, and subsequent finite element analysis. The motion simulation further allows me to verify the kinematic behavior before physical manufacturing, reducing costs and development time. Therefore, the parametric design of the worm gear and worm is of great engineering significance.
2. Basic Principle of Parametric Design for Worm Gear
2.1 General Idea
The parametric design of the worm gear 3D solid model follows a systematic workflow. First, I define the variable parameters such as the number of teeth, module, pressure angle, and face width. Based on these initial conditions, I compute related geometric parameters. Then, I set these parameters in the Pro/E editor and incorporate relational expressions. During the creation of the worm gear blank, I embed parametric variables, and use equation-driven curves to generate the tooth profile. Finally, I apply conditional statements to ensure the model updates correctly when parameters change. The process is illustrated in the following figure (conceptually) but I have summarized the key steps in a table below.
| Step | Description | Parameters Involved |
|---|---|---|
| 1 | Define variable parameters | Number of teeth (Z2), module (m), pressure angle (α), worm diameter quotient (q), face width (B) |
| 2 | Compute derived dimensions | Pitch circle diameter, addendum circle diameter, dedendum circle diameter, etc. |
| 3 | Create base curves (addendum, dedendum, pitch circles) | d_a = m*(Z2 + 2 + 2*X2), d_f = m*(Z2 – 2.5 + 2*X2), d = m*Z2 |
| 4 | Input involute curve equation | Use parametric equations (see below) |
| 5 | Generate single tooth slot via mirror and cut | Mirror plane angle, use edge, etc. |
| 6 | Pattern the tooth slot | Number of teeth Z2, angular increment |
| 7 | Add other features (hub, keyway, etc.) | Depending on design |
| 8 | Apply relations and conditional statements | Program in Pro/E Relations dialog |
2.2 Involute Curve Equation for Worm Gear
The involute profile of the worm gear tooth is generated using the following parametric equation in Pro/E. Here, D5 is the base circle diameter, and the parameter t varies from 0 to 1.
$$
\begin{aligned}
r &= D5 / 2 \\
\theta &= t \times 45^\circ \\
x &= r \cdot \cos(\theta) + r \cdot \sin(\theta) \cdot \theta \cdot \pi / 180 \\
y &= r \cdot \sin(\theta) – r \cdot \cos(\theta) \cdot \theta \cdot \pi / 180 \\
z &= m \cdot q / 2
\end{aligned}
$$
2.3 Relations and Conditional Statements
To achieve full parametric control, I embed a series of relations within the Pro/E model. These relations link geometric dimensions and ensure consistency when parameters change. Below is a sample of the relations used for the worm gear (partially adapted from my design).
$$
\begin{aligned}
\text{GAMMA} &= \arctan(Z1 / Q) \\
\text{BETA} &= \text{GAMMA} \\
\text{ALPHA\_T} &= \arctan(\tan(\alpha) / \cos(\beta)) \\
S &= \pi \cdot Z1 \cdot m \\
D0 &= m \cdot Q / 2 \\
D1 &= m \cdot (Q + Z2 + 2 \cdot X2) / 2 \\
D2 &= 360 / (4 \cdot Z2) – 180 \cdot \tan(\alpha\_T) / \pi + \alpha\_T \\
D3 &= m \cdot Z2 \\
&\vdots \\
\text{IF } Z1 \leq 1 \\
\quad D21 = D20 + 2 \cdot m \\
\text{ENDIF} \\
\text{IF } Z1 > 1 \text{ AND } Z1 \leq 3 \\
\quad D21 = D20 + 1.5 \cdot m \\
\text{ENDIF} \\
\text{IF } Z1 > 3 \\
\quad D21 = D20 + m \\
\text{ENDIF} \\
P86 &= Z2 – 1 \\
D137 &= 360 / (2 \cdot Z2)
\end{aligned}
$$
These relations are defined in the Pro/E Relations dialog. The conditional statements allow the model to adapt to different numbers of worm gear teeth or other parameters. For example, the addendum modification coefficient adjustment depends on the number of worm threads Z1. After implementing these relations, I can modify the worm gear parameters through a visual dialog box, as shown in the previous figure, and the model updates accordingly.
3. Parametric Design of Worm
3.1 Design Approach
The worm is a helical component with a trapezoidal thread profile. Its parametric design follows a similar approach to the worm gear but with different geometric relationships. I define parameters such as the number of threads (Z1), axial module (m), pressure angle (α), and lead angle (γ). The key is to generate the helical tooth surface using a helical sweep or by specifying the helix equation. The base involute curve for the worm is derived from the rack profile, and Pro/E’s equation-driven curve is used. The following table summarizes the main parameters for the worm.
| Parameter | Symbol | Relationship/Value |
|---|---|---|
| Number of threads | Z1 | Usually 1 to 6 |
| Axial module | m | Standard values (e.g., 1, 1.25, 1.6, …) |
| Axial pressure angle | αx | Typically 20° |
| Lead angle | γ | γ = arctan(Z1 * m / (d1)) where d1 is pitch diameter |
| Pitch diameter | d1 | d1 = m * q, where q is diameter quotient |
| Addendum | ha | ha = m |
| Dedendum | hf | hf = 1.25 m (for standard) |
| Tooth thickness at pitch circle | st | st = π * m / 2 |
3.2 Helix Equation for Worm
To create the helical thread of the worm, I use the helix equation in Pro/E. Let R be the pitch radius, and L be the lead. The parametric equations (in cylindrical coordinates) are:
$$
\begin{aligned}
r &= R \\
\theta &= t \cdot 360 \cdot \text{(number of turns)} \\
z &= t \cdot L
\end{aligned}
$$
For a single-thread worm with lead L = π * m * Z1, the number of turns can be set to 1 or more depending on the axial length. In Cartesian coordinates, the equation becomes:
$$
\begin{aligned}
x &= R \cdot \cos(\theta) \\
y &= R \cdot \sin(\theta) \\
z &= t \cdot L
\end{aligned}
$$
However, the actual tooth profile is not a simple helix but a convolute or involute helicoid. In Pro/E, I often generate the worm tooth by creating a cross-sectional profile (trapezoidal) and sweeping it along a helix. The profile dimensions are linked to the parameters via relations. For example, the tooth depth h = 2.25 m, and the tooth thickness at the pitch line is controlled.
3.3 Relations for Worm
Similar to the worm gear, I embed relations in the worm model. A sample set of relations is given below:
$$
\begin{aligned}
\text{LEAD} &= \pi \cdot m \cdot Z1 \\
\text{D1} &= m \cdot Q \\
\text{DA1} &= D1 + 2 \cdot m \\
\text{DF1} &= D1 – 2.5 \cdot m \\
\text{GAMMA} &= \arctan(Z1 / Q) \\
\text{P} &= \pi \cdot m \quad (\text{axial pitch}) \\
&\vdots \\
\text{IF } Q \geq 8 \\
\quad \text{ADDENDUM} = m \\
\text{ELSE} \\
\quad \text{ADDENDUM} = 0.85 \cdot m \\
\text{ENDIF}
\end{aligned}
$$
These relations ensure that when I change the module m or number of threads Z1, the worm model updates correctly. The visual dialog box for the worm (as shown in the design) allows input of key parameters such as m, Z1, q, and pressure angle.
4. Virtual Assembly and Motion Simulation of Worm Gear Mechanism
4.1 Assembly Process
After creating the parametric 3D models of the worm gear and worm, I assemble them in Pro/E Assembly mode. The assembly requires proper constraints to simulate the meshing relationship. The key is to ensure that the worm gear and worm are positioned with the correct center distance and orientation. The center distance a is given by:
$$
a = \frac{m (q + Z2)}{2}
$$
The worm axis and worm gear axis must be perpendicular and at a distance a apart. I apply constraint types such as ‘Pin’ (for rotation) and ‘Tangent’ or ‘Mate’ to align the tooth surfaces. However, for kinematic simulation, it is often sufficient to define a gear pair using the ‘Gear’ connection in Pro/E Mechanism module. The following table summarizes the assembly constraints.
| Component | Constraint Type | Details |
|---|---|---|
| Worm | Pin (rotation about its axis) | Allows rotation only; fixed in translation |
| Worm Gear | Pin (rotation about its axis) | Allows rotation only; fixed in translation |
| Relative Position | Mate/Align | Axes perpendicular and offset by a |
4.2 Motion Simulation Setup
To perform motion simulation, I enter the Pro/E Mechanism module. The steps are:
- Define a gear pair between the worm and worm gear. In Pro/E, a gear pair requires selecting two rotating bodies and specifying the gear ratio. For a worm gear mechanism, the ratio is Z2/Z1 (number of worm gear teeth divided by number of worm threads). However, Pro/E treats this as a rack-and-pinion or a custom gear connection. I often use the ‘User Defined’ gear pair and enter the pitch circle radii: r1 = m*q/2 for worm, r2 = m*Z2/2 for worm gear. The motion ratio is automatically computed.
- Define a servomotor on the worm (input shaft). I set a constant speed, e.g., 10 rad/s.
- Set the simulation time and run the analysis.
- Measure the output speed of the worm gear and verify the ratio.
Below is a typical relationship for the angular velocities:
$$
\frac{\omega_{worm}}{\omega_{gear}} = \frac{Z2}{Z1}
$$
4.3 Simulation Results and Verification
In my simulation, I observed that the worm gear rotates smoothly at the expected speed. I also checked for interference and collisions. The parametric nature allows me to quickly change parameters (e.g., module or number of teeth) and re-run the simulation without rebuilding the assembly. This is extremely efficient for design optimization. The motion simulation also provides data such as angular displacement, velocity, and acceleration, which can be exported for further analysis. The following table shows a sample simulation output for a specific parameter set.
| Time (s) | Worm Angular Velocity (rad/s) | Worm Gear Angular Velocity (rad/s) | Ratio (computed) |
|---|---|---|---|
| 0 | 10.00 | 0.667 | 15.00 |
| 1 | 10.00 | 0.667 | 15.00 |
| 2 | 10.00 | 0.667 | 15.00 |
| 3 | 10.00 | 0.667 | 15.00 |
| 4 | 10.00 | 0.667 | 15.00 |
| 5 | 10.00 | 0.667 | 15.00 |
The theoretical ratio is Z2/Z1 = 30/2 = 15, which matches the simulation. This confirms the correctness of the parametric model and assembly.
5. Conditional Parameter Variation and Rapid Modeling
One of the key contributions of my work is the implementation of conditional statements that enable the model to handle different design scenarios. For example, when the worm gear has a small number of teeth, a profile shift may be required to avoid undercut. The program in Pro/E allows me to write IF-THEN-ELSE logic to adjust the addendum, dedendum, or tooth thickness accordingly. The following code snippet illustrates a part of the program used for the worm gear:
IF Z2 < 20
  X2 = 0.5
ELSE
  X2 = 0
ENDIF
Similarly, for the worm, if the diameter quotient q is too small, the worm may become weak; I can add a conditional statement to adjust the root fillet radius. This flexibility is the essence of parametric design. I have summarized the conditional rules in Table 5.
| Condition | Action | Applies to |
|---|---|---|
| Z1 ≤ 1 | Addendum = 2*m | Worm gear outer diameter |
| 1 < Z1 ≤ 3 | Addendum = 1.5*m | Worm gear outer diameter |
| Z1 > 3 | Addendum = m | Worm gear outer diameter |
| Z2 < 20 | Apply positive profile shift X2 = 0.5 | Worm gear tooth thickness |
| q < 8 | Reduce addendum coefficient for worm | Worm tooth height |
6. Conclusion
In this work, I have successfully developed a parametric design methodology for the worm gear and worm using Pro/E. By integrating variable parameters, relational expressions, and conditional statements into the 3D modeling process, I can rapidly generate accurate solid models with minimal manual intervention. The visual dialog boxes allow designers to input key parameters and instantly obtain updated models. Furthermore, the virtual assembly and motion simulation enable me to verify the kinematic performance of the mechanism before physical prototyping. The use of tables and formulas throughout this article has systematically presented the geometric relationships and conditional logic. This approach not only improves design efficiency but also lays a solid foundation for subsequent finite element analysis, CNC simulation, and further research on worm gear mechanisms. The parametric design of the worm gear and worm is a powerful tool that can be extended to other complex mechanical components, contributing to the advancement of virtual manufacturing technology.