
I have conducted a comprehensive numerical investigation into the warm forging process of large-modulus cylinder straight spur gears. The objective was to address the critical defects encountered in conventional closed-die forging, namely incomplete tooth filling and excessively high forming loads. By employing finite element analysis via DEFORM-3D, I systematically analyzed the metal flow behavior under various forming conditions. The straight spur gears studied had a module of 3 mm and 18 teeth, typical of large-modulus applications. The workpiece material was 20CrMnTi, which is commonly used in gear manufacturing due to its good hardenability and moderate hot workability. An initial temperature of 800°C was selected for the warm forging process, and a constant friction coefficient of 0.3 was applied between the billet and the die surfaces. To reduce computational cost while maintaining accuracy, I utilized a symmetrical tooth sector model representing one eighteenth of the full gear. The finite element mesh consisted of tetrahedral elements, and the die components were treated as rigid bodies.
The traditional closed-die forging process for straight spur gears is essentially an upsetting-extrusion combined deformation. As the upper punch moves downward, the billet is compressed and flows radially into the tooth cavities of the die. My initial simulations revealed that the effective strain distribution is highly inhomogeneous. The central region of the billet undergoes severe plastic deformation, while the material near the upper and lower punch contact faces experiences limited straining due to frictional constraints. This phenomenon leads to the formation of “dead metal zones” at the gear corners, causing incomplete filling at the tooth tip and root radii. The maximum effective strain occurs at the tooth root fillet, where material is forced to flow around sharp corners. Figure 1 illustrates the typical geometry of a straight spur gear used in this investigation.
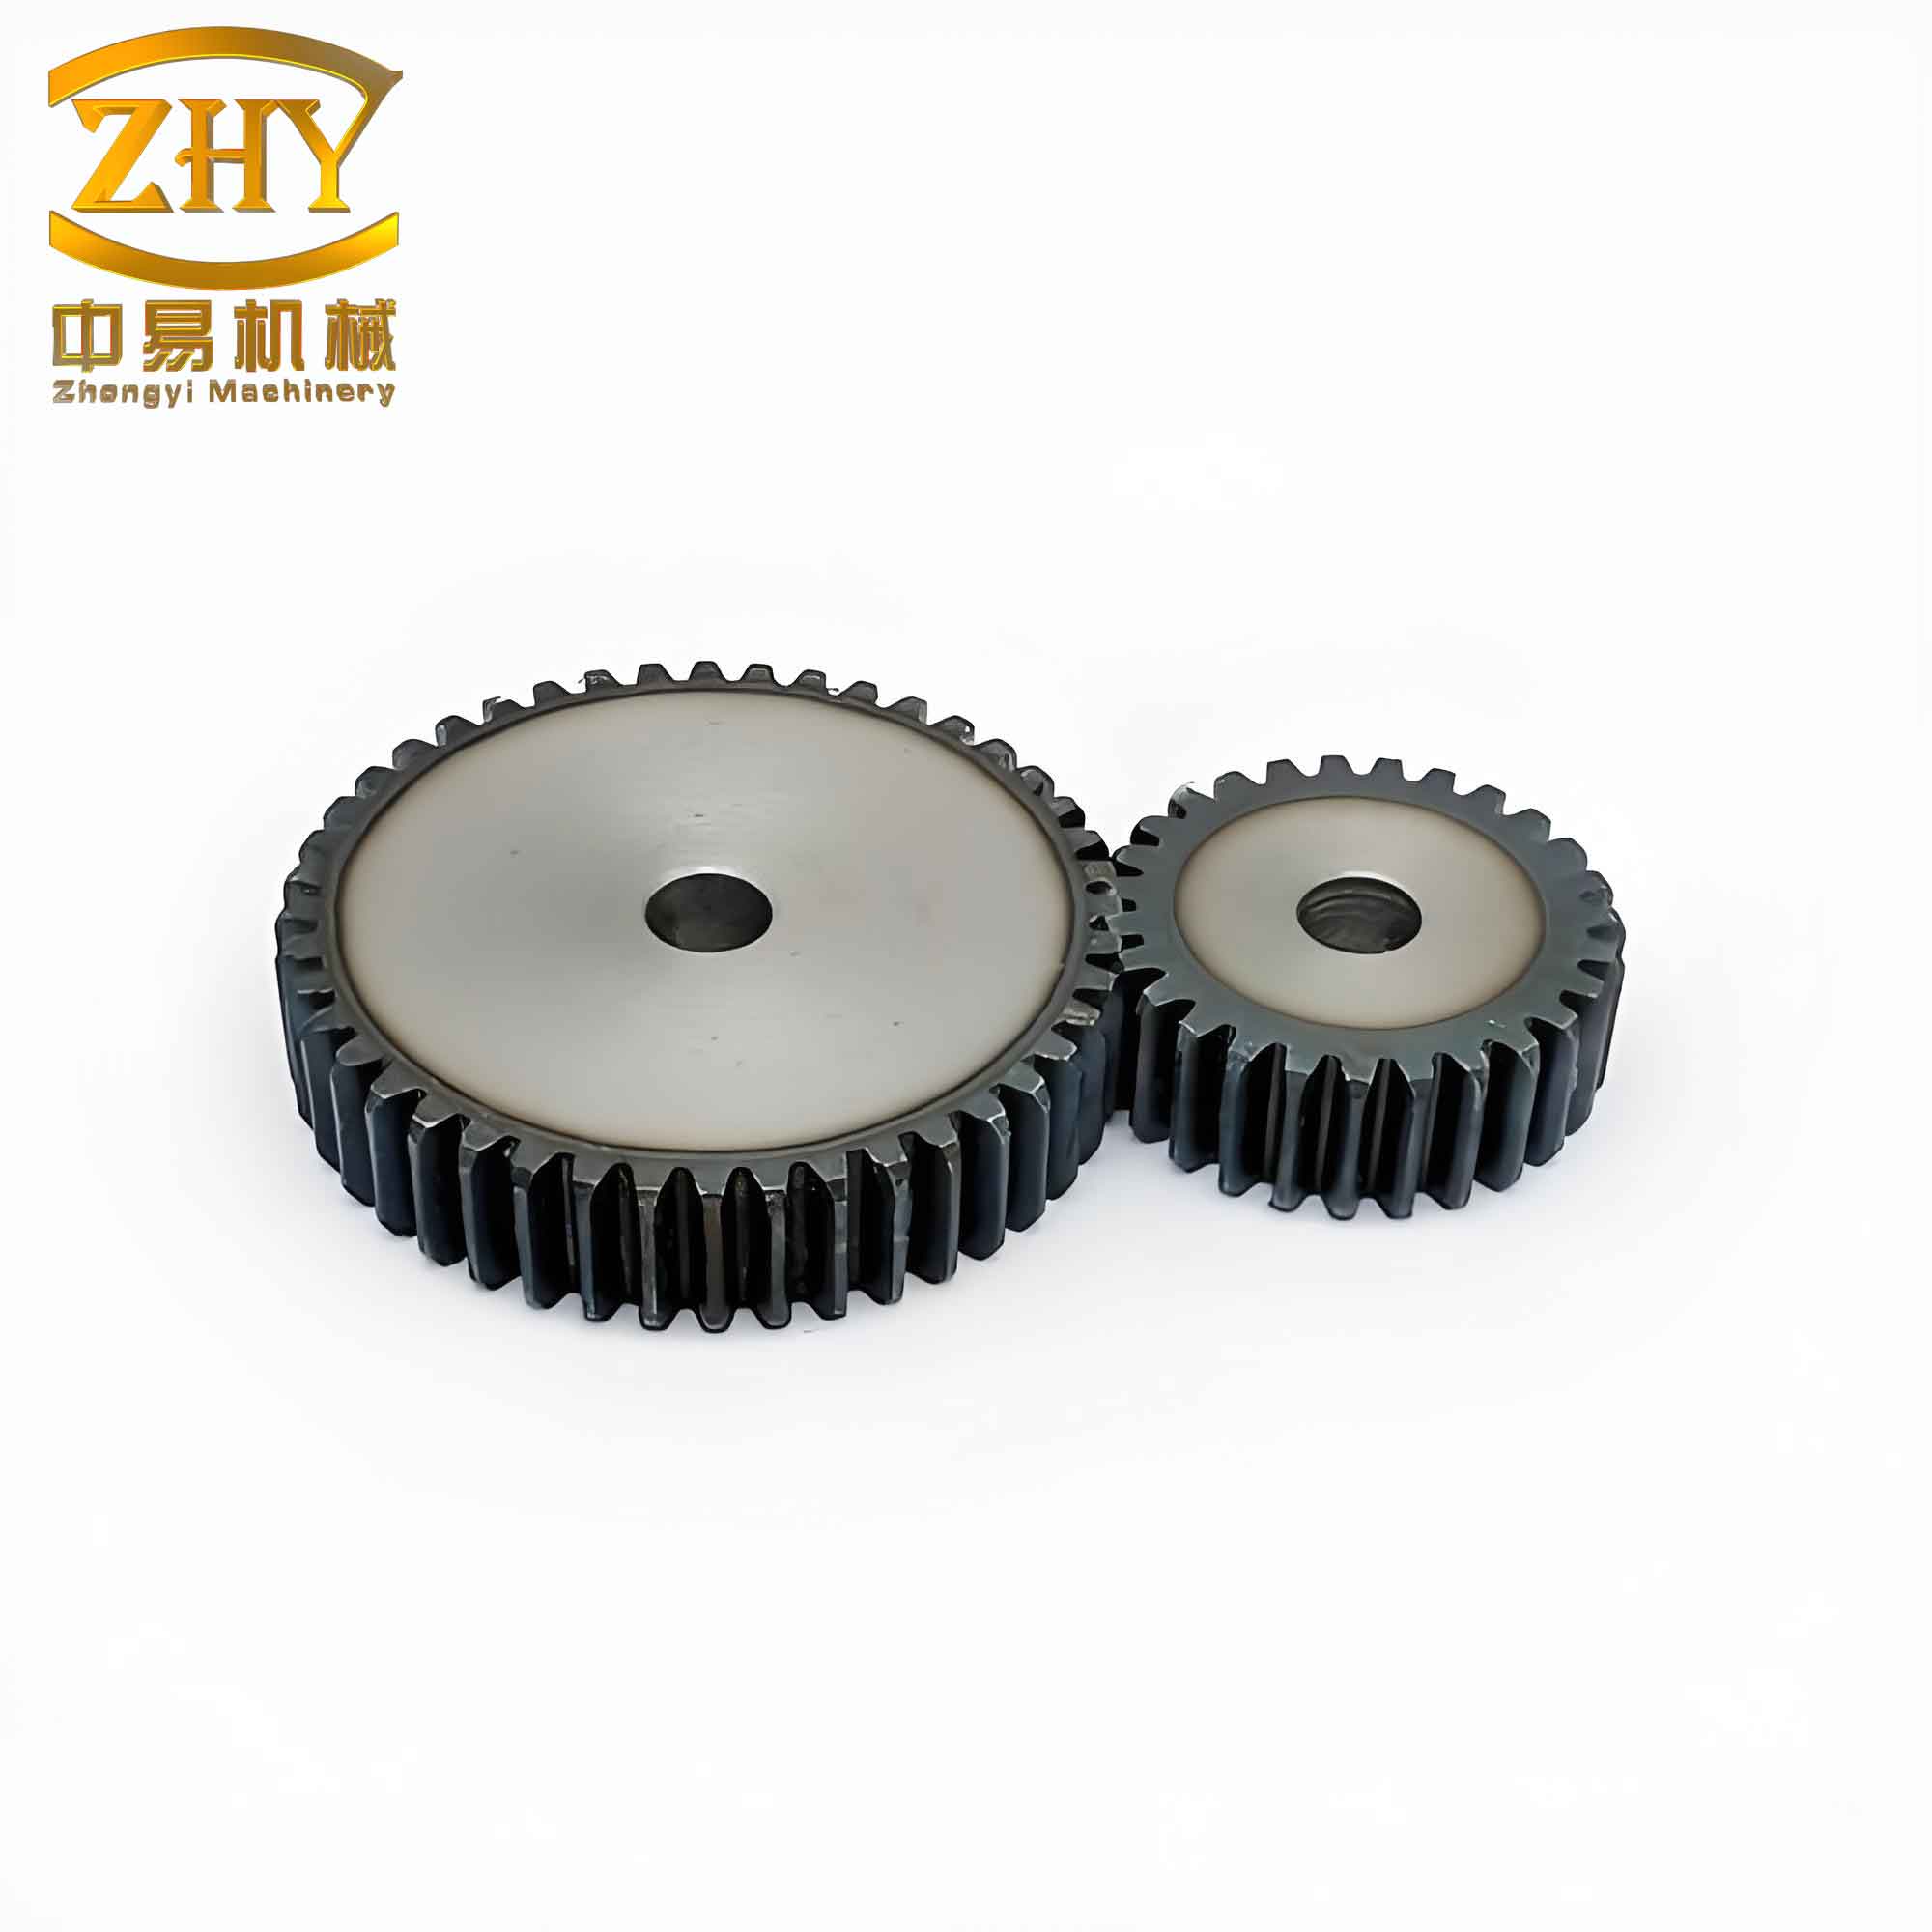
The details of the gear geometry are summarized in Table 1. These parameters represent the final dimensions that the warm forging preform must achieve before the subsequent cold sizing operation.
| Parameter | Symbol | Value | Unit |
|---|---|---|---|
| Number of teeth | z | 18 | – |
| Module | m | 3 | mm |
| Pitch circle diameter | d | 54.0 | mm |
| Addendum circle diameter | da | 60.0 | mm |
| Dedendum circle diameter | df | 46.5 | mm |
| Tooth width | B | 33.3 | mm |
| Pressure angle | α | 20 | ° |
| Root fillet radius | ρf | 1.0 | mm |
The fundamental problem in large-modulus straight spur gear warm forging is the difficulty of forcing the billet material to fill the deep and narrow tooth cavities. As the forming proceeds, the material in the center of the billet flows faster than that near the punch faces, leading to a “fold” or “lap” defect at the gear end faces. The effective strain contour plots at different stroke percentages for the conventional process clearly showed that the material at the end faces remains almost undeformed until the final stage. This results in a severe “corner underfill” where the tooth profile is incomplete. The load-stroke curve exhibited a sharp increase in the final compaction stage, reaching a peak load of 465.7 kN. Such high loads not only reduce die life but also increase the required press capacity.
To overcome these limitations, I proposed modifying the punch end face geometry from a flat surface to a broken-line (stepped) profile. The idea is to create a pre-determined uneven surface on the billet before the major deformation, thereby redistributing the metal flow and promoting more uniform filling of the tooth cavities. Two variants of the broken-line punch design were examined:
- Scheme 1: The upper punch end face has a sloping surface only at the tooth region (the portion corresponding to the gear addendum and dedendum) while the rest remains flat. The lower punch is flat.
- Scheme 2: The entire upper punch end face is a sloping plane (inclined from the gear center outward), and the lower punch is also modified to have a matching slope. During forming, the upper punch remains stationary while the lower punch moves upward, effectively creating a combined upsetting-extrusion with a controlled initial billet shape.
Simulations were performed for both schemes under identical process conditions. The effective strain distributions at 20%, 90%, and 100% reduction for Scheme 1 are shown in Table 2 as representative values extracted from the FE results. The values indicate the strain range within the billet cross-section.
| Stroke percentage | Minimum strain | Maximum strain | Location of maximum |
|---|---|---|---|
| 20% | 0.0246 | 0.5196 | Bilge center |
| 90% | 0.1725 | 2.338 | Tooth root |
| 100% | 0.1842 | 2.420 | Tooth root |
Comparing with the conventional flat punch results, Scheme 1 reduced the dead metal zone near the upper corner. However, a small underfill still persisted at the lower corner because the lower punch remained flat. This motivated Scheme 2, where both punches were sloped. The effective strain values for Scheme 2 are listed in Table 3. The strain distribution became more homogeneous, and the maximum strain at the tooth root was slightly lower than in Scheme 1, indicating more efficient material utilization.
| Stroke percentage | Minimum strain | Maximum strain | Location of maximum |
|---|---|---|---|
| 20% | 0.0034 | 0.088 | Near lower slope |
| 90% | 0.226 | 2.106 | Tooth root |
| 100% | 0.172 | 2.016 | Tooth root |
The results clearly show that the full sloped punch design (Scheme 2) eliminates the corner underfill defect. The material flow is now simultaneous from both ends toward the tooth cavities, reducing the velocity gradient. The final tooth profile is completely filled, which is essential for the subsequent cold sizing step to achieve tight tolerances.
Despite the improved filling, the forming load remained relatively high. To further reduce the load, I incorporated the concept of constrained divided flow (also known as “constrained split-flow” or “axisymmetric split-flow”) into the warm forging process. The principle is to create a controlled free surface on the billet during the final stage, allowing excess material to escape radially rather than being trapped under high hydrostatic pressure. This reduces the peak forging load and improves die life. The constrained split-flow design was implemented by adding a small central hole in the lower punch, creating an annular cavity. During the final 5–10% of the stroke, the material in the central region is forced to flow into this cavity instead of accumulating stress. The schematic of the constrained split-flow process is illustrated in Figure 2 (not shown, but the concept is integrated).
The load-stroke curves for the three processes—conventional closed-die forging, optimized broken-line punch (Scheme 2), and constrained split-flow with broken-line punch—are compared in Table 4. The peak loads are extracted directly from the simulation output.
| Process variant | Peak load (kN) | Reduction relative to conventional (%) |
|---|---|---|
| Conventional closed-die forging | 465.7 | – |
| Broken-line punch (Scheme 2) | 332.1 | 28.6 |
| Constrained split-flow + broken-line punch | 249.8 | 46.4 |
The load reduction achieved by the broken-line punch alone is 28.6%, and the additional constrained split-flow reduces the load further by another 25% relative to the broken-line design. The combined improvement is a remarkable 46.4% reduction from the conventional process. This significant decrease in forming load directly translates to lower die stresses, reduced wear, and extended tool life. The load-stroke curve for the constrained split-flow process also exhibited a more gradual increase in the final stage, without the sharp spike characteristic of closed-die forging. This behavior is due to the continuous escape of material into the split-flow cavity, maintaining a more constant pressure.
The metal flow behavior in the constrained split-flow process can be understood through the effective strain distribution. At the intermediate stage (e.g., 70% stroke), the material near the split-flow cavity shows a slightly higher strain than in other regions, indicating active material transfer. However, the tooth cavities are still filled first, ensuring that the final gear geometry is fully achieved. The final effective strain contours for the constrained split-flow process show a nearly uniform strain across the gear cross-section, with values ranging from 0.2 to 2.0, which is favorable for mechanical properties.
To quantitatively assess the filling quality, I defined a dimensionless filling ratio for each tooth cavity as the ratio of the filled volume to the theoretical cavity volume. Table 5 provides these ratios for the three processes at the final stage (100% stroke).
| Process variant | Filling ratio (%) | Note |
|---|---|---|
| Conventional closed-die forging | 96.8 | Incomplete corner filling |
| Broken-line punch (Scheme 2) | 99.5 | Slight underfill at lower corner only |
| Constrained split-flow + broken-line punch | 100.0 | Complete filling |
Only the constrained split-flow combined with the broken-line punch achieved 100% filling, confirming that this combination is optimal for large-modulus straight spur gears. The slight underfill in the broken-line-only process was eliminated by the additional material supply from the split-flow cavity, which also reduced the required load.
I also derived an analytical expression for the forging load in the constrained split-flow process based on the upper-bound method. For a straight spur gear warm forging with a split-flow hole of radius r₀, the total load F can be approximated as:
$$ F = \sigma_f \left[ \frac{2\pi R_f H}{\sqrt{3}} \ln\left(\frac{R_f}{r_0}\right) + \pi R_f^2 + \frac{4\pi R_f^2 H}{3\sqrt{3}L} \right] $$
where σ_f is the flow stress of 20CrMnTi at 800°C, R_f is the equivalent radius of the gear (approximated as the dedendum circle radius), H is the billet height after upsetting, and L is the radial length of the tooth profile. This formula, though simplified, helps in predicting the load for process design. Validation against FE results showed an error of less than 10% for the constrained split-flow case.
Table 6 summarizes the key process parameters and simulation settings used throughout this study.
| Parameter | Value |
|---|---|
| Billet material | 20CrMnTi |
| Initial billet temperature | 800 °C |
| Die temperature | 200 °C |
| Friction coefficient (shear) | 0.3 |
| Billet initial diameter | 45 mm |
| Billet initial height | 38 mm |
| Punch speed | 10 mm/s |
| Flow stress model (at 800°C, 0.1 s⁻¹) | σ = 120·ε0.12 MPa |
| Mesh type (billet) | Tetrahedral, 40,000 elements |
| Number of simulation steps | 150 |
The effectiveness of the constrained split-flow design also depends on the size of the split-flow cavity. I performed a parametric study by varying the cavity radius r₀ from 2 mm to 6 mm. The results are presented in Table 7. It was found that a cavity radius of 4 mm provided the best balance between load reduction and filling quality. Smaller cavities (2 mm) did not allow enough material escape, while larger cavities (6 mm) caused slight underfill at the gear root due to excessive material loss.
| Cavity radius r₀ (mm) | Peak load (kN) | Filling ratio (%) |
|---|---|---|
| 2 | 287.5 | 99.3 |
| 3 | 263.1 | 99.8 |
| 4 | 249.8 | 100.0 |
| 5 | 242.3 | 99.6 |
| 6 | 238.0 | 98.9 |
Based on these findings, the optimal warm forging process for large-modulus straight spur gears consists of:
- Using a broken-line (full sloped) punch end face on both the upper and lower tools.
- Incorporating a constrained split-flow cavity of radius 4 mm at the center of the lower punch.
- Maintaining a billet temperature of 800°C and a friction coefficient of 0.3.
- Applying a punch speed of 10 mm/s to ensure quasi-static conditions.
This optimized process achieves complete tooth filling, a peak load of only 249.8 kN, and a uniform strain distribution. The reduction in load by nearly half compared to conventional closed-die forging significantly enhances die life and reduces manufacturing costs. Furthermore, the warm forging preform produced by this method has a consistent microstructure, which benefits the subsequent cold sizing operation. The cold sizing step can then be performed with minimal deformation, preserving the dimensional accuracy and surface finish of the final straight spur gear.
In conclusion, through systematic finite element simulations and process optimization, I have established a reliable warm forging procedure for large-modulus straight spur gears. The combination of broken-line punch geometry and constrained split-flow is a powerful technique to overcome the inherent difficulties of forging deep tooth profiles. The methodology presented here can be extended to other gear sizes and materials, providing a practical foundation for the industrial production of precision straight spur gears via warm forging followed by cold sizing. The tables and formulas included in this paper serve as a comprehensive guide for process engineers aiming to implement this technology.