
Keywords: straight bevel gears; tooth modification; SolidWorks; C#; parametric design; CAD system
In this research, I developed a dedicated computer-aided design system for the modeling, assembly, and tooth modification of straight bevel gears. The system is built on SolidWorks 2010 and uses C# in the Visual Studio 2008 environment. Because straight bevel gears are widely used in automotive differentials, mining equipment, and other industrial transmissions, their performance strongly affects vibration, noise, and service life. Standard straight bevel gears often suffer from mesh impact, non-uniform load distribution, and noise caused by manufacturing errors, assembly errors, and tooth deformation under load. Tooth modification is an effective way to improve gear meshing quality without greatly increasing manufacturing cost. My work integrates the modification theory developed in my research group with a parametric design platform, allowing users to generate accurate three-dimensional models of straight bevel gears, assemble them automatically, and perform tooth modification interactively.
1. Introduction and Motivation
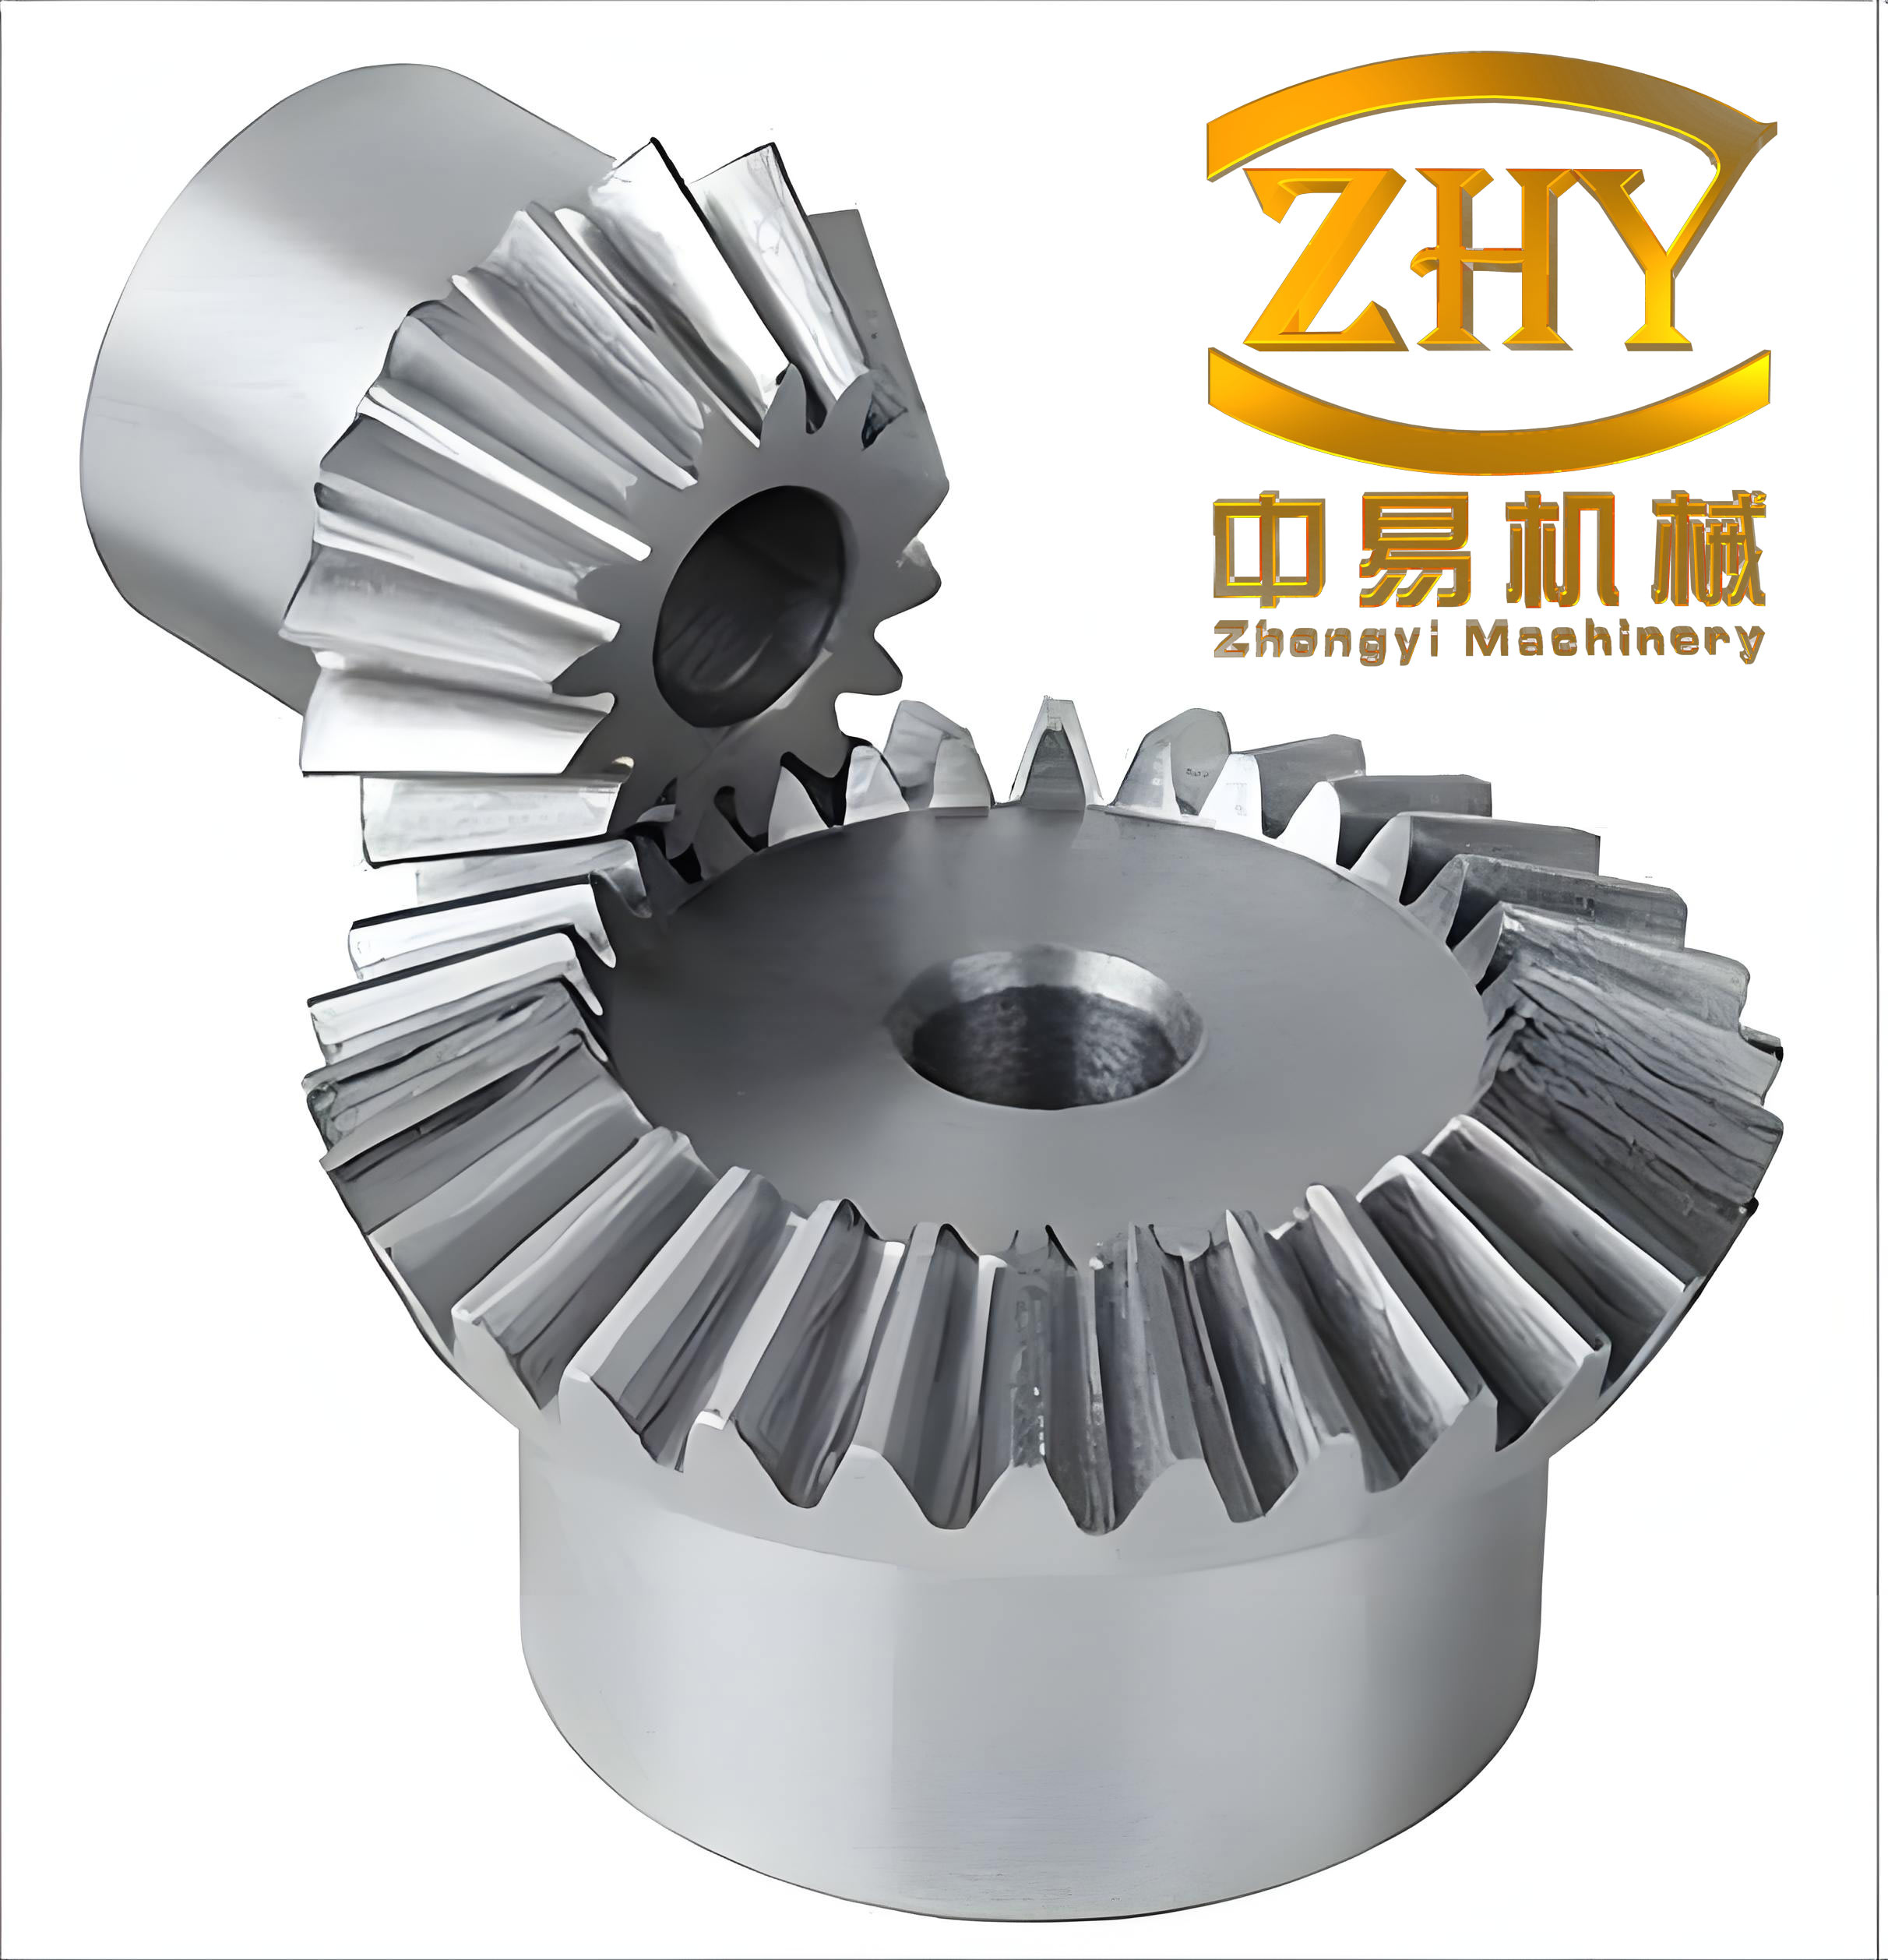
Straight bevel gears transmit power between intersecting shafts. They are usually used in low-speed and heavy-load applications. The tooth flank of an ideal straight bevel gear is a spherical involute surface. However, because of the complex topology and the difficulty of modeling spherical involute surfaces, many existing CAD systems approximate the tooth profile by the back-cone plane involute or by curve fitting. These approximations introduce geometric errors that affect subsequent finite element analysis, CAM, and tooth modification studies.
Many domestic and international scholars have studied tooth modification for cylindrical gears. Tooth profile modification, lead modification, and combined modification are common methods. For straight bevel gears, however, modification theory is still not mature. In previous work, my research group proposed an isometric modification method for straight bevel gears. In this method, the original spherical involute flank is replaced by a new flank offset by a constant amount along the normal direction. The new flank is still a spherical involute surface. The effectiveness of this method was verified through dynamic finite element analysis using ANSYS/LS-DYNA, and the optimal modification parameters were obtained through orthogonal experiments. To make this theory easier to apply, I developed a CAD system that reduces the repetitive work of manual modeling and modification.
The main objectives of the system are:
- To enable fast and accurate parametric modeling of straight bevel gears;
- To automatically assemble a planet gear and a side gear into a gear pair;
- To assist users in performing tooth modification, including isometric lengthwise modification and profile modification;
- To store gear parameters in a database and provide CAM/CAE interfaces for subsequent analysis.
Manual modeling of straight bevel gears is time-consuming because the tooth flank is a spherical involute surface and requires many curved-surface operations. The parametric system I developed generates the spherical involute using the equation-driven curve function in SolidWorks, which ensures high accuracy. The user only needs to input basic parameters and carry out a few simple interactive selections. The system then builds the gear automatically. This greatly improves the efficiency of tooth modification research and provides accurate gear models for finite element analysis, mold design, and CAM.
2. Development Platform and Methods
2.1 Secondary Development of CAD Software
Secondary development means customizing a general-purpose CAD/CAM system for a specific application domain. The process uses application programming interfaces provided by the software. There are two main approaches: embedded mechanisms and external mechanisms. My system uses an external mechanism based on the COM/OLE architecture of SolidWorks. The external environment is Visual Studio 2008, and the programming language is C#. The SolidWorks API exposes a hierarchical object model, and the developer can call API functions to create sketches, features, assemblies, and simulation data.
2.2 Platform Components
| Component | Selection | Role in the System |
|---|---|---|
| Supporting CAD software | SolidWorks 2010 | Provides modeling, assembly, API functions, and macro recording |
| Programming language | C# | Object-oriented development, direct COM integration with SolidWorks |
| Integrated development environment | Visual Studio 2008 | Provides the SwCsharpAddin template and DLL generation |
| Operating system | Windows 7 | Runtime environment |
| CAE software | ANSYS | Finite element analysis of straight bevel gears |
| CAM software | Cimatron | Computer-aided manufacturing |
2.3 Development Approach
There are two common methods for parametric modeling in SolidWorks. The first is dimension-driven modeling. In this method, the topology remains unchanged and only numeric dimensions are updated. This method is suitable for standard parts and parts with simple shapes. The second method is program-driven modeling, also called full programming. In this method, the entire modeling process is controlled by program code. Since straight bevel gears have complex and variable tooth geometry, I adopted the program-driven method.
The development workflow is:
- Create or record a modeling operation in SolidWorks using the macro recorder;
- Convert the recorded code into C# form;
- Modify the code by replacing constants with variables;
- Call SolidWorks API functions to perform the modeling operations;
- Compile the code as an add-in DLL and integrate it into the SolidWorks menu.
I used the macro recording function of SolidWorks 2010 to obtain initial API code. The recorded code was then edited in Visual Studio. This approach reduces development time and helps identify the correct API function names. For features that cannot be automatically selected by the program, I used human-computer interaction. The program displays a prompt and the user selects a point, edge, or face with the mouse. The selected coordinate is then used in the subsequent operation. An example of the interactive code is:
MessageBox.Show("Please select a point on the gear flank");
Array selectedPoint = (Array)selectionMgr.GetSelectionPoint2(1, -1);
double px = Convert.ToDouble(selectedPoint.GetValue(0));
double py = Convert.ToDouble(selectedPoint.GetValue(1));
double pz = Convert.ToDouble(selectedPoint.GetValue(2));
3. Overall Design of the System
3.1 Requirements Analysis
The system must satisfy several functional requirements. First, it must model straight bevel gears accurately from basic parameters. Second, it must automatically assemble a gear pair. Third, it must help users perform tooth modification. Fourth, it should store model parameters and offer interfaces to CAM and CAE software. The system is divided into three basic modules and two auxiliary modules.
| Module | Main Function |
|---|---|
| Modeling module | Generates planet gears and side gears of straight bevel gear pairs |
| Assembly module | Automatically assembles the gear pair with constraints |
| Modification module | Performs isometric lengthwise modification and profile modification |
| Storage module | Saves basic parameters, indirect parameters, and shape parameters |
| CAM/CAE interface | Launches Cimatron and ANSYS for further processing |
3.2 Logical Structure
The logical structure of the system follows a clear workflow. First, the user inputs basic gear parameters in the modeling module. The system calculates indirect geometrical parameters and the user inputs shape parameters. After a small amount of interactive selection, the gear model is created. Then the assembly module reads the planet gear and side gear files and automatically adds mating relationships. The assembled gear pair can be imported into ANSYS through the CAE interface. After finite element analysis, the user obtains the modification amount. The modification module then uses this amount to modify the tooth flank. After modification, the gear pair can be assembled again and analyzed again to verify the improvement.
4. Detailed Design of the Modules
4.1 Menu and User Interface
The final system is compiled as a DLL add-in and loaded by SolidWorks. After loading, a new menu named “Tooth-Modification System of Straight Bevel Gears” appears in the SolidWorks main menu. The menu contains three items: modeling module, assembly module, and modification module. The user can also start the system from a custom start interface. The start interface has two buttons: one for the system introduction and one for entering the system. The system introduction displays demonstration videos for the modeling, assembly, and modification operations.
4.2 Modeling Module
4.2.1 User Interfaces
The modeling module has three main dialogs. The first dialog is the basic parameter input dialog. The user inputs the tooth number, module, pressure angle, shaft angle, tooth width, addendum coefficient, clearance coefficient, high shift coefficient, and tangential shift coefficient. The user can also choose between equal-clearance contraction teeth and non-equal-clearance contraction teeth. The second dialog is the indirect parameter and shape parameter dialog. The indirect parameters are calculated automatically by the system. These parameters include the pitch diameter, cone distance, addendum circle diameter, dedendum circle diameter, pitch angle, tip angle, and root angle. The shape parameters include the bore diameter, the sphere radius of the planet gear, and the boss height of the side gear. The third dialog is the human-computer interaction dialog. It guides the user through operations that require manual selection of points or edges.
4.2.2 Calculation of Gear Geometry
The calculation of straight bevel gear geometry follows the standard formulas for standard and high-shift straight bevel gears. The main formulas are summarized below.
| Item | Symbol | Formula |
|---|---|---|
| Pitch circle diameter | \(d\) | \(d = mz\) |
| Pitch angle of pinion | \(\delta_1\) | \(\tan\delta_1 = \dfrac{\sin\Sigma}{u + \cos\Sigma}\) |
| Pitch angle of gear | \(\delta_2\) | \(\delta_2 = 90^\circ – \delta_1\) |
| Cone distance | \(R\) | \(R = \dfrac{d_2}{2 \sin\delta_2}\) |
| Addendum | \(h_a\) | \(h_a = (h_a^* \pm X) m\) |
| Dedendum | \(h_f\) | \(h_f = (h_a^* + c^* \mp X) m\) |
| Tip circle diameter | \(d_a\) | \(d_a = d + 2 h_a \cos\delta\) |
| Crown distance | \(A_a\) | \(A_a = R\cos\delta – h_a\sin\delta\) |
| Root angle | \(\theta_f\) | \(\theta_f = \arctan(h_f/R)\) |
| Addendum angle, non-equal clearance | \(\theta_a\) | \(\theta_a = \arctan(h_a/R)\) |
| Addendum angle, equal clearance | \(\theta_a\) | \(\theta_{a1} = \theta_{f2},\quad \theta_{a2} = \theta_{f1}\) |
| Tip angle | \(\delta_a\) | \(\delta_a = \delta + \theta_a\) |
| Root angle | \(\delta_f\) | \(\delta_f = \delta – \theta_f\) |
| Circular tooth thickness | \(s\) | \(s = m\left(\dfrac{\pi}{2} + 2X\tan\alpha + X_t\right)\) |
| Chordal tooth thickness | \(\bar{s}\) | \(\bar{s} = s – \dfrac{s^3}{6d^2}\) |
| Chordal addendum | \(\bar{h}_a\) | \(\bar{h}_a = h_a + \dfrac{s^2}{4d}\cos\delta\) |
4.2.3 Generation of the Spherical Involute
The most important part of the modeling module is the accurate generation of the spherical involute tooth profile. In traditional methods, the spherical involute is approximated by a plane involute on the back cone. This approximation causes geometric errors. I used the built-in “equation-driven curve” function in SolidWorks to generate the spherical involute directly from its parametric equations.
The spherical involute can be expressed in the general parametric form:
$$
\begin{aligned}
x &= l\left(\sin\phi\cos\theta\cos t + \sin t\sin\theta\right), \\
y &= l\left(\sin\phi\cos\theta\sin t – \cos t\sin\theta\right), \\
z &= l\cos\phi\cos\theta,
\end{aligned}
$$
where \(\theta\) is the base cone angle, \(l\) is the radius of the sphere, and \(t\) is the rolling parameter. The parameter \(\phi\) is related to \(t\) by:
$$
\sin\phi = t\sin\theta.
$$
In the SolidWorks macro, I create three string variables representing \(x(t)\), \(y(t)\), and \(z(t)\). The code then calls CreateEquationSpline2 to create the 3D spline curve. The essential code is:
string Xd = l + "*(" + sinphi + "*cos(t)*cos(" + sinphi + "*t) + sin(t)*sin(" + sinphi + "*t))";
string Yd = l + "*(" + sinphi + "*cos(t)*sin(" + sinphi + "*t) - cos(t)*sin(" + sinphi + "*t))";
string Zd = l + "*cos(" + sinphi + ")*cos(" + sinphi + "*t)";
SketchSpline spline = swDoc.SketchManager.CreateEquationSpline2(Xd, Yd, Zd, "0", "pi/3", false, 0, 0, 0, true, true);
After the spherical involute curve is created, I connect its two endpoints to the origin to form a closed interval. A surface loft is then created to generate the spherical involute tooth flank. To obtain the symmetrical tooth flank, I define the symmetry plane according to the gear geometry and mirror the first flank. Then I use the straight-surface function and surface stitching to form one complete tooth. The single tooth is arrayed around the gear axis, and finally the gear blank is generated by rotating a two-dimensional sketch profile.
4.2.4 Gear Blank and Shape Parameters
The gear blank is controlled by shape parameters. Figure 4.13 and Figure 4.14 in the original thesis show the cross-section profiles of the side gear and planet gear. The key points \(A, B, C, D, E, F, G, H, I, J, K\) are expressed as functions of the basic parameters and shape parameters. For example, point \(A\) and point \(B\) have different coordinates for equal-clearance and non-equal-clearance gears. The program uses conditional statements to select the appropriate coordinates. After the points are connected to form a closed polygon, the polygon is rotated around the gear axis to create the gear blank. A bore is then cut in the center. Finally, fillets and chamfers are added.
4.3 Assembly Module
The assembly module automatically assembles a planet gear and a side gear. In SolidWorks, assembly constraints are transformed into relationships between reference planes, reference axes, and the coordinate origin. I added reference geometry to the gear models during the modeling stage. Each gear contains a central axis, a tooth-center plane, and a tooth-space center plane. The gear pair is assembled using the following constraints:
| Constraint Description | Mating Type |
|---|---|
| The central axes of the two gears coincide with two perpendicular lines in the assembly space | Coincident |
| The cone apices of both gears coincide with the assembly origin | Coincident |
| The tooth-center plane of the planet gear coincides with the assembly reference plane | Coincident |
| The tooth-space center plane of the side gear coincides with the assembly reference plane | Coincident |
| Rotational motion is related by the gear ratio | Gear mate |
The assembly process is implemented with the following API functions:
iSwApp.OpenDoc6()opens the selected gear files;iSwApp.NewDocument()creates a new assembly document;swAssembly.AddComponent()inserts the components into the assembly;swAssembly.AddMate3()adds coincident and gear mate relationships;swDoc.EditSuppress2()temporarily suppresses a constraint to avoid interference when adding the gear mate.
The user interface of the assembly module has two text boxes for the file paths of the planet gear and the side gear. The user can either browse for the files or type the paths directly. When the user clicks the “Assemble” button, the program opens both gears, creates an assembly file, and applies the constraints automatically. The assembly module also has an “ANSYS Analysis” button that starts ANSYS and allows the user to import the assembled gear pair for finite element analysis.
4.4 Modification Module
4.4.1 Modification Module User Interface
The modification module has a main selection dialog and several parameter dialogs. The main selection dialog allows the user to choose the gear to be modified and the modification type. The modification types include isometric lengthwise modification and profile modification. The profile modification dialog allows the user to choose a straight-line profile modification or an arc profile modification. The isometric modification dialog allows the user to enter the modification amount and the modification region. The system also provides default modification parameters based on the optimum values obtained from orthogonal experiments.
4.4.2 Isometric Lengthwise Modification
Isometric modification is a lengthwise modification method proposed by my research group. In this method, the original spherical involute flank is shifted along its normal direction by a constant amount. The new flank is equidistant from the original flank. This improves the contact pattern and reduces the edge load caused by assembly errors and deformation.
Mathematically, if the original tooth flank is represented by:
$$
\mathbf{r}(u,v),
$$
and the unit normal vector is \(\mathbf{n}(u,v)\), then the modified flank is:
$$
\mathbf{r}_{\text{new}}(u,v)=\mathbf{r}(u,v)+\epsilon\,\mathbf{n}(u,v),
$$
where \(\epsilon\) is the modification amount. For the straight bevel gear generated in this system, the new flank remains a spherical involute surface because the offset is in the normal direction.
To implement this in the parametric model, I construct a quadrilateral \(abcd\) on the tooth-center plane. Each side of \(abcd\) is parallel to the corresponding side of the tooth cross-section \(ABCD\). The distances between the sides are the modification-region shape parameters. Let the equation of line \(AB\) be:
$$
A_1 x + B_1 y + C_1 = 0.
$$
After a perpendicular offset \(e_1\), the line equation becomes:
$$
A_1 x + B_1 y + C_1 + e_1\sqrt{A_1^2+B_1^2}=0.
$$
Similarly, the equation of line \(AD\) after an offset \(e_3\) is:
$$
A_3 x + B_3 y + C_3 + e_3\sqrt{A_3^2+B_3^2}=0.
$$
Solving these two linear equations gives the coordinates of point \(a\). The same method is used for points \(b\), \(c\), and \(d\). These coordinates are then used to create a sketch of quadrilateral \(abcd\). A boss-extrude feature is created with an end condition “up to surface” at a distance equal to the modification amount. The extrusion surface is the original spherical involute flank. Finally, the boss is mirrored and patterned to produce the modified tooth flanks on all teeth.
4.4.3 Profile Modification
Profile modification is used to reduce mesh impact and dynamic load. In the system, the user can choose straight-line profile modification or arc profile modification. The profile modification parameters include the modification amount at the small end, the modification amount at the large end, and the modification height. A typical profile modification curve can be expressed as:
$$
s(\xi)=s_{\max}\left(\frac{\xi}{L}\right)^n,
$$
where \(s_{\max}\) is the maximum modification amount, \(L\) is the modification height, \(\xi\) is the distance from the modification starting point, and \(n\) determines the curve shape. For straight-line modification, \(n=1\). For a parabolic curve, \(n=2\).
The profile modification process is more interactive than the isometric modification process. The user first selects the gear and the modification curve type. Then the system guides the user through several steps. The user draws line \(AB\) at the small end and line \(CD\) at the large end according to the displayed prompts. The system then performs a lofted surface, extends the surface, cuts the tooth flank, and mirrors the modification to all teeth. Although this process requires manual input, it is much faster than manual modeling from scratch.
4.5 Data Storage and CAM/CAE Interfaces
The storage module saves all gear parameters into a database. The parameters are divided into basic parameters, indirect parameters, and shape parameters. The user can click the “Store Data” button in the indirect parameter dialog to save the current design. A separate parameter display window can show the stored parameters. The data are also saved as a data table, which can be queried by the user.
The CAM interface calls Cimatron from the modeling module. The user can import the generated straight bevel gear model into Cimatron for tool-path generation and machining simulation. The CAE interface calls ANSYS from the assembly module. The user can import the assembled gear pair into ANSYS for contact analysis and stress analysis. This workflow is very important because the modification amount is often determined by finite element analysis.
5. Application Example
5.1 Example Parameters
To verify the system, I used a straight bevel gear pair from a passenger-car differential. The basic parameters of the planet gear and side gear are listed below.
| Parameter | Symbol | Planet Gear | Side Gear |
|---|---|---|---|
| Number of teeth | \(z\) | 10 | 15 |
| Large-end module | \(m\) | 4.438 mm | 4.438 mm |
| Tooth width | \(b\) | 12 mm | 12 mm |
| Addendum coefficient | \(h_a^*\) | 0.9306 | 0.9306 |
| Clearance coefficient | \(c^*\) | 0.22056 | 0.22056 |
| Pressure angle | \(\alpha\) | 22.5° | 22.5° |
| Shaft angle | \(\Sigma\) | 90° | 90° |
| High shift coefficient | \(X\) | 0.1915 | -0.1915 |
| Tangential shift coefficient | \(X_t\) | 0 | 0 |
5.2 Calculated Geometrical Parameters
The system automatically calculates the indirect parameters. The results are summarized below.
| Item | Symbol | Planet Gear | Side Gear |
|---|---|---|---|
| Pitch circle diameter | \(d\) | 44.38 mm | 66.57 mm |
| Pitch angle | \(\delta\) | 33.69° | 56.31° |
| Cone distance | \(R\) | 40.00 mm | 40.00 mm |
| Large-end addendum | \(h_a\) | 4.98 mm | 3.28 mm |
| Large-end dedendum | \(h_f\) | 4.19 mm | 5.89 mm |
| Large-end full tooth height | \(h\) | 9.17 mm | 9.17 mm |
| Tip circle diameter | \(d_a\) | 50.12 mm | 75.19 mm |
| Crown distance | \(A_a\) | 30.52 mm | 19.46 mm |
| Root angle | \(\theta_f\) | 9.69° | 12.31° |
| Tip angle | \(\theta_a\) | 12.31° | 9.69° |
| Tip angle of gear | \(\delta_a\) | 46° | 66° |
| Root angle of gear | \(\delta_f\) | 24° | 44° |
| Circular tooth thickness | \(s\) | 7.6753 mm | 6.8067 mm |
| Chordal tooth thickness | \(\bar{s}\) | 7.6371 mm | 6.7948 mm |
| Chordal addendum | \(\bar{h}_a\) | 5.2560 mm | 3.3765 mm |
5.3 Modeling Results
I entered the basic parameters into the modeling dialog. The system then displayed the calculated indirect parameters. I entered the shape parameters, including the bore diameter, the boss height, and the sphere radius. After clicking the “Generate Planet Gear” button, the system generated the spherical involute surface and prompted me to select a point on the surface. I followed the instructions and clicked the first step. The system completed the surface trimming operation and asked me to select another point. After the second selection, the mirrored surface was created. Finally, I clicked the “Generate Tooth” button and the system generated the complete planet gear model. The same procedure was used to generate the side gear.
I compared the automatically generated gear models with the manually constructed models used in previous research. All measured dimensions were identical. This confirmed that the equation-driven spherical involute curve and the parametric modeling procedure are accurate and reliable.
5.4 Assembly Result
I started the assembly module and selected the planet gear and side gear files. After clicking the “Assemble” button, the system opened both gears, created a new assembly environment, and applied the four coincident constraints and one gear mate automatically. The assembly was completed within a few seconds. The assembled gear pair could rotate with the correct motion relationship. The assembly module therefore eliminates the tedious work of manually adding constraints in SolidWorks.
5.5 Modification Example
5.5.1 Isometric Modification
For the isometric modification example, I chose the planet gear. The modification amount was set to 25 \(\mu m\), which was the optimal value obtained from previous finite element analysis and orthogonal experiments. The modification-region parameters were selected from the default values. After clicking the “Select Gear Tooth” button, the system rotated the model to a convenient viewing position and prompted me to select a point on the tooth flank. I selected a point on the flank and clicked “OK”. The system then created the offset quadrilateral, performed the boss extrusion, and automatically mirrored and patterned the modified flank to all teeth of the planet gear. The modification was completed quickly and uniformly.
5.5.2 Profile Modification
For the profile modification example, I selected the straight-line modification mode. The system opened the profile modification parameter dialog. I entered the modification amount and modification height according to the previous modification research. Then the system guided me through three interactive steps. In the first step, I drew line \(AB\) at the small end of the tooth. In the second step, I drew line \(CD\) at the large end. In the third step, the system performed the lofted surface and surface extension. After I clicked the “Complete Modification” button, the system cut the tooth flank and mirrored the result to all teeth. The final modified planet gear was successfully generated.
5.6 Verification by Finite Element Analysis
The modified straight bevel gear pair was assembled again using the assembly module. Through the CAE interface, I opened ANSYS and imported the assembly model. The gear pair was meshed and the finite element model was created. The analysis showed that the isometric modification reduced the maximum contact stress and improved the load distribution along the tooth width. This result confirmed both the modification theory and the effectiveness of the CAD system. The workflow from modeling to assembly to modification to finite element analysis is now much faster than the previous manual process.
6. Conclusion and Future Work
In this research, I developed a tooth-modification design system for straight bevel gears based on SolidWorks, C#, and Visual Studio 2008. The main conclusions are summarized as follows.
First, the modeling module can generate accurate straight bevel gears quickly. The spherical involute tooth profile is generated by the equation-driven curve function in SolidWorks, which avoids the approximation error of the back-cone method. The user only needs to input basic parameters and complete a few interactive selections. The system then creates the gear automatically. This greatly improves the modeling efficiency of straight bevel gears.
Second, the assembly module automatically assembles the planet gear and the side gear. The system applies the correct constraints and gear mate, so the assembled gear pair can be used directly for motion simulation, interference checking, and finite element analysis. The CAE interface provides a convenient connection to ANSYS.
Third, the modification module supports isometric lengthwise modification and profile modification. The isometric modification is based on the modification theory proposed by my research group. The system quickly generates the offset flank and automatically patterns it. The profile modification module guides the user through the necessary steps and reduces repetitive manual work.
Fourth, the storage module saves the basic parameters, indirect parameters, and shape parameters into a database. The CAM/CAE interfaces allow the system to connect with Cimatron and ANSYS, which is important for integrated design, manufacturing, and analysis.
The system has some limitations. The profile modification module still requires substantial human interaction. The isometric modification module is more automated, but it only supports a constant normal offset. Future work should include more modification curve types, such as arc curves and rotational involute curves, and should increase the automation level of the profile modification process. Another important direction is to embed the finite element analysis workflow directly into the system so that the modification amount can be obtained automatically. A more complete database and a more powerful optimization module would also make the system more useful for the design and manufacture of straight bevel gears.
Overall, the system provides a practical platform for the design, modification, and analysis of straight bevel gears. It reduces repetitive work, improves modeling accuracy, and strengthens the connection between tooth modification theory and engineering application.