
The pursuit of high-strength, net-shape metallic components with complex geometries has long been a central challenge in advanced manufacturing. Among these components, the spur gear stands out due to its ubiquitous application in power transmission systems across automotive, aerospace, and industrial machinery. Traditional manufacturing methods like machining are often associated with material waste and potential fiber line cut-off, which can compromise fatigue life. Precision forging, particularly cold forging, offers a superior alternative by producing parts with enhanced mechanical properties and near-net shape. However, the precision forging of a spur gear presents significant technical hurdles, primarily due to the absence of draft angles, the difficulty in completely filling the sharp corners of the tooth profile, the exceptionally high forming loads in the final stage, and the consequent reduced die life. These challenges have historically limited the widespread application of spur gear precision forging.
To circumvent the limitations of cold forging, notably the high deformation resistance of metals, warm forging has emerged as a highly promising process. Conducted at elevated temperatures below the recrystallization point (typically between 0.3 to 0.5 of the absolute melting temperature), warm forging for a spur gear effectively reduces flow stress, improves material ductility, and enhances die fillability while maintaining tighter tolerances and better surface finish compared to hot forging. This makes it an ideal candidate for achieving the precision required for spur gear teeth. The development of a viable warm forging process necessitates a deep understanding of metal flow, load requirements, and die design strategies to mitigate the aforementioned challenges.
In this context, numerical simulation has become an indispensable tool for metal forming analysis. It allows for the virtual exploration of different process parameters and die designs without the cost and time associated with extensive physical trials. Through finite element analysis (FEA), one can predict material flow, stress-strain distribution, forming loads, and potential defects, thereby optimizing the spur gear forging process before any metal is cut. This study leverages this powerful methodology to investigate and compare three distinct die design strategies for the warm precision forging of a spur gear. The objective is to systematically analyze their influence on filling behavior, forming load, and strain distribution to identify the optimal process that minimizes load and ensures complete die filling.
The fundamental mechanics of plastic deformation during forging are governed by principles of continuum mechanics and plasticity theory. The relationship between stress and strain is complex and path-dependent. A key measure used in analysis is the effective (or equivalent) strain, which represents the cumulative plastic deformation. For a given deformation path, it can be expressed as an integral of the strain rate tensor components. The flow stress of the material, $\bar{\sigma}$, which is the instantaneous resistance to deformation, is often modeled as a function of strain, strain rate, and temperature. A commonly used constitutive model is the Hensel-Spittel equation, which for many steels takes a form similar to:
$$\bar{\sigma} = A \cdot e^{m_1 T} \cdot \bar{\phi}^{m_2} \cdot \dot{\bar{\phi}}^{m_3} \cdot e^{m_4/\bar{\phi}} \cdot (1+\bar{\phi})^{m_5 T} \cdot e^{m_7 \bar{\phi}} \cdot \dot{\bar{\phi}}^{\,m_8 T} \cdot T^{\,m_9}$$
where $\bar{\phi}$ is the effective strain, $\dot{\bar{\phi}}$ is the effective strain rate, $T$ is the temperature, and $A, m_1…m_9$ are material-specific constants. The total plastic work, $W_p$, done during forging is given by the volume integral:
$$W_p = \int_V \left( \int_0^{\bar{\phi}_f} \bar{\sigma} \, d\bar{\phi} \right) dV$$
This work is directly related to the forming load. Friction at the die-workpiece interface, often modeled by the shear friction model $\tau = m_k \cdot k$, where $m_k$ is the friction factor and $k$ is the shear yield strength of the material, plays a critical role in metal flow and load requirements.
Process Design and Numerical Simulation Methodology
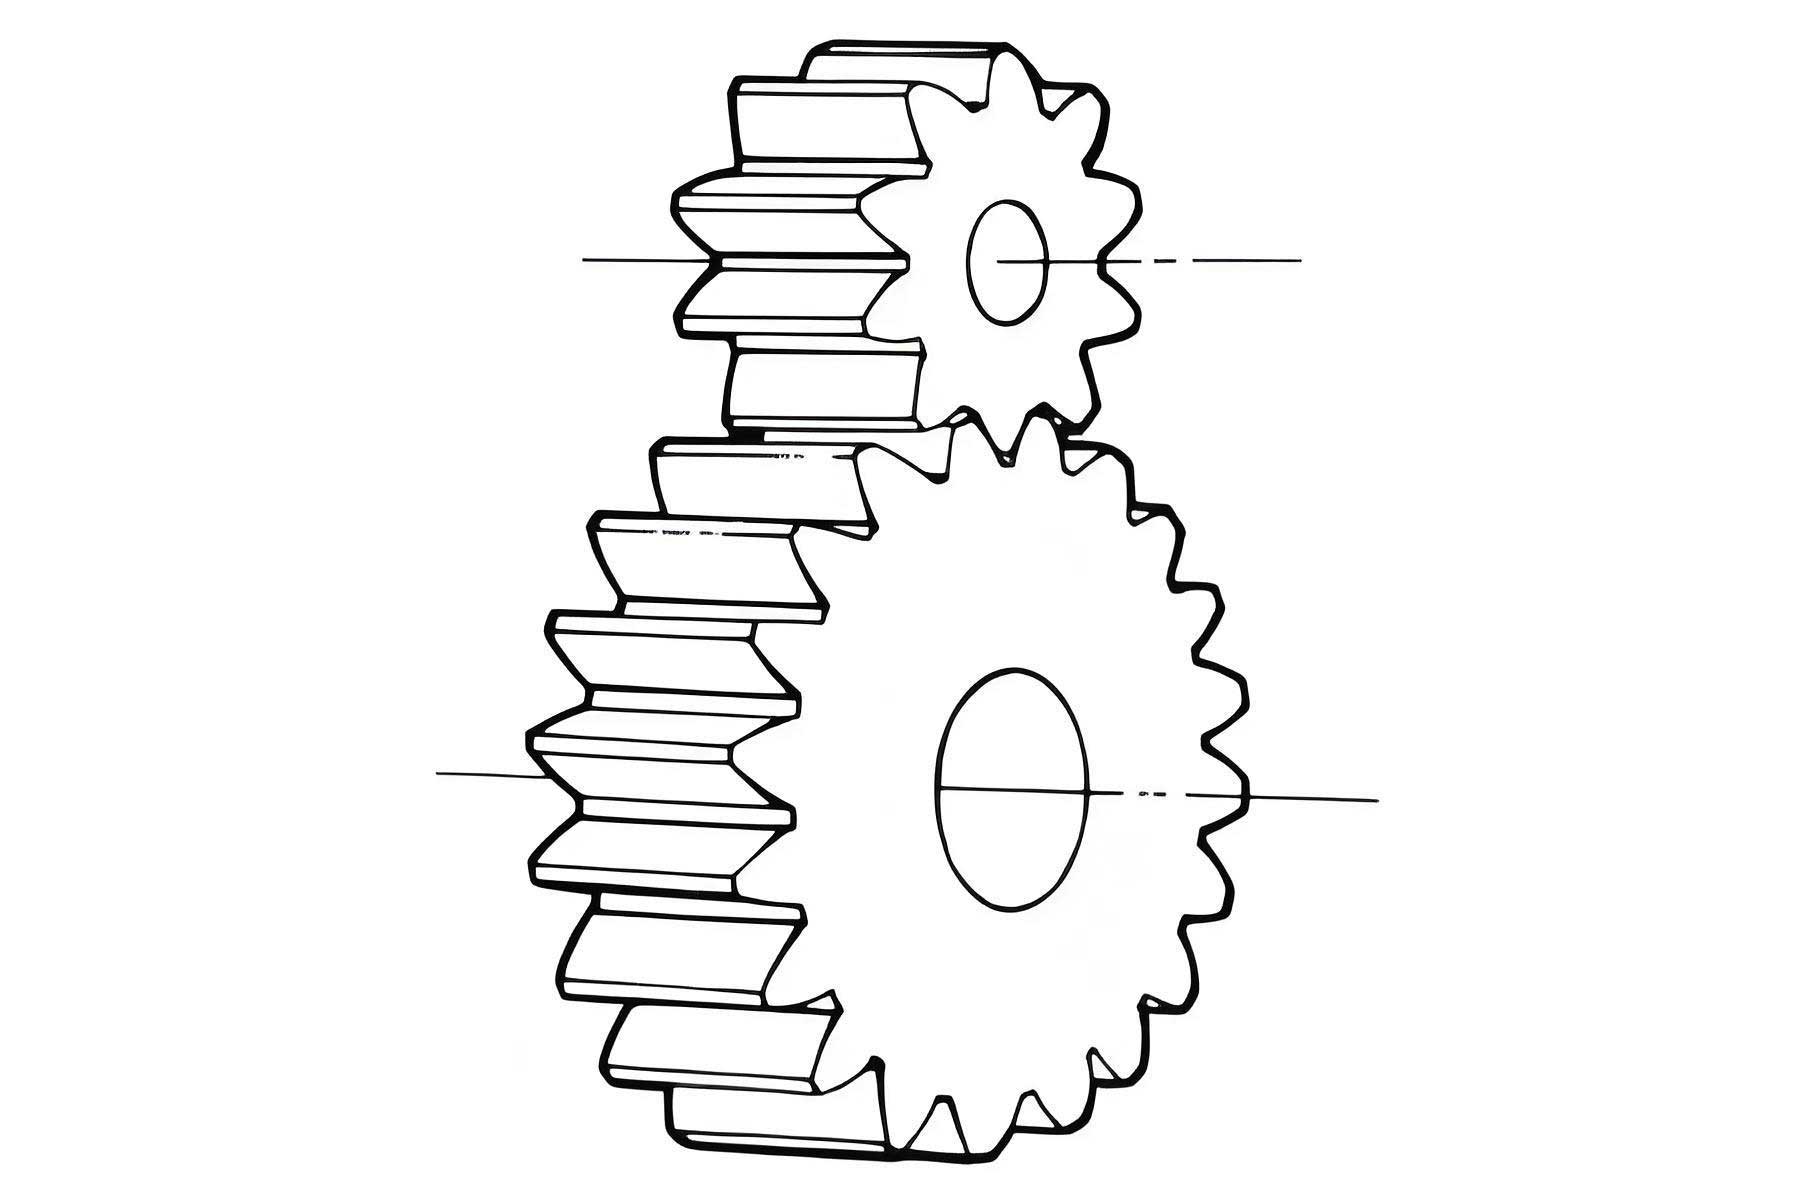
For this investigation, a standard spur gear with a module (m) of 3 mm, 18 teeth (z), a pressure angle ($\alpha$) of 20°, and a zero profile shift coefficient (x=0) was selected. Based on volume constancy and initial billet design principles, two billet geometries were considered: a solid cylindrical billet for one process and a ring-shaped billet for the others. The material chosen for the spur gear was AISI 1045 steel (equivalent to Chinese 45 steel), a common medium-carbon steel for forged components.
Three distinct die design schemes, illustrated conceptually below, were conceived to tackle the challenges of spur gear forging:
| Process Scheme | Key Principle | Billet Type | Metal Flow Characteristics |
|---|---|---|---|
| 1. Fixed-Die Upset-Piercing Mode | Combined upsetting and backward piercing/expansion within a stationary die cavity. | Solid Cylinder | Initial axial flow, followed by radial expansion into tooth spaces. Asymmetric punches can help balance flow. |
| 2. Fixed-Die with Constrained (Mandrel) Flow Division | Upsetting and extrusion of a ring billet against a central mandrel, confined by a fixed outer die. | Ring | Top-down filling due to friction at the fixed die wall hindering downward flow. Prone to flash formation in the final stage. |
| 3. Floating-Die with Constrained (Mandrel) Flow Division | Upsetting and extrusion of a ring billet against a central mandrel, with the outer die allowed to float axially. | Ring | Bottom-up filling due to “positive” friction from the moving die wall aiding downward metal flow. |
The core innovation in Scheme 3 is the “floating” or axially compliant die. In Schemes 1 and 2, the outer die containing the tooth profile is rigidly fixed. In Scheme 3, this die is mounted on springs or hydraulic cushions, allowing it to move downward with the upper punch initially. This transforms the friction force at the die-workpiece interface. In a fixed die, friction opposes the outward radial flow of metal into the teeth. In a floating die, as the die moves down with the workpiece, the relative motion is reduced, and the friction force can actually align to assist in pushing metal into the difficult-to-fill bottom corners of the tooth cavities. This “positive friction” effect is central to its potential advantages for spur gear forging.
A robust finite element model was established to simulate these three processes under warm forging conditions. Key simulation parameters are summarized below:
| Parameter | Setting / Value |
|---|---|
| Workpiece Material | AISI 1045 Steel |
| Workpiece Initial Temperature | 800 °C |
| Die Temperature | 250 °C |
| Friction Model | Shear Friction, coefficient mk = 0.1 |
| Thermal Analysis | Coupled thermal-mechanical analysis enabled |
| Die Properties | Modeled as rigid bodies |
| Symmetry | 1/18th model (one tooth space) used |
| Element Type | 4-node tetrahedral elements for the workpiece |
The simulation tracked the evolution of the workpiece geometry, the forming load on the main punch, and the distribution of field variables like effective strain ($\bar{\phi}$) and stress throughout the forging cycle of the spur gear.
Comparative Analysis of Simulation Results
1. Filling Behavior and Metal Flow
The simulations successfully predicted the final forged shape for all three modes. While all schemes achieved complete filling of the spur gear tooth profile, the sequence and mechanism of filling differed markedly.
- Scheme 1 (Fixed-Die Upset-Piercing): Metal flow began with axial compression. The differential heights of the upper and lower punch protrusions created a non-uniform stress state that promoted radial flow, particularly in the lower section. This helped synchronize the filling of the top and bottom tooth corners, leading to nearly simultaneous filling at both ends of the spur gear tooth.
- Scheme 2 (Fixed-Die Constrained Flow): The ring billet was first upset, causing a barrel shape. As deformation progressed, friction against the stationary outer die wall significantly impeded the downward flow of metal. Consequently, the top region of the tooth cavity filled first, followed by the bottom. In the final forging stage, the lack of free surfaces led to a sharp pressure increase, often forcing excess material to flow axially, potentially creating longitudinal flash.
- Scheme 3 (Floating-Die Constrained Flow): The floating die mechanism fundamentally altered the friction condition. The downward movement of the die relative to the fixed lower punch created a frictional force that actively pulled metal downward. This “positive friction” resulted in the bottom of the tooth cavity filling before the top, effectively reversing the flow pattern observed in Scheme 2 for the spur gear.
2. Forming Load Analysis
The load-stroke curves extracted from the simulations provide critical insight into the process efficiency. The curves for all three spur gear forging schemes exhibit three characteristic phases, but with drastically different final load levels.
Phase I (Initial Deformation): A low and gradually increasing load as plastic deformation initiates locally under the punch.
Phase II (Tooth Filling): A steady, moderately steep increase in load as the metal flows radially to fill the increasingly constrained tooth cavities of the spur gear.
Phase III (Corner Finishing/Flash Formation): An extremely sharp, near-vertical rise in load as the last free volumes in the sharp tooth corners are eliminated.
The key finding is the dramatic difference in the peak load during Phase III. While Schemes 1 and 2 showed very high and similar final loads (reflecting the extreme difficulty of forcing material into the final corners), Scheme 3 demonstrated a significantly lower peak load. Quantitative comparison indicated that the floating-die design (Scheme 3) reduced the maximum forming force required to complete the spur gear by approximately 71% compared to the fixed-die upset-piercing mode (Scheme 1). This reduction is directly attributable to the positive friction effect, which assists material flow into the critical corner regions instead of hindering it.
3. Effective Strain Distribution
The effective strain ($\bar{\phi}$) fields at the end of forging reveal the intensity and localization of plastic deformation within the spur gear.
$$ \bar{\phi} = \sqrt{\frac{2}{3} \mathbf{\epsilon}^{pl} : \mathbf{\epsilon}^{pl}} $$
where $\mathbf{\epsilon}^{pl}$ is the plastic strain tensor.
- In Scheme 1, the highest strain concentrations were localized around the piercing punch protrusions, with relatively lower strain in the main tooth body.
- In both Schemes 2 and 3, significant strain was observed in the region near the central mandrel and the root fillet area of the spur gear teeth.
A critical commonality across all schemes was the consistently high strain concentration in the root fillet radius of the spur gear teeth. This region undergoes severe and complex metal flow as material is squeezed into the adjoining tooth spaces. From a die life perspective, this fillet area is a prime candidate for wear and potential fatigue failure, necessitating careful design, material selection, and possibly local hardening treatments for the forging die.
| Aspect | Scheme 1: Fixed-Die Upset-Piercing | Scheme 2: Fixed-Die Constrained Flow | Scheme 3: Floating-Die Constrained Flow |
|---|---|---|---|
| Filling Sequence | Nearly simultaneous top & bottom | Top-down | Bottom-up |
| Key Flow Mechanism | Asymmetric punch-induced radial expansion | Friction-hindered flow in fixed die | Positive friction-assisted flow |
| Peak Forming Load | Very High | Very High | Significantly Lower (~71% reduction vs. Scheme 1) |
| Risk of Axial Flash | Moderate | High | Lower (controlled by die float) |
| Die Complexity | Moderate (requires precise punch alignment) | Moderate | Higher (requires floating mechanism control) |
| Strain Concentration | Punch protrusion areas | Tooth root fillet & mandrel region | Tooth root fillet & mandrel region |
Experimental Validation of the Optimal Process
To verify the practical feasibility of the most promising scheme identified by simulation—the Floating-Die with Constrained Flow Division (Scheme 3)—a physical warm forging experiment was conducted. A ring-shaped billet of AISI 1045 steel was machined to the specified dimensions. The billet was heated uniformly to 800°C using a medium-frequency induction heater. It was then transferred to a hydraulic press equipped with a tooling set that embodied the floating die principle. The dies were preheated to approximately 250°C, and a lubricant suitable for warm forging was applied.
The forging process proceeded smoothly, and a fully formed spur gear was successfully produced. The forged component exhibited clear, sharp tooth profiles with complete filling of both the top and bottom corners, visually confirming the simulation predictions. Most importantly, the forming force was measured during the experiment using a load cell integrated into the press. The recorded load-stroke curve was then compared directly with the curve predicted by the finite element simulation for the same spur gear geometry and process conditions.
The correlation between the experimental and simulated load data was remarkably good. Both curves captured the three-phase behavior, and the magnitude of the peak load in the experiment closely matched the simulated value. This close agreement validates the accuracy of the numerical model and its underlying assumptions regarding material behavior, friction, and thermal conditions. It provides strong evidence that the floating-die design is not only effective in simulation but also a viable and efficient method for the warm precision forging of spur gear components in a real-world setting.
Conclusion and Outlook
This integrated numerical and experimental study systematically evaluated three die design strategies for the warm precision forging of a spur gear. The results clearly demonstrate that the die configuration has a profound impact on process performance.
- Process Superiority of the Floating-Die Scheme: The Floating-Die with Constrained Flow Division (Scheme 3) was unequivocally identified as the optimal process. Its defining feature—the use of a compliant outer die to generate positive friction—dramatically reduces the final forging load (by approximately 71% compared to a conventional fixed-die upset method) while ensuring complete filling of the challenging tooth corners of the spur gear. This translates directly into lower press capacity requirements, reduced energy consumption, and potentially longer die life.
- Value of Numerical Simulation: Finite element simulation proved to be an exceptionally powerful tool for deconstructing and analyzing the complex metal flow, load evolution, and strain distribution in spur gear forging. It provided clear, visual, and quantitative comparisons between the schemes at a fraction of the cost and time of a purely experimental approach. The successful correlation with physical experiment underscores its reliability for process design and optimization.
- Critical Area for Die Durability: Regardless of the scheme, the simulations consistently highlighted the tooth root fillet region of the spur gear as a zone of intense plastic strain concentration. This insight is crucial for die designers, indicating where wear resistance and fatigue strength are most critical for the forging tooling.
The findings of this research offer a solid theoretical and practical foundation for advancing the warm forging technology for spur gears towards more widespread industrial adoption. Future work could focus on further optimizing the floating die mechanism (e.g., spring/damper characteristics), investigating the performance with different gear geometries (e.g., higher module, different pressure angles), and conducting detailed studies on die wear and thermal management to push the boundaries of productivity and component quality in spur gear manufacturing.