
The pursuit of advanced mechanical systems characterized by heavy loads, high speeds, and low noise has consistently driven the demand for higher precision in power transmission components. Among these, herringbone gears stand out due to their superior load-bearing capacity, smooth transmission, and inherent ability to cancel out axial thrust forces. These attributes make them indispensable in critical applications such as marine propulsion systems, heavy-duty industrial machinery, and high-performance gearboxes. The functional integrity of a herringbone gear assembly is critically dependent on the precise alignment of its left-hand and right-hand helical sections. The theoretical plane of symmetry between these two sections, known as the center plane, must be meticulously maintained during manufacturing. Any significant deviation from this symmetry, referred to as symmetry error, can lead to improper meshing, increased noise and vibration, uneven load distribution, accelerated wear, and ultimately, catastrophic failure in service. Traditionally, achieving acceptable symmetry in herringbone gears relied heavily on manual scribing techniques aided by fixtures. This process is not only labor-intensive and time-consuming but also inherently susceptible to human error, resulting in inconsistent and often inadequate precision, typically with symmetry errors hovering around 0.5 mm. This level of imprecision is no longer tolerable for modern high-performance applications where tolerances below 0.05 mm are frequently mandated. This article presents a detailed, first-person account of the development and implementation of a novel, automated machining strategy designed to overcome these historical limitations. The core of this methodology is an on-machine, multi-degree-of-freedom phase detection system coupled with intelligent CNC error compensation, enabling the consistent production of high-precision herringbone gears with symmetry errors controlled within 0.02 mm.
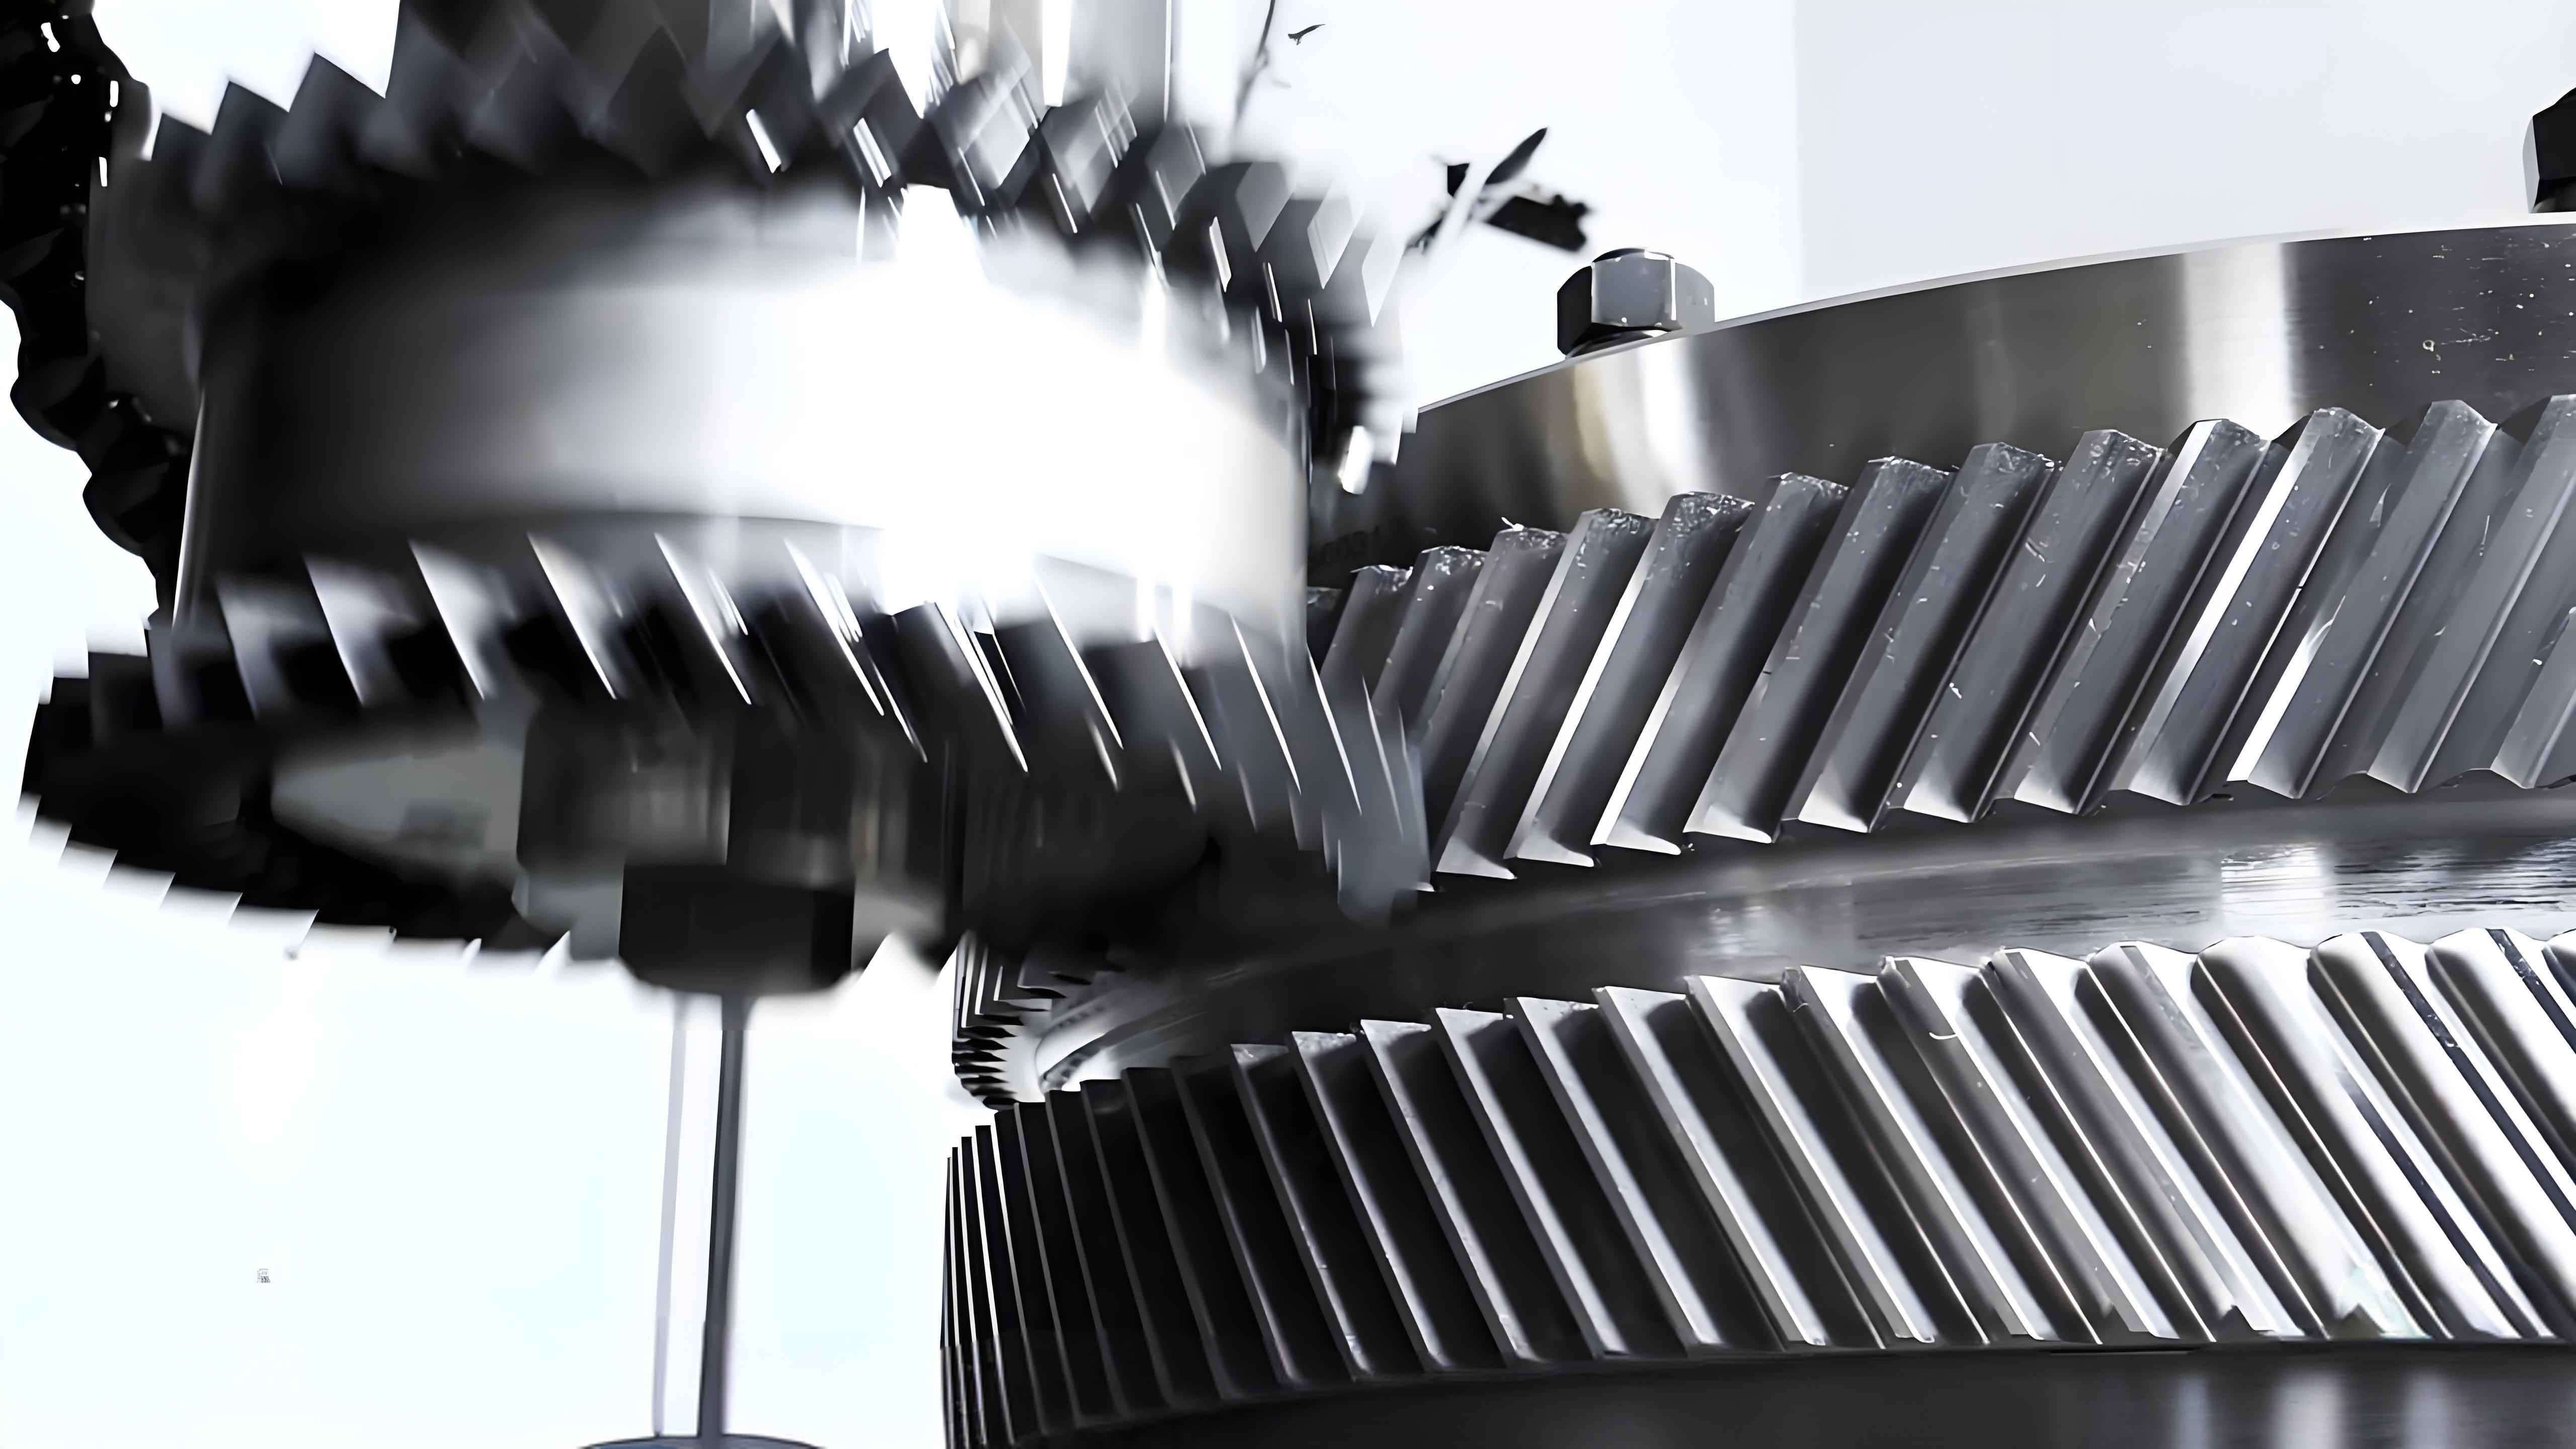
The fundamental challenge in machining a herringbone gear lies in ensuring that the tooth spaces (or the tooth centers) of the left-hand helix are perfectly aligned, or mirrored, with those of the right-hand helix across the gear’s designated center plane. Traditional gear shaping or hobbing processes, even on CNC machines, treat the two halves as largely independent operations. The setup for the second helix is based on manual alignment using scribed lines from the first operation, a process fraught with inaccuracies. Our proposed methodology inverts this paradigm by integrating measurement and compensation directly into the CNC machining cycle. The complete workflow, centered on symmetry error compensation, is systematic and repeatable. After the first helical section (e.g., the left-hand helix) is fully machined, the machining of the opposing helix is initiated but deliberately paused at a partial depth. At this stage, a custom-designed phase detection apparatus is deployed to automatically measure the angular position of a reference tooth space on both helical sections. The difference between these two measured angles constitutes the symmetry error. This measured error value is then fed back into the CNC system, which compensates for it by adjusting the rotational starting point (phase) for the final finishing cuts of the second helix. This closed-loop, compensate-then-finish approach ensures that the final gear tooth form is machined in the correct angular relationship to its counterpart, thereby achieving high symmetry.
The choice of gear shaping for implementing this method is strategic. Shaping is particularly advantageous for machining herringbone gears with small or no undercut (groove) between the helices, as well as for internal herringbone gears. The process involves a reciprocating cutting tool that generates the tooth profile. The modified process flow can be succinctly summarized in the following sequence, contrasting it with the traditional approach:
| Step | Traditional Method | Proposed Compensated Method |
|---|---|---|
| 1. Setup & Machining of 1st Helix | Machine left-hand helix to full depth. | Machine left-hand helix to full depth. |
| 2. Setup for 2nd Helix | Manual part reversal/realignment using scribed lines. High uncertainty. | Part is indexed; no manual realignment needed. |
| 3. Initial Machining of 2nd Helix | Machine right-hand helix to full depth based on manual setup. | Machine right-hand helix to a partial depth (e.g., 3-5 mm). |
| 4. Symmetry Measurement | None (post-process inspection only). | On-machine measurement of both helices’ tooth space phase. |
| 5. Error Calculation & Compensation | None. | CNC calculates angular error and updates workpiece rotation offset. |
| 6. Final Machining | N/A | Complete machining of right-hand helix using compensated offset. |
| 7. Resulting Symmetry | ~0.5 mm (highly variable). | ≤ 0.02 mm (consistent and reliable). |
Design and Operational Theory of the On-Machine Phase Detection System
The cornerstone of this high-precision methodology is the bespoke phase detection system. Its primary function is to autonomously and accurately find the angular centerline of a selected tooth space at a specified height on both the upper and lower helical sections of the herringbone gear. The system is designed for integration directly onto the gear shaping machine, operating under full CNC program control, thereby eliminating manual intervention.
The apparatus is fundamentally a multi-axis micro-positioning unit carrying a high-precision touch-trigger probe. It consists of two key components mounted orthogonally: a vertical electric slide and a horizontal electric slide. A Marposs T25 type touch-trigger probe is mounted on the horizontal slide. This configuration grants the probe two degrees of freedom: vertical movement to position the probe at the exact measurement height on the gear face, and horizontal movement to insert and retract the probe into the tooth space. The use of electric slides ensures precise, programmable, and repeatable positioning.
The operational principle is based on a simple yet effective kinematic reversal technique. The probe is brought into a tooth space. The gear workpiece, mounted on the CNC rotary axis (typically the C-axis), is then rotated slowly. The moment the flank of the tooth contacts the stylus of the probe, the probe generates a discrete trigger signal. This signal is captured by the CNC system, which immediately halts the rotation command. The exact angular position of the C-axis at this instant is recorded. This process is performed for both the left and right flanks of the same tooth space. The true centerline of the tooth space is the arithmetic mean of these two recorded angles. If $C_L$ is the recorded angle at the left flank contact and $C_R$ is the angle at the right flank contact, the centerline angle $C_{Center}$ is calculated as:
$$C_{Center} = \frac{C_L + C_R}{2}$$
To measure symmetry, this procedure is performed at two corresponding locations: once on the lower (e.g., left-hand) helix and once on the upper (e.g., right-hand) helix. The critical requirement is that these two measurement points must be symmetrically positioned about the gear’s physical center plane. This is ensured through precise vertical positioning. First, the total face width $W$ of the herringbone gear and the desired measurement height $h$ from the end face are determined. The vertical slide first positions the probe at height $h$ from the reference end face to measure the lower helix. Subsequently, to measure the upper helix, the probe is raised to a height of $(W – h)$ from the same reference end face. This mathematical positioning guarantees geometric symmetry of the measurement points. The horizontal position for entering the tooth space is kept constant. A successful measurement yields two centerline angles: $C_{Center}^{Lower}$ and $C_{Center}^{Upper}$. The raw angular symmetry error $\Delta C$ is:
$$\Delta C = C_{Center}^{Upper} – C_{Center}^{Lower}$$
This angular error can be converted to a linear error at the pitch circle radius $R_p$: $\text{Linear Error} = R_p \times \Delta C \times (\pi / 180)$. For high-precision herringbone gears, controlling $\Delta C$ is paramount.
CNC Program Architecture for Automated Error Detection and Compensation
Implementing this methodology requires sophisticated CNC programming to orchestrate the machine tools, the phase detection system, and the logic for error calculation. The program is developed for a Siemens 828D CNC system and is structured into modular sub-programs for clarity and reusability.
The main machining program calls two dedicated measurement sub-programs:
1. LSE_DETECT.MPF (Lower Symmetry Error Detection): This subroutine automates the measurement of the lower helix. Its logic flow is as follows:
a. Commands the vertical slide to move to pre-set position “Vert_Pos1” (corresponding to height $h$).
b. Commands the horizontal slide to move to pre-set position “Horiz_Pos1” to safely insert the probe into a tooth space.
c. Rotates the C-axis in the positive direction at a slow feed rate until a probe trigger is detected. Records angle as $C_{L1}$.
d. Retracts the probe slightly, then rotates the C-axis in the negative direction until the opposite flank triggers the probe. Records angle as $C_{R1}$.
e. Calculates and stores the lower centerline: $C_{Center}^{Lower} = (C_{L1} + C_{R1}) / 2$.
f. Retracts all slides to safe positions.
2. USE_DETECT.MPF (Upper Symmetry Error Detection): This subroutine performs the identical measurement on the upper helix.
a. Commands the vertical slide to move to pre-set position “Vert_Pos2” (corresponding to height $W-h$).
b. Repeats steps b through f from LSE_DETECT, resulting in $C_{Center}^{Upper}$.
With both centerline angles stored in CNC variables, the main program calculates the compensation angle. However, a crucial step precedes this: establishing a “master” reference. During the first-part qualification, after fully machining the first helix, the operator manually finds a reference tooth space and records its angular position $C_{Ref}$. The LSE_DETECT program is then run to find the actual machine-measured centerline $C_{Center}^{Lower}$ for that same tooth. The difference is a fixed machine-workpiece offset, $K$:
$$K = C_{Center}^{Lower} – C_{Ref}$$
This offset $K$ is stored as a permanent system constant for subsequent gears from the same batch, as long as the workpiece clamping is consistent.
The compensation logic for machining the first part (the qualification part) is then executed as follows:
1. Machine the second helix to partial depth.
2. Run USE_DETECT to find $C_{Center}^{Upper}$.
3. Calculate the observed symmetry error: $\Delta C_{obs} = C_{Center}^{Upper} – C_{Center}^{Lower}$.
4. This error $\Delta C_{obs}$ must be corrected. Therefore, the original reference angle for starting the cut on the second helix needs adjustment. The compensated reference angle $C_{Ref}^{comp}$ becomes:
$$C_{Ref}^{comp} = C_{Ref} – \Delta C_{obs}$$
5. The final, compensated offset for the machine zero is now: $C_{Machine\ Zero} = C_{Ref}^{comp} – K$.
6. The program then resumes, machining the second helix to full depth using this compensated $C_{Machine\ Zero}$.
For all subsequent herringbone gears in the batch, the process is vastly simplified:
1. Clamp new workpiece.
2. Run LSE_DETECT to find the new part’s $C_{Center}^{Lower}$.
3. Calculate the starting angle directly using the stored constants: $C_{Machine\ Zero} = C_{Center}^{Lower} – K – \Delta C_{obs}$.
Here, $\Delta C_{obs}$ from the qualification part is used as the best estimate for the systemic error, which remains stable for identical setups.
4. Machine the second helix directly to full depth using this pre-compensated angle.
Practical Application and Validation with a Herringbone Pinion Shaft
To validate the effectiveness and robustness of this methodology, it was applied to the manufacturing of a series of herringbone gear pinion shafts. The key parameters of the gear are summarized below:
| Parameter | Symbol | Value |
|---|---|---|
| Normal Module | $m_n$ | 2.514 mm |
| Number of Teeth | $z$ | 27 |
| Helix Angle | $\beta$ | 30° |
| Pressure Angle | $\alpha_n$ | 20° |
| Face Width | $W$ | 79.82 mm |
| Target Symmetry | – | < 0.05 mm |
The step-by-step procedure for the first-part qualification was meticulously followed. After initial setup and machining of the left-hand helix, the gear was indexed. The phase detection system was calibrated; the vertical position for measuring the lower helix (Vert_Pos1) was set at 138.25 mm from the machine datum, corresponding to a measurement height $h$ of 16 mm from the gear’s end face. The corresponding upper position (Vert_Pos2) was calculated as $138.25 – (79.82 – 32) = 90.43$ mm. A reference angle $C_{Ref}$ of 156.98° was manually established.
Execution of the LSE_DETECT program yielded a measured lower centerline $C_{Center}^{Lower} = 170.498°$. The machine offset $K$ was therefore $170.498° – 156.98° = 13.518°$. The right-hand helix was then roughed to a depth of 4 mm. The USE_DETECT program was run, resulting in an upper centerline $C_{Center}^{Upper} = 173.012°$. The observed symmetry error was $\Delta C_{obs} = 173.012° – 170.498° = 2.514°$.
The compensated reference angle was calculated:
$$C_{Ref}^{comp} = 156.98° – 2.514° = 154.466°$$
The final machining zero for the compensation cut was:
$$C_{Machine\ Zero} = 154.466° – 13.518° = 140.948°$$
The gear shaping process was completed using this angle. Post-process inspection on a coordinate measuring machine (CMM) confirmed a symmetry error of 0.015 mm, far exceeding the target requirement.
This process was repeated for multiple subsequent herringbone gear shafts. By applying the stored compensation value $\Delta C_{obs}$ (2.514°) and the machine offset $K$ (13.518°) to the newly measured $C_{Center}^{Lower}$ of each part, the system consistently produced gears with symmetry errors between 0.010 mm and 0.020 mm. Statistical process control of the symmetry error data confirmed the stability and capability of the method.
Conclusion
This article has detailed a transformative approach to the high-precision manufacturing of herringbone gears. By moving away from error-prone manual alignment techniques and toward an automated, measurement-driven, and compensated CNC process, a significant leap in quality and consistency has been achieved. The integration of a custom-designed, on-machine phase detection system provides a reliable and precise method for quantifying symmetry error in-process. The development of structured CNC sub-programs enables the complete automation of the detection, calculation, and compensation cycle. The practical validation on a series of herringbone gear pinions demonstrates the method’s efficacy, consistently achieving symmetry tolerances of 0.02 mm or better, which represents an order-of-magnitude improvement over traditional methods. This methodology not only enhances the geometric accuracy of herringbone gears but also improves process reliability, reduces scrap rates, and decreases dependency on operator skill. It provides a robust and scalable solution for meeting the increasingly stringent precision demands of modern industrial applications for critical components like herringbone gears.