
The pursuit of high-performance, cost-effective power transmission components has driven the evolution of manufacturing processes for gears. Among these, miter gears, a specific type of straight bevel gear with a 1:1 ratio, are critical in applications requiring right-angle torque transmission, such as automotive differentials. Traditional machining methods, while accurate, are often material-wasteful and time-consuming. Near-net-shape forming, particularly cold forging, presents a compelling alternative. It offers superior material utilization, enhanced mechanical properties through grain flow alignment, and significantly higher production rates. However, a significant challenge persists: achieving the requisite high tooth profile accuracy directly from the forming process without subsequent machining. This challenge stems from complex interactions involving material springback, elastic deformation of the die, and the necessary tooth flank modifications for optimal meshing performance under load.
This article details a first-person perspective on a comprehensive, iterative methodology developed to control the tooth profile accuracy of near-net-shape formed miter gears. The core of the method is a closed-loop numerical simulation process that integrates design modification, forming analysis, and die compensation to finally arrive at a die cavity that produces a gear conforming to the designed, pre-modified tooth surface.
1. The Integrated Accuracy Control Workflow
The proposed methodology is systematic, relying heavily on numerical tools to predict and compensate for errors. The complete workflow is cyclical and can be summarized in the following key stages:
Stage 1: Theoretical Design and Flank Modification. The process begins with the theoretical gear design based on transmission requirements. A crucial step often overlooked in simple forming simulations is the application of flank modifications (e.g., profile crowning, longitudinal crowning). These modifications are not manufacturing errors but intentional deviations from the theoretical conjugate surface to ensure quiet operation, compensate for assembly errors, and distribute load evenly under operating deflections. Contact analysis (Tooth Contact Analysis – TCA) is performed on the theoretical gear pair to evaluate the contact pattern and transmission error. Based on the results, an optimized modification is applied digitally to create the “Target Flank Surface” – the ideal geometry the forged miter gear should possess.
Stage 2: Initial Die Design and Forming Simulation. The target flank surface is used to define the initial geometry of the forging die cavity. A high-fidelity finite element analysis (FEA) of the cold forging process is then conducted. This simulation must model the elastic-plastic behavior of the workpiece material and the elastic deformation of the die tools under the extreme pressures of forging. The simulation outputs the forged gear geometry *after* unloading, which includes the effects of both plastic strain (springback) and die elasticity.
Stage 3: Error Mapping and Analysis. The forged geometry from Stage 2 is compared against the Target Flank Surface from Stage 1. The geometric deviation across the entire active flank is quantified. A point-cloud mapping technique is employed: the flank surface is discretized into a grid of points. For each point \(P_i(x_i, y_i, z_i)\) on the target surface, the corresponding normal deviation \(D_i\) (positive for excess material, negative for shortage) on the forged part is calculated.
$$ D_i = \vec{n}_i \cdot (\vec{P}_{i, forged} – \vec{P}_{i, target}) $$
where \(\vec{n}_i\) is the unit normal vector at point \(P_i\) on the target surface. This deviation \(D_i\) is the combined result of springback (\(S_i\)) and die elastic deformation (\(E_i\)), i.e., \(D_i \approx S_i + E_i\).
Stage 4: Die Cavity Compensation and Iteration. This is the core corrective step. The calculated deviation field \(D_i\) is “inversely compensated” onto the initial die cavity surface. If the forged part has a shortage of material (negative \(D_i\)), the die cavity is enlarged at that corresponding point by \(|D_i|\). The compensation follows the inverse trajectory of the forming process. The mathematical representation for a point \(\vec{C}_{die, new}\) on the new die surface is:
$$ \vec{C}_{die, new} = \vec{C}_{die, initial} – D_i \cdot \vec{n}_i $$
However, the raw deviation data \(D_i\) from FEA can be noisy. Direct compensation leads to an unsmooth die surface. Therefore, the deviation data is first fitted to a smooth bivariate function, \(F(u,v)\), where \(u\) and \(v\) are the surface parameters (e.g., along the profile and lengthwise directions). Polynomial or spline functions are typically used.
$$ F(u,v) = \sum_{j=0}^{m}\sum_{k=0}^{n} a_{jk} u^j v^k $$
The smoothed compensation function is then applied. A new forming simulation is run with the compensated die. The resulting forged geometry is again compared to the target. This iterative loop (Simulate → Map Deviation → Smooth & Compensate) continues until the deviation falls within a predefined tolerance band.
| Process Stage | Primary Input | Key Activity | Primary Output | Critical Numerical Tool |
|---|---|---|---|---|
| 1. Target Definition | Theoretical Gear Data | Contact Analysis & Flank Modification | Target 3D Flank Surface | TCA Software, CAD |
| 2. Initial Simulation | Target Surface → Initial Die | Elastic-Plastic FE Forming Analysis | As-Forged Gear Geometry | Non-linear FEA (e.g., DEFORM, Abaqus) |
| 3. Error Mapping | Target Surface & As-Forged Geometry | Point Cloud Comparison & Deviation Calculation | Deviation Map \(D_i\) | Custom Scripts (Python, MATLAB) |
| 4. Compensation Loop | Deviation Map \(D_i\) & Current Die | Data Smoothing & Inverse Die Correction | Compensated Die Cavity Surface | CAD/CAE, Fitting Toolboxes |
| 5. Final Validation | Compensated Die | Final Forming Simulation & Tolerance Check | Validated Die for Manufacturing | FEA, Metrology Software |
2. Implementation: A Case Study on an Automotive Miter Gear
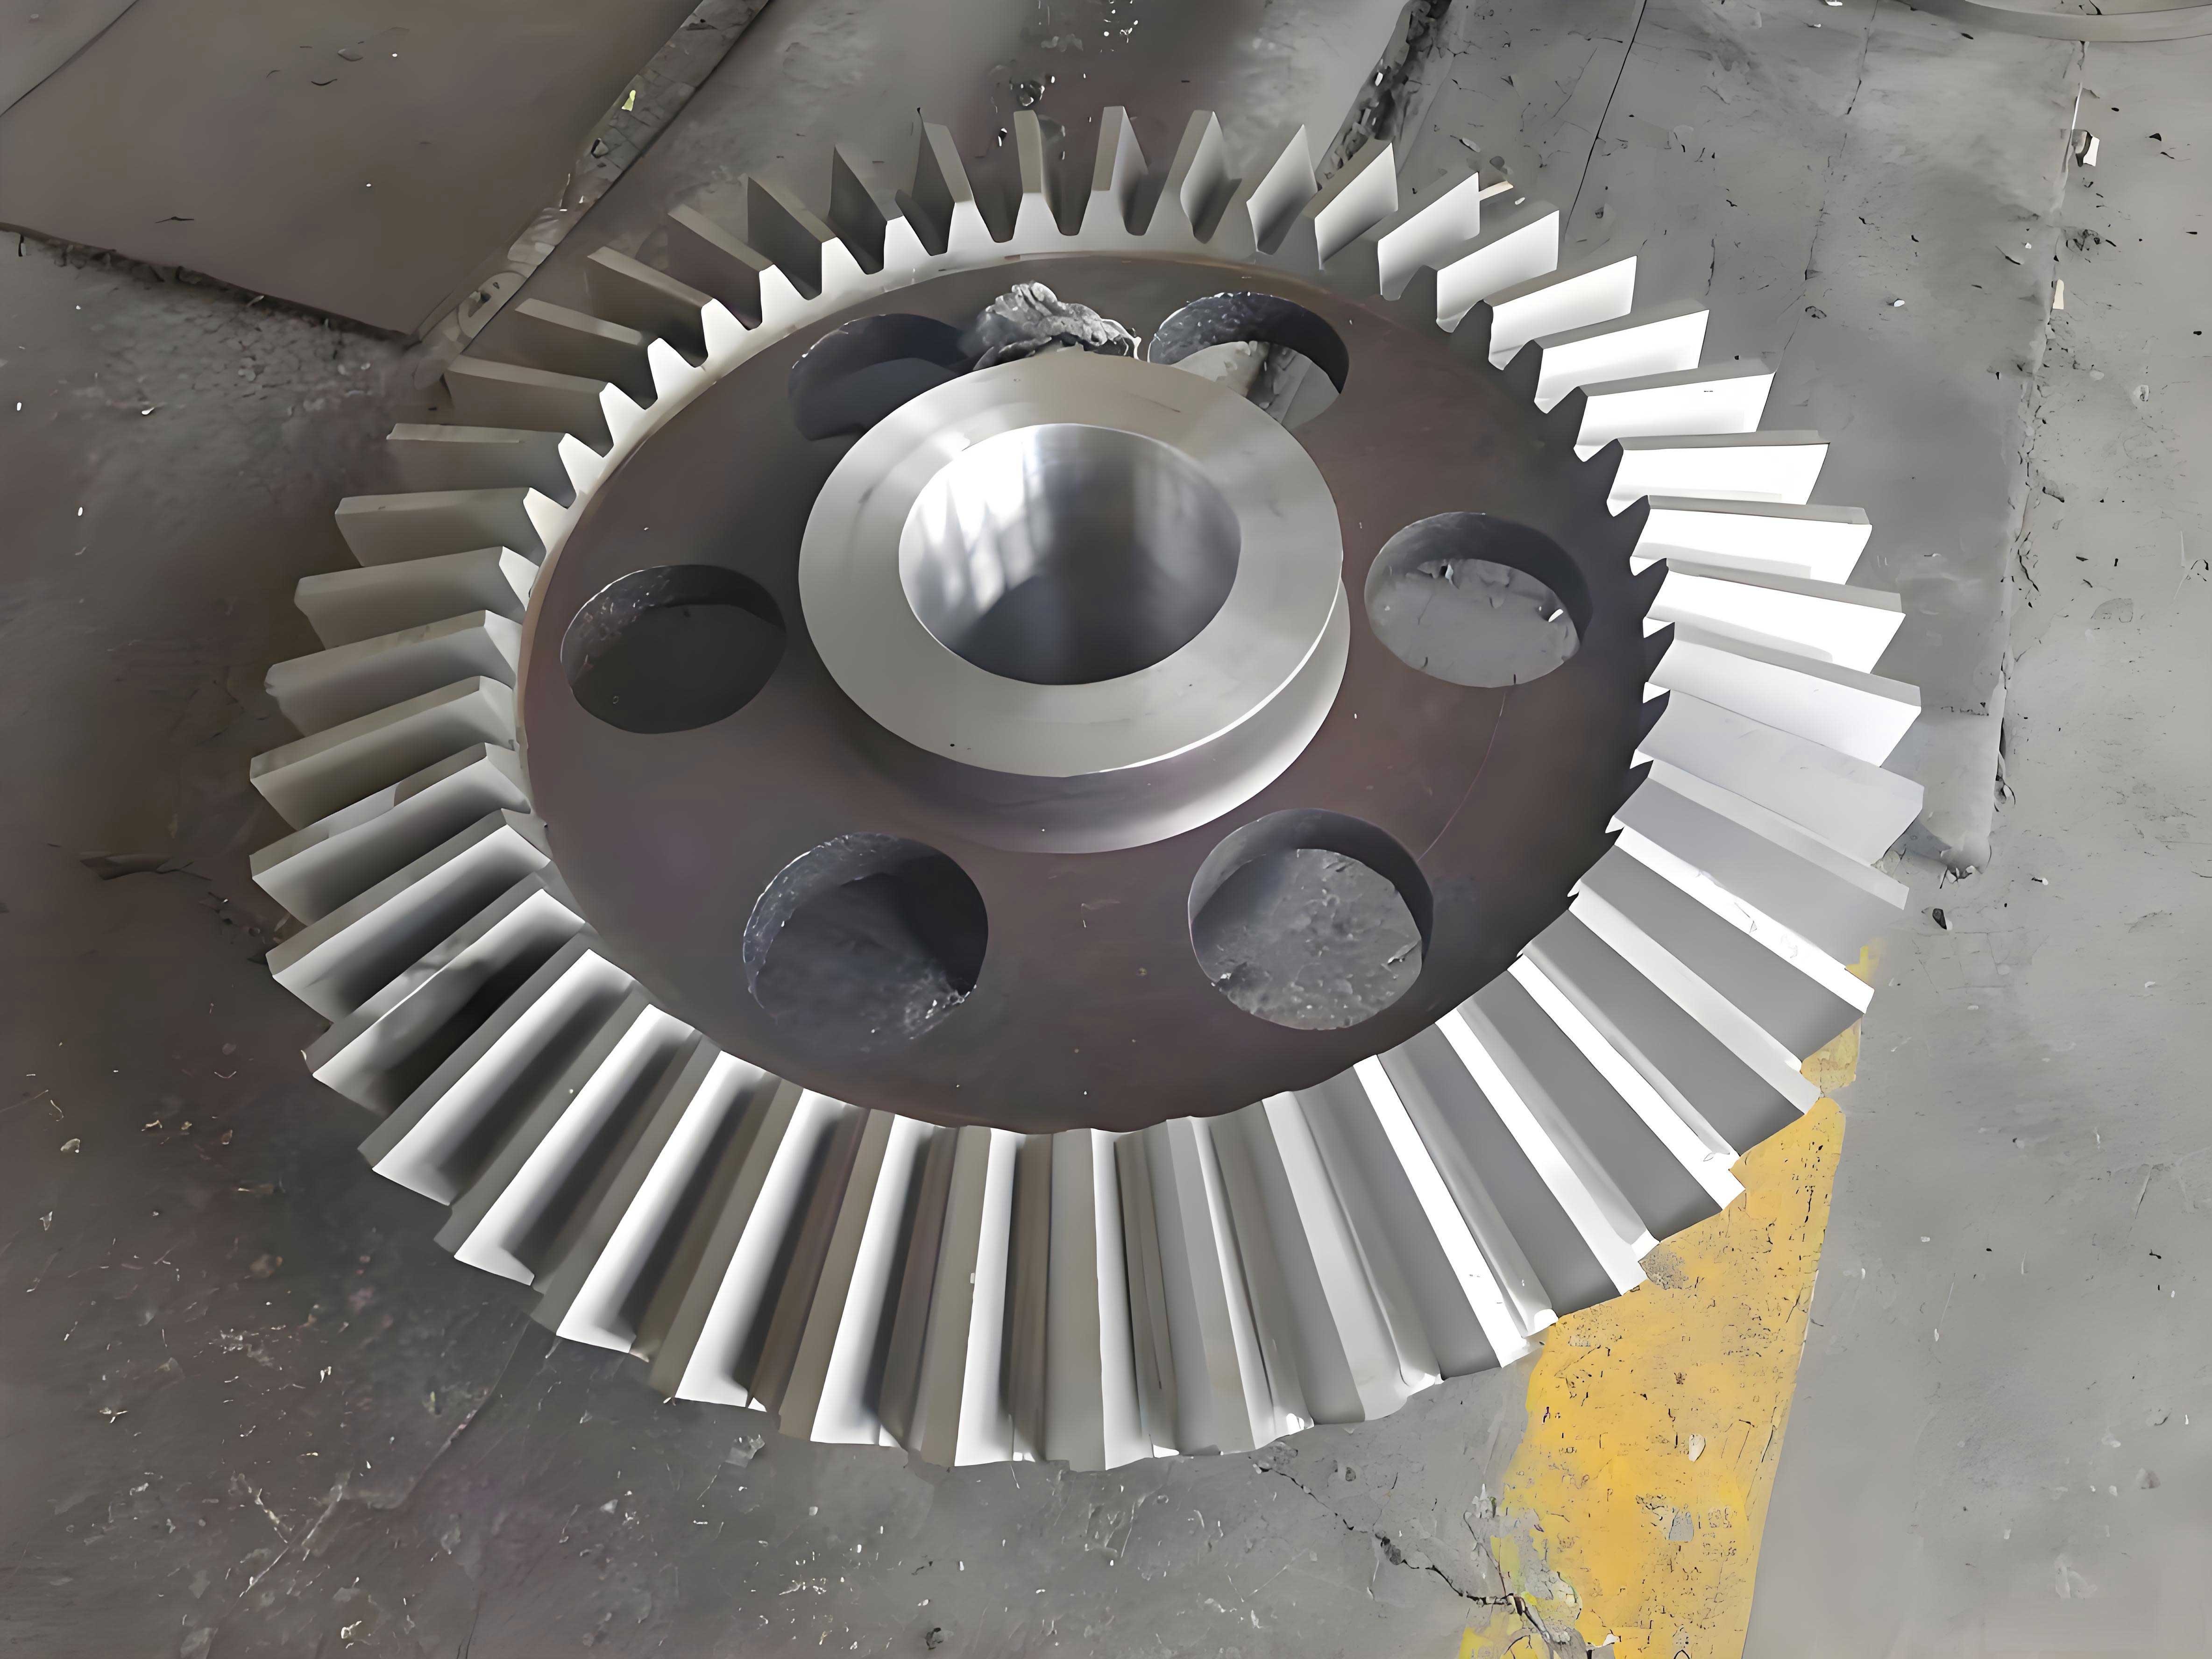
To illustrate the methodology, consider its application to an automotive differential side miter gear, typically made from 20CrMnTi steel. The goal is to produce this miter gear via cold precision forging with a tooth flank ready for assembly without post-forging grinding.
2.1. Establishing the Target Flank with Modification
The nominal gear design is first modeled. A digital twin of the gear pair is assembled, and a computational TCA is run. The initial contact pattern might be concentrated at the edges, indicating sensitivity to misalignment. An optimization routine is executed to find the optimal modification parameters (e.g., amount of crowning) that centralize the contact ellipse and minimize transmission error variation. This results in a target flank surface that is no longer a perfect conjugate surface but an “idealized imperfect” one designed for robust real-world performance. This surface becomes the absolute reference for all subsequent steps.
2.2. Forming Process Simulation and Springback Law
The cold forging process for a miter gear often involves a combined radial upsetting and extrusion flow. The simulation model includes a deformable billet (with appropriate flow stress model for 20CrMnTi) and elastic die components. After simulating the complete forging cycle and die release, the springback deformation is analyzed. For the miter gear, a distinct pattern is observed. The deviation is not uniform. Let’s define the tooth height direction from root (h=0) to tip (h=1), and the tooth length direction from heel (L=0) to toe (L=1).
The springback deviation \(S(h,L)\) often follows a trend where it is minimal near the pitch line (the “crown” of the modified flank) and increases towards the tooth tip and root. The maximum positive deviation (forged material protruding beyond target) frequently occurs near the tooth tip at the toe region. The relationship can be approximated for a given tooth length slice as:
$$ S(h) \approx k_{1} (h – h_{pitch})^2 + b $$
where \(h_{pitch}\) is the normalized height at the pitch line, \(k_1\) is a coefficient related to material and tooth stiffness, and \(b\) is a constant offset. The total observed deviation \(D(h,L)\) includes this springback plus die expansion \(E(h,L)\), which is also a function of local forging pressure \(P(h,L)\):
$$ E(h,L) \propto P(h,L) $$
$$ D(h,L) = S(h,L) + E(h,L) $$
A typical deviation map from the first simulation might show maximum values on the order of 0.10-0.15 mm.
| Location on Tooth Flank | Typical Deviation Sign (Forged vs. Target) | Primary Contributing Factor | Relative Magnitude |
|---|---|---|---|
| Tip, Toe Region | Positive (Excess Material) | High Springback + Significant Die Flexure | Highest (e.g., +0.14 mm) |
| Pitch Line, Mid-Length | Near Zero or Slightly Negative | Balanced Stresses, Minimal Springback | Lowest (e.g., ~0.00 mm) |
| Root, Heel Region | Positive | Moderate Springback + Die Deformation | Medium (e.g., +0.06 mm) |
2.3. Iterative Die Cavity Correction
Using the deviation data \(D(h,L)\) from the first run, the die cavity is modified. The raw FEA node data is exported. A surface is fitted through the deviation vectors to create a continuous correction field \(F_{corr}(u,v)\). This smooth function is used to offset the original die surface inward, effectively making the cavity slightly smaller where positive deviation was predicted. After the first compensation and a new simulation, the deviation map changes character. It often shifts from predominantly positive to predominantly negative values (forged material falling short of the target), but with a reduced absolute magnitude. For example, the maximum error might reduce from +0.14 mm to -0.08 mm.
A second compensation cycle is then performed, using the new deviation map from the first compensated die. The compensation amount for the second iteration, \(C_2\), is based on the residual error \(D_1\):
$$ \vec{C}_{die, iter2} = \vec{C}_{die, iter1} – D_1 \cdot \vec{n} $$
After the second simulation, the deviation is drastically reduced. The final result typically shows that the forged miter gear flank lies within a very tight band around the target surface, for instance, between -0.025 mm and +0.005 mm across the entire active region. This level of accuracy is sufficient for many high-quality powertrain applications without secondary machining.
| Iteration Number | Die State | Max Positive Deviation on Forged Gear | Max Negative Deviation on Forged Gear | Root Mean Square (RMS) Error |
|---|---|---|---|---|
| 0 | Initial (Uncompensated) | +0.140 mm | -0.010 mm | ~0.085 mm |
| 1 | First Compensation | +0.030 mm | -0.080 mm | ~0.040 mm |
| 2 | Second Compensation | +0.005 mm | -0.025 mm | < 0.015 mm |
2.4. Physical Validation
The final compensated die design is manufactured, typically using high-precision machining like wire EDM and CNC grinding. Production trials on a suitable forging press confirm the numerical predictions. The forged miter gears are inspected using coordinate measuring machines (CMM) to generate actual flank topography, which closely matches the final simulation results. Furthermore, a contact check using Prussian blue or digital scan alignment with its mating gear reveals a well-centered, optimally sized contact pattern, validating that the forged miter gear not only has geometric accuracy but also functional meshing quality. This confirms the effectiveness of the integrated numerical approach for the miter gear.
3. Discussion and Conclusion
The methodology presented establishes a robust framework for achieving high precision in near-net-shape formed miter gears. Its success hinges on several key factors:
1. Holistic Error Consideration: It moves beyond simple springback compensation by simultaneously accounting for die elastic deformation and, most importantly, by using a pre-modified target flank as the benchmark. This ensures the final forged gear is optimized for performance, not just for conformance to a theoretical geometry.
2. The Critical Role of Data Smoothing: The step of fitting the raw simulation deviation data to a smooth function \(F(u,v)\) before die compensation is non-negotiable. It filters out numerical noise from the FEA and ensures the resulting die cavity is manufacturable and generates a physically coherent tooth flank on the miter gear.
3. The Necessity of Iteration: A single compensation step is usually insufficient due to the non-linear interaction between the modified die geometry and the material flow/stress state. The two-stage iterative process proved highly effective in converging to a solution within tight tolerances.
4. Numerical Fidelity: The accuracy of the entire method is fundamentally limited by the accuracy of the initial forming simulation. A high-quality FE model with proper material laws, friction conditions, and mesh density is essential for generating a reliable initial deviation map \(D_i\).
In conclusion, controlling the tooth profile accuracy of a near-net-shape formed miter gear requires a sophisticated, simulation-driven approach. The method outlined here—integrating flank modification design, coupled elastic-plastic forming analysis, systematic error mapping, and iterative die compensation through data smoothing—provides a clear and effective pathway. It transforms cold forging from a purely shaping process into a precision manufacturing technique capable of producing miter gears with both high dimensional accuracy and superior functional performance, unlocking the full potential of near-net-shape technology for critical power transmission components.