
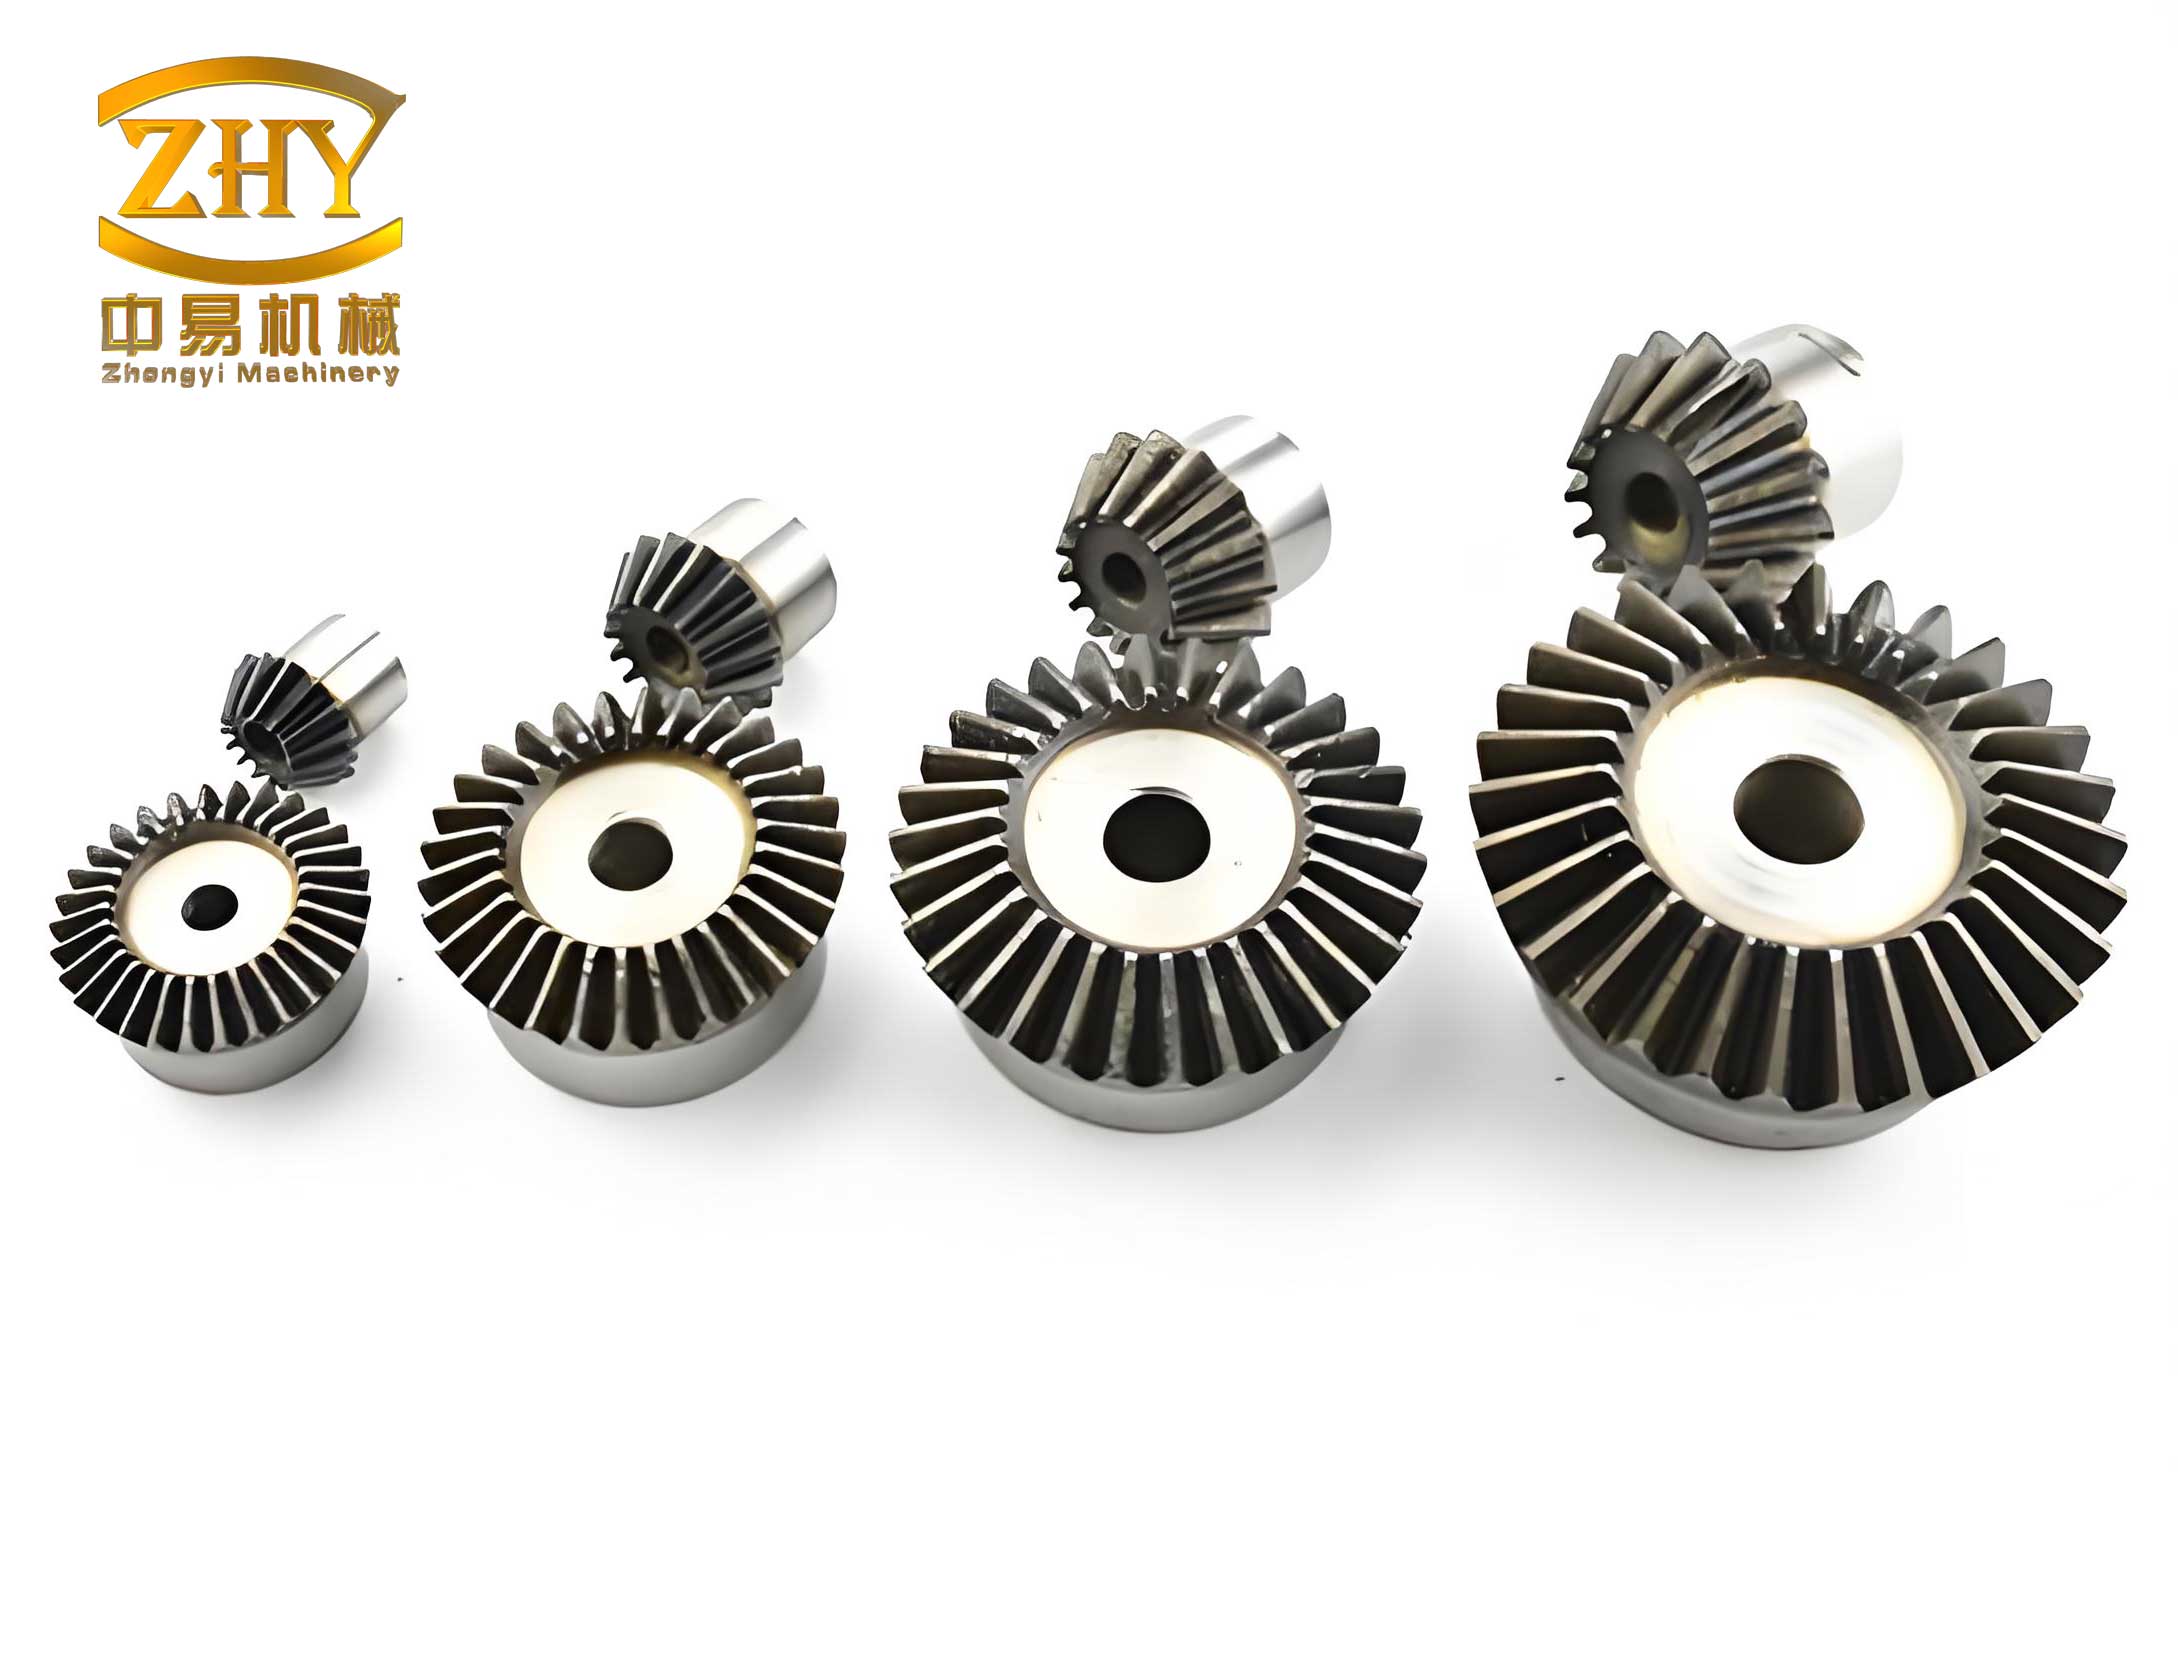
In my experience with manufacturing components for agricultural machinery, I often encounter the need to produce bevel gears for applications such as three-wheeled farm vehicles. These bevel gears are critical for transmitting motion between intersecting shafts, typically at right angles. The user provided a drawing for a straight bevel gear with specific requirements: module m=3, number of teeth Z=23, pressure angle 20 degrees, and a batch size of 80 pieces. The challenge is to devise a method to fabricate these bevel gears that are both qualified for use and cost-effective. Given the low operating speeds and minimal precision demands of farm vehicles, I focus on developing a milling process suitable for small-batch production. This article delves into the entire workflow, from drawing verification to final heat treatment, emphasizing the use of a universal milling machine with form-cutting tools. Throughout this discussion, I will highlight key aspects of bevel gear machining, incorporating tables and formulas to summarize critical data and calculations.
Before commencing production, a thorough review of the drawing is imperative. For any bevel gear, the drawing must clearly and accurately specify all geometric parameters. In this case, the module, tooth count, and pressure angle are provided, along with details of the mating gear and shaft angle. To ensure correctness, I verify dimensions using standard formulas for straight bevel gears. The primary dimensions include pitch diameter, outside diameter, pitch cone angle, addendum angle, dedendum angle, cone distance, and tooth thickness. For instance, the pitch diameter \(d\) is calculated as \(d = m \times Z\), which yields \(d = 3 \times 23 = 69\, \text{mm}\). The pitch cone angle \(\delta\) for a bevel gear pair with a 90-degree shaft angle and a pinion of 23 teeth mating with a gear of, say, 30 teeth (assuming based on typical designs), can be found using \(\delta = \arctan(Z_1 / Z_2)\). However, the drawing specifies the root angle as 40°47′, which is crucial for setup. I cross-check all such dimensions to prevent errors downstream.
Beyond basic dimensions, tolerances and material specifications are scrutinized. The bevel gear drawing includes tolerances for the bore, keyway, and chordal tooth thickness. The outside diameter also has a tolerance, as it influences machining accuracy and measurement. Geometric tolerances, such as symmetry of the keyway relative to the bore and runout of the tooth form relative to the bore, are essential for proper assembly and meshing. Regarding material, the selection of 45# medium carbon steel is appropriate for a bevel gear subjected to impact and wear. The heat treatment plan—quenching and tempering followed by surface induction hardening—ensures a tough core to withstand shock and a hard surface for abrasion resistance. This combination is vital for the durability of the bevel gear in rugged agricultural environments.
Transitioning from drawing to physical part requires a well-considered process plan. The choice of manufacturing method hinges on factors like batch size, operational requirements, and available equipment. For high-volume production of precision bevel gears, dedicated machines like gear planers or precision forging are typical, but they entail high costs. Here, with only 80 pieces needed and low speed/accuracy demands, a universal milling machine with form cutters offers a balanced solution. This approach reduces expenses while meeting functional needs. The following table summarizes the key considerations in the process analysis for this bevel gear:
| Factor | Consideration | Implication for Bevel Gear Production |
|---|---|---|
| Batch Size | 80 pieces | Small batch; justifies use of general-purpose equipment like milling machine. |
| Operating Conditions | Low speed, low precision | Allows for form milling with acceptable tolerances; no need for high-end gear cutting. |
| Material | 45# steel | Good machinability and response to heat treatment; suitable for bevel gear loads. |
| Available Machinery | Universal milling machine, lathe, etc. | Enables complete in-house processing; milling with dividing head for tooth generation. |
| Cost Objective | Economical production | Form milling minimizes tooling and setup costs compared to specialized gear cutting. |
With the analysis complete, I proceed to draft the detailed process route. The sequence encompasses material preparation, turning, milling, and finishing operations. Each step is designed to maintain accuracy and efficiency for the bevel gear. Below is a tabulated overview of the process plan:
| Step No. | Operation | Description | Key Parameters/Notes |
|---|---|---|---|
| 1 | Material Preparation | Use 45# steel round bar, cut to blank尺寸: φ75 × 40 mm. | Ensures sufficient stock for machining the bevel gear profile. |
| 2 | Heat Treatment (Tempering) | Quenching and tempering to achieve hardness HBS 210-230. | Improves core toughness for impact resistance in the bevel gear. |
| 3 | Turning | Chuck blank, face turn, turn φ50 OD, drill φ20 hole; reverse to finish bore and外形. | Complete bore and profile in one setup to ensure runout ≤ drawing requirement. |
| 4 | Milling (Tooth Cutting) | Mount on dividing head via arbor; set root angle; use form cutter to mill teeth. | Critical for bevel gear tooth generation; details in subsequent sections. |
| 5 | Benchwork | Layout keyway lines for planning. | Prepares for keyway machining on the bevel gear. |
| 6 | Planning | Plan keyway to size, aligning via bore and lines. | Achieves keyway dimensions and symmetry. |
| 7 | Benchwork (Deburring) | Remove sharp corners to prevent cracking during hardening. | Essential for bevel gear integrity post-heat treatment. |
| 8 | Heat Treatment (Surface Hardening) | Induction hardening to HRC 40-50 on tooth surfaces. | Enhances wear resistance of the bevel gear teeth. |
The milling operation is the heart of bevel gear production in this context. Several technical aspects require careful attention to ensure the bevel gear teeth are correctly formed. First, the selection of the form cutter is based on the virtual number of teeth \(Z_v\), which accounts for the conical shape of the bevel gear. The formula is \(Z_v = \frac{Z}{\cos \phi}\), where \(\phi\) is the pitch cone angle. For this bevel gear, with a root angle of 40°47′ (approximately 40.783°), and assuming the pitch cone angle is similar for calculation, \(\cos 40.783° \approx 0.756\). Thus, \(Z_v = \frac{23}{0.756} \approx 30.4\). Consulting a standard cutter selection table for bevel gears, for module m=3 and a virtual tooth count range of 26-34, a No. 5 bevel gear milling cutter is appropriate. This cutter approximates the tooth space profile for that virtual tooth range.
Second, the dividing head must be set at the correct angle to align the bevel gear blank relative to the milling machine table. Since the tooth root line must be parallel to the table for proper form milling, the dividing head is tilted by the root angle. According to the drawing, this angle is 40°47′. Setting this precisely is crucial; even a small deviation can lead to incorrect tooth geometry on the bevel gear. The angular adjustment is typically done using a sine bar or protractor on the dividing head base.
Third, indexing for tooth spacing is performed using the dividing head’s worm gear mechanism. The standard dividing head has a ratio of 40:1, meaning 40 turns of the index crank rotate the workpiece one full revolution. For a bevel gear with Z=23 teeth, the indexing per tooth is \( \frac{40}{23} \) turns. This can be expressed as \(1 + \frac{17}{23}\) turns (since \(40/23 = 1.739…\)), but to use a indexing plate with available hole circles, I simplify: \( \frac{40}{23} = \frac{40}{23} \). Multiplying numerator and denominator by 2 gives \( \frac{80}{46} \), so using a 46-hole circle, the index crank should turn 1 full turn plus 34 holes (since 80-46=34). This accurately divides the bevel gear into 23 equal segments. The formula for indexing turns \(N\) is generally: $$N = \frac{40}{Z}$$ where \(Z\) is the number of teeth. For this bevel gear, it becomes: $$N = \frac{40}{23} \approx 1.7391 \, \text{turns} = 1 \text{ turn} + \frac{34}{46} \text{ turn}$$
To further elucidate the geometric calculations involved in bevel gear design and setup, I present key formulas in a structured manner. These formulas are essential for verifying the drawing and ensuring machining parameters are correct. The following table summarizes fundamental equations for straight bevel gears with shaft angle Σ=90°:
| Parameter | Symbol | Formula | Example Calculation for Given Bevel Gear |
|---|---|---|---|
| Pitch Diameter | \(d\) | \(d = m \times Z\) | \(d = 3 \times 23 = 69 \, \text{mm}\) |
| Pitch Cone Angle (Pinion) | \(\delta_1\) | \(\delta_1 = \arctan(Z_1 / Z_2)\) (for Σ=90°) | If mating gear has 30 teeth, \(\delta_1 = \arctan(23/30) \approx 37.5°\) |
| Cone Distance | \(R\) | \(R = \frac{d}{2 \sin \delta}\) | Using \(\delta \approx 40.783°\), \(R = \frac{69}{2 \sin 40.783°} \approx 53.2 \, \text{mm}\) |
| Addendum | \(h_a\) | \(h_a = m\) (standard) | \(h_a = 3 \, \text{mm}\) |
| Dedendum | \(h_f\) | \(h_f = 1.2 m\) (common) | \(h_f = 3.6 \, \text{mm}\) |
| Virtual Number of Teeth | \(Z_v\) | \(Z_v = \frac{Z}{\cos \delta}\) | \(Z_v = \frac{23}{\cos 40.783°} \approx 30.4\) |
| Chordal Tooth Thickness | \(s_c\) | \(s_c = m Z \sin\left(\frac{90°}{Z}\right)\) (approx.) | \(s_c = 3 \times 23 \times \sin(90°/23) \approx 4.71 \, \text{mm}\) |
In practice, during milling, additional adjustments might be needed for backlash and tooth thickness tolerance. The bevel gear drawing specifies a tolerance for chordal tooth thickness, so I measure it periodically using gear tooth calipers. The formula for chordal tooth thickness over \(k\) teeth can be used, but for simplicity, single tooth measurement often suffices for small bevel gears. Moreover, the milling process involves multiple passes; roughing cuts remove bulk material, followed by finishing cuts to achieve final dimensions. The feed rate and cutting speed are selected based on the material (45# steel) and cutter type (high-speed steel form cutter). Typically, for module 3, a cutting speed of 20-30 m/min and a feed per tooth of 0.05-0.1 mm are suitable. These parameters ensure efficient material removal without compromising the bevel gear tooth surface finish.
Another critical aspect is the design and use of a mandrel for mounting the bevel gear blank on the dividing head. The mandrel must have a precise fit with the bore (φ30 mm in this case) and be secured with a nut. This setup ensures concentricity between the bore and the tooth form, which is vital for meeting the runout tolerance. Any misalignment here could lead to uneven tooth loading and premature failure of the bevel gear in service. I typically machine the mandrel from mild steel, with diameters held to a close tolerance (e.g., H7/g6 fit) to facilitate easy assembly and disassembly.
Heat treatment steps are integral to the bevel gear’s performance. After rough machining and before milling, the quenching and tempering (调质) provide a uniform hardness of HBS 210-230, which enhances machinability and core strength. Post-milling, induction hardening selectively hardens the tooth surfaces to HRC 40-50, while the core remains tough. This dual treatment ensures the bevel gear can withstand the cyclic stresses and abrasive conditions typical in agricultural transmissions. The hardening process must be controlled to avoid distortion, especially on thin-walled sections of the bevel gear.
To summarize the entire milling setup for this bevel gear, I consolidate the key parameters into another table. This serves as a quick reference for machine operators:
| Setup Parameter | Value or Specification | Remarks for Bevel Gear Milling |
|---|---|---|
| Milling Machine | Universal Milling Machine | Equipped with dividing head and tailstock. |
| Workpiece Mounting | Mandrel in dividing head chuck | Bore φ30 mm as datum; tighten nut axially. |
| Dividing Head Tilt Angle | 40°47′ (root angle) | Set using angular scale or sine bar. |
| Milling Cutter | No. 5 bevel gear form cutter, module 3 | Selected based on virtual tooth count ~30.4. |
| Indexing Calculation | \(N = 40/23\) turns per tooth | Use 46-hole circle: 1 turn + 34 holes. |
| Cutting Depth | Full tooth depth ~6.6 mm (h_a + h_f) | Approach in multiple passes to avoid cutter overload. |
| Cutting Fluid | Soluble oil or dry milling | Applied to reduce heat and improve tool life. |
Throughout the process, quality checks are performed at various stages. For the bevel gear, critical inspections include: verifying bore diameter and keyway dimensions post-turning and planning; checking tooth spacing and symmetry during milling using the dividing head and dial indicators; and measuring surface hardness after induction hardening. The chordal tooth thickness is checked with a gear tooth vernier caliper, ensuring it falls within the drawing tolerance. These checks help maintain consistency across all 80 pieces of the bevel gear batch.
In conclusion, producing a straight bevel gear for low-speed agricultural use involves a balanced approach that considers both technical requirements and economic factors. By opting for form milling on a universal milling machine, I achieve a cost-effective solution for small-batch production. The success hinges on accurate drawing verification, careful process planning, and attention to details like cutter selection, dividing head setup, and heat treatment. This method not only meets the functional needs of the bevel gear in a three-wheeled farm vehicle but also optimizes resource utilization. Future improvements could explore CNC milling for higher consistency, but for quantities around 80 pieces, manual milling remains viable. Ultimately, the goal is to deliver a durable and reliable bevel gear that ensures smooth power transmission in demanding field conditions.
Reflecting on this process, I recognize that the principles discussed here apply broadly to other bevel gear manufacturing scenarios with similar constraints. The use of formulas and tables, as demonstrated, aids in standardizing calculations and reducing errors. Whether for agricultural machinery or other low-precision applications, the milling approach offers flexibility and affordability. As technology advances, integrating digital tools for simulation and measurement could further enhance the accuracy of bevel gear production, but the foundational steps outlined here remain essential for any machinist undertaking such tasks.