
In my experience, the special-shaped worm gear transmission housing presents significant challenges in mechanical machining. This component, integral to an abnormal reducer, requires high transmission precision and operates with a worm that simultaneously drives two mutually perpendicular worm gears to achieve separated transmission. The positional accuracy and perpendicularity between the shafts demand exceptional precision, necessitating smooth and noise-free operation. To meet these stringent requirements, the bearing holes must exhibit tight tolerance on diameter and location, with one hole being a blind hole of 110 mm depth and diameter ϕ110 mm. Standard tooling cannot reach this depth, imposing strict demands on tool design and process planning. Based on the product specifications, I selected a Makino A55 horizontal high-speed machining center, employed high-strength integral carbide tools, and optimized cutting parameters: spindle speed 8000 r/min, feed rate 2000 mm/min, completing the entire housing machining within one hour per piece. This approach achieves high speed, efficiency, and precision, effectively reducing manufacturing costs and enhancing product competitiveness. Throughout this article, I will elaborate on the CAD/CAM methodology and the specialized techniques for worm gear housing machining.
1. Workpiece Analysis
The workpiece is a six-sided cubic housing with external dimensions of 171 mm × 170 mm × 144 mm, made of precision-cast aluminum alloy. The main machined features consist of three mutually perpendicular transmission shaft hole sets. Among them, hole set 2, hole set 3, and two transmission shaft holes are through-holes, while hole set 1 is a blind hole with a depth of 110 mm, posing a difficulty for conventional machining. Additional features include various end faces, auxiliary holes, and fastener holes. Notably, the M25 threaded hole bottom serves as a precision reference for secondary setup, cooperating with locating pins on the fixture support. The workpiece dimensional tolerances and key technical indicators are summarized in the table below, all of which directly influence the worm gear transmission performance.
| Parameter | Requirement |
|---|---|
| Transmission shaft hole diameter tolerance | ≤ IT7 grade |
| Position tolerance of hole axes | ≤ 0.01 mm |
| Coaxiality of holes | ≤ 0.01 mm |
| Surface roughness of machined surfaces | ≤ Ra 0.8 µm |
| Perpendicularity between shaft axes | ≤ 0.01 mm |
The precision of the worm gear housing directly dictates the meshing quality and operational stability of the worm gear pair. Therefore, every geometric dimension and positional relationship must be meticulously controlled.
2. Selection of Machining Equipment
Given that all six faces of the housing need to be machined, and the three shaft holes require high perpendicularity and coaxiality, I chose the Makino A55 horizontal high-speed machining center. This machine features two pallet exchange stations and a B-axis rotary table capable of 360° rotation with a minimum indexing increment of 5°. By performing a single setup and rotating the B-axis, I can machine four faces of the workpiece sequentially, eliminating error accumulation from multiple setups and ensuring the relative positional accuracy critical for worm gear alignment.
| Feature | Description |
|---|---|
| Machine type | Horizontal machining center with twin pallets |
| B-axis rotation | 360° continuous / 5° minimum increment |
| Maximum spindle speed | 20,000 r/min (optional high-speed package) |
| Rapid traverse | 50 m/min |
| Positioning accuracy | ±0.002 mm |
The high rigidity and thermal stability of the machine, combined with its precise positioning capability, are essential for achieving the sub‑0.01 mm tolerances required by the worm gear housing.
3. Fixture Design and Manufacturing
The rationality of fixture design directly determines the machining accuracy of the worm gear housing. The fixture must be stable, reliable, and easy to load/unload, and should consolidate operations to minimize setup changes. After analyzing the technical requirements, I determined that three setups are necessary. I designed dedicated fixtures and clamping methods for batch production.
3.1 First Setup
In the first setup, I mount the fixture support onto the machine table using universal clamps and bolts. The workpiece is roughly positioned using the ϕ152 mm inner bore as the rough reference, with the bore end face mating with the support face. After aligning the reference surface with a dial indicator, I tighten the workpiece with screws and nuts. This setup allows machining of four faces and the reference holes (M25 bottom holes) used for subsequent setups.
3.2 Second Setup
For the second setup, I use the two M25 holes machined in the first setup as precision locating holes, engaging with two locating pins on the fixture support. This constrains two translational degrees of freedom and one rotational degree of freedom, fully locating the workpiece. Then, using clamping screws on the support sides and a V‑block, I clamp the workpiece tightly. This setup enables machining of the hole set 1 and the hole set 2 on both the 90° and 270° faces (including end faces and threaded holes).
3.3 Third Setup
In the third setup, the workpiece and V‑block remain in place, but the two clamping screws and pressure plates are rotated by 90°. After precise positioning, I tighten the nuts to clamp the housing for machining the hole set 3 on the 0° and 180° faces (both ends).
To summarize the fixture features, I present the following table:
| Setup | Locating Method | Clamping Method | Machined Features (Primary) |
|---|---|---|---|
| 1st | Rough bore ϕ152 mm + end face | Flange + screws + nuts | Four faces, M25 locating holes |
| 2nd | Two M25 holes + pins | V‑block + two clamping screws | Hole set 1, hole set 2 (both ends) |
| 3rd | Same locating as 2nd | Clamping screws rotated 90° | Hole set 3 (both ends) |
This fixturing strategy ensures that the critical worm gear shaft holes are machined with minimal setup errors, thereby maintaining the perpendicularity and coaxiality essential for worm gear transmission.
4. Workpiece Coordinate System Setting
Machining this worm gear housing requires the establishment of multiple coordinate systems. The CNC program references these coordinate systems accordingly. For the first setup, the B‑axis is positioned at 0°, 90°, 180°, and 270° sequentially. For the second and third setups, the workpiece is rotated relative to the machine coordinate system. I set up G54 through G57 work offsets as follows:
- G54: 0° face (first setup, primary reference)
- G55: 90° face (first setup)
- G56: 180° face (first setup)
- G57: 270° face (first setup)
For the second setup, the origin is shifted to the new location, and I use the same offset registers but with different measured values. During programming, I apply coordinate rotation and translation commands to align with the actual workpiece orientation. This systematic coordinate management is critical to ensure the spatial relationships of the worm gear axes are preserved.
5. Tool Selection, Processing Technology, and Parameters
The processing sequence follows the principle: “rough first, then finish; base surfaces first; main features before secondary; surfaces before holes.” For the end faces, I use rough milling followed by finish milling. For the bearing holes (worm gear shaft holes), I employ high-speed rough milling (with helical entry) and then finish milling or boring. The cutting tools are selected as follows:
- Indexable carbide insert cutters for high-speed roughing.
- Solid carbide end mills for finishing to achieve bearing bore tolerance of 0 to +0.015 mm.
- For the deep blind hole (hole set 1, depth 110 mm), I use a long-reach solid carbide end mill with a helical ramp entry to reduce cutting forces and improve chip evacuation.
Aluminum alloy (precision cast) offers good machinability with excellent chip flow and low tool wear, allowing aggressive cutting parameters. The roughing parameters are:
| Parameter | Value |
|---|---|
| Cutting speed (peripheral) | ≈ 500 m/min |
| Spindle speed | 8000 r/min |
| Feed rate | 2000 mm/min |
| Depth of cut per layer | 2 mm |
| Helical ramp pitch | 0.5 mm/rev |
The finishing parameters are more conservative to achieve Ra 0.8 µm and tight tolerances. The following table summarizes the finishing conditions:
| Parameter | Value |
|---|---|
| Spindle speed | 10 000 r/min |
| Feed rate | 600 mm/min |
| Depth of cut | 0.2 mm (radial) |
| Cutting speed | ≈ 630 m/min (for ϕ20 mm tool) |
I can also calculate the theoretical machining time for the worm gear housing using the following formula for a typical face milling operation:
$$ T = \frac{L}{f \cdot n} \times a_p, \quad \text{where } L \text{ is total cutting length, } f \text{ is feed per tooth, } n \text{ is spindle speed, and } a_p \text{ is depth of cut factor.} $$
However, due to the complex geometry, the actual programming sequence is detailed step by step for each setup.
5.1 Process Sequence (Outline)
First Setup:
- B-axis at 0°: Rough and finish mill end face of hole set 2.
- B-axis at 180°: Rough and finish mill reference surface A.
- B-axis at 90°: Rough and finish mill reference surface B and M25 bottom holes.
- B-axis at 270°: Rough and finish mill the symmetrical end face relative to surface B.
Second Setup:
- B-axis at 90°: Rough and finish mill hole set 1 and one side of hole set 2 (including end face and threaded holes).
- B-axis at 270°: Rough and finish mill the opposite side of hole set 1 and hole set 2.
Third Setup:
- B-axis at 0°: Rough and finish mill one side of hole set 3 (end face and other holes).
- B-axis at 180°: Rough and finish mill opposite side of hole set 3.
This systematic sequencing ensures that all worm gear bearing seats are machined with consistent accuracy.
6. Computer-Aided Design and Manufacturing (CAD/CAM)
I utilized advanced CAD/CAM software to create a 3D solid model of the worm gear housing. The model enables me to perform process analysis, simulate tool paths, and verify collision detection before actual machining. Additionally, the CAM system allows for force analysis and tool wear estimation, which helps in fine‑tuning the parameters for the worm gear component.
Below is a representative view of the 3D model and tool path simulation used for this project:
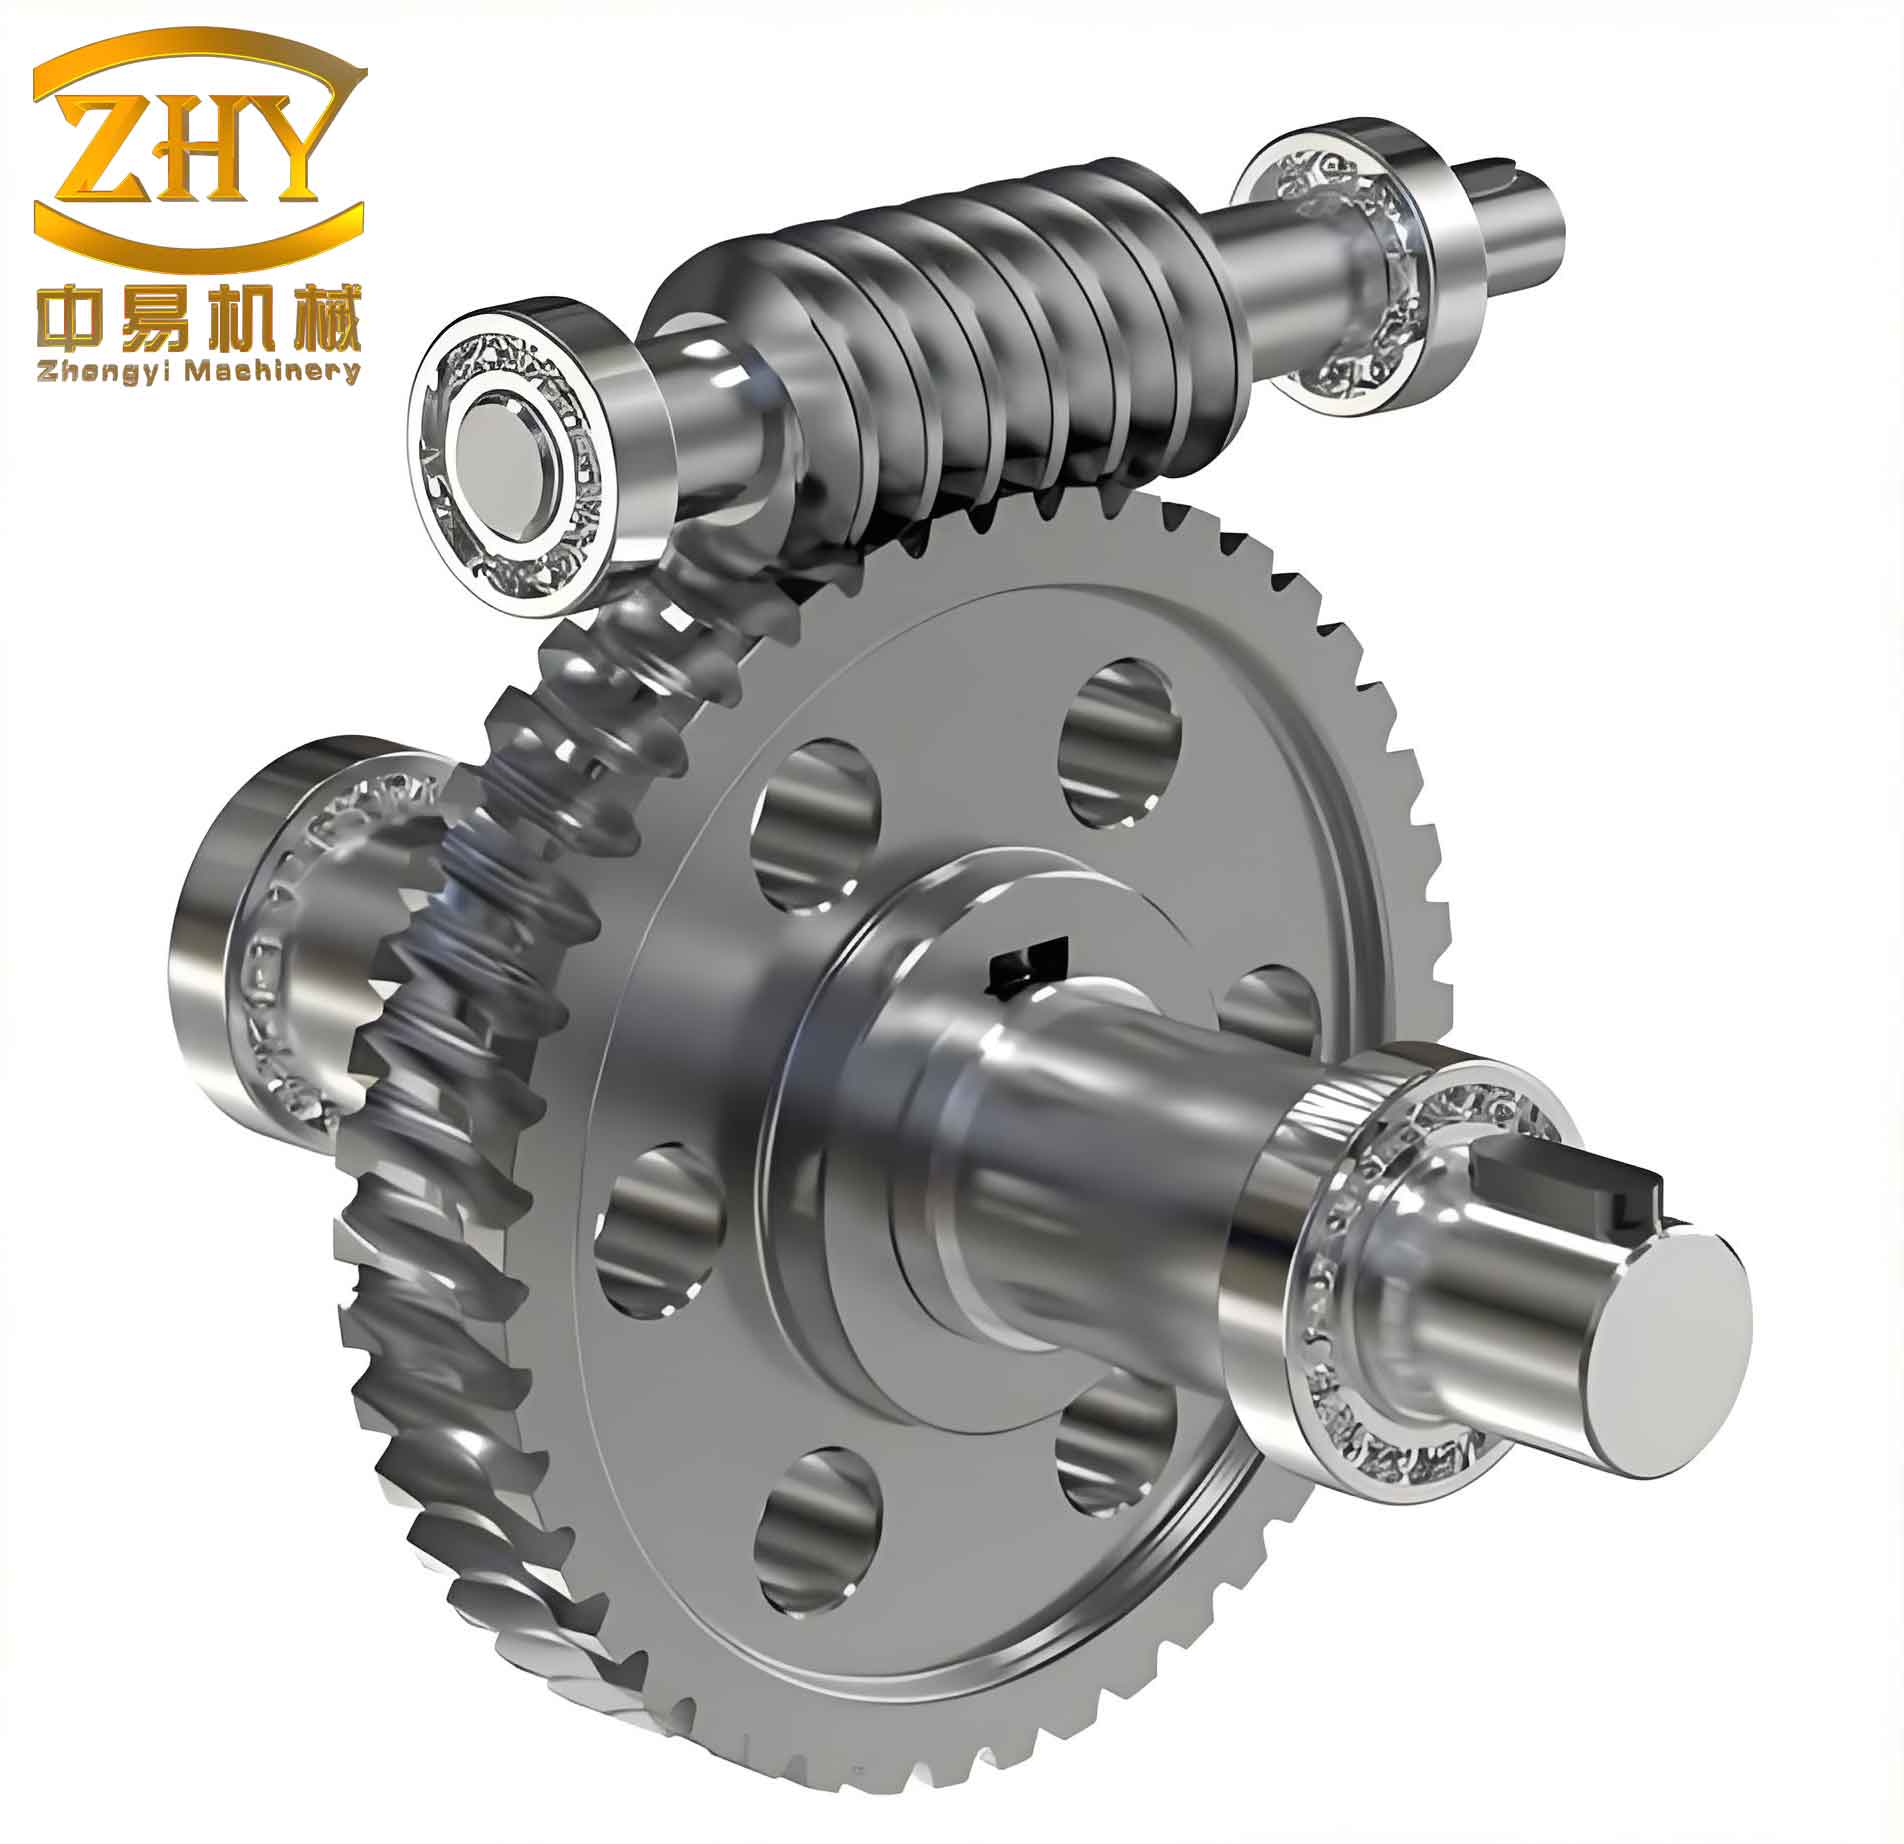
The CAM software outputs G‑code with multiple work offset calls, helical interpolation for the blind hole, and high‑speed machining strategies such as trochoidal milling to maintain constant chip load. The simulation also verifies that the long‑reach tool for the 110 mm blind hole does not collide with the fixture or the workpiece walls. By integrating CAD/CAM, I can reduce programming time, improve process reliability, and ensure that the final worm gear housing meets all required specifications.
7. Conclusion
The adoption of a horizontal high-speed machining center combined with a well‑designed three‑setup fixture, optimized cutting parameters, and CAD/CAM simulation has proven effective for machining the complex worm gear transmission housing. The clamping method is secure and stable, the tool selection is rational, and the separation of roughing and finishing operations allows the shortest possible tool path while maintaining the stringent tolerances demanded by worm gear applications. The overall machining time per piece is controlled within one hour, demonstrating high efficiency and cost‑effectiveness. This comprehensive approach serves as a valuable reference for machining similar box‑type worm gear components with high precision requirements.
In summary, the key formulas and data used in the process are consolidated as follows:
| Description | Formula / Value |
|---|---|
| Cutting speed for roughing | $$ v_c = \frac{\pi d n}{1000} = \frac{\pi \times 20\ \text{mm} \times 8000\ \text{r/min}}{1000} \approx 502.7\ \text{m/min} $$ |
| Feed per tooth (4‑flute tool) | $$ f_z = \frac{f}{z \cdot n} = \frac{2000\ \text{mm/min}}{4 \times 8000\ \text{r/min}} = 0.0625\ \text{mm/tooth} $$ |
| Material removal rate (roughing) | $$ \text{MRR} = a_p \times a_e \times f = 2\ \text{mm} \times 20\ \text{mm} \times 2000\ \text{mm/min} = 80\,000\ \text{mm}^3/\text{min} $$ |
| Positional tolerance requirement | $$ \text{Position tolerance} \leq 0.01\ \text{mm} $$ |
| Coaxiality requirement | $$ \text{Coaxiality} \leq 0.01\ \text{mm} $$ |
| Surface roughness finishing | $$ R_a \leq 0.8\ \mu\text{m} $$ |
These metrics directly contribute to the overall quality of the worm gear transmission, ensuring smooth meshing, low noise, and long service life. The integrated approach presented here underscores the importance of combining machine tool capabilities, fixture design, tool selection, and CAD/CAM technology to successfully manufacture demanding worm gear housing components.