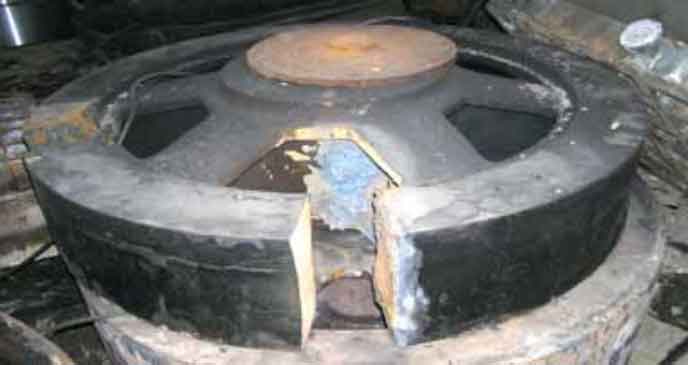
Produced by a company φ 2100mm large forged gear blank with a weight of 6000kg was found to be cracked after quenching and tempering. The forged gear blank is made of ZG35CrMo, and its manufacturing process is: Casting → rough machining → quenching and tempering. The heat treatment process is as follows: furnace charging (flat and padded) → heating 400 ~ 450 ℃ for heat preservation → 650 ~ 700 ℃ for heat preservation → 860 ± 10 ℃ for uniform temperature → oil cooling to 200 ~ 250 ℃ →≤ 350 ℃ for furnace charging uniform temperature → 550 ± 10 ℃ for tempering → furnace cooling to ≤ 450 ℃ for discharging.
1.Inspection
1.1 Macro inspection
The forged gear blanks of broken gears were tested and sampled on site. After sampling, observe the macro morphology of forged gear blank from different angles, as shown in Figure 1. It can be seen from the figure that the crack of forged gear blank is at the pre milling tooth position, and the crack runs through the tooth width of forged gear blank (about 350mm). The cracks are straight and regular. The blank has three cracks.
1.2 Macro inspection of fracture
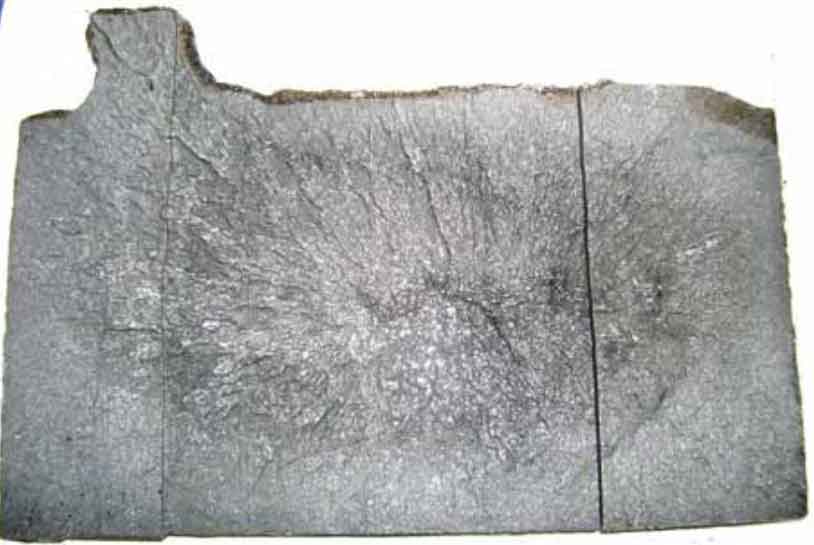
A section sample with a thickness of about 20mm is cut along the circumference at the fracture of forged gear blank. The fracture surface is a complete fracture surface with oxidation and corrosion on the surface. The fracture morphology is shown in Fig. 2. The crack originates from the center of the section (as shown by the arrow). The crack extends radially outward from the center, showing the characteristics of instantaneous cracking.
1.3 Microscopic examination of fracture surface
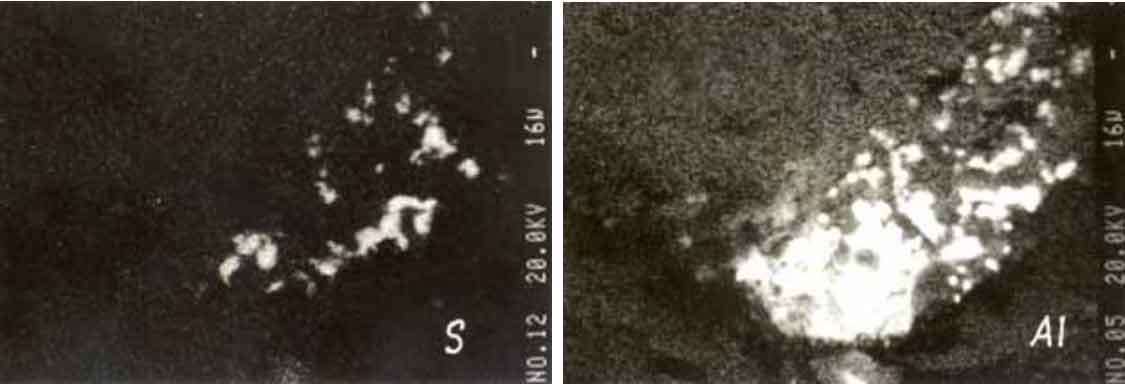
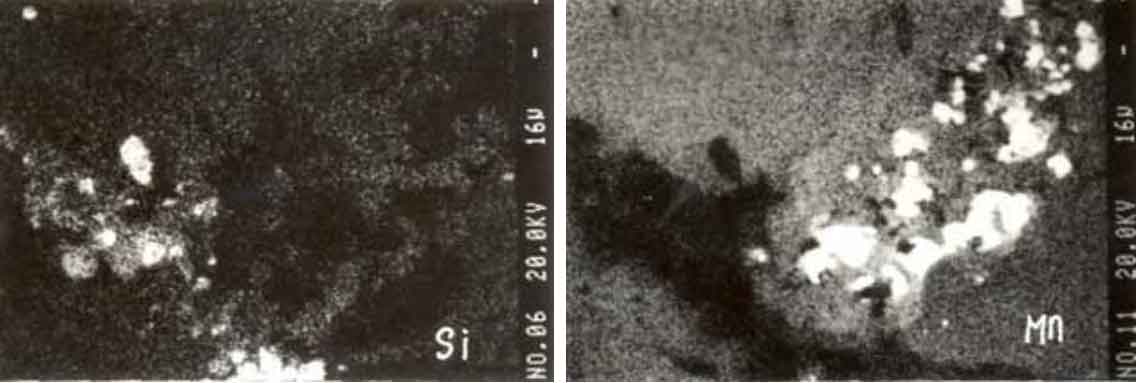
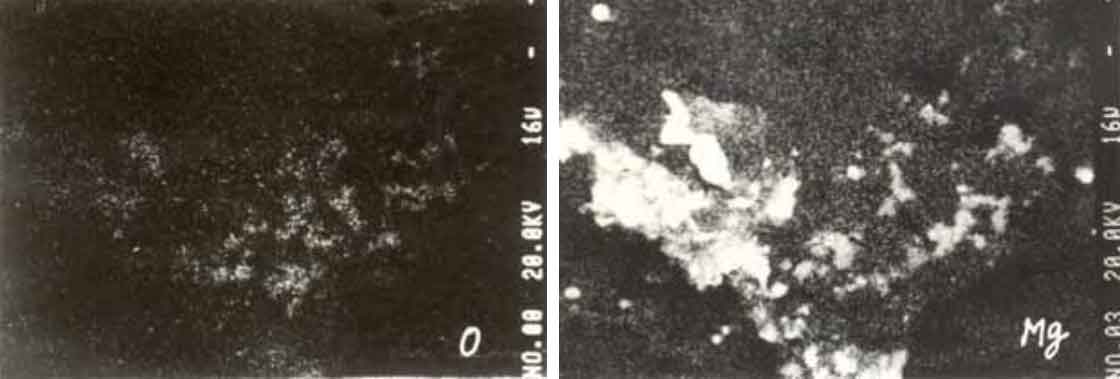
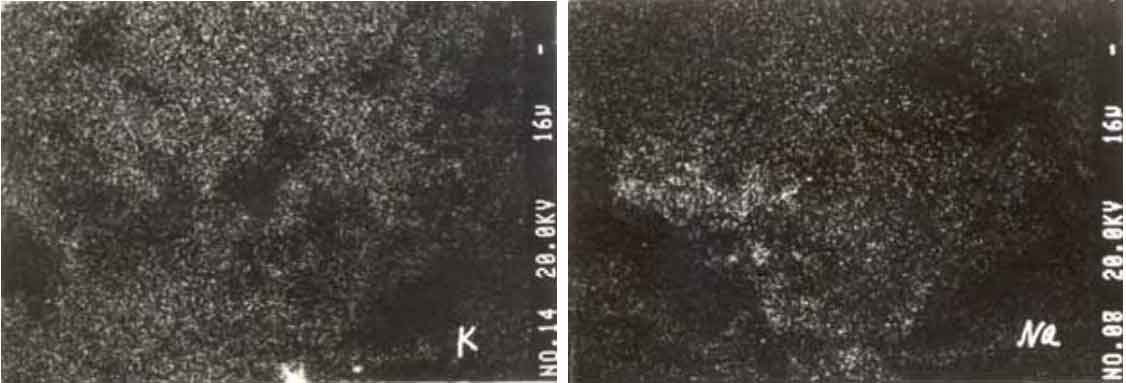
The micro morphology and composition distribution of the fracture were observed by EPM-810Q electron probe. The results are shown in Fig. 3 ~ 14. The fracture is mainly fluvial, showing cleavage fracture characteristics (see Fig. 3). Loose defects can be seen near the fracture source (see Figure 4). Figure 5 ~ 14 shows the morphology of slag inclusion in and near the loose area. The X-ray image of slag elements shows that there are slag inclusions or Refractories in and near the loose defect area, roughly including oxides, sulfides and chlorides of Ca, Mg, Al, Si, Na, K and Mn, which are distributed in a concentrated form.

1.4 Metallographic examination
1.4.1 Low magnification detection
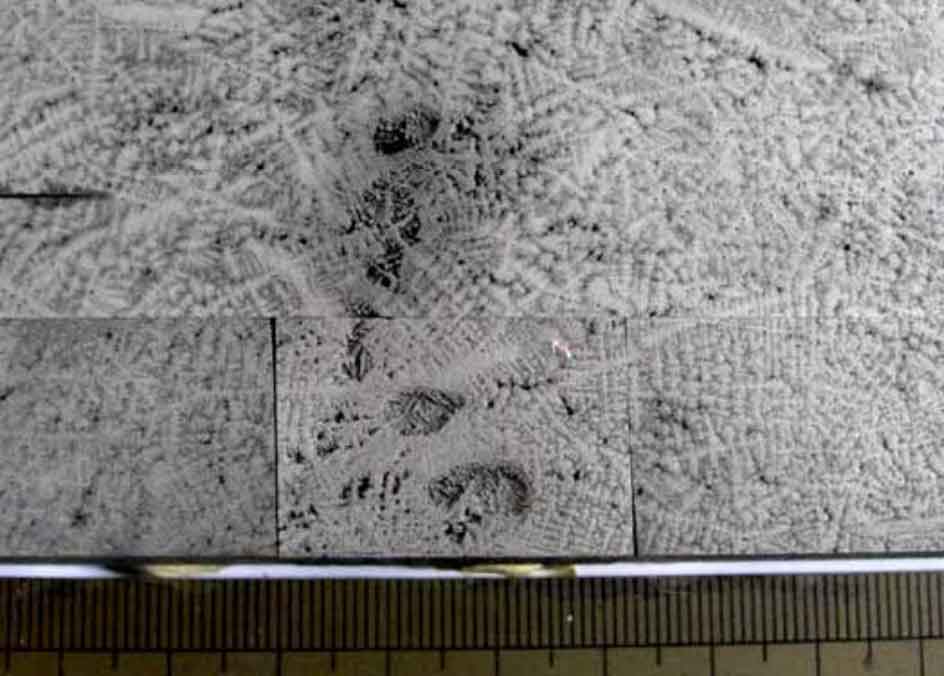
The forged gear blank is sampled by the fracture source area for low magnification acid immersion detection. The low magnification structure on the back of the fracture is shown in FIG. 15 and the fracture source area is shown by the arrow. The macrostructure of two forged gear blanks shows that the shrinkage defect in the fracture source area is obvious, the size is large, and the maximum defect size is about (8) × 4mm), in a concentrated state, there are many scattered macro shrinkage defects in the nearby area, and the dendritic structure in the fault source area and nearby area is obvious.
1.4.2 Microstructure test
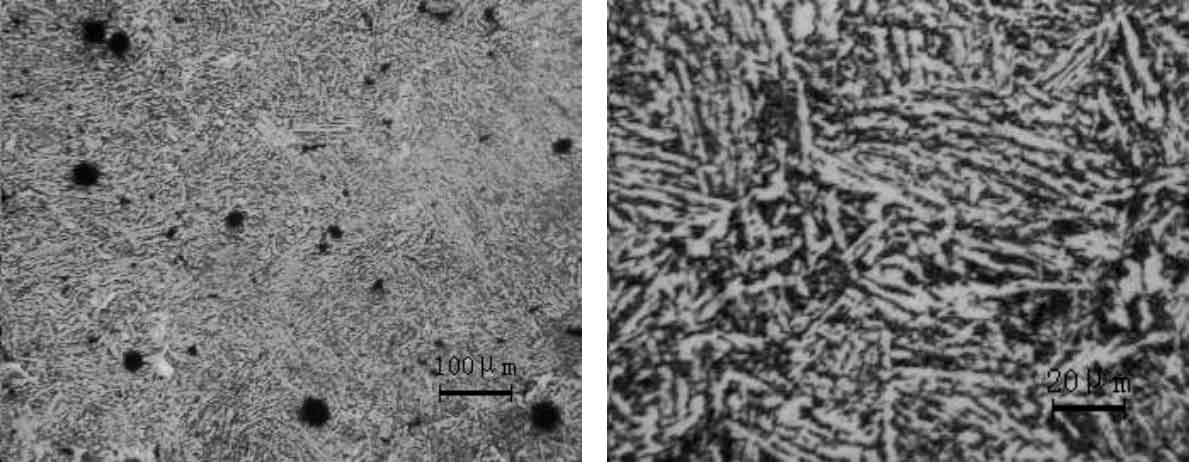
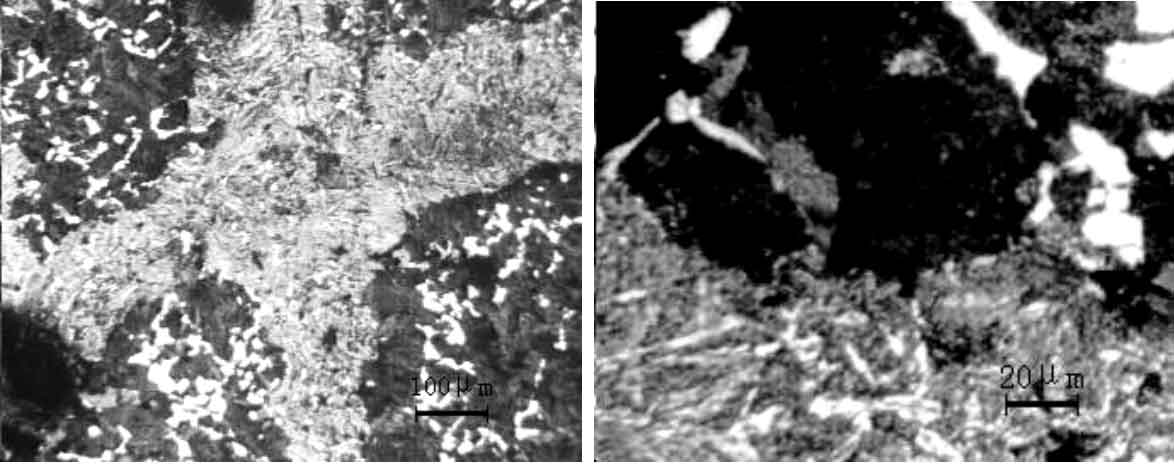
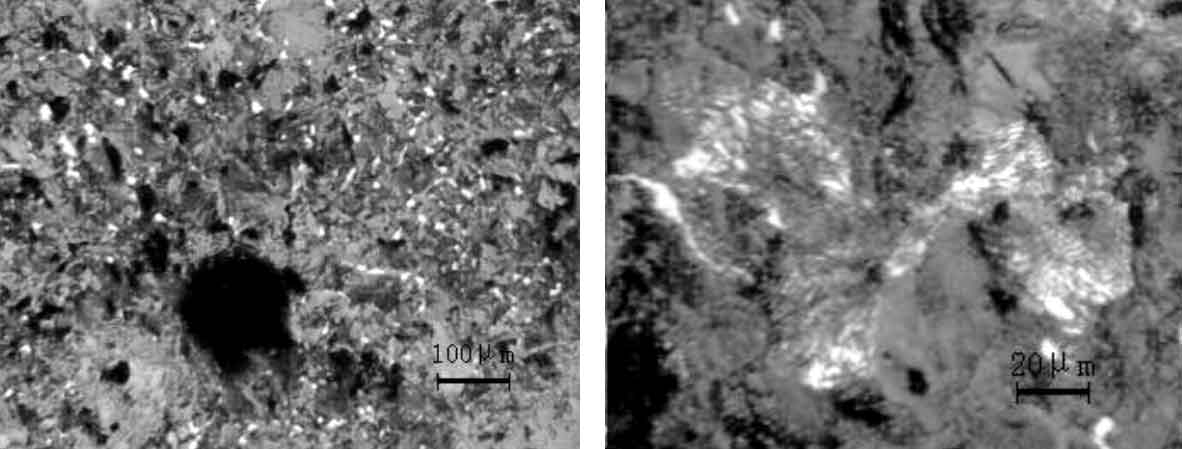
Take metallographic samples (including fracture source area) on one side of the fracture sample, and the positions are shown in 1, 2 and 5 in FIG. 16. After measurement, the depth of quenching layer (including transition zone) is about 40mm, and the metallographic structure of its outer surface is tempered sorbite, with black dot loose defects (as shown in FIG. 17 ~ 18); The microstructure of the transition zone is tempered sorbite, sorbite, pearlite and ferrite (as shown in Fig. 19 ~ 20); The central part is the fracture source area, and its organization is sorbite, pearlite and ferrite (see Fig. 21 ~ 22).
2.Chemical composition test
Take samples from forged gear blank samples for chemical composition test, and the results are normal, as shown in Table 1:
3.Analysis of test results
1) The crack of forged gear blank originates from the center of the section, forming an obvious flat circular area. The crack extends radially from the center, which is instantaneous cracking, showing the characteristics of heat treatment cracking.
2) The macrostructure of the forged gear blank shows that the shrinkage cavity defect in the fracture source area is obvious, the size is large and exists in a concentrated state. There are also many scattered macro shrinkage defects in the nearby area. The existence of this defect destroys the continuity of the structure and will seriously affect the mechanical properties of the casting. This area is the source area causing the cracking of the forged gear blank.
3) The macro dendritic structure in the fracture source area and nearby area is obvious, indicating that the structure of the core has not changed (not quenched) during quenching, and the as cast structure is still retained.
4) The order of metallographic structure from the surface of forged gear blank to the center is: surface tempered sorbite; The microstructure of the transition zone is tempered sorbite, pearlite and ferrite; The central tissue is sorbite, pearlite and ferrite.
4.Conclusion
The forged gear blank of large gear is a large section casting. During quenching and cooling, the thermal stress is large. The surface of the forged gear blank of gear is subjected to compressive stress, while the center is subjected to large axial tensile stress. The mechanical properties of this area are deteriorated due to serious shrinkage, porosity and slag inclusion defects in the center of forged gear blank. During tempering, due to the combined action of quenching residual stress and microstructure stress, cracks are caused at the defects of forged gear blank.

