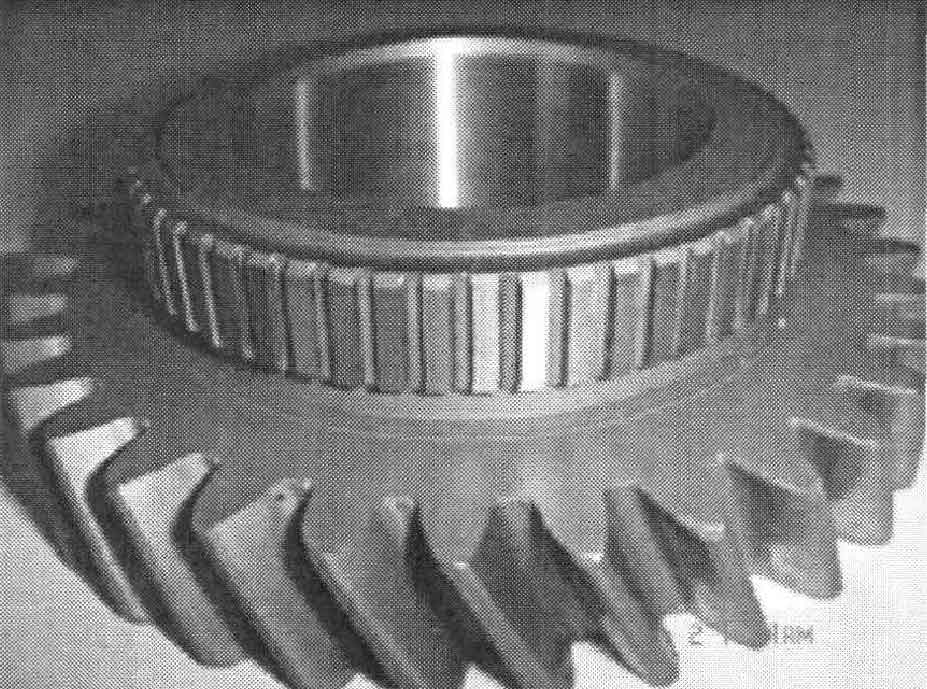
Different from ordinary gears, the gear teeth of cylindrical helical gears are not parallel to the central axis. Therefore, the manufacturing error generated in the process of gear processing needs to be considered in the measurement system of cylindrical helical gear processing parameters. Therefore, machine vision technology is introduced in the overall design. The edge features are extracted by digital image processing, and the manufacturing error of the current measurement parameters is estimated according to the values of other parts.

According to the machine vision technology, the hardware structure of the measuring system for the machining parameters of cylindrical helical gears is established. Under the hardware design framework, the system uses the optical lens to obtain the gear processing parameters in the measurement process. The specific process is that the measured cylindrical helical gear is processed under the specific light source conditions, and the gear image is acquired through the optical lens imaging. As the key hardware of machine vision technology, optical lens will directly affect the image quality in the imaging process. The measurement system requires that the central perspective projection of the lens, the optical center and optical axis of the measurement camera conform to the basic collinear equation in photogrammetry, so it needs to refer to the model and size of the camera and the sensor, and select the lens with the minimum distortion within a certain field of view according to the size of the cylindrical helical gear.
Wp-10m0.8×178/t Coaxial / non coaxial dual telecentric optical lens is selected, with magnification of 0.0415, working distance of 700mm, depth of field of 410.0mm, f6.5 aperture and 8 μ M U.M. When the photosensitive element of the camera is 1 inch (12.8 mm × 9.6mm), the corresponding FOV field of view is 308.4mm × 231. 2mm。 In the process of measuring the parameters of the cylindrical helical gear, it is necessary to ensure that the profile of the cylindrical helical gear is clear. In order to play the maximum role of the lens, backlight illumination and adjustable brightness are required.
The function of the three-axis motion platform is to assist the system to realize the three-dimensional measurement of cylindrical helical gears. The laser sensor can only measure the parameter information of one dimension, so the three-dimensional measurement can be realized by using the motion of the three-axis motion platform in the plane. Assuming that the maximum diameter of the surface of the measured cylindrical helical gear is 150-200mm, and the length of each tooth of the cylindrical helical gear is about 30-70mm, it is necessary to design and estimate the moving stroke of the three-axis motion platform according to the actual size of the cylindrical helical gear. Yh2341532rq03 high-precision electric platform is selected as the three-axis motion platform. The maximum bearing capacity of the platform measurement area is 11.5kg, and the parallelism of motion is not more than 12 μ m. The straightness during movement is 5 μ m。 The motion controller inside the platform can control the platform to keep the high-precision ball screw moving and move under the action of pulses. Each pulse can push the platform to move 1 μ m. The absolute positioning accuracy is within 3 μ The return clearance can reach 2 μ m. The maximum moving distance can reach 200mm, which can effectively realize the parameter measurement of different types of cylindrical helical gears for the system.
