
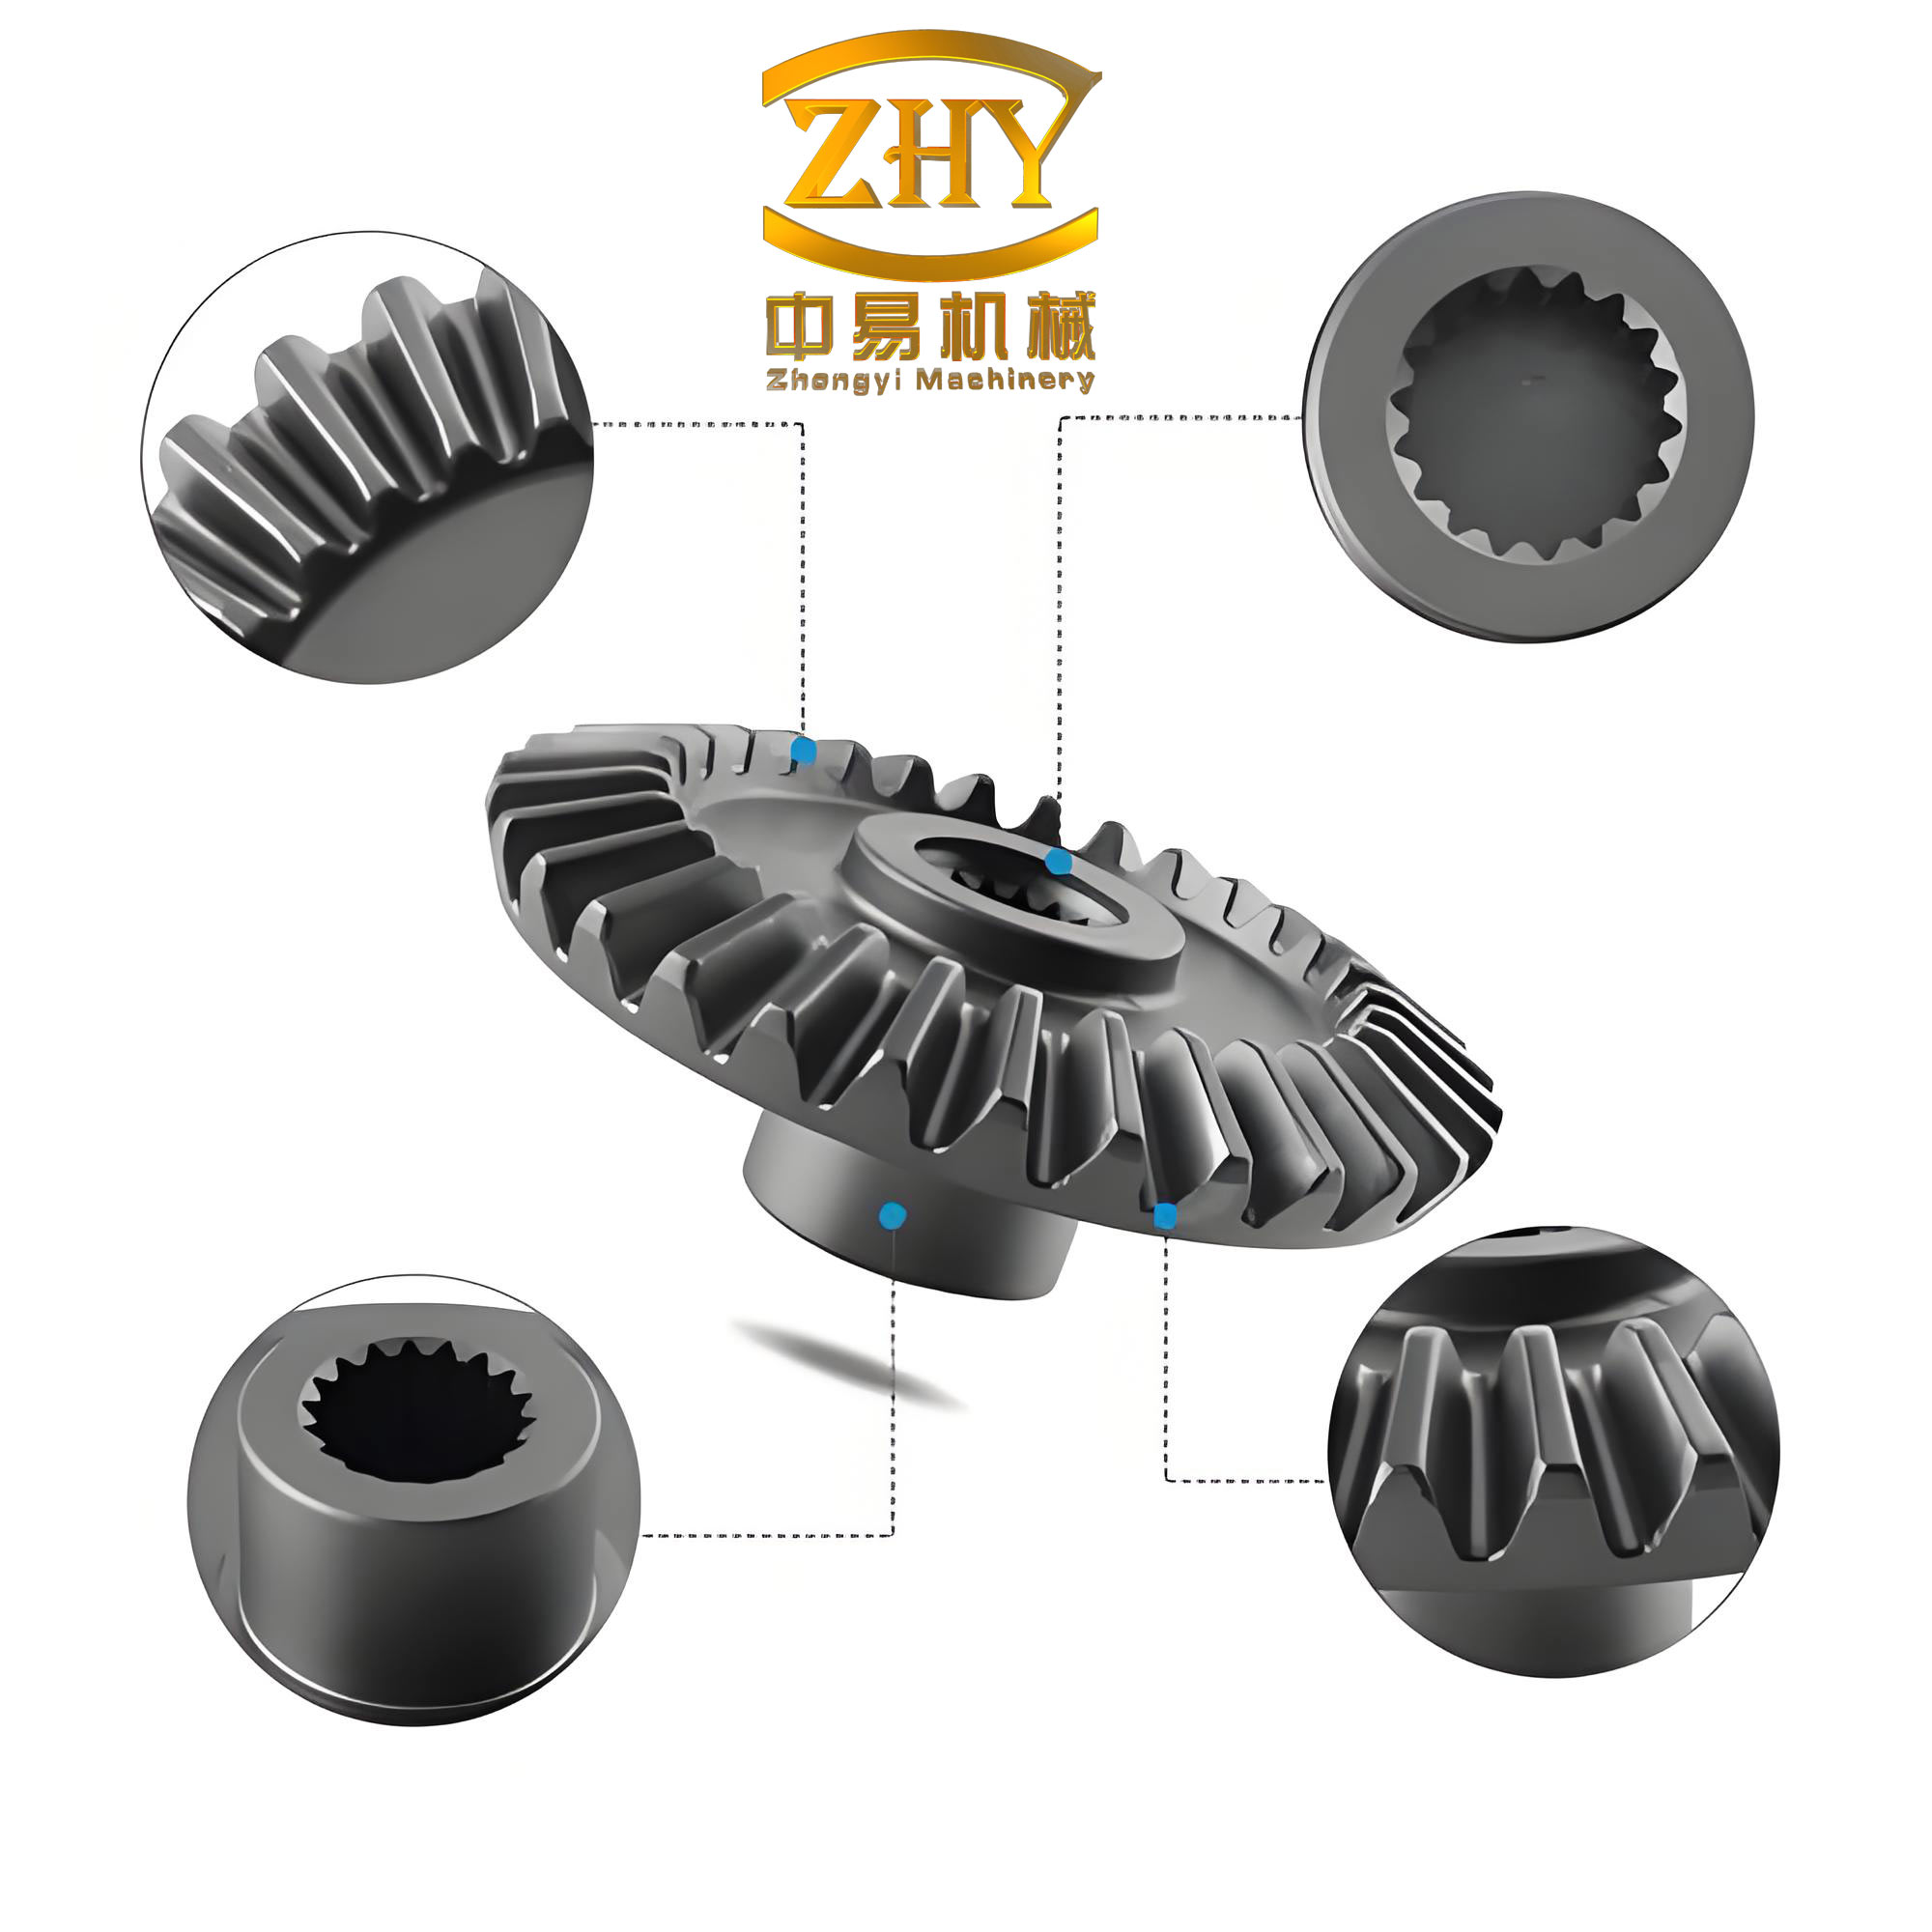
In the field of gear manufacturing, particularly for electrical discharge machining (EDM) electrodes, the precise inspection of straight bevel gears presents significant challenges. The complexity of their conical geometry often limits measurements to basic parameters like chordal tooth thickness and chordal height at the large end. To address this, I have developed and implemented a method utilizing computational tools and optical projection technology. This approach enables comprehensive inspection of the entire tooth profile, specifically focusing on the large-end tooth form of straight bevel gears. The technique not only ensures high measurement accuracy but also proves to be cost-effective, making it accessible for quality control in various workshops. In this detailed account, I will describe the entire procedure, from the foundational calculations to the final verification on the projector, emphasizing the critical role of straight bevel gears in modern machinery.
The core of this method lies in transitioning from traditional, limited measurements to a full-tooth-form analysis. For straight bevel gears used as EDM electrodes, minor deviations in tooth profile can lead to significant defects in the final forged components, such as differential or axle gears. Therefore, a robust inspection system is paramount. My solution leverages computer-aided calculation to generate an magnified ideal tooth profile drawing, which is then used as a master template for comparison against the actual gear under a projector. This process effectively visualizes and quantifies form errors that are otherwise difficult to capture. Throughout this discussion, the term straight bevel gears will be frequently referenced, as they are the central subject of this inspection methodology.
The initial and most crucial step is the precise mathematical modeling of the tooth profile. Given the parameters of a straight bevel gear, the large-end tooth form can be treated as an equivalent spur gear on the back cone. This transformation simplifies the complex 3D geometry into a 2D problem that can be solved using established involute geometry principles. For a typical straight bevel gear, key parameters include number of teeth $z$, transverse module $m_t$, pressure angle $\alpha$, addendum coefficient $h_a^*$, and radial modification coefficient $x$. The calculation aims to derive the coordinates of points along the involute profile and the associated chordal dimensions at various radii.
I developed a software algorithm based on the following geometric relationships. The program calculates the profile point by point, ensuring high fidelity to the theoretical shape. The fundamental equations governing the involute of a circle are employed. For the equivalent spur gear at the large end of the straight bevel gear, we first compute the equivalent or virtual number of teeth $z_v$:
$$ z_v = \frac{z}{\cos \delta} $$
where $\delta$ is the pitch cone angle. The equivalent base circle radius $r_b$, pitch circle radius $r$, and tip circle radius $r_a$ at the large end are given by:
$$ r = \frac{m_t z}{2} $$
$$ r_b = r \cos \alpha $$
$$ r_a = r + h_a = r + m_t (h_a^* + x) $$
To generate the involute profile, we parameterize it using the roll angle $\theta$. The coordinates $(x_i, y_i)$ of a point on the involute, relative to the tooth symmetry line, are calculated for a series of radii $r_y$ ranging from the base circle $r_b$ to the tip circle $r_a$. The polar coordinates on the involute are:
$$ \text{Involute function: } \text{inv}(\alpha_y) = \tan \alpha_y – \alpha_y $$
$$ \theta_y = \frac{s}{2r} + \text{inv}(\alpha) – \text{inv}(\alpha_y) $$
where $\alpha_y = \cos^{-1}(r_b / r_y)$ is the pressure angle at radius $r_y$, and $s$ is the arc tooth thickness at the pitch circle. The chordal tooth thickness $s_y$ at radius $r_y$ and its vertical distance $i$ from the gear center are computed for plotting. The program iterates through these calculations, outputting a table of coordinates. A simplified flow of the algorithm is summarized below:
| Step | Calculation | Output |
|---|---|---|
| 1 | Input gear parameters: $z$, $m_t$, $\alpha$, $h_a^*$, $x$, $\delta$. | – |
| 2 | Compute equivalent values: $z_v$, $r$, $r_b$, $r_a$. | Basic radii. |
| 3 | Define array of radii $r_y$ from $r_b$ to $r_a$. | List of $r_y$ values. |
| 4 | For each $r_y$, compute $\alpha_y$, $\theta_y$, $s_y$, $i$. | Coordinate set $(s_y, i)$. |
| 5 | Generate symmetric points for full tooth width. | Table of $(x, y)$ coordinates. |
This computational model is essential for creating an accurate reference for straight bevel gears. The output data serves as the blueprint for the next stage: drawing the magnified tooth profile. The magnification factor, typically 20x or 50x, is chosen based on the projector’s lens capability and the required measurement resolution. For instance, using a 20x lens, every real-world millimeter corresponds to 20 millimeters on the drawing, making minute deviations clearly visible.
With the coordinate data in hand, the next step is to produce a physical drawing on a dimensionally stable, transparent medium. I use high-quality tracing paper or polyester film, which exhibits minimal thermal and hygroscopic expansion. The paper is mounted on a coordinate measuring machine or a precise flat surface with a grid. The Y-axis is aligned to represent the tooth centerline, and the X-axis represents the direction of chordal thickness. Starting from the calculated points, I plot each symmetric pair of coordinates. The involute section is drawn by smoothly connecting these points with a fine-tip pen (0.2-0.3 mm line width). The tip circle region is approximated by a straight line perpendicular to the centerline, as the very top of the tooth is flat for many straight bevel gears. Below the base circle, the tooth profile transitions into the fillet. This region is constructed by drawing a line parallel to the Y-axis from the end of the involute down to the root chord height, which is approximately given by $h_f \approx (r_{y0} – i_0) + 0.2m_t$, where $r_{y0}$ and $i_0$ are the initial radius and offset from the calculation output. The root fillet radius $\rho_f$ is typically set to $0.1 \times m_t$ and is drawn as a circular arc tangent to both the root line and the straight portion. This completes the nominal tooth profile outline.
To account for manufacturing tolerances, a tolerance band must be incorporated into the drawing. According to the gear accuracy standard (e.g., GB11365-89 for 8-grade precision), the allowable deviations in tooth thickness and form are known. These tolerances are magnified by the same factor and applied inward from the nominal profile line. By offsetting the nominal line parallelly by the magnified tolerance value, I create a second inner line. The zone between these two lines constitutes the acceptable region for the actual tooth profile. This drawing, now containing both the nominal line and the tolerance band, becomes the master template for inspection. The process of creating this template is critical for ensuring that straight bevel gears meet their design specifications, especially when they serve as precision electrodes.
The inspection phase utilizes a profile projector, such as the JTT600-B1 model. The setup involves careful mounting and alignment of the straight bevel gear. A mandrel is used to hold the gear securely, ensuring its axis is parallel to the projector’s stage. The gear is then positioned so that the optical axis of the projector coincides with the pitch cone line of the straight bevel gear. This alignment is crucial for projecting a true representation of the large-end profile. A challenge arises because the root cone angle is smaller than the pitch cone angle, causing the root area to be shadowed when using transmitted (diascopic) illumination. To overcome this, I employ reflected (episcopic) illumination, which lights the front surface of the gear. By polishing the back cone surface (the large-end face) to improve its reflectivity, a clear image of the entire tooth contour, including the root fillet, can be projected onto the screen.
The projector screen, typically equipped with crosshairs and a micrometer, is where the comparison takes place. The previously drawn master template is placed on the screen, aligning its coordinate axes with the screen’s crosshairs. Specifically, the tooth’s centerline (Y-axis) and the tip line (X-axis) of the drawing are superimposed on the screen’s vertical and horizontal reference lines. The magnified shadow of the actual tooth is then projected alongside or over this template. The inspection involves several key checks, which I systematically perform:
| Inspection Item | Method | Acceptance Criterion |
|---|---|---|
| Involute Profile Smoothness | Visual observation of the projected involute curve. | The curve must be continuous and free of bumps or flats. |
| Pressure Angle Verification | Measure angle of tangent to involute at pitch point using screen protractor. | Must equal the specified $\alpha$ (e.g., 19°40′) within tolerance. |
| Total Tooth Height ($h$) | Measure vertical distance from tip to root on projection. | Must match design value (e.g., 9.34 mm) per magnified scale. |
| Chordal Height ($h_e$) & Thickness ($s_e$) | Measure at the large end using screen micrometer. | Must fall within the specified tolerance band on drawing. |
| Root Fillet Contour | Compare projected fillet shape with drawn fillet arc. | Shape and radius must conform to design. |
| Composite Tooth Form Error | Assess if entire projected profile lies within the drawn tolerance band. | No part of the shadow should exceed the inner boundary of the tolerance zone. |
If any of these checks reveal deviations outside the allowable limits, the straight bevel gear is rejected. The immediate feedback allows for timely adjustments in the machining process, such as regrinding the cutting tool or realigning the gear generator. This proactive quality control loop is invaluable for manufacturing high-precision straight bevel gears, especially for demanding applications like mold electrodes for precision forging.
The mathematical foundation of this method warrants deeper exploration to appreciate its accuracy. The involute curve generation is based on the parametric equations derived from the geometry of a circle. For a point on the involute, the Cartesian coordinates relative to the gear center can be expressed as:
$$ x = r_b (\cos \phi + \phi \sin \phi) $$
$$ y = r_b (\sin \phi – \phi \cos \phi) $$
where $\phi$ is the roll angle (in radians) measured from the start of the involute at the base circle. However, for our purpose of drawing a single tooth symmetrically, we transform these to coordinates relative to the tooth centerline. The chordal tooth thickness $s_y$ at any radius $r_y$ is given by:
$$ s_y = 2 r_y \sin \left( \frac{s}{2r} + \text{inv}(\alpha) – \text{inv}(\alpha_y) \right) $$
The vertical distance $i$ from the gear center to the midpoint of this chord is:
$$ i = r_y \cos \left( \frac{s}{2r} + \text{inv}(\alpha) – \text{inv}(\alpha_y) \right) $$
These formulas are encoded into the software to produce the coordinate table. To illustrate, let’s consider a sample calculation for a straight bevel gear with the parameters mentioned earlier: $z=20$, $m_t=5.05 \text{mm}$, $\alpha=19^\circ 40′ = 19.6667^\circ$, $h_a^*=0.8$, $x=0.39$, $\delta$ (assuming, for example, 45°). First, convert angle to radians: $\alpha_{\text{rad}} = 19.6667 \times \frac{\pi}{180} \approx 0.3432 \text{ rad}$. Then:
$$ r = \frac{5.05 \times 20}{2} = 50.5 \text{ mm} $$
$$ r_b = 50.5 \times \cos(0.3432) \approx 50.5 \times 0.9412 \approx 47.53 \text{ mm} $$
$$ r_a = 50.5 + 5.05 \times (0.8 + 0.39) = 50.5 + 5.05 \times 1.19 \approx 50.5 + 6.01 \approx 56.51 \text{ mm} $$
$$ z_v = \frac{20}{\cos(45^\circ)} = \frac{20}{0.7071} \approx 28.28 $$
The arc tooth thickness at pitch circle $s$ is typically calculated from the basic rack geometry. For a gear with addendum modification, the formula is more complex, but for this example, let’s assume $s = 6.272 \text{ mm}$ as given. The software would then compute $s_y$ and $i$ for, say, $r_y = 52 \text{ mm}$:
$$ \alpha_y = \cos^{-1}(47.53 / 52) = \cos^{-1}(0.9140) \approx 0.4170 \text{ rad} $$
$$ \text{inv}(\alpha) = \tan(0.3432) – 0.3432 \approx 0.3567 – 0.3432 = 0.0135 $$
$$ \text{inv}(\alpha_y) = \tan(0.4170) – 0.4170 \approx 0.4428 – 0.4170 = 0.0258 $$
$$ \theta_y = \frac{6.272}{2 \times 50.5} + 0.0135 – 0.0258 = 0.0621 + 0.0135 – 0.0258 = 0.0498 \text{ rad} $$
$$ s_y = 2 \times 52 \times \sin(0.0498) \approx 104 \times 0.0498 \approx 5.18 \text{ mm} $$
$$ i = 52 \times \cos(0.0498) \approx 52 \times 0.9988 \approx 51.94 \text{ mm} $$
These values, when magnified by 20, become $s_y^{\text{(drawing)}} = 103.6 \text{ mm}$ and $i^{\text{(drawing)}} = 1038.8 \text{ mm}$ on the paper. This level of detail ensures the drawing is precise. The process is repeated for numerous points to define the curve accurately.
Beyond the basic inspection, this method can be extended to analyze specific error types in straight bevel gears. For instance, profile deviation (form error), pitch errors, and runout can be assessed by inspecting multiple teeth around the gear. By rotating the gear on the mandrel and aligning each tooth sequentially with the template, a comprehensive quality map can be created. The projector’s stage micrometers allow for quantitative measurement of deviations in the X and Y directions, which can be recorded for statistical process control. This is particularly useful for batch production of straight bevel gears, where consistency is key.
The advantages of this projector-based inspection method for straight bevel gears are manifold. First, it provides a full-field view of the tooth form, unlike single-point measurement devices. This holistic view helps in identifying localized defects such as nicks, undercuts, or improper fillets. Second, the method is relatively inexpensive compared to coordinate measuring machines (CMM) or dedicated gear analyzers, making it suitable for small to medium-sized enterprises. The primary costs involve the projector (a standard tool in many metrology labs) and the computational/drawing effort, which is largely automated. Third, the visual comparison is intuitive and requires less specialized training than operating complex gear metrology software. The inspector can immediately see whether the gear is good or bad, facilitating quick decisions on the shop floor.
However, the method also has limitations. The accuracy is ultimately dependent on the quality of the drawing, the alignment of the gear, and the resolution of the projector’s optics. Environmental factors like vibration or temperature changes can affect the projection clarity. Moreover, it is a 2D projection of a 3D object; thus, errors in the alignment of the gear axis can lead to distorted images. To mitigate this, meticulous setup is required, and for highest precision, the gear should be measured in a controlled environment. Despite these limitations, for straight bevel gears with moderate precision requirements (e.g., ISO 8 grade or similar), the method is entirely adequate. In my experience at a gear manufacturing facility, implementing this technique for inspecting straight bevel gear electrodes resulted in a significant reduction in scrap rates and improved the quality of forged gear molds. The measured极限误差 (limiting error) was found to be around 0.8%, which well satisfies the technical requirements for such applications.
To further enhance the method, one can integrate digital image processing. Instead of a physical drawing, a digital template can be displayed on a monitor superimposed with the live projector image captured by a camera. Software can then automatically compare the profiles and compute deviations. This digital upgrade retains the core principle while increasing speed, accuracy, and data logging capabilities. Nevertheless, the manual version I described remains a robust and accessible solution.
In conclusion, the inspection of straight bevel gears using a projector, complemented by computational tooth profile generation, is a powerful technique for quality assurance. It transforms the challenging task of full-tooth-form verification into a manageable visual comparison process. The method underscores the importance of precise geometry in straight bevel gears, which are critical components in differential systems, power transmission, and specialized machining like EDM. By following the steps outlined—calculation, drawing, and projection—manufacturers can ensure their straight bevel gears conform to design specifications reliably and cost-effectively. As manufacturing trends continue to demand higher precision and efficiency, such hybrid methods that blend traditional metrology with computational tools will remain invaluable in the production of straight bevel gears and other complex mechanical components.