
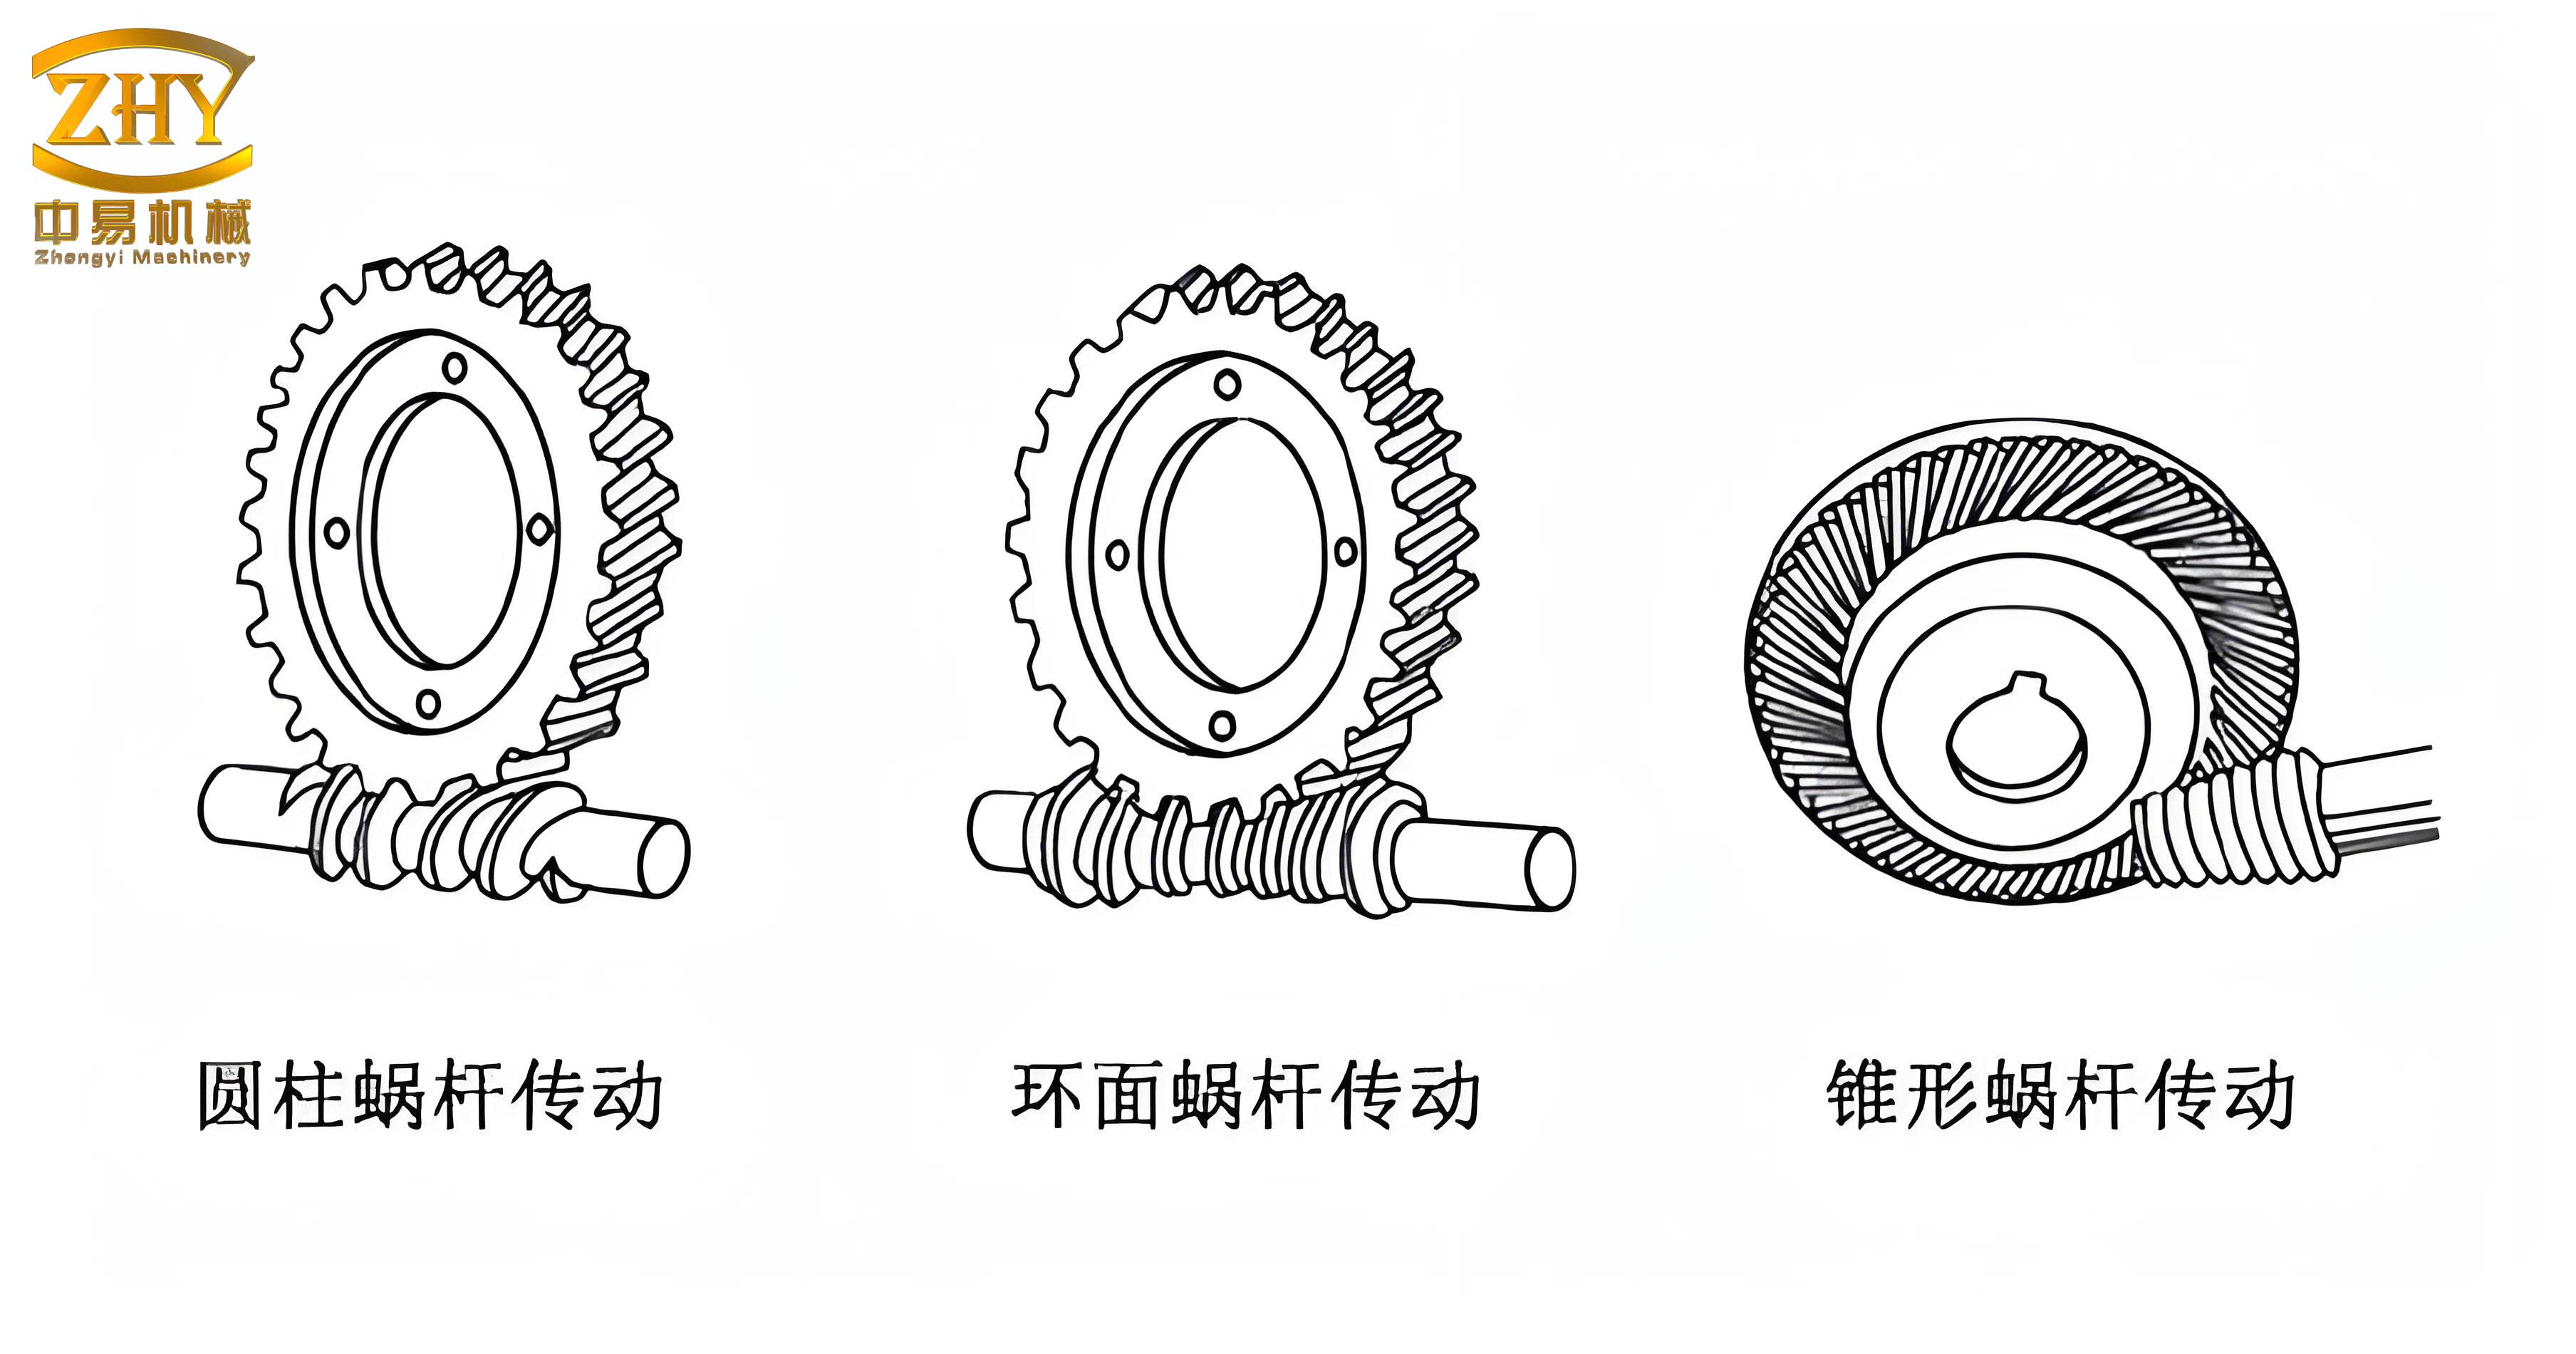
As a mechanical design engineer, I often encounter the need for efficient and accurate modeling of power transmission components. Among these, screw gear drives, particularly worm gear sets, are fascinating and complex. They are used to transmit motion and power between non-intersecting, perpendicular shafts, offering high reduction ratios in a compact space. The design process, however, involves intricate geometry defined by numerous interdependent parameters. Manually recreating a 3D model for every design iteration is time-consuming and error-prone. This is where the power of parametric computer-aided design (CAD) becomes indispensable. In this comprehensive guide, I will detail my methodology for building fully parametric three-dimensional models of worm wheels and worms—a specific and common type of screw gear—using PTC’s Pro/ENGINEER Wildfire 4.0 (Pro/E). The goal is to create an intelligent model where modifying a few key input variables automatically regenerates a geometrically precise and valid assembly, drastically shortening the design cycle and providing a robust foundation for subsequent analysis like FEA and dynamic simulation.
The core philosophy of parametric design is to embed design intent directly into the model. Instead of creating static geometry, we define features (like extrusions, revolves, sweeps) whose dimensions and properties are controlled by parameters, names, and algebraic relationships. In Pro/E, this is achieved through a combination of features: Parameters, Relations, and User-Defined Features (UDFs) or, as utilized in this approach, programmed models via Pro/PROGRAM. For a screw gear set, the design intent includes the fundamental kinematic relationship, the involute tooth profile, and the precise helical geometry of the worm. By making the model “aware” of these relationships, it can solve for all dependent dimensions automatically.
My parametric design workflow for a screw gear set follows a logical sequence. First, I establish the fundamental design parameters. Second, I create the base geometry (cylinders, disks). Third, and most critically, I generate the governing curves: the involute for the tooth profile and the helix for the worm thread path. Fourth, I use advanced solid modeling features like Swept Blends to wrap the tooth profile along the path, creating a single tooth. Finally, I pattern this tooth around the axis to complete the gear. The same fundamental principle—defining geometry with equations—applies to both the worm wheel and the worm, albeit with different trajectories and reference frames.
Establishing the Parameter Framework
The first and most crucial step is to define all parameters and their interrelationships. For a standard involute cylindrical screw gear set, I define two categories of parameters: Primary (Input) and Secondary (Driven). The primary parameters are those a designer would typically specify or change based on load, space, or ratio requirements. The secondary parameters are calculated from the primary ones using established gear theory formulas.
| Primary (Input) Parameters | Symbol | Description |
|---|---|---|
| Normal Module | M | Basic size unit for screw gears (mm or in). |
| Number of Worm Threads (Starts) | Z1 | Typically 1, 2, 3, or 4. Defines the lead. |
| Number of Worm Wheel Teeth | Z2 | Determines the gear ratio i = Z2 / Z1. |
| Worm Reference Diameter | D1 | Pitch diameter of the worm. |
| Center Distance | A | Distance between worm and wheel axes. |
| Face Width of Worm Wheel | B | Axial length of the worm wheel rim. |
From these, a suite of secondary parameters is derived using Relations in Pro/E. Here are the key formulas programmed into the model:
Lead and Lead Angle: The axial advance per one revolution of the worm is the Lead (S). The lead angle (γ) is critical for defining the helix.
$$ S = \pi \cdot M \cdot Z1 $$
$$ \gamma = \arctan\left(\frac{S}{\pi \cdot D1}\right) = \arctan\left(\frac{M \cdot Z1}{D1}\right) $$
In the worm wheel, the helix angle (β) is equal to the worm’s lead angle: $$ \beta = \gamma $$.
Worm Wheel Reference Diameter: For a standard center distance design:
$$ D2 = 2 \cdot A – D1 $$
More generally, it can be calculated from the module and tooth count, considering addendum modifications.
Pressure Angle Conversion: Screw gears have a defined normal pressure angle (α_n), often 20°. The transverse pressure angle (α_t) in the plane of rotation is larger due to the helix.
$$ \alpha_t = \arctan\left(\frac{\tan(\alpha_n)}{\cos(\beta)}\right) $$
This transverse pressure angle is used in the involute generation on the wheel.
Key Diameters: The main diameters for the worm wheel are driven by the module:
$$ \text{Addendum Diameter: } D_{a2} = D2 + 2 \cdot M $$
$$ \text{Dedendum Diameter: } D_{f2} = D2 – 2.4 \cdot M $$
$$ \text{Base Diameter: } D_{b2} = D2 \cdot \cos(\alpha_t) $$
The factor 2.4 for the dedendum accounts for both the addendum of the mating worm and a clearance.
Parametric Modeling of the Worm Wheel
With parameters defined, I begin constructing the worm wheel model. I start a new part file and declare all parameters via Tools > Parameters. Then, I input the relations shown above via Tools > Relations. The modeling sequence is as follows:
1. Creating the Datum Curves for Tooth Geometry: I first sketch four concentric circles on the front datum plane. Initially, they are arbitrary. I then assign relations to their diameter dimensions (sd#) to control them:
$$ \text{sd3} = D2 $$
$$ \text{sd4} = D_{a2} $$
$$ \text{sd5} = D_{b2} $$
$$ \text{sd6} = D_{f2} $$
Regenerating the model updates the circles to their correct sizes. Next, I create the involute curve of the worm wheel using the Equation method. I select a Cartesian coordinate system with its Z-axis aligned with the gear axis. The parametric equations for an involute are:
$$ r = \frac{D_{b2}}{2} $$
$$ \theta = t \cdot 90 \quad \text{(t goes from 0 to 1)} $$
$$ x = r \cdot (\cos(\theta) + \theta \cdot \sin(\theta)) $$
$$ y = r \cdot (\sin(\theta) – \theta \cdot \cos(\theta)) $$
$$ z = 0 $$
This creates one flank of an involute tooth. I mirror this curve about the right datum plane to create the symmetrical flank of a tooth space. To position these curves correctly for the helical tooth, I create a rotated copy of this pair. The rotation angle around the axis is calculated based on the face width and helix angle. In practice, I create a datum curve representing the helix path on the pitch cylinder to guide this positioning.
2. Building the Wheel Blank and Defining the Helical Path: I use a Revolve protrusion to create the main wheel blank, with its outer diameter equal to the addendum diameter \(D_{a2}\). Separately, I create a Revolve surface representing the pitch cylinder. On this surface, I project a line that follows the helix path of one tooth. This line is created by sketching a line at the helix angle β on a plane tangent to the cylinder and then projecting it onto the cylindrical surface. This projected 3D curve becomes the “Origin Trajectory” for the upcoming swept blend feature.
3. Generating a Single Helical Tooth Space: This is the most complex feature. I use Insert > Swept Blend. I select the helical path curve as the trajectory. I then insert two sections along this path: one at the start and one at the end. For each section, I sketch the tooth profile using the previously created involute datum curves as references. The sketch is a closed loop formed by arcs along the root circle and the two involute curves. The Swept Blend performs a transition between these two profiles along the helical path, effectively “twisting” the tooth space, and I use the Remove Material option to cut this shape out of the wheel blank. The result is one precise, helical tooth space (gap).
4. Patterning to Complete the Gear: I then create the first full tooth by copying and rotating the material between two adjacent tooth spaces. I use the Copy > Paste Special > Rotate feature for this. The rotation angle is the circular pitch in degrees: $$ \Delta \theta = \frac{360}{Z2} $$. Finally, I take this single tooth and create a Pattern. I choose an Axis Pattern, select the central axis, and input the number of instances as \( Z2 \) and the increment angle as \( \frac{360}{Z2} \). Pro/E then creates all \( Z2 \) teeth around the wheel. Additional features like hub, web, and keyway are added parametrically to complete the worm wheel model.
Parametric Modeling of the Worm
The worm is essentially a helical gear with a small number of threads (teeth) wrapped around a cylinder. The number of threads, \( Z1 \), defines if it is single-start, double-start, etc. The modeling logic parallels the worm wheel but with a critical difference: the path is a long helix with multiple turns, and the profile is consistent along its length.
1. Creating the Helical Sweep Trajectory: The path for the worm thread is a helix. I create this using Equation with a cylindrical coordinate system. The equations define a helix with a radius equal to the worm’s pitch radius and a specific lead (S).
$$ r = \frac{D1}{2} $$
$$ \theta = t \cdot (Z1 \cdot 360 \cdot \text{N\_Turns}) $$
$$ z = t \cdot \text{Worm\_Length} $$
Here, \( t \) runs from 0 to 1, and `N_Turns` determines how many complete helical turns are drawn, slightly more than the active length requires.
2. Creating the Worm Thread Profile: On a plane normal to the start of this helix, I sketch the thread profile. This profile is similar to a rack tooth profile. Its key dimensions are governed by the module and pressure angle:
$$ \text{Addendum (tooth height)} = 1.0 \cdot M $$
$$ \text{Dedendum (root height)} = 1.2 \cdot M \text{ (or 1.25} \cdot M) $$
$$ \text{Tooth thickness at pitch line} = \frac{\pi \cdot M}{2} $$
I create this profile as a sketch, fully dimensioned and constrained, with its pitch point aligned to the start of the helix trajectory.
3. Sweeping the Thread: I use the Helical Sweep feature. I first define the helical trajectory (the centerline of the worm can be used with a pitch value equal to the Lead \( S \)). Then, I sketch the thread profile from the previous step at the start point. Pro/E then sweeps this profile along the helix to create a solid protrusion representing one continuous thread. For a single-start worm (\(Z1=1\)), this feature creates the entire threaded section. For a multi-start worm, I create this first thread, then use a Rotational Copy or Pattern to create the remaining \(Z1-1\) threads, offsetting each by \( \frac{360}{Z1} \) degrees.
4. Creating the Worm Shaft: I add the cylindrical shaft bodies on either end of the threaded section using Revolve protrusions. Their diameters and lengths are controlled by parameters (e.g., shaft_dia, bearing_seat_length). All fillets and chamfers are also added parametrically. The complete worm model is thus driven by the same set of primary parameters (M, Z1, D1, etc.).
Integration, Verification, and Applications
To create a functional screw gear assembly, I create a new assembly file (.asm), place the parametric worm wheel, and then place the parametric worm, constraining their axes to be perpendicular and non-intersecting with the defined center distance \( A \). I can then perform a basic kinematic check using Pro/E’s mechanism functionality to ensure the meshing is correct.
The true power is in the regeneration. To design a new screw gear set, I simply open the assembly (or the individual part files), go to Tools > Parameters, and change the primary input values—for instance, increasing the module \( M \) for more strength or changing the ratio by modifying \( Z1 \) and \( Z2 \). Upon clicking Edit > Regenerate, Pro/E recalculates all relations, updates all dimensions, and rebuilds the entire 3D geometry automatically. What might have taken hours of manual remodeling is done in seconds.
| Design Scenario Change | Parameter Modified | Automatic Model Update |
|---|---|---|
| Increase Power Capacity | Increase Normal Module (M) | All tooth sizes, diameters, and the helix lead increase proportionally. The center distance A may also auto-update if driven by a relation. |
| Change Speed Ratio | Modify Worm Starts (Z1) or Wheel Teeth (Z2) | Lead (S), lead angle (γ), helix angle (β) recalculate. The worm thread geometry and the wheel tooth patterning count update automatically. |
| Fit into a Smaller Housing | Reduce Center Distance (A) | Worm wheel reference diameter (D2) changes. The entire wheel blank and tooth geometry regenerates to the new size while maintaining correct meshing with the worm. |
This parametric methodology extends far beyond this specific application. It forms a template for designing any standardized or semi-standardized mechanical component—spur gears, helical gears, bearings, bolts, etc. Once the fundamental geometry-logic is captured in parameters and relations, it becomes a reusable corporate knowledge asset. Furthermore, the resulting accurate 3D model is perfect for downstream applications. It can be directly used for:
- Finite Element Analysis (FEA): Exporting the solid model for stress analysis on the gear teeth or thermal analysis.
- Dynamic Simulation: Studying vibration, noise, and dynamic loads in the transmission system.
- CNC Machining & 3D Printing: Generating toolpaths for manufacturing prototypes or molds directly from the 3D model.
- Assembly Interference Checking: Ensuring the designed screw gear fits perfectly within the overall machine assembly without collisions.
In conclusion, mastering the parametric design of a screw gear set in Pro/E is not just about learning a specific software tutorial. It represents a paradigm shift in mechanical design—from drafting static shapes to encoding engineering intelligence. By defining the worm and worm wheel through a network of mathematical relationships based on gear theory, I create a living model that adapts to new requirements. This approach guarantees geometric consistency, slashes design time for variants, and produces models of sufficient fidelity for advanced engineering analysis. The principles demonstrated here for the screw gear are universally applicable, empowering engineers to build smarter, more adaptable, and more reliable digital prototypes for the complex mechanical systems of today and tomorrow.