
I have spent many years working with straight bevel gears in a production environment. Among all the parameters that define a straight bevel gear, the pitch cone angle is one of the most difficult to measure directly. It is a spatial angle. It controls the mesh condition, the noise level, the strength, and the contact area of the tooth surface. When I first began this work, the common practice was to run a pair of straight bevel gears together on a rolling fixture or a double-flank rolling tester and to judge the pitch cone angle from the contact pattern. That method tells me whether the contact is acceptable, but it does not tell me the actual numerical value of the pitch cone angle. For single-piece production, or for a straight bevel gear that has no matching mate, the contact-pattern method is of little help. I needed a method that could give me the real angle.
To solve this problem, I designed a special auxiliary inspection bar and combined it with a universal tool microscope. The method is simple, fast, and direct. It allows me to read the actual pitch cone angle of a straight bevel gear without needing a master gear or a mating gear. In this article I describe the principle, the design equations, the measurement procedure, and the uncertainty analysis of the method.
Geometry and Main Parameters of a Straight Bevel Gear
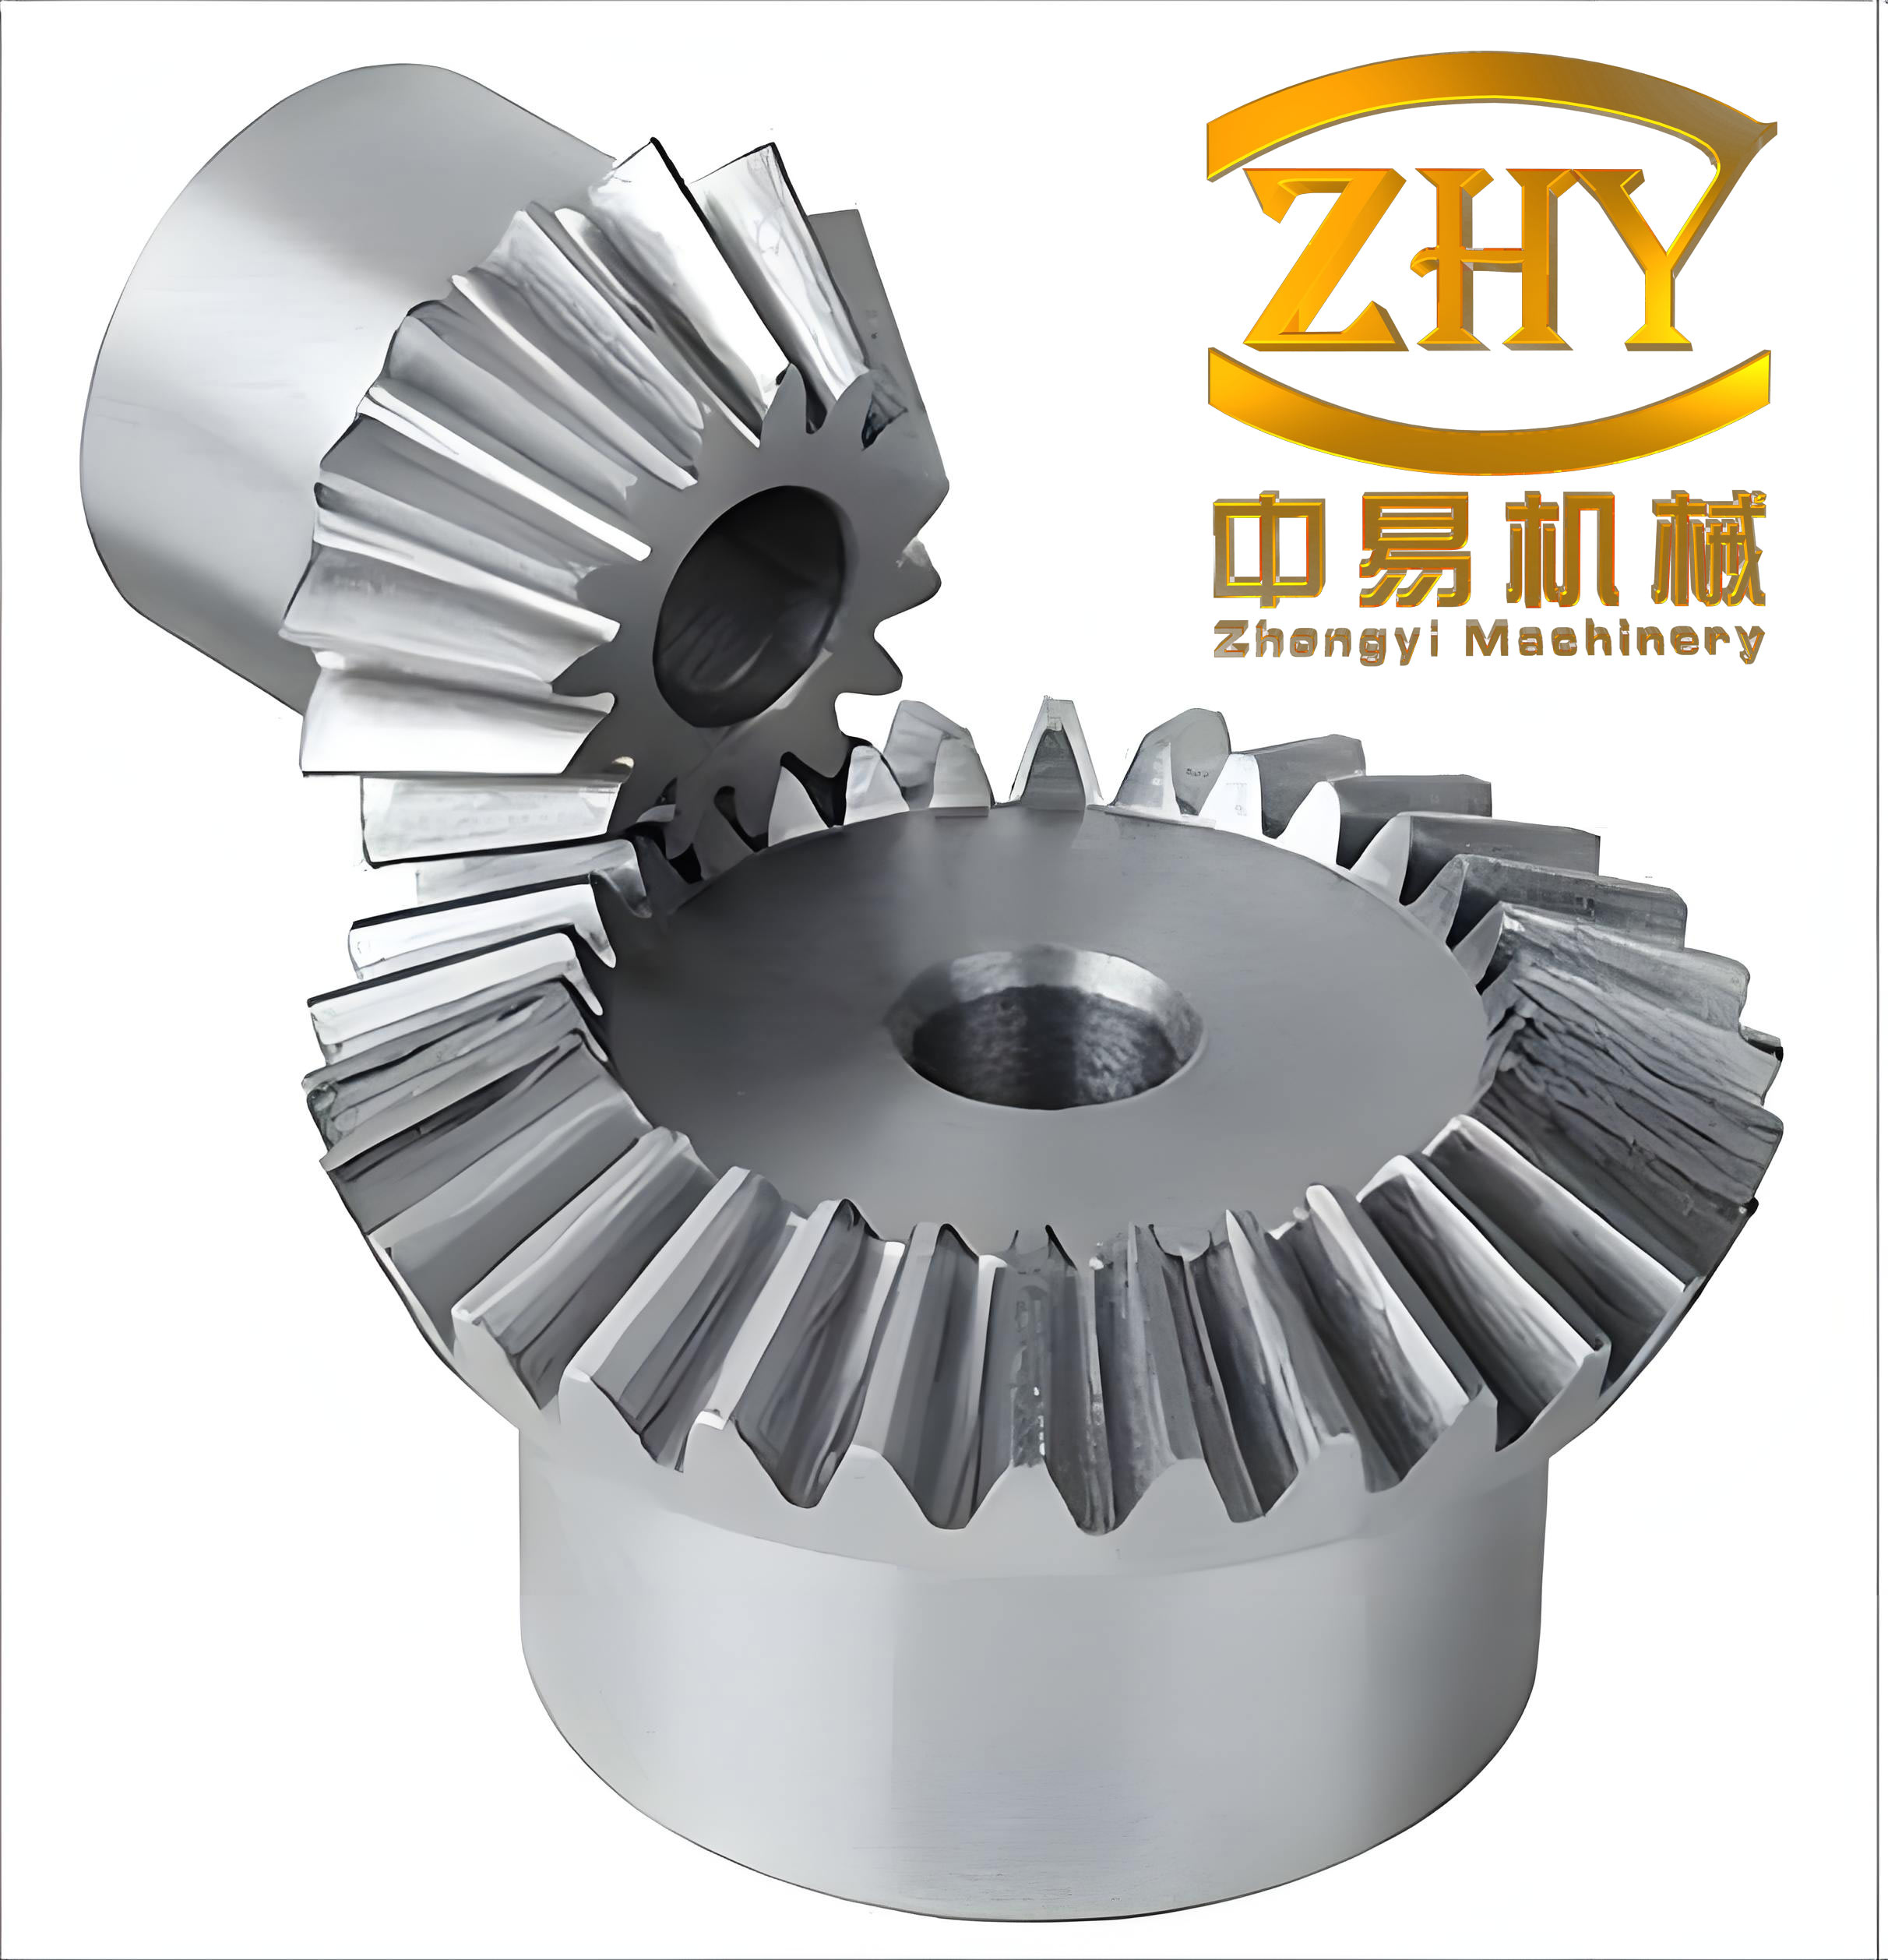
A straight bevel gear is a conical gear whose tooth traces are straight lines. The pitch cone is an imaginary cone that rolls without slipping on the pitch cone of the mating gear. For a standard straight bevel gear without profile shift, the pitch cone and the indexing cone coincide. The pitch cone angle is the angle between the pitch cone generatrix and the gear axis. I denote it by $$\delta$$. The main parameters of a straight bevel gear are listed in Table 1.
| Symbol | Description | Formula or definition |
|---|---|---|
| $$m$$ | Module | Given by design |
| $$z$$ | Number of teeth | Given by design |
| $$\delta$$ | Pitch cone angle | Angle between pitch cone generatrix and gear axis |
| $$R$$ | Cone distance | $$R = \frac{m z}{2 \sin \delta}$$ |
| $$d$$ | Reference diameter at large end | $$d = m z$$ |
| $$h_a$$ | Addendum | $$h_a = m$$ for standard gears |
| $$h_f$$ | Dedendum | $$h_f = 1.2 m$$ for standard gears |
| $$\theta_a$$ | Addendum angle | $$\theta_a = \arctan\left(\frac{h_a}{R}\right)$$ |
| $$\theta_f$$ | Dedendum angle | $$\theta_f = \arctan\left(\frac{h_f}{R}\right)$$ |
| $$\delta_a$$ | Face cone angle | $$\delta_a = \delta + \theta_a$$ |
| $$\delta_f$$ | Root cone angle | $$\delta_f = \delta – \theta_f$$ |
| $$b$$ | Tooth width | Usually $$b \leq R/3$$ |
| $$p$$ | Circular pitch | $$p = \pi m$$ |
| $$w$$ | Tooth space width on pitch cone | $$w = \frac{p}{2} = \frac{\pi m}{2}$$ for standard gears |
From these definitions, the following relationships are used repeatedly in the measurement method:
$$R = \frac{m z}{2 \sin \delta}$$
$$\theta_a = \arctan\left(\frac{m}{R}\right) = \arctan\left(\frac{2 \sin \delta}{z}\right)$$
$$\theta_f = \arctan\left(\frac{1.2 m}{R}\right) = \arctan\left(\frac{2.4 \sin \delta}{z}\right)$$
$$\delta_a = \delta + \theta_a$$
$$\delta_f = \delta – \theta_f$$
For a standard straight bevel gear, the pitch cone and the indexing cone are identical. This fact is central to the design of the auxiliary inspection bar.
Limitations of Conventional Measurement Methods
Before describing my method, I should explain why the conventional methods are not satisfactory for direct measurement of the pitch cone angle. The most common method is to pair the straight bevel gear with a standard gear or with its mate and run them on a rolling fixture. The contact pattern is observed and interpreted. This method is qualitative. It does not give the actual angle value. It also requires a mating gear or a master gear. For small-batch production, or for a single straight bevel gear that must be inspected for interchangeability, this is a serious disadvantage.
Another method is to use a double-flank rolling tester. Again, the result is a composite error or a contact impression, not the pitch cone angle itself. Some workshops use a sine bar or a special fixture, but those methods are indirect and often require complex calculations. The difficulty arises because the pitch cone is an imaginary surface inside the tooth space. There is no physical surface to touch directly.
I needed a method that would place a physical artifact in the tooth space such that the artifact itself would carry the pitch cone angle. Then I could measure that artifact with a universal tool microscope. This is the idea behind the auxiliary inspection bar.
Principle of the Auxiliary Inspection Bar
The auxiliary inspection bar is inserted into a tooth space of the straight bevel gear. The bar has a central contact cone and two cylindrical measuring ends. When the bar is placed in the tooth space, the two generatrices of the contact cone touch the two opposite tooth flanks. The contact points are designed to lie on the pitch cone. Because the pitch cone and the indexing cone coincide for a standard straight bevel gear, the contact points also lie on the indexing cone.
The bar is positioned so that its axial locating face rests against the outer cone of the straight bevel gear. In this position, the bar is aligned with the tooth space. The two measuring cylinders protrude from the large end and the small end of the gear. When the gear and the bar are mounted between the centers of a universal tool microscope, the outer generatrices of the two measuring cylinders can be viewed through the angle eyepiece. The angle between these two outer generatrices is equal to the pitch cone angle of the straight bevel gear.
The design principle can be summarized as follows: the two contact generatrices of the inspection bar must fall on the pitch cone line of the straight bevel gear. For a non-displaced standard straight bevel gear, the pitch cone line is also the indexing cone line. Therefore, if the bar is correctly designed, its contact cone will reproduce the pitch cone angle in a measurable form.
Design of the Inspection Bar
The inspection bar consists of three main parts: a central contact cone, a large-end measuring cylinder, and a small-end measuring cylinder. The contact cone is the part that touches the tooth flanks. The two measuring cylinders are used for optical alignment in the universal tool microscope. The bar also has an axial locating face that contacts the outer cone of the straight bevel gear.
Contact Cone
The contact cone is a conical surface. Its large-end diameter is denoted by $$D_x$$. Its small-end diameter is denoted by $$d_x$$. Its axial length is denoted by $$L$$. Its taper is denoted by $$K$$. The taper is defined as the change in diameter per unit length:
$$K = \frac{D_x – d_x}{L}$$
The contact cone angle is the full apex angle of the cone. In my design, I set the contact cone angle to be twice the addendum angle of the straight bevel gear. This choice ensures that the contact generatrices lie on the pitch cone. The taper is therefore given by:
$$K = 2 \tan \theta_a$$
Substituting the expression for $$\theta_a$$, I obtain:
$$K = 2 \tan\left(\arctan\left(\frac{2 \sin \delta}{z}\right)\right) = \frac{4 \sin \delta}{z}$$
This formula shows that the taper depends on the pitch cone angle and the number of teeth of the straight bevel gear. It is not a constant. Each straight bevel gear requires its own inspection bar, or at least a bar with the correct taper.
Large-End Diameter
The large-end diameter $$D_x$$ of the contact cone is determined from the geometry of the tooth space at the large end. It must be such that the contact generatrices touch the two opposite tooth flanks at the pitch cone. Using the geometric relationship between the tooth space, the pitch cone, and the contact cone, I derive:
$$D_x = m z \cos \delta – 2 m \sin \delta$$
This formula is valid for standard straight bevel gears. It involves the module, the number of teeth, and the pitch cone angle. The term $$m z \cos \delta$$ represents the projection of the reference diameter onto the plane perpendicular to the pitch cone element. The term $$2 m \sin \delta$$ accounts for the addendum. For a straight bevel gear with a different addendum coefficient, the formula can be adjusted accordingly.
Contact Cone Length
The contact cone length $$L$$ is chosen to be slightly longer than the tooth width $$b$$ of the straight bevel gear. In my design, I use:
$$L = b + 10 \text{ mm}$$
This extra length ensures that the contact cone extends beyond the tooth space at both ends. It makes the bar easier to manufacture and easier to position. It also ensures that the measuring cylinders are clear of the gear body and do not interfere with the microscope.
Small-End Diameter
Once $$D_x$$, $$L$$, and $$K$$ are known, the small-end diameter $$d_x$$ is calculated from the taper definition:
$$d_x = D_x – K L$$
This value is used to machine the contact cone. It should be noted that the small-end diameter must be positive. For very small straight bevel gears, the taper may be large enough that the contact cone would come to a point before the full length. In that case, the length should be reduced or the design should be adjusted.
Measuring Cylinders
The two measuring cylinders are located at the ends of the contact cone. They are coaxial with the contact cone. Their diameters are chosen for rigidity and for clear optical observation. In my design, I use:
$$D_1 = 10 \text{ mm}$$
$$D_2 = 8 \text{ mm}$$
The lengths of the measuring cylinders are chosen to be long enough to be seen clearly in the microscope but short enough to avoid interference with the gear. I use:
$$L_1 = 15 \text{ mm}$$
$$L_2 = 15 \text{ mm}$$
The outer generatrices of these cylinders are the lines that are aimed at in the universal tool microscope. Because the cylinders are coaxial with the contact cone, the angle between their outer generatrices, as seen from the side, is equal to the angle of the contact cone axis relative to the gear axis. This angle is the pitch cone angle of the straight bevel gear.
Table 2 summarizes the main design parameters of the inspection bar.
| Symbol | Description | Formula or value |
|---|---|---|
| $$D_x$$ | Large-end diameter of contact cone | $$D_x = m z \cos \delta – 2 m \sin \delta$$ |
| $$d_x$$ | Small-end diameter of contact cone | $$d_x = D_x – K L$$ |
| $$L$$ | Contact cone length | $$L = b + 10 \text{ mm}$$ |
| $$K$$ | Taper of contact cone | $$K = 2 \tan \theta_a = \frac{4 \sin \delta}{z}$$ |
| $$\theta_a$$ | Addendum angle of straight bevel gear | $$\theta_a = \arctan\left(\frac{2 \sin \delta}{z}\right)$$ |
| $$D_1$$ | Large measuring cylinder diameter | $$10 \text{ mm}$$ |
| $$D_2$$ | Small measuring cylinder diameter | $$8 \text{ mm}$$ |
| $$L_1$$ | Large measuring cylinder length | $$15 \text{ mm}$$ |
| $$L_2$$ | Small measuring cylinder length | $$15 \text{ mm}$$ |
Measurement Procedure with the Universal Tool Microscope
The measurement procedure is straightforward once the inspection bar is manufactured. I follow these steps:
1. Clean the tooth space of the straight bevel gear. Remove any burrs, chips, or oil that could affect the seating of the inspection bar.
2. Insert the inspection bar into the tooth space. Use a small amount of plasticine or a similar soft fixture material to hold the bar in place. Make sure that the axial locating face of the bar is pressed firmly against the outer cone of the straight bevel gear. This ensures that the bar is positioned correctly along the tooth space.
3. Mount the straight bevel gear between the centers of the universal tool microscope. The gear axis should be horizontal. The gear should be free to rotate about its axis.
4. Adjust the focus of the main microscope so that the images of the measuring cylinders are as clear as possible. Rotate the gear slowly until both measuring cylinders are in focus. Because the inspection bar is fixed in the tooth space, rotating the gear brings the bar into the correct viewing position.
5. Use the angle eyepiece of the universal tool microscope to aim at the outer generatrix of the large-end measuring cylinder. Then aim at the outer generatrix of the small-end measuring cylinder. The angle read from the eyepiece is the actual pitch cone angle of the straight bevel gear.
6. Repeat the measurement several times. Rotate the gear slightly between measurements to average out any local errors in the tooth space. Record the readings.
7. Remove the inspection bar and repeat the procedure for other tooth spaces if a more representative average is required. For most applications, one tooth space is sufficient, but multiple measurements improve confidence.
Mathematical Model for the Pitch Cone Angle
The mathematical model of the measurement is simple. Let $$\alpha$$ be the angle read from the universal tool microscope. The pitch cone angle of the straight bevel gear is:
$$\delta = \alpha$$
This direct relationship is one of the advantages of the method. There is no need for a complex conversion. The inspection bar has already converted the spatial pitch cone angle into a planar angle between two lines that can be measured optically.
However, the accuracy of the result depends on the accuracy of the inspection bar and the accuracy of the microscope. Therefore, an uncertainty analysis is necessary to evaluate the reliability of the measurement.
Uncertainty Analysis
The measurement uncertainty of the pitch cone angle arises from several sources. I classify them into four main categories: repeatability of the microscope measurement, microscope angle indication error, inspection bar manufacturing and measurement errors, and temperature effects. Each source is evaluated separately and then combined.
Repeatability of the Measurement
The repeatability is evaluated by making several independent readings of the same angle with the universal tool microscope. I use the Type A evaluation method. If the experimental standard deviation of a single measurement is $$s$$, and the result is the mean of $$n$$ measurements, the standard uncertainty due to repeatability is:
$$u_1 = \frac{s}{\sqrt{n}}$$
In my tests, I usually take $$n = 10$$ readings. The standard deviation depends on the operator and the quality of the tooth space, but it is typically on the order of a few arc minutes.
Microscope Angle Indication Error
The angle eyepiece of the universal tool microscope has a specified indication error. This error is evaluated using the Type B method. If the maximum permissible error is $$\Delta$$, and the error is assumed to be uniformly distributed, the standard uncertainty is:
$$u_2 = \frac{\Delta}{\sqrt{3}}$$
The value of $$\Delta$$ is taken from the calibration certificate of the microscope. For a typical universal tool microscope, $$\Delta$$ is a small fraction of a degree.
Inspection Bar Manufacturing and Measurement Errors
The inspection bar itself introduces uncertainty through the errors in its parameters. The most important parameters are the large-end diameter $$D_x$$, the small-end diameter $$d_x$$, and the contact cone angle. These errors are evaluated using the Type B method. The standard uncertainty from the bar is:
$$u_3 = \sqrt{u_{D_x}^2 + u_{d_x}^2 + u_{\alpha}^2}$$
In practice, I manufacture several inspection bars in one batch and select the one that is closest to the nominal dimensions. By selecting a good bar, I can reduce the manufacturing error to a negligible level. The remaining uncertainty is mainly from the measurement of the bar parameters. The large-end diameter is measured with a lever micrometer. The small-end diameter is measured with the same instrument. The contact cone angle is measured with a sine bar.
The lever micrometer has its own indication error, resolution, and repeatability. The standard uncertainty from the lever micrometer is:
$$u_{D_x} = \sqrt{u_{\text{error}}^2 + u_{\text{resolution}}^2 + u_{\text{repeat}}^2}$$
If the indication error is $$\Delta_m$$, and it is uniformly distributed, then:
$$u_{\text{error}} = \frac{\Delta_m}{\sqrt{3}}$$
If the resolution is $$r$$, then the standard uncertainty from resolution is:
$$u_{\text{resolution}} = \frac{r}{2 \sqrt{3}}$$
The repeatability is evaluated from repeated measurements of the same dimension. If the experimental standard deviation is $$s_m$$, then:
$$u_{\text{repeat}} = s_m$$
The contact cone angle is measured with a sine bar. The maximum error of the sine bar method is $$\Delta_{\alpha}$$. Assuming a uniform distribution, the standard uncertainty is:
$$u_{\alpha} = \frac{\Delta_{\alpha}}{\sqrt{3}}$$
These values are combined to give $$u_3$$.
Temperature Effects
Temperature changes can affect the measurement because both the straight bevel gear and the inspection bar may expand or contract. The standard uncertainty from temperature is:
$$u_4 = \frac{L \alpha \Delta T}{\sqrt{3}}$$
Here, $$L$$ is the relevant length, $$\alpha$$ is the coefficient of thermal expansion, and $$\Delta T$$ is the temperature variation. In a controlled workshop environment, $$\Delta T$$ is small, so this contribution is often negligible.
Combined and Expanded Uncertainty
The combined standard uncertainty is:
$$u_c = \sqrt{u_1^2 + u_2^2 + u_3^2 + u_4^2}$$
The expanded uncertainty is obtained by multiplying the combined standard uncertainty by a coverage factor $$k$$. For a normal distribution and a confidence level of approximately 95%, I use:
$$U = k u_c, \quad k = 2$$
Table 3 gives an example uncertainty budget for the pitch cone angle measurement of a straight bevel gear.
| Source | Type | Distribution | Standard uncertainty | Value (arc min) |
|---|---|---|---|---|
| Repeatability | A | Normal | $$u_1 = s/\sqrt{n}$$ | 0.5 |
| Microscope angle error | B | Uniform | $$u_2 = \Delta/\sqrt{3}$$ | 0.6 |
| Inspection bar errors | B | Combined | $$u_3 = \sqrt{u_{D_x}^2 + u_{d_x}^2 + u_{\alpha}^2}$$ | 0.8 |
| Temperature | B | Uniform | $$u_4 = L \alpha \Delta T / \sqrt{3}$$ | 0.2 |
| Combined standard uncertainty | — | — | $$u_c = \sqrt{\sum u_i^2}$$ | 1.14 |
| Expanded uncertainty ($$k=2$$) | — | — | $$U = 2 u_c$$ | 2.28 |
Example Calculation
To illustrate the method, consider a straight bevel gear with the following parameters: module $$m = 3 \text{ mm}$$, number of teeth $$z = 30$$, pitch cone angle $$\delta = 45^\circ$$, and tooth width $$b = 20 \text{ mm}$$. I calculate the inspection bar parameters as follows.
First, the cone distance:
$$R = \frac{m z}{2 \sin \delta} = \frac{3 \times 30}{2 \times 0.7071} = 63.64 \text{ mm}$$
The addendum angle:
$$\theta_a = \arctan\left(\frac{m}{R}\right) = \arctan\left(\frac{3}{63.64}\right) = 2.70^\circ$$
The taper of the contact cone:
$$K = 2 \tan \theta_a = 2 \tan(2.70^\circ) = 0.0944$$
The large-end diameter of the contact cone:
$$D_x = m z \cos \delta – 2 m \sin \delta = 3 \times 30 \times 0.7071 – 2 \times 3 \times 0.7071 = 59.40 \text{ mm}$$
The contact cone length:
$$L = b + 10 = 20 + 10 = 30 \text{ mm}$$
The small-end diameter of the contact cone:
$$d_x = D_x – K L = 59.40 – 0.0944 \times 30 = 56.57 \text{ mm}$$
The measurement is then performed with the universal tool microscope. Suppose the angle eyepiece reads $$\alpha = 45^\circ 00′ 00”$$. Then the pitch cone angle is $$\delta = 45^\circ$$. The expanded uncertainty is estimated from Table 3 as $$U = 2.28’$$. Therefore, the pitch cone angle is reported as:
$$\delta = 45^\circ 00′ \pm 2.28’$$
Table 4 summarizes the example calculation.
| Parameter | Symbol | Value |
|---|---|---|
| Module | $$m$$ | 3 mm |
| Number of teeth | $$z$$ | 30 |
| Pitch cone angle | $$\delta$$ | 45° |
| Tooth width | $$b$$ | 20 mm |
| Cone distance | $$R$$ | 63.64 mm |
| Addendum angle | $$\theta_a$$ | 2.70° |
| Taper | $$K$$ | 0.0944 |
| Large-end diameter | $$D_x$$ | 59.40 mm |
| Contact cone length | $$L$$ | 30 mm |
| Small-end diameter | $$d_x$$ | 56.57 mm |
| Expanded uncertainty | $$U$$ | 2.28 arc min |
Discussion
The method I have described has several advantages over conventional techniques. First, it gives the actual numerical value of the pitch cone angle of a straight bevel gear. Second, it does not require a mating gear or a master gear. Third, it is fast enough for use in production inspection. Fourth, the inspection bar is relatively simple to manufacture, especially for larger modules. For small modules, the bar becomes small and its manufacture is more difficult, but the method still works.
The main limitation is that the inspection bar must be designed for a specific straight bevel gear. A bar made for one pitch cone angle and number of teeth will not work correctly for a different straight bevel gear. However, because the bar is simple, a set of bars can be made for the most common sizes. In my experience, the cost of making a set of bars is quickly recovered by the reduction in inspection time and the improvement in quality control.
Another limitation is that the method assumes the tooth space is clean and free from burrs. Any debris in the tooth space will prevent the bar from seating correctly and will introduce an error. I always clean the tooth space carefully before inserting the bar. I also check the axial locating face of the bar to ensure that it is in full contact with the outer cone of the straight bevel gear.
The universal tool microscope must be in good calibration. The angle eyepiece should be checked regularly. The repeatability of the measurement depends on the skill of the operator, but with practice, consistent results can be obtained.
Conclusion
I have developed a practical method for measuring the pitch cone angle of a straight bevel gear. The method uses a custom auxiliary inspection bar and a universal tool microscope. The inspection bar is inserted into the tooth space, and its two contact generatrices are designed to lie on the pitch cone. The angle between the outer generatrices of the two measuring cylinders is then read directly from the microscope. This angle is the pitch cone angle of the straight bevel gear.
The design equations for the inspection bar are simple and depend on the module, number of teeth, pitch cone angle, and tooth width. The uncertainty analysis shows that the method can achieve an expanded uncertainty of a few arc minutes, which is sufficient for most production requirements. The method eliminates the need for a mating gear or a master gear, and it provides the actual angle value rather than a qualitative contact pattern.
For anyone who works with straight bevel gears, I recommend this method as a reliable and efficient way to measure the pitch cone angle. It has solved a long-standing measurement problem in my own work, and I believe it can do the same in other workshops.