
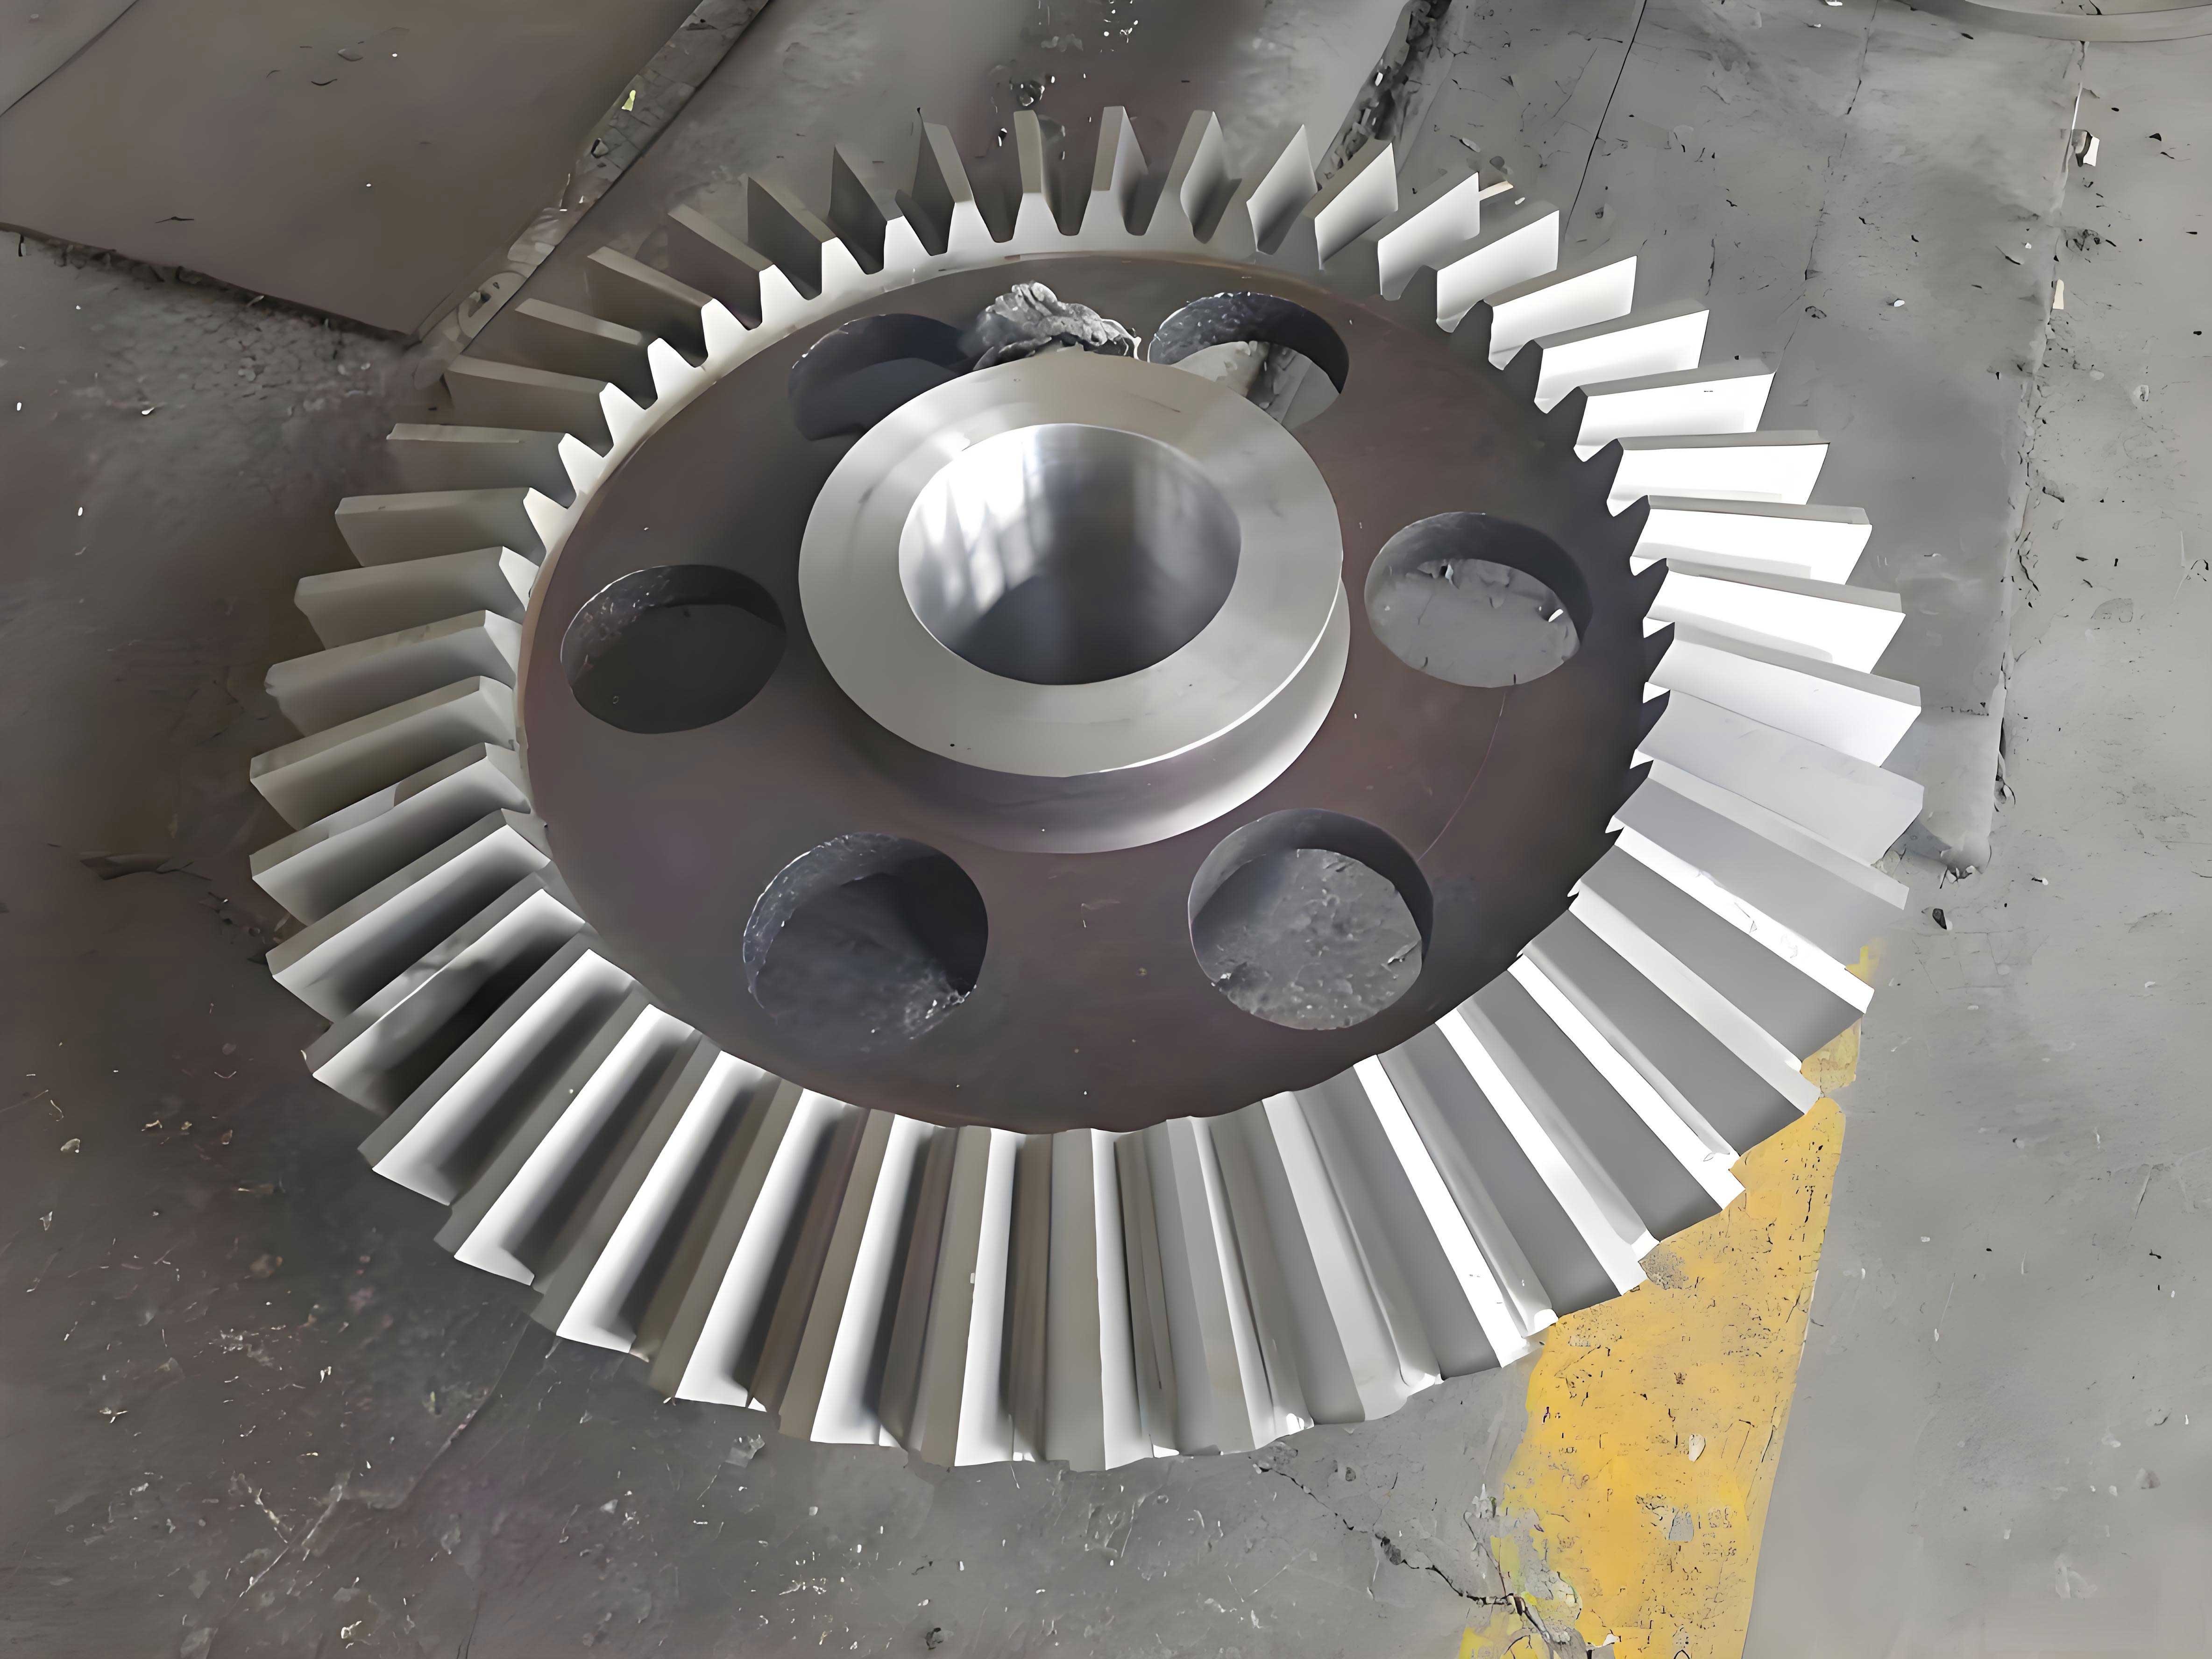
In my extensive experience with gear manufacturing, particularly in prototyping, repair, or small-batch production scenarios where dedicated gear-cutting machines are unavailable, the technique of machining straight bevel gears on a universal horizontal milling machine using a form milling cutter remains a vital and practical skill. This method is especially relevant for producing miter gears, where the shaft angle is 90 degrees and the gear ratio is 1:1. The process is fundamentally divided into two distinct stages: a roughing operation to create the basic tooth space, followed by a finishing operation to achieve the correct tooth profile, primarily at the large end. While the roughing calculation is generally standardized, the finishing operation requires precise adjustments to the machine setup. Various methods exist for calculating these adjustments, but based on my practice, a chart-based calculation method derived from first principles offers remarkable speed and reliability. In this detailed exposition, I will walk through the entire methodology, from foundational theory to practical application, incorporating formulas, tables, and a powerful graphical tool.
The core challenge in machining a straight tooth bevel gear, or specifically a set of miter gears, with a form cutter lies in replicating the tapered tooth form. The cutter profile is designed for the large-end tooth shape of a specific gear module and number of teeth. During the roughing pass, the workpiece is set such that the cutter centers on the tooth space. The calculation for this step involves the standard indexing based on the number of teeth and the depth of cut set to the full tooth depth at the large end. The result is a uniform slot, leaving excess material on both sides of the tooth, which is thicker at the large end and thinner at the small end.
The finishing operation is where the accuracy is achieved. To machine the left-hand flank of a tooth, the workpiece must be shifted relative to the cutter. This shift has two components: a linear offset of the milling machine table (denoted as $\Delta S$) and a rotational offset of the dividing head (quantified as a number of holes, $n$, on a specific dividing plate circle with $N_0$ total holes). Determining these two values accurately is the essence of the method. Through geometric analysis of the machining setup, the following fundamental relationship can be derived:
$$ \Delta S = \frac{\Delta e}{2} \cdot \frac{d}{L} $$
$$ n = \frac{N_0}{\pi} \cdot \frac{\Delta e}{d} $$
Where:
$\Delta S$ = Table offset (mm).
$n$ = Number of offset holes on the dividing plate.
$N_0$ = Total number of holes in the chosen circle on the dividing plate.
$\Delta e$ = Measured thickness excess (double-sided machining allowance) at the large end after roughing (mm).
$d$ = Pitch diameter of the miter gear at the large end (mm).
$L$ = Cone distance (mm) . For a standard miter gear, $L = \frac{d}{\sqrt{2}}$.
While these formulas are direct, their evaluation for every gear can be time-consuming. To streamline the process, I have found it immensely helpful to combine them by introducing a coordinate parameter, $X$. Let us define $X$ as follows:
$$ X = \frac{\Delta e}{d} $$
Substituting this into the original formulas yields a much more chart-friendly set of equations:
$$ \Delta S = \left( \frac{d}{2L} \right) \cdot d \cdot X = K \cdot d \cdot X $$
where $K = \frac{d}{2L}$. For a standard miter gear, $K = \frac{1}{2\sqrt{2}} \approx 0.3536$.
$$ n = \frac{N_0}{\pi} \cdot X $$
Now, $n$ is directly proportional to $X$, and $\Delta S$ is proportional to $d \cdot X$. This linear relationship is the key to constructing a universal calculation chart. One can create a nomogram where the horizontal axis represents the product $d \cdot X$ (or simply $\Delta e$, since $d \cdot X = \Delta e$), and the vertical axis represents the offset $n$. Lines for constant $d$ values (for $\Delta S$) and lines for constant $N_0/\pi$ ratios (for $n$) can be plotted. For practical workshop use, I prepare a pre-drawn chart covering common ranges of $d$, $N_0$, and expected $\Delta e$.
| Symbol | Description | Formula / Unit |
|---|---|---|
| $d$ | Pitch Diameter (Large End) | Input (mm) |
| $\Delta e$ | Excess Thickness after Roughing | Measured (mm) |
| $N_0$ | Holes in Chosen Dividing Circle | Selected (e.g., 39, 42) |
| $X$ | Coordinate Parameter | $X = \frac{\Delta e}{d}$ |
| $n$ | Offset Hole Count | $n = \frac{N_0}{\pi} \cdot X$ |
| $\Delta S$ | Table Offset | $\Delta S = K \cdot d \cdot X$, $K \approx 0.3536$ for miter gears |
Let me demonstrate the power of this chart method with several detailed examples, which mirror common situations in the workshop when producing miter gears.
Example 1: A straightforward case. Assume I have machined a miter gear with a pitch diameter $d = 80$ mm. I am using a dividing plate with a circle of $N_0 = 39$ holes. After the roughing cut, I carefully measure the excess thickness at the large end and find $\Delta e = 1.5$ mm. I need to find $n$ and $\Delta S$ for the first finishing pass.
Using the chart: I locate the point on the horizontal axis ($d \cdot X$ or $\Delta e$ axis) corresponding to 1.5 mm. From this point, I draw a vertical line upwards. This line will intersect the family of curves or lines. First, I find its intersection with the line or region representing my gear’s pitch diameter $d=80$ mm. From this intersection point, I move horizontally to the left vertical axis which is scaled for $\Delta S$, and read the value $\Delta S \approx 0.53$ mm. Continuing upwards with my vertical line from the 1.5 mm point, it intersects the line corresponding to my dividing plate constant $N_0=39$. From this intersection, I move horizontally to the right vertical axis which is scaled for the offset hole count $n$, and read the value $n = 6$. The process is intuitive and yields the result in seconds: $n=6$ holes and $\Delta S=0.53$ mm.
Example 2: A more common scenario where the result falls between integer hole counts. Let the pitch diameter $d = 120$ mm, $N_0 = 42$, and the measured excess $\Delta e = 1.8$ mm. Following the same procedure on the chart: I draw a vertical line from 1.8 mm on the horizontal axis. The intersection with the $d=120$ mm line gives a horizontal readout for $\Delta S \approx 0.64$ mm. Moving further up, the vertical line passes between the lines marked for $n=7$ and $n=8$ holes. The position is approximately one-third of the way from the $n=7$ line towards the $n=8$ line. Applying the “round to nearest integer” rule, I take $n = 8$ holes. The chart has provided the necessary data: $n=8$ and $\Delta S=0.64$ mm.
| Step | Action | Purpose | Outcome (Example 1) |
|---|---|---|---|
| 1 | Locate $\Delta e$ on horizontal axis | Set the input condition | Find point at 1.5 mm |
| 2 | Draw vertical line from this point | Trace the calculation path | Line extends upwards |
| 3 | Find intersection with line for given $d$ | Determine table offset $\Delta S$ | Intersects near $d=80$ line |
| 4 | Move horizontally to $\Delta S$ scale | Read the offset value | Read $\Delta S \approx 0.53$ mm |
| 5 | Find intersection with line for given $N_0$ | Determine hole offset $n$ | Intersects at $N_0=39$ line |
| 6 | Move horizontally to $n$ scale | Read the hole count | Read $n = 6$ |
Example 3: Consider a larger miter gear where $d = 200$ mm, using the same $N_0 = 42$ plate, and $\Delta e = 2.2$ mm. Again, using the chart: The vertical line from 2.2 mm intersects the $d=200$ mm line, indicating $\Delta S \approx 0.78$ mm. Proceeding upwards, this vertical line passes between the lines for $n=7$ and $n=8$ holes, but this time it is very close to the midpoint. At approximately half the distance, I make the judgment call to round to the nearest even number or follow the midpoint-up rule, selecting $n = 8$. Thus, the finishing parameters are $n=8$ holes and $\Delta S=0.78$ mm.
It is crucial to understand the implications and limitations of this method. The process described primarily ensures the correct tooth profile at the large end of the miter gear. When the table is offset by $\Delta S$ and the workpiece is rotated by $n$ holes to machine one flank, the small end of the tooth is inevitably machined more than theoretically required, leading to a thinner tooth thickness at the small end. This is an inherent characteristic of using a form cutter for a tapered tooth space. Consequently, this technique is perfectly suitable for producing miter gears of Grade 9 accuracy or lower, as per ISO standards, which are common in many general machinery and non-critical motion transmission applications. For higher precision requirements, generating methods on dedicated bevel gear cutters are necessary.
To achieve a complete tooth, the process must be repeated for the opposite flank. After machining all left flanks (using $+n$ and $+\Delta S$), the setup must be symmetrically adjusted for the right flanks. This typically involves rotating the workpiece in the opposite direction by the same $n$ holes (or re-indexing relative to a new start point) and moving the table by the same magnitude $\Delta S$ but in the opposite direction. Careful marking of the initial workpiece position and consistent handling of the dividing head backlash are essential for symmetry.
The choice of the dividing plate circle ($N_0$) is also strategic. While the formula works for any $N_0$, selecting a circle that yields an $n$ value close to an integer minimizes interpolation error on the chart and simplifies the physical indexing process. In practice, I often prepare charts for the two or three most commonly available dividing plate circles in my workshop. The formula $n = \frac{N_0}{\pi} \cdot \frac{\Delta e}{d}$ shows that for a given $\Delta e/d$ ratio, a larger $N_0$ will result in a larger $n$, offering potentially finer angular resolution.
Beyond the basic calculation, successful machining of miter gears depends on several practical factors. The accuracy of the initial roughing cut measurement $\Delta e$ is paramount. I use a vernier gear tooth caliper or precision pins and a micrometer for this. The setup rigidity, cutter sharpness, and appropriate cutting speeds and feeds for the workpiece material significantly affect the final surface finish and profile accuracy. Furthermore, for a pair of miter gears to mesh correctly, their mounting distance (the axial distance from the apex of the pitch cone to the mounting face) must be precisely controlled during the final assembly, which is a separate but critical aspect of gear system design.
| Aspect | Consideration | Recommendation |
|---|---|---|
| Measurement | Accuracy of $\Delta e$ | Use gear tooth calipers or pin measurement for consistency. |
| Tooling | Cutter Profile & Wear | Use the correct module/form cutter; ensure it is sharp. |
| Machine Setup | Rigidity and Alignment | Check and tram the milling head; secure workpiece firmly. |
| Indexing | Backlash Elimination | Always approach the final index position from the same direction. |
| Process | Sequence | Machine all teeth for one flank, then reset for the opposite flank. |
| Application | Suitability | Ideal for Grade 9 or lower accuracy, prototypes, and repairs. |
In summary, the method of machining miter gears on a horizontal mill with a form cutter, complemented by the chart-based calculation for finishing offsets, is a powerful blend of theoretical understanding and practical ingenuity. The derived formulas,
$$ X = \frac{\Delta e}{d}, \quad n = \frac{N_0}{\pi} X, \quad \Delta S = K \cdot d \cdot X $$
encapsulate the geometry of the problem. Transforming these into a nomogram eliminates repetitive calculation, reduces errors, and significantly speeds up the workshop workflow. This makes the production or repair of low- to medium-precision miter gears accessible even in modestly equipped machine shops. The technique underscores a fundamental principle in machining: by breaking down a complex shape (the tapered tooth of a miter gear) into a series of controlled, calculated motions, we can effectively manufacture components that are essential for transmitting power and motion at right angles in countless mechanical systems.