
I begin my work on the parametric design of an involute straight bevel gear that belongs to a controllable start planetary gear reducer. The straight bevel gear is one of the most important transmission elements for intersecting axes, and its accurate modeling is essential for later assembly, simulation, and manufacturing. Pro/E offers a powerful parametric environment in which I can drive the full three-dimensional geometry of a straight bevel gear from a compact set of design parameters and relational equations. Instead of rebuilding the gear for every new specification, I only change the module, tooth number, pressure angle, face width, and a few coefficient values. The entire straight bevel gear then regenerates automatically. This approach is especially valuable when I need to study several variants of the same reducer family or when I must prepare a straight bevel gear for downstream finite element analysis and computer-aided manufacturing.
My modeling strategy for the straight bevel gear follows a logical sequence. First, I define the basic geometric parameters and the derived quantities. Second, I create the two-dimensional curves for the large end and the small end of the straight bevel gear. Third, I construct the involute profile of one tooth using a datum curve from an equation. Fourth, I mirror the involute curve to obtain the complete single-tooth profile. Fifth, I close the tooth profile at both the large end and the small end. Sixth, I use a sweep blend to create the first tooth of the straight bevel gear. Seventh, I array that tooth around the gear axis by the number of teeth. Finally, I verify the resulting model against the analytical values. The following sections explain each step in detail, with the relations and tables that I use inside Pro/E.
| Symbol | Meaning | Typical value or expression |
|---|---|---|
| m | Module of the straight bevel gear | User-defined, for example 3 mm |
| z | Number of teeth on the straight bevel gear | User-defined, for example 24 |
| z_asm | Number of teeth on the mating gear | User-defined, for example 36 |
| alpha | Pressure angle | 20 degrees |
| hax | Addendum coefficient | 1.0 |
| cx | Clearance coefficient | 0.2 |
| x | Profile shift coefficient | 0 or user-defined |
| b | Face width of the straight bevel gear | User-defined, for example 20 mm |
| delta | Pitch cone angle | Derived from z and z_asm |
| d | Pitch diameter at the large end | Derived from m and z |
| db | Base diameter | Derived from d and alpha |
| da | Tip diameter at the large end | Derived from d, ha, and delta |
| df | Root diameter at the large end | Derived from d, hf, and delta |
I start by entering the fundamental parameters into Pro/E. The parameters that I always define first are the module m, the number of teeth z, the mating tooth number z_asm, the pressure angle alpha, the addendum coefficient hax, the clearance coefficient cx, the profile shift x, and the face width b. These values form the foundation of the straight bevel gear. Once they are set, I create the relational equations that produce the addendum, dedendum, full depth, pitch cone angle, pitch diameter, base diameter, tip diameter, root diameter, and all the auxiliary angles and lengths needed for the tooth profile. The relations are evaluated every time the model regenerates, so the straight bevel gear remains fully associative.
The addendum, dedendum, and full tooth depth of the straight bevel gear are calculated with the following equations:
$$h_a = (h_{ax} + x)m$$
$$h_f = (h_{ax} + c_x – x)m$$
$$h = (2h_{ax} + c_x)m$$
Here h_a is the addendum, h_f is the dedendum, and h is the full tooth depth. These three quantities control the radial size of the tooth at the large end of the straight bevel gear. I use them later to determine the tip cone angle and the root cone angle.
The pitch cone angle of the straight bevel gear is obtained from the ratio of the number of teeth on the gear to the number of teeth on the mating gear:
$$\delta = \arctan\left(\frac{z}{z_{asm}}\right)$$
This angle defines the orientation of the pitch cone. It is the fundamental angular parameter for the straight bevel gear because every subsequent cone angle is measured relative to it. The pitch diameter at the large end is simply the product of the module and the number of teeth:
$$d = mz$$
The base diameter follows from the pitch diameter and the pressure angle:
$$d_b = d \cos\alpha$$
For a straight bevel gear, I also need the tip diameter and the root diameter at the large end. These are not simply d plus or minus twice the addendum or dedendum, because the tooth height is measured perpendicular to the pitch cone. Therefore, I project the tooth height onto the transverse plane using the cosine of the pitch cone angle:
$$d_a = d + 2h_a \cos\delta$$
$$d_f = d – 2h_f \cos\delta$$
The base cone distance, or the distance from the base cone to the pitch cone, is calculated as:
$$h_b = \frac{d – d_b}{2\cos\delta}$$
This distance is needed to locate the base circle of the straight bevel gear in the equivalent transverse plane. The cone distance at the large end, which I denote as r_x, is:
$$r_x = \frac{d}{2\sin\delta}$$
With r_x known, I can determine the angular increments that correspond to the addendum, the base cone distance, and the dedendum. These angular increments are essential for defining the tip cone angle, the base cone angle, and the root cone angle of the straight bevel gear:
$$\theta_a = \arctan\left(\frac{h_a}{r_x}\right)$$
$$\theta_b = \arctan\left(\frac{h_b}{r_x}\right)$$
$$\theta_f = \arctan\left(\frac{h_f}{r_x}\right)$$
I then add or subtract these angular increments to the pitch cone angle to obtain the tip cone angle, the base cone angle, and the root cone angle:
$$\delta_a = \delta + \theta_a$$
$$\delta_b = \delta – \theta_b$$
$$\delta_f = \delta – \theta_f$$
These three cone angles define the large-end and small-end boundaries of the straight bevel gear tooth. They are used when I create the two-dimensional section curves and when I define the sweep blend path. The face width along each cone is also adjusted by the corresponding angle. For the addendum, base, and dedendum, the adjusted face widths are:
$$b_a = \frac{b}{\cos\theta_a}$$
$$b_b = \frac{b}{\cos\theta_b}$$
$$b_f = \frac{b}{\cos\theta_f}$$
Finally, the distance from the apex of the pitch cone to the large end, which I call D0, is:
$$D_0 = \frac{d}{2\tan\delta}$$
This distance is useful for positioning the coordinate system and for verifying the overall proportions of the straight bevel gear. All of these equations are entered into Pro/E as relations. I list them in a single table so that I can review and modify them easily.
| Relation name | Equation | Purpose in the straight bevel gear model |
|---|---|---|
| Addendum | $$h_a = (h_{ax} + x)m$$ | Tooth height above the pitch cone |
| Dedendum | $$h_f = (h_{ax} + c_x – x)m$$ | Tooth depth below the pitch cone |
| Full depth | $$h = (2h_{ax} + c_x)m$$ | Total tooth depth |
| Pitch cone angle | $$\delta = \arctan(z/z_{asm})$$ | Angular orientation of the pitch cone |
| Pitch diameter | $$d = mz$$ | Large-end pitch diameter |
| Base diameter | $$d_b = d\cos\alpha$$ | Diameter of the base circle in the transverse plane |
| Tip diameter | $$d_a = d + 2h_a\cos\delta$$ | Large-end tip diameter |
| Root diameter | $$d_f = d – 2h_f\cos\delta$$ | Large-end root diameter |
| Base cone distance | $$h_b = (d – d_b)/(2\cos\delta)$$ | Distance from base cone to pitch cone |
| Large-end cone distance | $$r_x = d/(2\sin\delta)$$ | Distance from apex to large end |
| Addendum angle | $$\theta_a = \arctan(h_a/r_x)$$ | Angular increment for the tip cone |
| Base angle increment | $$\theta_b = \arctan(h_b/r_x)$$ | Angular increment for the base cone |
| Dedendum angle | $$\theta_f = \arctan(h_f/r_x)$$ | Angular increment for the root cone |
| Tip cone angle | $$\delta_a = \delta + \theta_a$$ | Angle of the tip cone |
| Base cone angle | $$\delta_b = \delta – \theta_b$$ | Angle of the base cone |
| Root cone angle | $$\delta_f = \delta – \theta_f$$ | Angle of the root cone |
| Tip face width | $$b_a = b/\cos\theta_a$$ | Face width along the tip cone |
| Base face width | $$b_b = b/\cos\theta_b$$ | Face width along the base cone |
| Root face width | $$b_f = b/\cos\theta_f$$ | Face width along the root cone |
| Apex distance | $$D_0 = d/(2\tan\delta)$$ | Distance from apex to the large end |
After entering all relations, I check the model for consistency. I first create the two-dimensional curves for the straight bevel gear. In the sketching environment, I draw four concentric circles at the large end and four concentric circles at the small end. The four circles are the tip circle, the pitch circle, the base circle, and the root circle. At the large end, their diameters are d_a, d, d_b, and d_f. At the small end, I scale them according to the cone geometry. I use the relations to define these circles parametrically, so their sizes update automatically when I change the module or the tooth numbers. This step is critical because the straight bevel gear tooth profile must be constructed between the tip circle and the root circle while respecting the base circle.
| Circle | Large-end diameter | Small-end diameter | Role in the straight bevel gear |
|---|---|---|---|
| Tip circle | $$d_a$$ | Scaled by cone distance | Outer boundary of the tooth |
| Pitch circle | $$d$$ | Scaled by cone distance | Reference for tooth thickness |
| Base circle | $$d_b$$ | Scaled by cone distance | Origin of the involute profile |
| Root circle | $$d_f$$ | Scaled by cone distance | Inner boundary of the tooth |
The next step is the creation of the involute profile for the straight bevel gear. I work in a Cartesian coordinate system inside a sketch. I insert a datum curve from an equation. The equation describes the involute of the base circle for the equivalent transverse section of the straight bevel gear. I use the following parametric equations, where t is the parameter that varies from 0 to 1, and r is the radius of the base circle in the transverse plane:
$$r = \frac{d_b}{2\cos\delta}$$
$$\theta = t \cdot 60$$
$$x = r\cos\theta + r\sin\theta \cdot \frac{\theta\pi}{180}$$
$$y = r\sin\theta – r\cos\theta \cdot \frac{\theta\pi}{180}$$
$$z = 0$$
In these equations, I use x and y as the Cartesian coordinates of the involute in the sketch plane, and z is set to zero because the curve is two-dimensional. The angle theta is measured in degrees, and the term theta times pi divided by 180 converts it to radians for the trigonometric functions. The parameter t controls how far along the involute I generate the curve. I usually let t run from 0 to 1, which produces a sufficiently long involute for the straight bevel gear tooth. After creating the involute curve, I mirror it about the tooth centerline. The mirror operation gives me the complete profile of one side and the other side of the straight bevel gear tooth.
| Parameter | Expression | Description |
|---|---|---|
| Base radius for involute | $$r = d_b/(2\cos\delta)$$ | Radius used in the involute equation |
| Involute angle | $$\theta = t \cdot 60$$ | Roll angle in degrees |
| X coordinate | $$x = r\cos\theta + r\sin\theta \cdot \theta\pi/180$$ | Horizontal coordinate of the involute |
| Y coordinate | $$y = r\sin\theta – r\cos\theta \cdot \theta\pi/180$$ | Vertical coordinate of the involute |
| Z coordinate | $$z = 0$$ | Sketch plane coordinate |
Once the mirrored involute curves are available, I close the tooth profile at the large end and at the small end. At the large end, I connect the involute curves to the tip circle and the root circle. At the small end, I connect them to the corresponding tip circle and root circle. The result is a closed two-dimensional section for one tooth of the straight bevel gear at the large end and another closed section at the small end. These two sections are not identical; they are scaled and positioned according to the cone geometry. The large-end section is wider and taller, while the small-end section is narrower and shorter. This difference is exactly what gives the straight bevel gear its tapered tooth form.
After I finish the two end sections, I use the sweep blend command in Pro/E to create the first tooth. I select the large-end section as the first profile and the small-end section as the second profile. Pro/E then interpolates the tooth surface between them along the cone. The sweep blend respects the tip cone angle, the root cone angle, and the pitch cone angle. The resulting solid is a single tooth of the straight bevel gear. I check the tooth for smoothness and for any self-intersection. If the tooth looks correct, I proceed to the array step.
To create all teeth of the straight bevel gear, I use a circular array about the gear axis. I select the axis of the straight bevel gear as the array axis. The number of array members is equal to the number of teeth z. The angular spacing is therefore 360 degrees divided by z. After the array is complete, the full straight bevel gear model is generated. I then verify that the teeth are evenly spaced and that the root regions merge properly. At this point, the parametric straight bevel gear is ready for further use.
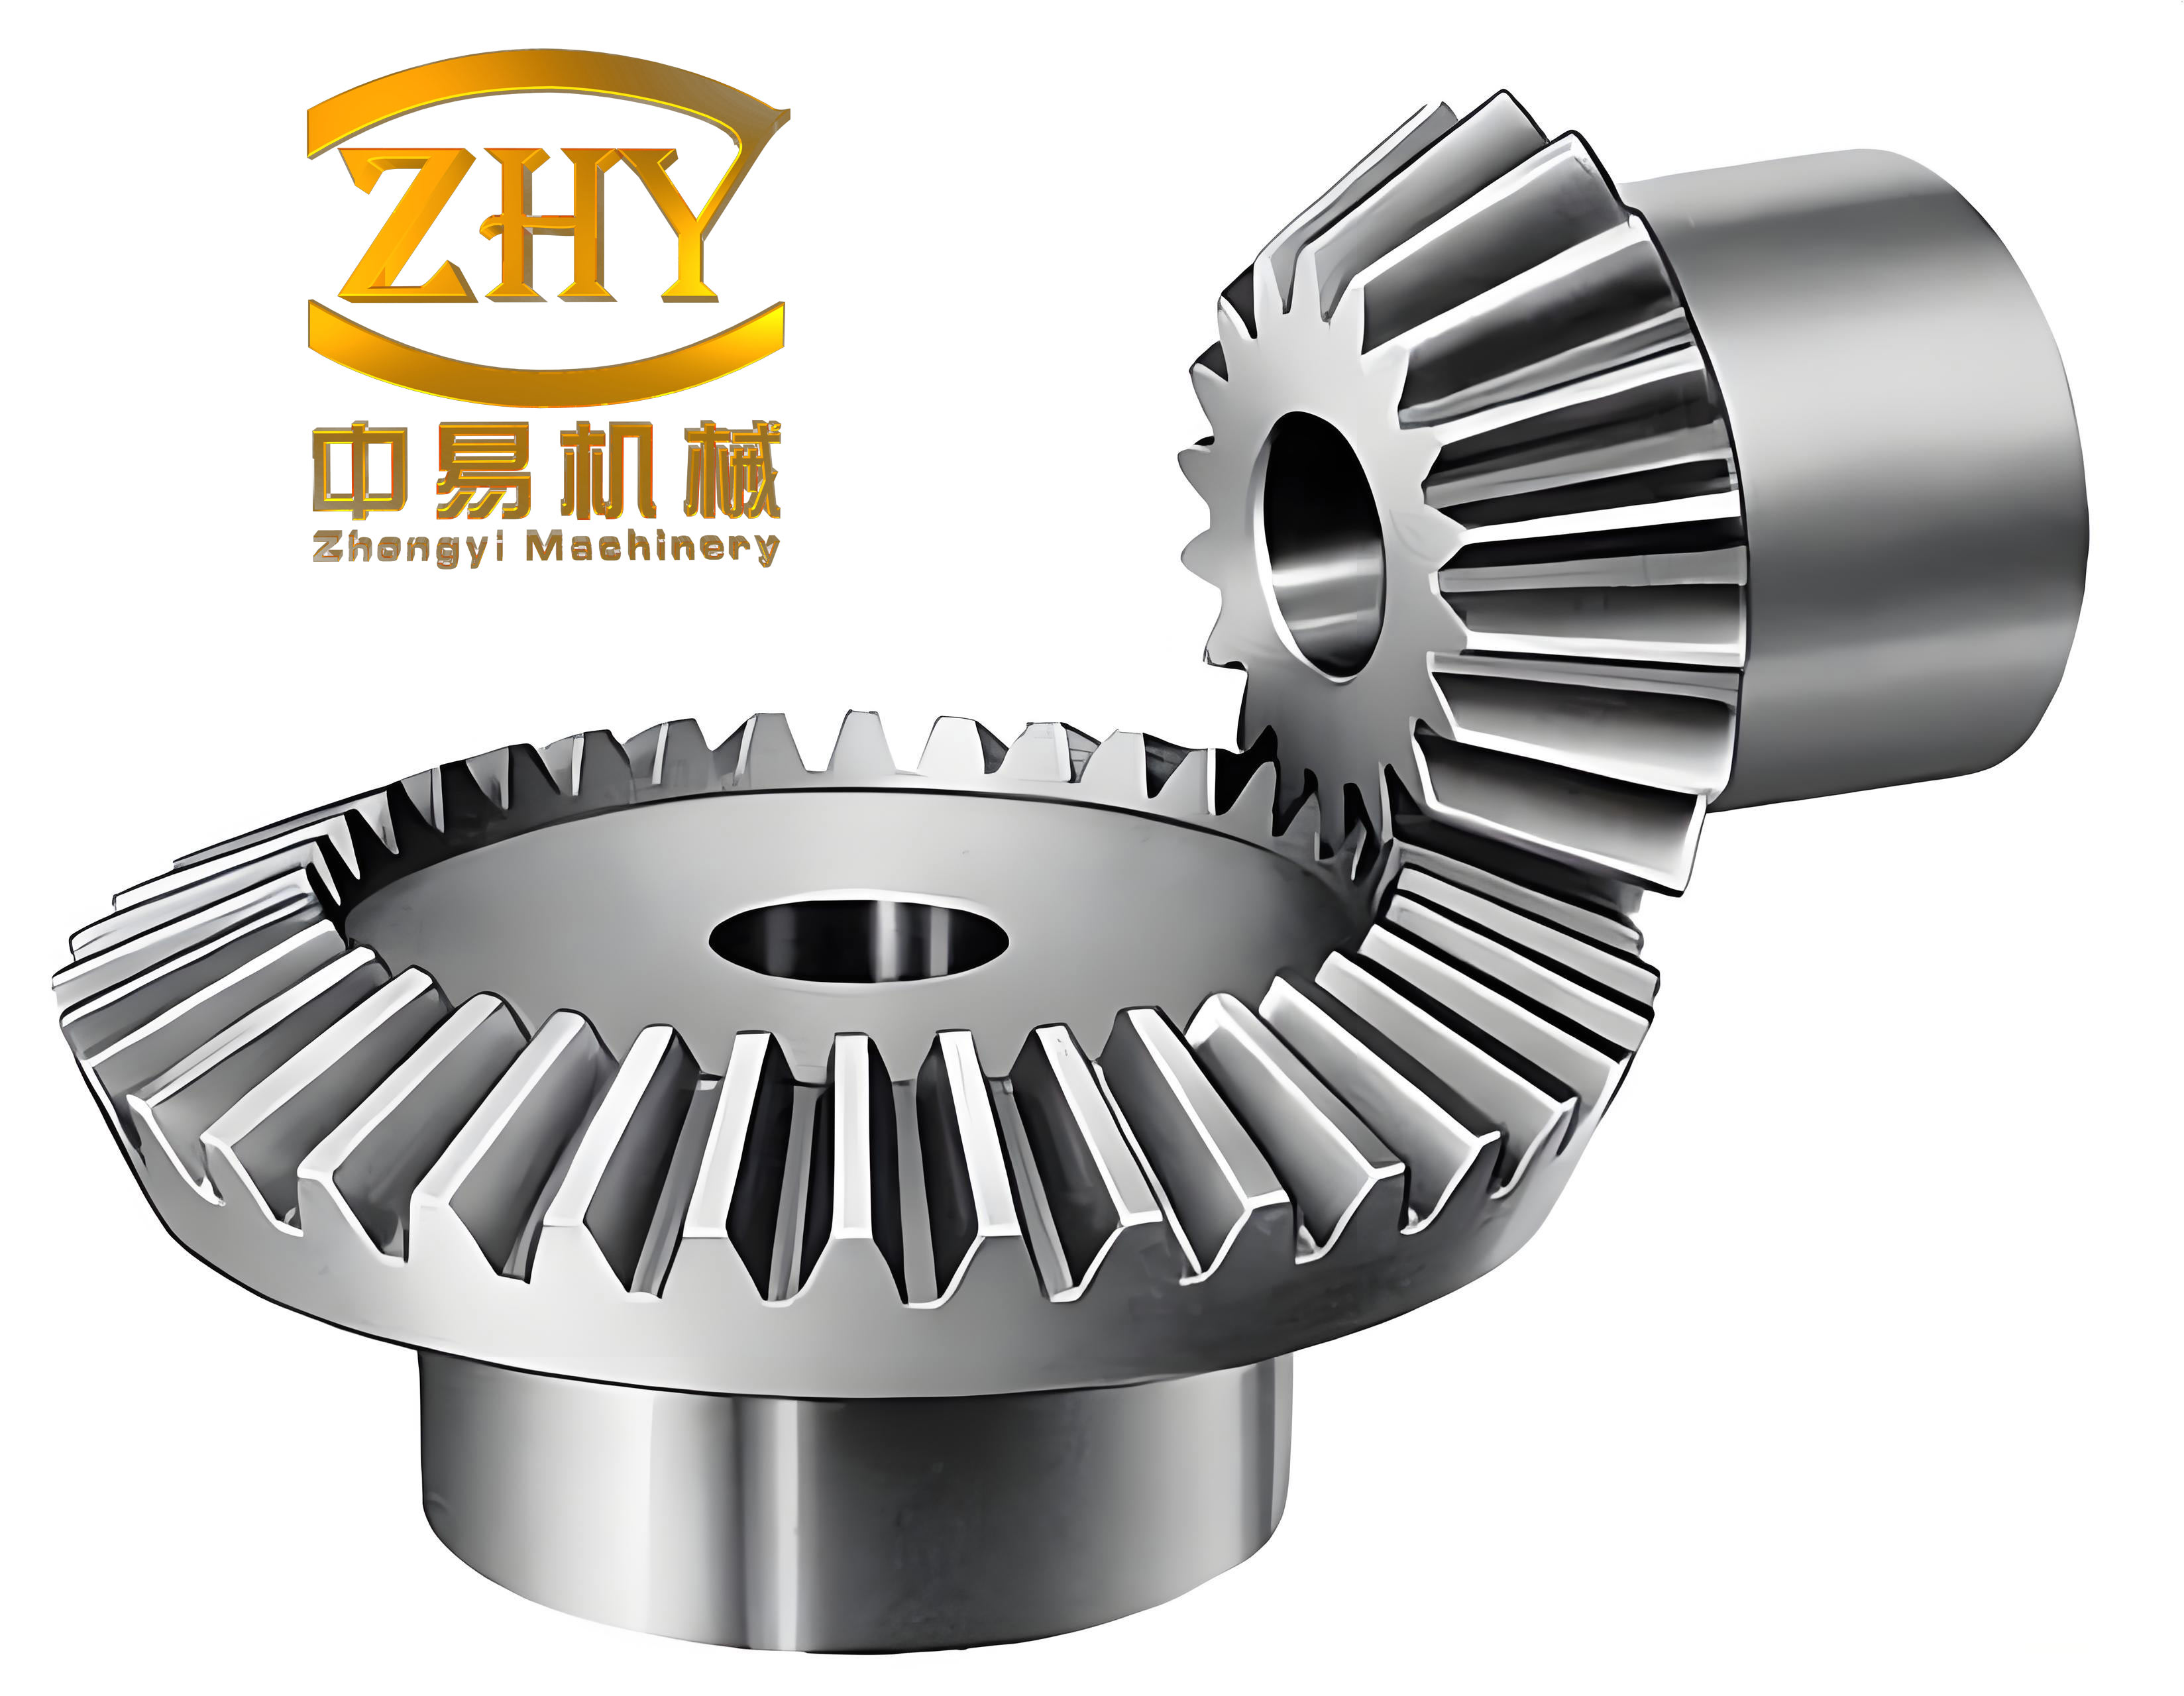
I also like to verify the parametric model by comparing the analytical dimensions with the dimensions measured from the Pro/E model. The following table shows a typical comparison for a straight bevel gear with module 3 mm, 24 teeth, 20 degree pressure angle, addendum coefficient 1.0, clearance coefficient 0.2, and face width 20 mm. The analytical values come directly from the relations, while the measured values come from the Pro/E model after regeneration.
| Quantity | Analytical value | Pro/E measured value | Difference |
|---|---|---|---|
| Pitch cone angle | $$\delta = \arctan(24/36) = 33.69^\circ$$ | 33.69 degrees | 0.00 |
| Pitch diameter | $$d = 3 \times 24 = 72 \text{ mm}$$ | 72.00 mm | 0.00 |
| Base diameter | $$d_b = 72\cos20^\circ = 67.66 \text{ mm}$$ | 67.66 mm | 0.00 |
| Addendum | $$h_a = (1.0+0)\times3 = 3.00 \text{ mm}$$ | 3.00 mm | 0.00 |
| Dedendum | $$h_f = (1.0+0.2-0)\times3 = 3.60 \text{ mm}$$ | 3.60 mm | 0.00 |
| Tip diameter | $$d_a = 72 + 2(3.00)\cos33.69^\circ = 76.99 \text{ mm}$$ | 76.99 mm | 0.00 |
| Root diameter | $$d_f = 72 – 2(3.60)\cos33.69^\circ = 66.01 \text{ mm}$$ | 66.01 mm | 0.00 |
| Tip cone angle | $$\delta_a = 33.69^\circ + \arctan(3.00/64.90) = 36.34^\circ$$ | 36.34 degrees | 0.00 |
| Root cone angle | $$\delta_f = 33.69^\circ – \arctan(3.60/64.90) = 30.51^\circ$$ | 30.51 degrees | 0.00 |
The comparison confirms that the parametric relations are correctly implemented. The small differences are only due to numerical rounding. Because the straight bevel gear is fully parametric, I can change any input value and the model updates without rebuilding the sketches or the array. This is the main advantage of using Pro/E for the straight bevel gear design. I can also create several configurations of the same straight bevel gear in a family table, which is very useful when the reducer must cover multiple ratios.
I also summarize the modeling steps and the corresponding Pro/E features in a table. This helps me document the process and repeat it for other gears in the same planetary reducer.
| Step | Action | Pro/E feature | Result for the straight bevel gear |
|---|---|---|---|
| 1 | Define parameters and relations | Parameters and Relations | Fully associative design variables |
| 2 | Create large-end and small-end circles | Sketcher | Tip, pitch, base, and root circles |
| 3 | Create involute curve | Datum Curve from Equation | One side of the tooth profile |
| 4 | Mirror the involute | Mirror | Complete single-tooth profile |
| 5 | Close the tooth profile | Sketcher | Closed section at both ends |
| 6 | Sweep blend the first tooth | Sweep Blend | Solid tooth of the straight bevel gear |
| 7 | Array the tooth | Pattern | Full straight bevel gear |
When I design the straight bevel gear, I pay special attention to the pressure angle and the profile shift. The pressure angle affects the base diameter and the shape of the involute. A larger pressure angle makes the tooth wider at the root and narrower at the tip. The profile shift x changes the addendum and dedendum, which in turn changes the tip cone angle and the root cone angle. By exposing these variables as parameters, I can quickly evaluate different tooth forms for the straight bevel gear without redrawing the involute manually. This is a significant improvement over traditional two-dimensional drafting, where every change requires a new set of curves.
The parametric straight bevel gear also makes later assembly much easier. Because the gear is created around a known axis and with known cone angles, I can insert it into the planetary reducer assembly and apply the appropriate constraints. The straight bevel gear can be mated to its shaft, to the bearing, and to the mating gear. If the module or the tooth number changes, the assembly updates automatically. I have found this especially helpful when I need to check clearances between the straight bevel gear and the housing. I can modify the face width or the addendum coefficient and immediately see whether the gear still fits.
For manufacturing, the parametric model provides a reliable source for toolpath generation. The involute profile of the straight bevel gear is exact, not approximated by arcs. Therefore, the computer-aided manufacturing system can follow the true tooth surface. I can also export the model to a neutral format for further analysis. The straight bevel gear is a good example of how parametric design in Pro/E bridges the gap between conceptual design and production. The relations that I use are not complicated, but they capture the complete geometry of the straight bevel gear with a small number of equations.
| Benefit | Explanation | Impact on the straight bevel gear workflow |
|---|---|---|
| Automatic regeneration | All dimensions are driven by relations | Change module or teeth and update instantly |
| Design consistency | Cone angles and diameters remain synchronized | No manual recalculation of the straight bevel gear |
| Assembly readiness | Axis and mating features are stable | Simpler constraining in the reducer assembly |
| Manufacturing accuracy | Exact involute curve from equation | Better toolpaths for the straight bevel gear |
| Design reuse | Parameters can be stored in family tables | Rapid creation of multiple straight bevel gear variants |
I also use the model to check the contact pattern concept for the straight bevel gear. Although the contact pattern depends on manufacturing and mounting, the parametric geometry gives me a good starting point. I can study how the tooth thickness at the pitch cone changes with profile shift and how the tip and root clearances vary. For a straight bevel gear, the tooth thickness at the large end is usually larger than at the small end, and the parametric model captures this taper automatically. I can measure the chordal thickness at any cone distance and compare it with the theoretical value.
Another important consideration is the root fillet of the straight bevel gear. In my parametric model, I can add a fillet between the involute profile and the root circle. The fillet reduces stress concentration and improves the bending strength of the straight bevel gear. Because the fillet is part of the sketch, it also updates when the parameters change. I usually define the fillet radius as a function of the module, for example 0.38 times the module, but this can be adjusted. The root fillet is especially important for the straight bevel gear because the tooth is cantilevered from the cone, and the root is the most highly stressed region.
If I need to analyze the straight bevel gear with finite element analysis, I can import the Pro/E model and apply loads and constraints. The parametric model can be regenerated with different modules or face widths to study the effect on stress. I can also create a simplified model if the analysis does not require the full tooth form, but for accurate results the involute profile is necessary. The straight bevel gear is a good candidate for parametric optimization because the number of design variables is manageable and the relations are well understood.
In conclusion, my parametric design of the involute straight bevel gear in Pro/E demonstrates the power of relational modeling. By defining a compact set of parameters and equations, I can generate a complete three-dimensional straight bevel gear that is accurate, flexible, and ready for assembly and manufacturing. The process includes parameter setup, relation definition, two-dimensional curve creation, involute generation, mirroring, sweep blending, and circular arraying. The use of tables and formulas makes the design intent clear and repeatable. For the controllable start planetary gear reducer, this approach saves time and reduces errors. The straight bevel gear can be modified quickly to meet new requirements, and the same method can be applied to other gears in the system. The result is a robust digital model that supports the entire product development cycle.