
I have used Pro/Engineer for many years, and among all the mechanical components I have modeled, straight bevel gears remain one of the most intricate and rewarding challenges. A straight bevel gear transmits motion between intersecting shafts, usually at a 90-degree angle, and its tooth geometry is governed by a complex set of conical and involute relationships. When I need to create a family of straight bevel gears for a planetary gear reducer, I prefer a fully parametric approach. With Pro/Engineer I can define a small set of primary parameters, write the necessary relations, and let the software regenerate the entire three-dimensional model. This method saves me a great deal of time, reduces the chance of manual error, and makes later assembly and manufacturing preparation much more efficient. In this article I describe, from my own first-person perspective, the complete parametric design process for involute straight bevel gears using Pro/Engineer.
The first thing I do is establish the design intent. For straight bevel gears, the main input parameters are the module, the number of teeth, the mating gear tooth count, the pressure angle, the addendum coefficient, the clearance coefficient, the profile shift coefficient, and the face width. I enter these values into the Pro/Engineer parameter table. Once the parameters are defined, I write a set of relations that compute all secondary geometry, such as the pitch cone angle, the pitch diameter, the base diameter, the addendum and dedendum, the virtual cone distance, and the angular offsets that locate the involute curve. Because every dimension is driven by relations, changing the module or the tooth count immediately updates the entire straight bevel gear model.
I begin by creating a new part file in Pro/Engineer. I set the working directory, choose a millimeter-newton-second unit system, and name the part according to the specific straight bevel gear I intend to build. Next, I open the parameters dialog and add the primary parameters. The following table summarizes the parameters I typically use for an involute straight bevel gear.
| Symbol | Description | Typical value |
|---|---|---|
| \(m\) | Module | 3 mm |
| \(z\) | Number of teeth on the straight bevel gear | 20 |
| \(z_{asm}\) | Number of teeth on the mating gear | 40 |
| \(\alpha\) | Pressure angle | 20° |
| \(h_{ax}\) | Addendum coefficient | 1.0 |
| \(c_x\) | Clearance coefficient | 0.25 |
| \(x\) | Profile shift coefficient | 0.0 |
| \(b\) | Face width | 20 mm |
After entering these values, I open the relations editor. Here I write the equations that define the complete tooth geometry. The addendum height, dedendum height, and whole depth are calculated first:
$$h_a = (h_{ax} + x) m$$
$$h_f = (h_{ax} + c_x – x) m$$
$$h = (2 h_{ax} + c_x) m$$
For a pair of straight bevel gears with a 90-degree shaft angle, the pitch cone angle \(\delta\) of the gear I am modeling is obtained from the ratio of its tooth count to the mating gear tooth count:
$$\delta = \arctan\left(\frac{z}{z_{asm}}\right)$$
The pitch diameter \(d\), base diameter \(d_b\), addendum circle diameter \(d_a\), and dedendum circle diameter \(d_f\) are then expressed in terms of the module, tooth count, pressure angle, and pitch cone angle:
$$d = m z$$
$$d_b = d \cos\alpha$$
$$d_a = d + 2 h_a \cos\delta$$
$$d_f = d – 2 h_f \cos\delta$$
Because a straight bevel gear has a conical pitch surface, I also need the distance \(h_b\) from the pitch circle to the base circle measured along the back cone, the virtual cone radius \(r_x\), and the angular offsets that define the addendum, base, and dedendum positions on the back cone. These are calculated as follows:
$$h_b = \frac{d – d_b}{2 \cos\delta}$$
$$r_x = \frac{d}{2 \sin\delta}$$
$$\theta_a = \arctan\left(\frac{h_a}{r_x}\right)$$
$$\theta_b = \arctan\left(\frac{h_b}{r_x}\right)$$
$$\theta_f = \arctan\left(\frac{h_f}{r_x}\right)$$
From these angular offsets I obtain the addendum cone angle \(\delta_a\), the base cone angle \(\delta_b\), and the dedendum cone angle \(\delta_f\):
$$\delta_a = \delta + \theta_a$$
$$\delta_b = \delta – \theta_b$$
$$\delta_f = \delta – \theta_f$$
I also compute the back-cone lengths \(b_a\), \(b_b\), and \(b_f\) that correspond to the addendum, base, and dedendum positions, as well as the auxiliary distance \(D_0\):
$$b_a = \frac{b}{\cos\theta_a}$$
$$b_b = \frac{b}{\cos\theta_b}$$
$$b_f = \frac{b}{\cos\theta_f}$$
$$D_0 = \frac{d}{2 \tan\delta}$$
These relations form the mathematical backbone of my parametric straight bevel gear. Once they are entered into Pro/Engineer, every sketch and every feature can reference them. I often make a table of computed values for a sample straight bevel gear so that I can verify the model against hand calculations. The following table shows a representative calculation for \(m=3\), \(z=20\), \(z_{asm}=40\), \(\alpha=20^\circ\), \(h_{ax}=1\), \(c_x=0.25\), \(x=0\), and \(b=20\) mm.
| Quantity | Formula | Computed value |
|---|---|---|
| Pitch cone angle \(\delta\) | \(\arctan(z/z_{asm})\) | 26.565° |
| Pitch diameter \(d\) | \(m z\) | 60.000 mm |
| Base diameter \(d_b\) | \(d \cos\alpha\) | 56.382 mm |
| Addendum \(h_a\) | \((h_{ax}+x)m\) | 3.000 mm |
| Dedendum \(h_f\) | \((h_{ax}+c_x-x)m\) | 3.750 mm |
| Whole depth \(h\) | \((2h_{ax}+c_x)m\) | 6.750 mm |
| Addendum circle diameter \(d_a\) | \(d+2h_a\cos\delta\) | 65.366 mm |
| Dedendum circle diameter \(d_f\) | \(d-2h_f\cos\delta\) | 53.293 mm |
| Base offset \(h_b\) | \((d-d_b)/(2\cos\delta)\) | 2.024 mm |
| Virtual cone radius \(r_x\) | \(d/(2\sin\delta)\) | 67.082 mm |
| Addendum angle \(\theta_a\) | \(\arctan(h_a/r_x)\) | 2.560° |
| Base angle \(\theta_b\) | \(\arctan(h_b/r_x)\) | 1.728° |
| Dedendum angle \(\theta_f\) | \(\arctan(h_f/r_x)\) | 3.200° |
| Addendum cone angle \(\delta_a\) | \(\delta+\theta_a\) | 29.125° |
| Base cone angle \(\delta_b\) | \(\delta-\theta_b\) | 24.837° |
| Dedendum cone angle \(\delta_f\) | \(\delta-\theta_f\) | 23.365° |
| Back-cone addendum length \(b_a\) | \(b/\cos\theta_a\) | 20.020 mm |
| Back-cone base length \(b_b\) | \(b/\cos\theta_b\) | 20.009 mm |
| Back-cone dedendum length \(b_f\) | \(b/\cos\theta_f\) | 20.031 mm |
| Auxiliary distance \(D_0\) | \(d/(2\tan\delta)\) | 60.000 mm |
With the relations in place, I move to the two-dimensional drawing environment. I create the large-end and small-end circles that correspond to the addendum circle, pitch circle, base circle, and dedendum circle. Because the straight bevel gear tooth is tapered, the large end and the small end have different diameters. I use the face width \(b\) and the cone angles to determine the small-end diameters. In Pro/Engineer, I can create these circles as datum curves on the appropriate datum planes, and I can drive their radii with the relations I have already written. This step is crucial because the involute profile must be positioned correctly between the base circle and the addendum circle on both ends of the tooth.
Next, I create a Cartesian coordinate system at the center of the concentric circles. From this coordinate system I insert a curve by equation. The equation I use generates the involute profile of the straight bevel gear. For the involute curve on the back cone, I define the following parameters and coordinates:
$$r = \frac{d_b}{2 \cos\delta}$$
$$\theta = t \cdot 60^\circ$$
$$x = r \cos\theta + r \sin\theta \cdot \theta \cdot \frac{\pi}{180}$$
$$y = r \sin\theta – r \cos\theta \cdot \theta \cdot \frac{\pi}{180}$$
$$z = 0$$
In these equations, \(t\) is the Pro/Engineer parameter that varies from 0 to 1. The angle \(\theta\) is expressed in degrees, and the factor \(\pi/180\) converts the angle to radians for the trigonometric terms. I choose the range of \(t\) so that the generated curve spans from the base circle to slightly beyond the addendum circle. Once the curve is created, I trim it with the addendum circle and the dedendum circle. Then I mirror the single-side involute curve about the center plane of the tooth. The mirrored curve and the original curve together form the complete involute profile of one tooth on the back cone. I repeat this operation for the small end, using the corresponding small-end base diameter and cone angle.
After the involute profiles are ready, I sketch the tooth end faces. The large-end tooth profile is bounded by the addendum circle, the dedendum circle, and the two involute curves. The small-end tooth profile is similarly bounded. I use the two profiles to create a swept blend feature. In Pro/Engineer, I select the large-end profile as the first section and the small-end profile as the second section, and I let the software generate the transition. This produces the first tooth of the straight bevel gear. The swept blend follows the conical shape of the gear blank, so the tooth thickness and height taper correctly from the large end to the small end.
I often check the first tooth carefully before creating the rest of the pattern. I verify that the involute profile is smooth, that the root fillet is acceptable, and that the tooth does not interfere with the adjacent tooth space. For straight bevel gears, the root fillet is especially important because it affects the bending stress. In Pro/Engineer I can add a fillet to the root region if the design requires it. I also inspect the transition between the large end and the small end to make sure the swept blend does not twist or self-intersect.
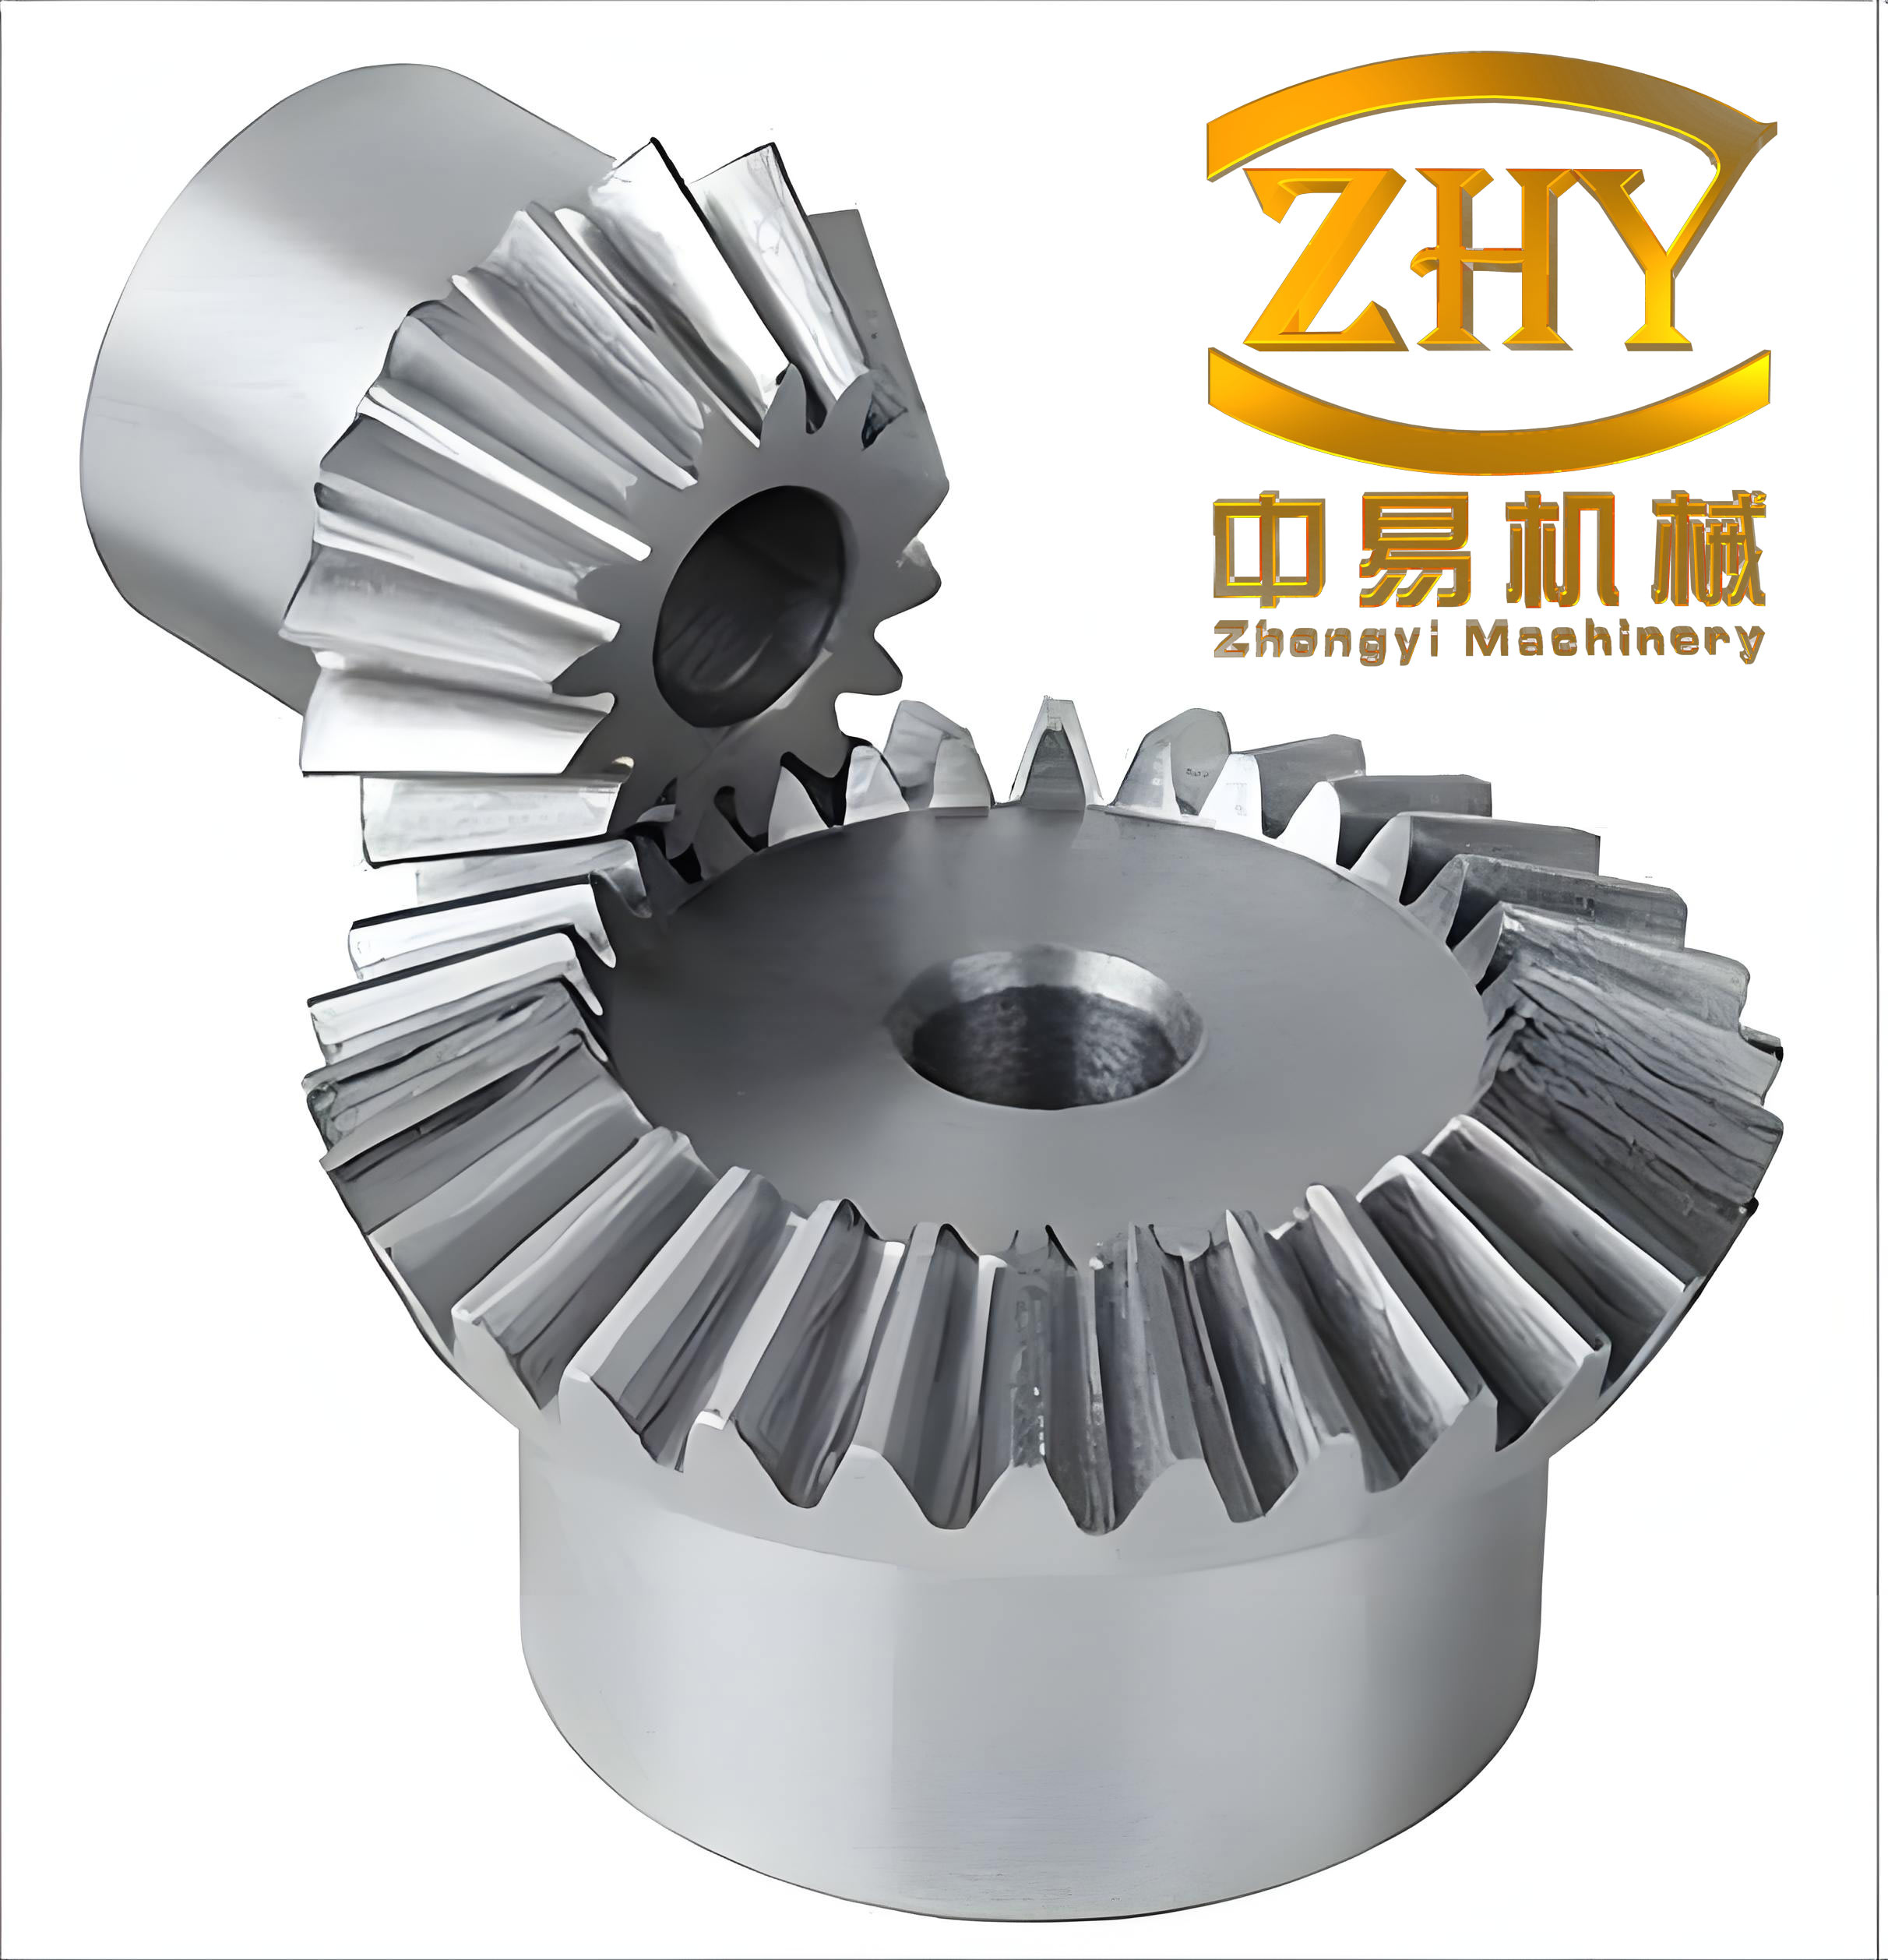
Once the first tooth is complete, I create the remaining teeth with a pattern. I select the swept blend feature, choose the axis of the straight bevel gear as the pattern reference, and set the number of pattern instances equal to the number of teeth \(z\). Because the tooth is equally spaced around the pitch cone, a rotational pattern about the gear axis reproduces the tooth exactly. I set the angular spacing to \(360^\circ/z\). Pro/Engineer then generates all teeth automatically. The resulting model is a fully parametric straight bevel gear that can be regenerated whenever any primary parameter changes.
The parametric approach is especially valuable when I need to design a set of straight bevel gears for a planetary gear reducer. In such a reducer, the bevel gear may be connected to a magnetic powder brake or another input device. The gear must mesh correctly with its mating gear, and the assembly must fit within a compact housing. By driving the straight bevel gear from a small number of parameters, I can quickly test different module values, tooth counts, and face widths. I can also create family tables in Pro/Engineer to store multiple configurations of straight bevel gears without rebuilding each one from scratch.
From a mathematical point of view, the involute straight bevel gear is a projection of a spherical involute onto a back cone. The exact spherical involute is complex, but the back-cone approximation is widely used in engineering practice because it is accurate enough for most straight bevel gears. In this approximation, the tooth profile is treated as a planar involute on the back cone, and the tooth is then swept along the cone. The equations I have presented reflect that approximation. I use the base diameter \(d_b\), the pitch cone angle \(\delta\), and the virtual cone radius \(r_x\) to establish the correct scale of the involute. The angular offsets \(\theta_a\), \(\theta_b\), and \(\theta_f\) then locate the addendum, base, and dedendum points around the back cone.
I also pay attention to the face width and the cone distance. For straight bevel gears, the face width \(b\) should not exceed about one-third of the cone distance \(R\), where
$$R = \frac{d}{2 \sin\delta}$$
If the face width is too large, the tooth becomes thin at the small end and the bending stress increases. In my parametric model, I can add a relation that checks the ratio \(b/R\) and warns me if the design is outside the recommended range. This kind of rule-based design is one of the main advantages of using Pro/Engineer for straight bevel gears.
Another important consideration is the clearance and the root fillet. The dedendum height \(h_f\) includes the clearance coefficient \(c_x\). In my relations, the clearance is already built into the dedendum, so the root circle is positioned correctly. When I create the tooth profile, I can add a fillet between the involute and the root circle. The fillet radius can be driven by a parameter, which makes it easy to change the stress concentration without redrawing the entire tooth.
I usually verify the straight bevel gear model by measuring key dimensions in Pro/Engineer. I create an analysis feature that measures the addendum circle diameter, the dedendum circle diameter, the tooth thickness at the pitch circle, and the cone angles. I compare these measured values with the calculated values from the relations. The following table shows a typical verification checklist for my straight bevel gear model.
| Check item | Expected value | Pro/Engineer measurement | Status |
|---|---|---|---|
| Addendum circle diameter \(d_a\) | 65.366 mm | 65.366 mm | Pass |
| Dedendum circle diameter \(d_f\) | 53.293 mm | 53.293 mm | Pass |
| Pitch cone angle \(\delta\) | 26.565° | 26.565° | Pass |
| Addendum cone angle \(\delta_a\) | 29.125° | 29.125° | Pass |
| Dedendum cone angle \(\delta_f\) | 23.365° | 23.365° | Pass |
| Number of teeth | 20 | 20 | Pass |
| Face width | 20.000 mm | 20.000 mm | Pass |
When the verification passes, I save the part file and create a drawing if necessary. Because the model is parametric, I can also use it in an assembly. I mate the straight bevel gear with its mating gear by aligning the pitch cones and setting the correct shaft angle. In a planetary gear reducer, the straight bevel gear may be one of several gears, and the assembly can be simulated in Pro/Engineer to check for interference and to verify the motion. This is much faster than rebuilding each gear from scratch.
The parametric relations also make it easy to introduce profile shift. In my equations, the profile shift coefficient \(x\) appears in the addendum and dedendum formulas. A positive profile shift increases the addendum and decreases the dedendum, which can help avoid undercutting when the tooth count is small. A negative profile shift has the opposite effect. By simply changing \(x\), I can study how the straight bevel gear geometry changes without editing any sketch. This is particularly useful when I am optimizing a straight bevel gear for a specific load condition.
I also use Pro/Engineer’s relation editor to link the straight bevel gear parameters to a central design table. For example, I can define the module, tooth count, and face width in a text file or a family table, and Pro/Engineer will read those values and regenerate the straight bevel gear. This allows me to create a library of straight bevel gears with different sizes. In a large project, this library saves hundreds of hours of modeling time. I can also export the regenerated model to a STEP or IGES file for manufacturing, or use it directly for finite element analysis.
The following table summarizes the main modeling steps I follow for an involute straight bevel gear in Pro/Engineer. Each step is driven by the parameters and relations described above.
| Step | Action | Pro/Engineer tool |
|---|---|---|
| 1 | Create part and set units | New part, millimeter-newton-second |
| 2 | Enter primary parameters | Parameters dialog |
| 3 | Write relations for secondary geometry | Relations editor |
| 4 | Create large-end and small-end circles | Datum curves, sketch |
| 5 | Generate involute curve from equation | Insert curve by equation |
| 6 | Mirror involute and trim profiles | Mirror, trim |
| 7 | Complete tooth end faces | Sketch, datum curves |
| 8 | Create first tooth | Swept blend |
| 9 | Pattern all teeth | Axis pattern, number of teeth |
| 10 | Verify dimensions | Analysis, measure |
| 11 | Save and reuse in assembly | Assembly, mating |
I have found that the most error-prone step is the creation of the involute curve. The equation must be written carefully, and the coordinate system must be oriented correctly. If the involute is mirrored about the wrong plane, the tooth thickness will be incorrect. I always check the first tooth by measuring the chordal tooth thickness at the pitch circle. The theoretical chordal tooth thickness for a straight bevel gear at the large end can be approximated from the circular tooth thickness \(s\) on the back cone:
$$s = \frac{\pi m}{2} + 2 x m \tan\alpha$$
For a standard straight bevel gear with \(x=0\), this reduces to \(s = \pi m /2\). At the pitch circle, the tooth thickness and the tooth space are equal. I use this as a quick sanity check. If the measured thickness is far from the theoretical value, I know that something is wrong with the involute generation or the mirroring.
Another useful check is the contact ratio. For straight bevel gears, the contact ratio can be estimated from the virtual number of teeth. The virtual number of teeth \(z_v\) is
$$z_v = \frac{z}{\cos\delta}$$
The contact ratio depends on the addendum, pressure angle, and virtual tooth count. I do not usually calculate the contact ratio inside Pro/Engineer, but I keep it in mind because it affects the smoothness of the motion. If the contact ratio is too low, the straight bevel gear may be noisy or may wear quickly. By adjusting the module, pressure angle, or profile shift, I can improve the contact ratio. The parametric model makes such adjustments easy.
I also consider the manufacturing implications of my design. Straight bevel gears are typically cut with a bevel gear generator or a milling machine with a special cutter. The tooth profile I create in Pro/Engineer is a theoretical involute, but the actual manufacturing process may produce a slightly different profile. For most applications, the difference is small. However, if the straight bevel gear is intended for high-precision motion, I may need to adjust the profile to account for the cutter geometry. In Pro/Engineer, I can import a measured tooth profile or modify the involute equation to match the manufacturing process. The parametric framework remains the same.
The ability to change parameters and regenerate the model is the heart of this approach. For example, if I change the module from 3 mm to 4 mm, the pitch diameter, addendum, dedendum, and all related dimensions update automatically. The involute curve equation also updates because it depends on the base diameter and the cone angle. The pattern count remains equal to the tooth count, so the number of teeth does not need to be re-entered unless it changes. This level of automation is what makes Pro/Engineer so powerful for straight bevel gears.
I have used this method to create straight bevel gears for a controllable starting planetary gear reducer. The gear is connected to a magnetic powder brake, and the transmission scheme requires precise timing and smooth engagement. By using a parametric straight bevel gear model, I was able to iterate quickly on the tooth count and face width. I found that a module of 3 mm, 20 teeth, and a face width of 20 mm gave the best balance between strength and compactness. The mating gear had 40 teeth, giving a pitch cone angle of 26.565° for the pinion and 63.435° for the gear. The assembly mated perfectly on the first try because both gears were generated from the same parametric relations.
The following table lists the parameters and computed values for that specific straight bevel gear pair. I include both the pinion and the gear so that the relationship between the two is clear.
| Parameter | Pinion | Gear | Relationship |
|---|---|---|---|
| Module \(m\) | 3 mm | 3 mm | Same |
| Number of teeth \(z\) | 20 | 40 | Ratio 1:2 |
| Pitch cone angle \(\delta\) | 26.565° | 63.435° | \(\delta_1+\delta_2=90^\circ\) |
| Pitch diameter \(d\) | 60 mm | 120 mm | \(d=mz\) |
| Addendum \(h_a\) | 3 mm | 3 mm | Same |
| Dedendum \(h_f\) | 3.75 mm | 3.75 mm | Same |
| Addendum circle diameter \(d_a\) | 65.366 mm | 122.683 mm | \(d+2h_a\cos\delta\) |
| Dedendum circle diameter \(d_f\) | 53.293 mm | 116.646 mm | \(d-2h_f\cos\delta\) |
| Face width \(b\) | 20 mm | 20 mm | Same |
When I examine the completed straight bevel gear model, I can see the conical shape clearly. The teeth are evenly spaced, and the involute profile is visible on each tooth. The large end is wider than the small end, which is characteristic of straight bevel gears. The root fillet is smooth, and the transition between the tooth and the gear blank is clean. I can rotate the model in Pro/Engineer to inspect every tooth from different angles. If I need to make a change, I simply edit the parameter table and regenerate. The entire model updates in seconds.
One of the most important advantages of this parametric approach is that it reduces the need for manual sketching. In a traditional non-parametric CAD workflow, I would have to redraw the involute curve and the tooth profile every time the module or tooth count changed. That would be extremely time-consuming and prone to error. With Pro/Engineer relations, the geometry is defined mathematically, so the computer does the repetitive work. I can focus on the design intent rather than on the mechanics of drawing. This is especially valuable for straight bevel gears because their geometry is more complex than that of spur gears.
I also use the parametric model to generate a manufacturing drawing. Pro/Engineer can create drawing views directly from the three-dimensional model. I place the main view, a section view, and a detail view of the tooth profile. I add dimensions that are driven by the relations, so the drawing updates automatically when the model changes. I include a table of parameters on the drawing, listing the module, tooth count, pressure angle, and other key values. This makes the drawing easy to read and ensures that the manufacturing department has all the necessary information.
For finite element analysis, I can export the straight bevel gear model to a CAE package. The parametric model ensures that the geometry is clean and watertight, which is important for meshing. I can apply loads and boundary conditions to the tooth surface and study the stress distribution. If the stress is too high, I can adjust the profile shift, the face width, or the module and regenerate the model. This iterative process is much faster when the model is parametric. I have used this workflow to optimize straight bevel gears for a planetary gear reducer, and it has saved a significant amount of design time.
The following table summarizes the benefits of parametric design for straight bevel gears in Pro/Engineer. I have observed these benefits in my own projects.
| Benefit | Description |
|---|---|
| Fast regeneration | Changing a primary parameter updates the entire straight bevel gear model. |
| Consistency | All dimensions are driven by the same set of relations, so errors are reduced. |
| Reusability | The same model can be used for different sizes by changing the parameters. |
| Assembly efficiency | Mating gears can be generated from the same relations, ensuring correct meshing. |
| Manufacturing preparation | Drawings and CAM data update automatically with the model. |
| Optimization | Design studies can be performed quickly by varying parameters. |
I always keep a record of the relations I use. If I need to share the model with a colleague, I can export the relations as a text file. The relations are independent of the Pro/Engineer version, so they can be reused in future projects. I also document the meaning of each parameter and the units I am using. For straight bevel gears, it is important to use consistent units. I use millimeters for length and degrees for angles. The pressure angle is entered in degrees, but the trigonometric functions in Pro/Engineer expect radians, so I include the conversion factor \(\pi/180\) in the equations where necessary. This is a common source of error, and I have learned to check it carefully.
In conclusion, the parametric design of involute straight bevel gears in Pro/Engineer is a powerful method that I rely on for complex gear systems. By defining a set of primary parameters and writing the corresponding relations, I can generate a complete three-dimensional straight bevel gear model that is accurate, flexible, and easy to modify. The process includes creating two-dimensional curves, generating the involute profile from an equation, mirroring the profile, creating the first tooth with a swept blend, and patterning the tooth around the gear axis. I verify the model with calculations and measurements, and I reuse it in assemblies and manufacturing drawings. For anyone who works with straight bevel gears, I highly recommend this parametric approach. It has transformed the way I design gears, and it continues to save me time and effort on every project.