
In modern agricultural machinery, the worm gear is widely used due to its compact structure, smooth operation, high reduction ratio and self-locking capability. Typical applications include the steering system of tractors, speed reducers in greenhouse rolling machines, and height adjustment mechanisms in walking tractors. However, the complex three‑dimensional geometry of the worm gear makes it challenging to model efficiently in SolidWorks. To address this issue, I have developed a parametric design approach for the worm gear using SolidWorks secondary development. By establishing mathematical models, recording and editing macros, and creating a custom add‑in, the user can generate a complete 3D model of the worm gear by simply entering its basic parameters. This method significantly simplifies the modeling process and improves design efficiency, providing a solid foundation for the digital design of modern agricultural machinery.
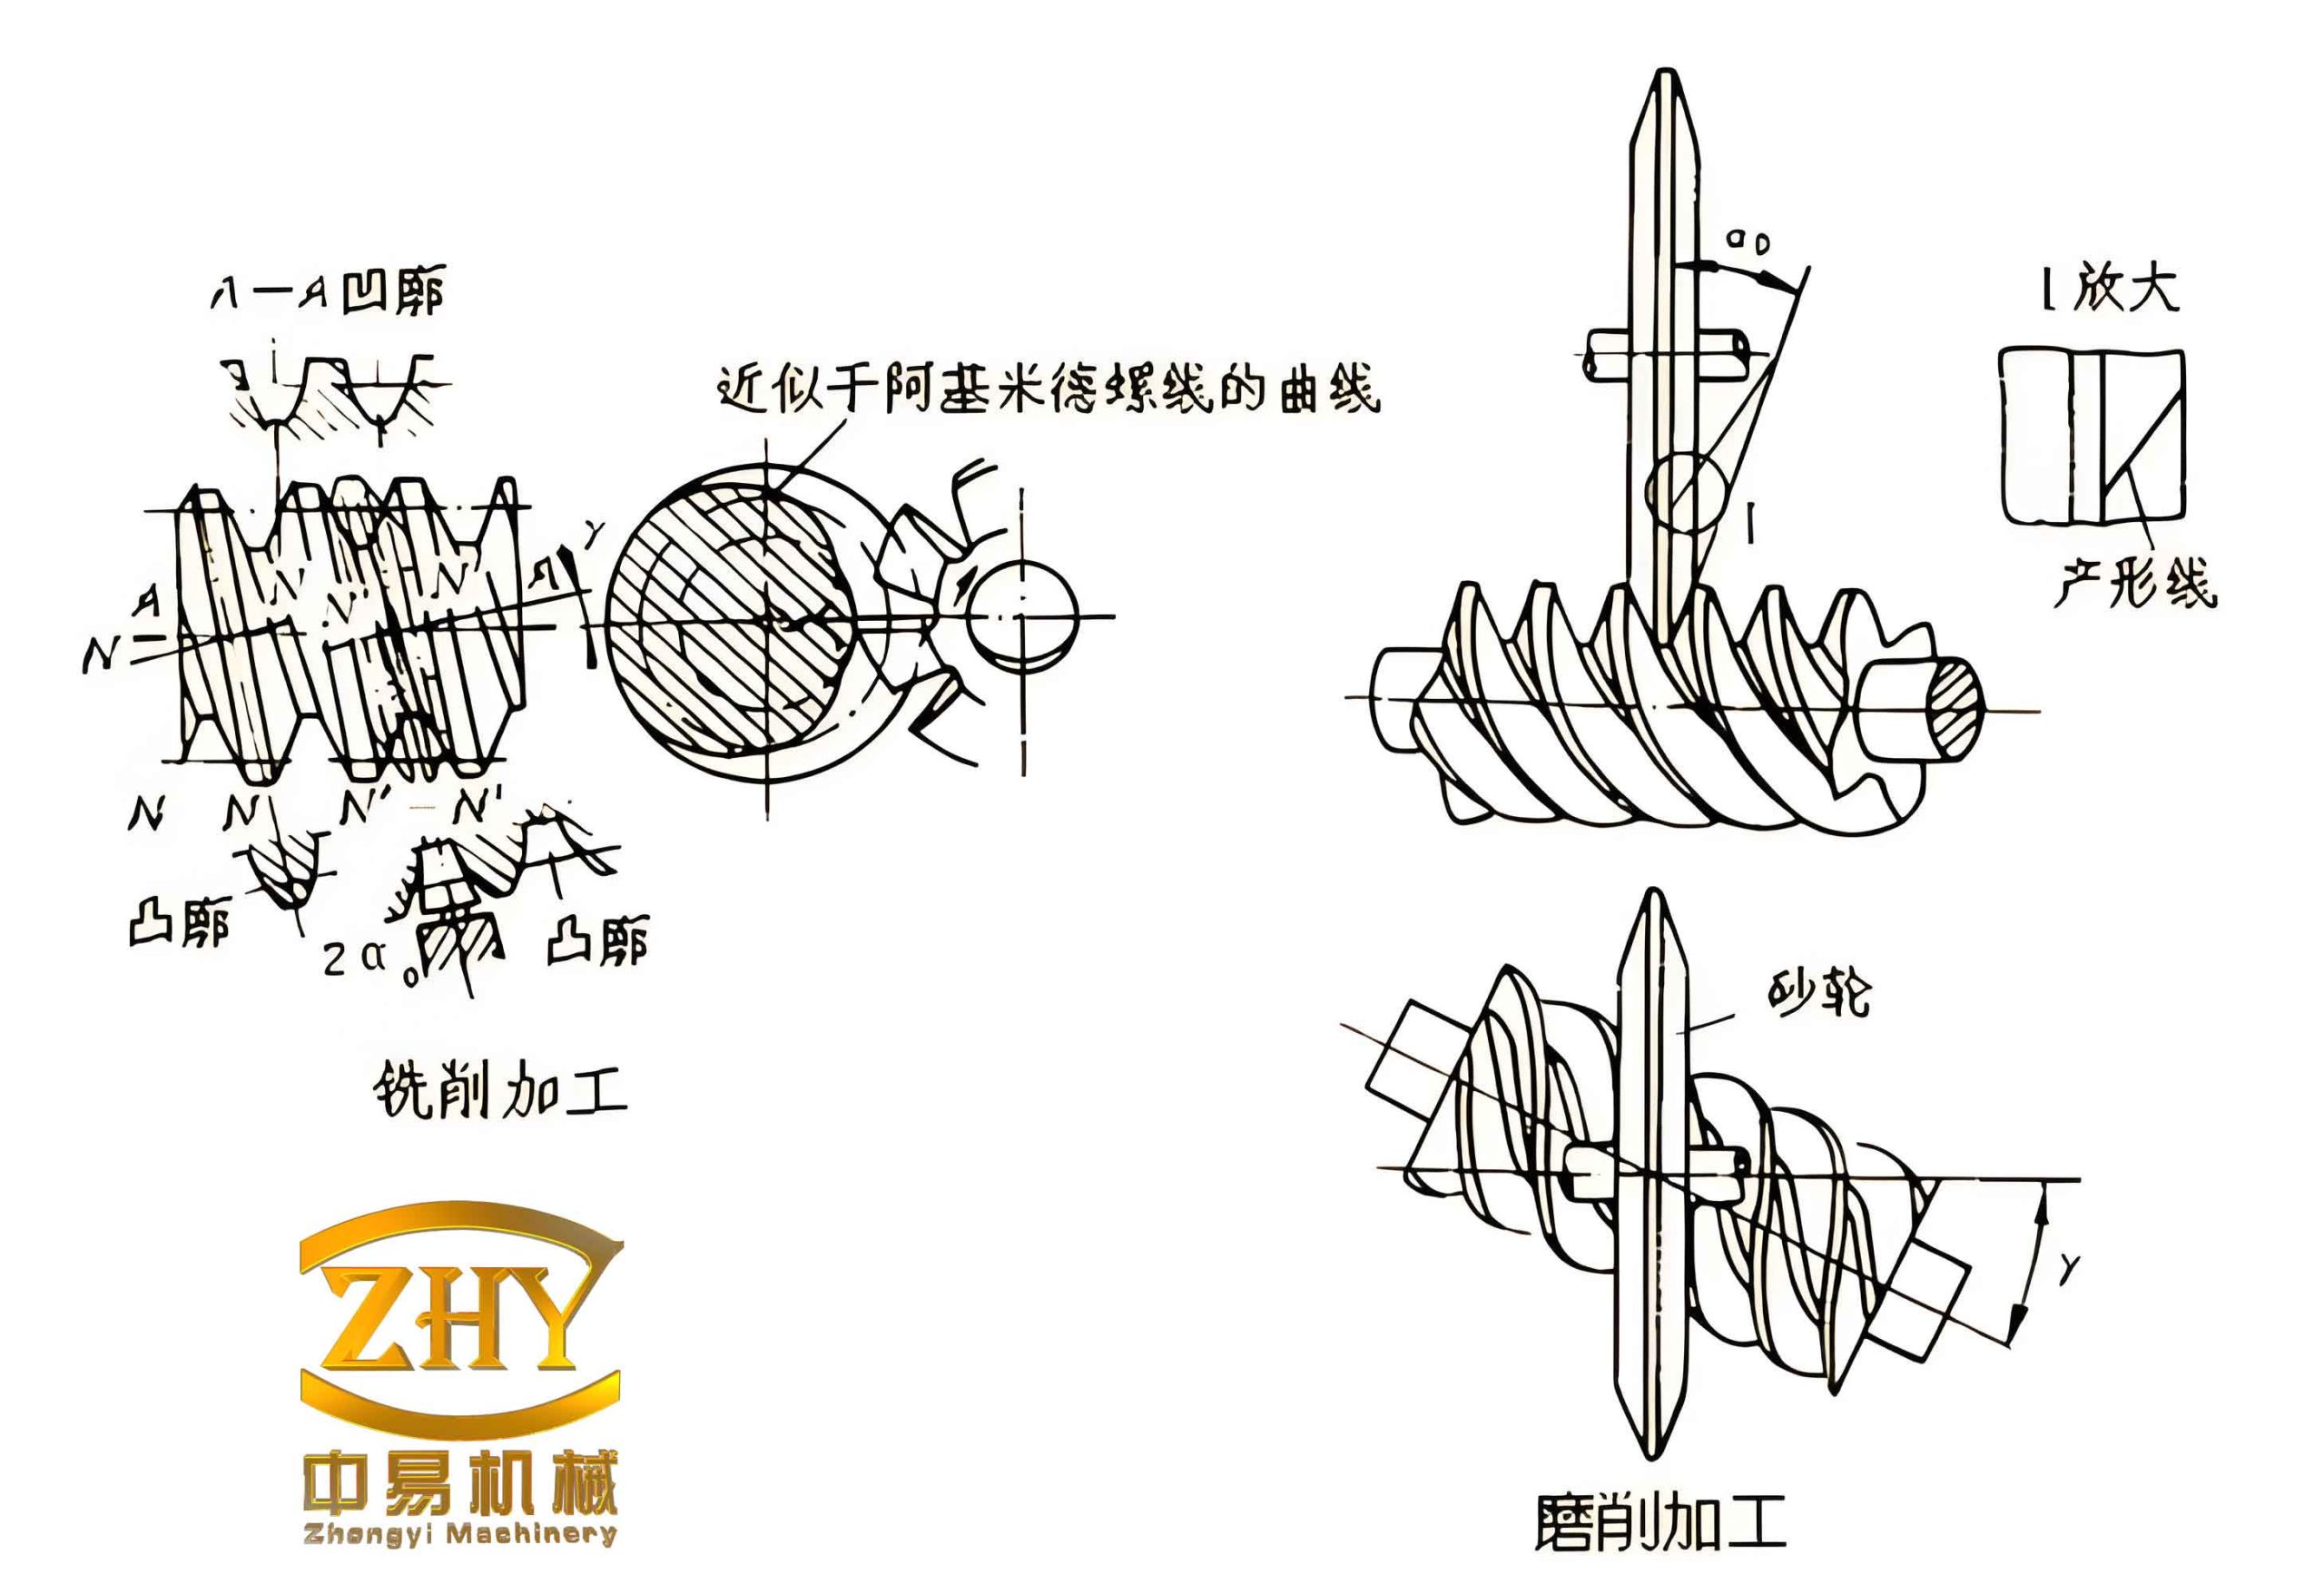
1. Mathematical Model of Worm Gear
The most common type of cylindrical worm is the Archimedean worm. In the middle plane (the plane that passes through the worm axis and is perpendicular to the worm wheel axis), the meshing between the Archimedean worm and the worm wheel is equivalent to the engagement of a straight rack with an involute spur gear. The tooth profile of the worm in a cross‑section perpendicular to its axis is an Archimedean spiral. I will first derive the mathematical expressions for both the worm and the worm wheel.
1.1 Worm Tooth Profile
The worm thread can be generated by sweeping a trapezoidal tooth profile along an Archimedean helix. The geometry of the trapezoid in the axial plane is shown in the mathematical model. The coordinates of the four vertices are determined by the following parameters:
- \( \alpha \) – pressure angle (typically 20°)
- \( d_{a1} \) – addendum circle diameter of the worm
- \( d_{1} \) – pitch circle diameter of the worm
- \( d_{f1} \) – dedendum circle diameter of the worm
- \( p_x \) – axial pitch
- \( z_1 \) – number of worm starts
The four vertices of the trapezoidal tooth profile are:
\[
\begin{aligned}
X_1 &= \frac{p_x}{4} + \tan\alpha \cdot \frac{d_{a1} – d_1}{2}, \quad Y_1 = \frac{d_{a1}}{2} \\[4pt]
X_2 &= \frac{p_x}{4} – \tan\alpha \cdot \frac{d_1 – d_{f1}}{2}, \quad Y_2 = \frac{d_{f1}}{2} \\[4pt]
X_3 &= -X_2 = \tan\alpha \cdot \frac{d_1 – d_{f1}}{2} – \frac{p_x}{4}, \quad Y_3 = Y_2 = \frac{d_{f1}}{2} \\[4pt]
X_4 &= -X_1 = -\frac{p_x}{4} – \tan\alpha \cdot \frac{d_{a1} – d_1}{2}, \quad Y_4 = Y_1 = \frac{d_{a1}}{2}
\end{aligned}
\]
The axial pitch is related to the lead by:
\[
p_z = z_1 \cdot p_x
\]
The helix is defined on the pitch cylinder with diameter \( d_1 \), height equal to the worm length \( L \), and lead \( p_z \).
1.2 Worm Wheel Tooth Profile
In the middle plane, the worm wheel tooth profile is an involute curve. Because SolidWorks does not natively provide an involute curve, I compute a set of points on the involute and then fit a spline. The involute parametric equations are:
\[
\begin{aligned}
X(r_k) &= r_k \sin(\phi + \theta_k) \\
Y(r_k) &= r_k \cos(\phi + \theta_k) \\
X’ &= -X(r_k) \\
Y’ &= \frac{d_1}{2} + \frac{d_2}{2} + Y(r_k)
\end{aligned}
\]
where:
\[
\begin{aligned}
\theta_k &= \tan\alpha_k – \alpha_k \\
\alpha_k &= \arccos\left(\frac{r_b}{r_k}\right) \\
\phi &= \frac{\pi}{2z_2} – \tan\alpha + \alpha
\end{aligned}
\]
Here \( d_2 \) is the pitch circle diameter of the worm wheel, \( z_2 \) is the number of teeth, \( r_b \) is the base circle radius, and \( r_k \) varies between the dedendum radius \( d_{f2}/2 \) and the addendum radius \( d_{a2}/2 \).
2. Three‑Dimensional Modeling Procedure
2.1 Worm Modeling
- Create the worm blank by extruding a circle of diameter \( d_{a1} \) over the worm length \( L \).
- Generate an Archimedean helix on the pitch cylinder (\( d_1 \)) with lead \( p_z \).
- Construct the trapezoidal tooth profile defined in Section 1.1 on a plane perpendicular to the helix.
- Use a swept cut: the profile is swept along the helix to create the thread groove.
- For a multi‑start worm, apply a circular pattern of the swept cut feature around the worm axis with \( z_1 \) instances evenly spaced.
The resulting three‑dimensional model of a double‑start worm is shown in the figure (not referenced by number).
2.2 Worm Wheel Modeling
- Create the worm wheel blank by extruding a cylinder of appropriate diameter.
- Compute a set of points on the involute curve for one tooth flank, then mirror to obtain both sides of the tooth space.
- Combine the involute curves, the throat circle, and the dedendum circle to form the tooth space profile.
- Create an Archimedean helix on a new reference plane as the guide curve for the swept cut.
- Perform a swept cut to remove material and create one tooth space.
- Use a circular pattern of the swept cut feature around the wheel axis with \( z_2 \) instances.
- Add chamfers, fillets, and keyway details to finalize the worm wheel model.
3. Parametric Design Using SolidWorks API
To automate the modeling process, I used Visual Basic (VB) to program the SolidWorks API. The most efficient approach is to record a macro while manually performing the modeling steps, and then edit the recorded macro to replace fixed dimensions with variables. The macro is written in VB and can be executed within SolidWorks. After debugging, I added a Windows Form to create a user‑friendly interface.
3.1 Macro Recording and Editing
I started by opening SolidWorks 2009, creating a new part, and selecting Tools > Macro > Record. I then executed the entire modeling sequence for a worm gear pair. After completion, I stopped the recording and saved the macro. Editing the macro involved:
- Removing redundant operations (e.g., unnecessary view changes, selections).
- Adding variable declarations for all geometric parameters.
- Replacing hard‑coded dimension values with the declared variables.
- Writing conditional logic for multi‑start worms.
The key code segment for creating a multi‑start worm is shown below (in VB syntax):
boolstatus = Part.SetUserPreferenceToggle(swUserPreferenceToggle_e.swDisplayTemporaryAxes, True)
boolstatus = Part.Extension.SelectByID2("Cut-Sweep1", "BODYFEATURE", 0, 0, 0, False, 4, Nothing, 0)
boolstatus = Part.Extension.SelectByID2("", "AXIS", 0, 0, 0, True, 1, Nothing, 0)
Part.FeatureManager.FeatureCircularPattern2(z1, 2 * 3.14159265358988 / z1, False, "NULL", False)
This code selects the swept cut feature and the axis, then creates a circular pattern with \( z_1 \) instances and an angular spacing of \( 2\pi / z_1 \).
3.2 User Interface
I designed a form containing text boxes for all necessary input parameters. The table below lists the parameters required for the worm and worm wheel.
| Parameter | Symbol | Unit | Description |
|---|---|---|---|
| Center distance | \(a\) | mm | Distance between worm and wheel axes |
| Worm pitch diameter | \(d_1\) | mm | Pitch circle diameter of the worm |
| Worm wheel pitch diameter | \(d_2\) | mm | Pitch circle diameter of the worm wheel |
| Number of worm starts | \(z_1\) | – | Number of threads on worm |
| Number of worm wheel teeth | \(z_2\) | – | Number of teeth on worm wheel |
| Pressure angle | \(\alpha\) | deg | Typically 20° for standard profiles |
| Worm axial modulus | \(m_x\) | mm | \( p_x = \pi m_x \) |
| Worm length | \(L\) | mm | Length of the worm cylinder |
| Addendum coefficient | \(h_a^*\) | – | Usually 1.0 |
| Clearance coefficient | \(c^*\) | – | Usually 0.2 or 0.25 |
| Worm wheel rim width | \(b_2\) | mm | Face width of the worm wheel |
A screenshot of the interface (not referenced by number) shows the form with fields for the above parameters and buttons to generate worm, wheel, or both. The user fills in the values and clicks “Generate” to automatically create the 3D models in SolidWorks.
4. Development of a SolidWorks Add‑In
To make the parametric design tool more convenient, I created a standalone SolidWorks add‑in using Microsoft Visual Studio and the SolidWorks API SDK (version 2009). The steps were:
- Install Visual Studio and the SolidWorks API SDK.
- Create a new project of type “SolidWorks Add‑In” using Visual Basic .NET.
- Import the SolidWorks type library and constant type library.
- Copy the edited macro code into the add‑in class, adapting it to event‑driven methods.
- Compile the project to generate a DLL file.
- Register the DLL with SolidWorks (the SDK provides a registration utility).
After loading the add‑in via Tools > Add‑Ins in SolidWorks, a new toolbar or menu item appears. The user can click the icon to open the parametric design form directly inside SolidWorks. The add‑in handles all API calls transparently.
| Function/Feature | API Method | Purpose |
|---|---|---|
| Create base extrusion | Part.FeatureManager.FeatureExtrusion2 |
Generate worm or worm wheel blank |
| Insert helix | Part.FeatureManager.InsertHelix |
Create the Archimedean helix |
| Create sketch profile | Part.SketchManager + line/arc methods |
Draw trapezoid or involute tooth profile |
| Swept cut | Part.FeatureManager.InsertCutSwept5 |
Remove material along helix |
| Circular pattern | Part.FeatureManager.FeatureCircularPattern2 |
Multi‑start worm or multiple teeth |
| Material assignment | Part.SetMaterialPropertyName2 |
Assign material to model |
5. Automatic Generation of Engineering Drawings
Once the parametric model is created, the associated 2D engineering drawings can be automatically updated because SolidWorks maintains a bidirectional link between model and drawings. I set up drawing templates with predefined sheet sizes, views (front, top, section), and BOM tables. After the model is generated, the user can open a new drawing from the part or assembly, and the views are populated with the correct dimensions. I also created a custom property definition for the part (name, material, weight, etc.) to enable automatic BOM generation in assemblies.
6. Discussion and Results
The developed parametric design system allows the user to generate a complete worm gear pair (worm and worm wheel) in a matter of seconds by entering only basic parameters such as center distance, modulus, number of starts, and number of teeth. The following table presents a comparison between traditional manual modeling and the parametric approach.
| Aspect | Traditional Manual Modeling | Parametric Add‑In |
|---|---|---|
| Time to complete (single worm) | ~30–60 minutes | <1 minute after entering parameters |
| Risk of error | High – manual calculations and geometry | Very low – consistent with mathematical model |
| Ease of modification | Requires redoing many steps | Simply change input values and regenerate |
| Reusability | None – each model is one-off | Infinite – same program for any parameters |
| Integration with drawings | Manual update of drawing views | Automatic update via bidirectional link |
| Skill required | Advanced SolidWorks and gear theory | Basic understanding of parameters |
I tested the add‑in with several standard worm gear sets (e.g., \( a = 100 \) mm, \( m = 5 \), \( z_1 = 2 \), \( z_2 = 30 \)) and the generated models matched perfectly with theoretical dimensions. The add‑in also correctly handles left‑handed and right‑handed worms by changing the helix direction parameter.
7. Conclusion
In this work, I have successfully implemented a parametric design system for the worm gear based on SolidWorks secondary development. The key contributions are:
- Establishment of comprehensive mathematical models for both the worm and the worm wheel, including the involute profile for the wheel teeth.
- Development of an automated macro script that can generate a worm gear pair from input parameters, with support for multi‑start worms.
- Creation of a SolidWorks add‑in with a graphical user interface, enabling designers to use the tool without any programming knowledge.
- Demonstration of the add‑in’s ability to produce accurate 3D models and associated 2D engineering drawings quickly.
The parametric design of the worm gear greatly improves efficiency in the design of agricultural machinery components. Engineers can now focus on optimization and integration rather than repetitive modeling tasks. Future work can extend the system to include additional gear types (e.g., double‑enveloping worm gear) and integrate finite‑element analysis directly within the same environment.