
Spur gears are among the most fundamental and widely used mechanical components in power transmission systems. Their precise geometry, especially the involute tooth profile, makes them indispensable in industries ranging from automotive to precision machinery. However, designing a spur gear with traditional manual calculations and drafting is often tedious and time-consuming, especially when multiple design iterations are required. In this article, I present a comprehensive parametric modeling method for involute spur gears using Pro/Engineer (Pro/E). By defining a set of key parameters and leveraging the built-in relation and equation capabilities of Pro/E, I can automatically regenerate a complete three-dimensional spur gear model simply by modifying a few input values. This approach dramatically reduces design effort and improves engineering productivity.
Throughout this work, I emphasize the term spur gears because the entire parametric framework is specifically tailored to their straight-tooth geometry. The methodology I describe is not merely a one-off modeling exercise; it is a reusable, template-based design system. Once established, the parametric model allows engineers to explore different module, tooth count, pressure angle, and face width combinations without redrawing the gear from scratch. I will explain the derivation of the involute curve, the creation of the four fundamental circles, the construction of a single tooth space, and the final circular pattern that yields the full gear. I will also include practical details about setting up Pro/E relations, using the equation editor, and applying feature-based manipulation.
1. Fundamental Design Parameters of Spur Gears
Before delving into the modeling steps, I need to define the basic parameters that govern the geometry of any standard involute spur gear. In this parametric design, I rely on the following inputs: module \(M\), number of teeth \(Z\), pressure angle \(\alpha\), addendum coefficient \(h_a^*\), clearance coefficient \(c^*\), and face width \(B\). Additionally, I introduce a profile shift coefficient \(X\) (which is zero for standard spur gears) and derive several dependent dimensions such as the addendum, dedendum, pitch diameter, base diameter, root diameter, and tip diameter.
Table 1 summarizes the design parameters used in my Pro/E model. The values shown correspond to a standard reference gear with module 3 and 25 teeth, but the parametric nature of the model means any reasonable set of values can be substituted.
| Parameter | Symbol | Value / Formula |
|---|---|---|
| Module | \(M\) | 3 |
| Number of teeth | \(Z\) | 25 |
| Pressure angle (degrees) | \(\alpha\) | 20 |
| Addendum coefficient | \(h_a^*\) | 1 |
| Clearance coefficient | \(c^*\) | 0.25 |
| Face width (mm) | \(B\) | 10 |
| Profile shift coefficient | \(X\) | 0 |
| Addendum (mm) | \(h_a\) | \(h_a = (h_a^* + X)M\) |
| Dedendum (mm) | \(h_f\) | \(h_f = (h_a^* + c^* – X)M\) |
| Pitch diameter (mm) | \(D\) | \(D = MZ\) |
| Base diameter (mm) | \(D_b\) | \(D_b = D \cos(\alpha)\) |
| Tip diameter (mm) | \(D_a\) | \(D_a = D + 2h_a\) |
| Root diameter (mm) | \(D_f\) | \(D_f = D – 2h_f\) |
These formulas are essential for the correct generation of the gear geometry. In Pro/E, I input these relationships directly into the relation editor so that the model updates automatically when the base parameters change. For instance, if I modify \(M\) from 3 to 4, all dependent diameters are recalculated and the three-dimensional model regenerates accordingly.
2. Configuring Parameters and Relations in Pro/E
My first step in Pro/E is to create a new part file and enter the part design mode. Then I open the Parameters dialog box and add every entry from Table 1. Figure 1 shows how these parameters appear in the Pro/E parameter list. It is important to set the correct types: real numbers for dimensions, integer for the number of teeth, and angle in degrees for the pressure angle. After defining the parameters, I access the Relations editor via Tools → Relations and input the dependent formulas. This connection ensures that the model is truly parametric.
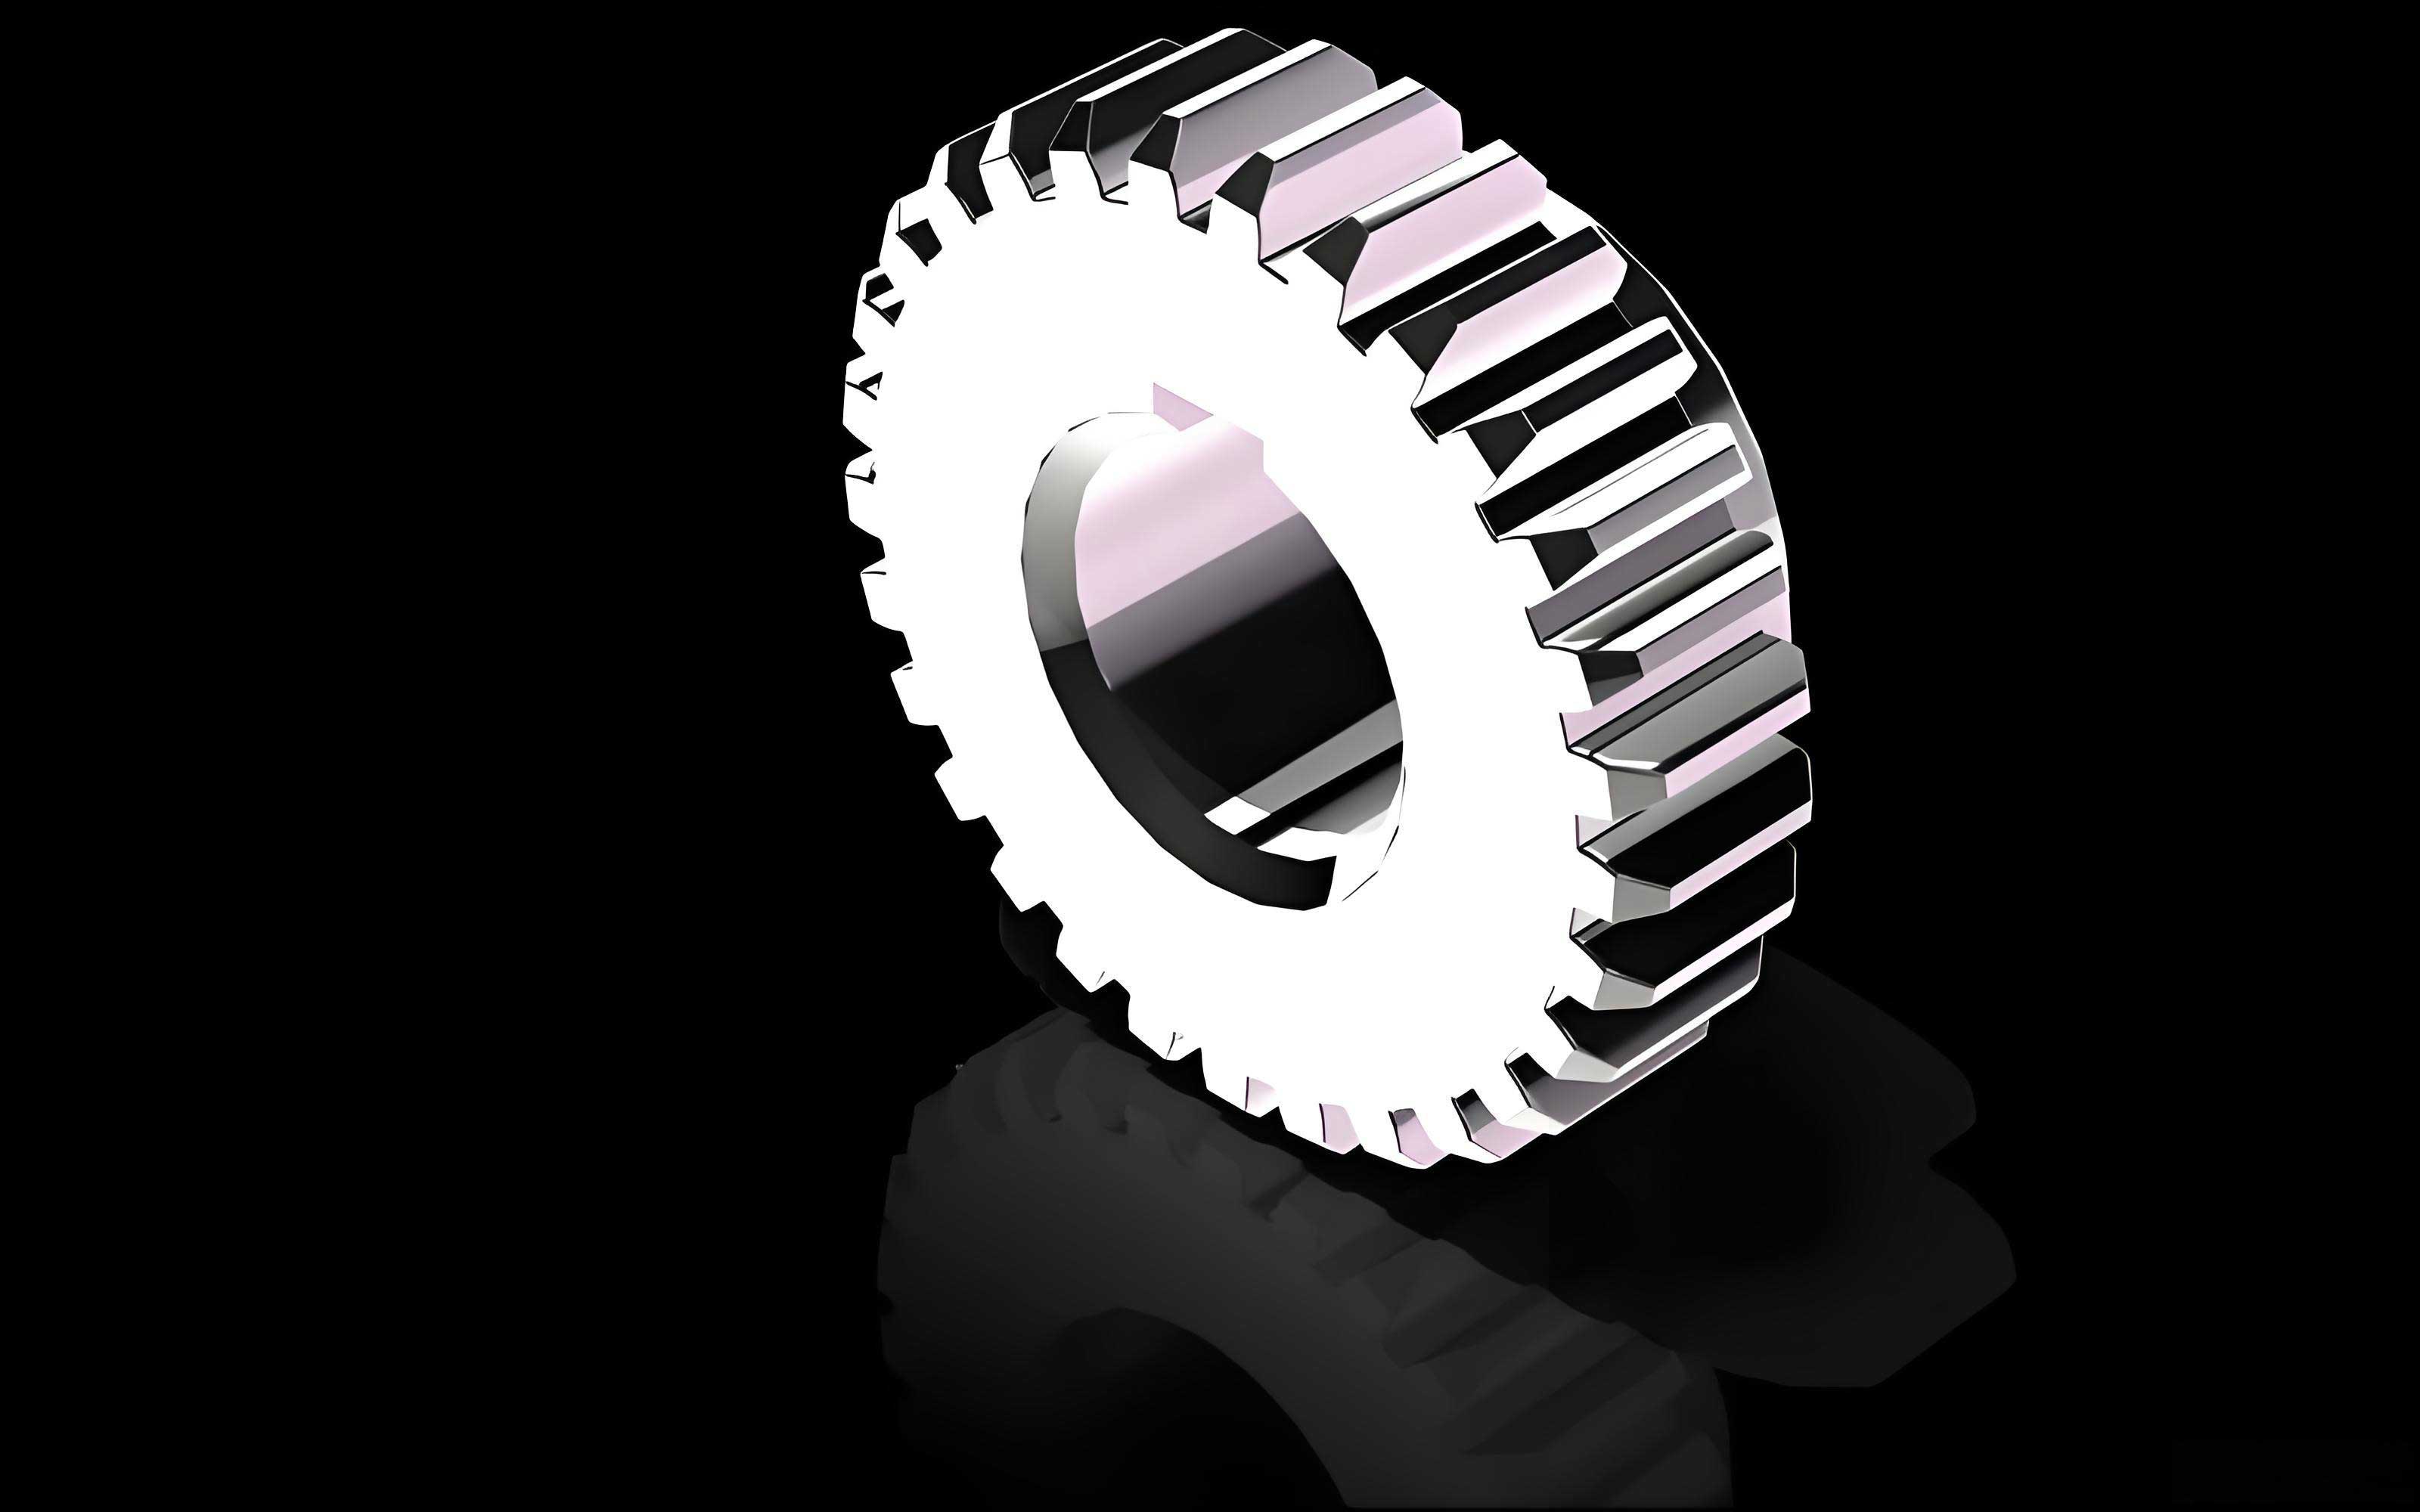
For the reference gear, the relations entered are:
$$h_a = (h_a^* + X) \cdot M$$
$$h_f = (h_a^* + c^* – X) \cdot M$$
$$D = M \cdot Z$$
$$D_b = D \cdot \cos(\alpha \cdot \frac{\pi}{180})$$
$$D_a = D + 2 \cdot h_a$$
$$D_f = D – 2 \cdot h_f$$
Note that in Pro/E the trigonometric functions expect radians. Since the pressure angle is defined in degrees, I convert it inside the relation using the factor \(\pi/180\). This is a common pitfall when creating parametric gears in Pro/E, and I always include the conversion to ensure the base circle calculation is correct.
3. Creating the Four Basic Circles of the Gear
With the parameters and relations in place, the next step is to sketch the four fundamental circles that define the gear blank: the pitch circle, base circle, tip circle, and root circle. I start a new sketch on the front plane and draw four arbitrary concentric circles. Their initial diameters are irrelevant because I will constrain them using relations. In the sketch, Pro/E assigns symbolic dimensions such as \(d_0, d_1, d_2, d_3\). After exiting the sketch, I open the Relations editor again and set:
$$d_0 = D$$
$$d_1 = D_b$$
$$d_2 = D_a$$
$$d_3 = D_f$$
After regenerating the model, the four circles are resized exactly to match the gear geometry. This step creates the foundation for the involute tooth profile. Figure 2 illustrates the sketched circles before regenerating, while Figure 3 shows the result after applying the relations. Only the root circle is used later for the initial extrusion, but all four circles serve as references for constructing the tooth profile.
4. Derivation and Creation of the Involute Curve
The involute curve is the heart of the gear tooth profile. It is generated by unwinding a taut string from the base circle. Mathematically, if a line segment \(\overline{AB}\) rolls without slipping around the base circle, the trajectory traced by point \(B\) is an involute. In my Pro/E model, I use the equation-based curve feature to generate this involute precisely.
Let me denote the base circle radius as \(r_b = D_b/2\). In a Cartesian coordinate system centered at the gear center, a point on the involute can be expressed using a parameter \(t\) (which varies from 0 to 1) and an auxiliary angle \(ang\). The standard Pro/E involute equations I use are:
$$ang = 90 \cdot t$$
$$r = \frac{D_b}{2}$$
$$s = \frac{\pi \cdot r \cdot t}{2}$$
$$x_c = r \cdot \cos(ang)$$
$$y_c = r \cdot \sin(ang)$$
$$x = x_c + s \cdot \sin(ang)$$
$$y = y_c – s \cdot \cos(ang)$$
Here, \(t\) is the built-in Pro/E parameter ranging from 0 to 1, and \(\pi\) is the mathematical constant. The variable \(ang\) sweeps from 0° to 90°, which is more than enough to cover the tooth flank from the base circle outward. The resulting curve is shown in Figure 4. This is a true involute curve of the base circle, and it will form one side of the gear tooth.
After the curve is generated, I need to mirror it to create the symmetric tooth profile. To perform the mirror operation, I must first establish the correct symmetry plane. The angular position of this plane depends on the number of teeth and the tooth thickness on the base circle. I can compute it using relation-driven geometry, or I can manually create a datum plane that bisects the tooth space. In many parametric workflows, I create a datum plane at an angle of \(360/(4Z)\) from the centerline of the tooth profile. However, for simplicity, I often use a reference plane through the center and then apply the mirror with an appropriate offset angle that I derive from the tooth thickness.
Figure 5 shows the completed involute curve on one side of the tooth. Figure 6 displays both the original and mirrored involute curves, which together define the two flanks of a single gear tooth. The tip circle and root circle provide the top and bottom boundaries, respectively.
5. Creating the Gear Blank and Single Tooth
Having the involute curves and the four circles, I proceed to create the three-dimensional gear body. First, I use the Extrude feature with the root circle as the sketch profile. The extrusion depth is set equal to the face width \(B\). To make this dimension parametric, I assign the relation \(d_{\text{extrude}} = B\) to the extrusion depth. This creates the cylindrical gear blank from the root diameter downward, but the tooth spaces are not yet present because the root circle represents the bottom of the tooth valleys.
Next, I create a single tooth space by sketching the enclosed area between the root circle, tip circle, and the two involute curves. In the Pro/E sketch environment, I use the Use tool to select the existing edges of the root circle, the involute curves, and the tip circle. Then I draw two straight lines from the endpoints of the involute curves toward the root circle, extending them so that they intersect the root circle. Finally, I trim the unnecessary segments to leave a closed profile that represents one tooth space (or one tooth, depending on how I define the sketch). Figure 7 shows the single tooth solid feature after extrusion.
During the sketch creation, I also add small fillets at the root of the tooth to reduce stress concentration. The fillet radius is defined by the relations:
$$r_{\text{fillet}} = 0.38 \cdot M \quad \text{if } h_a^* \geq 1$$
$$r_{\text{fillet}} = 0.46 \cdot M \quad \text{if } h_a^* < 1$$
In Pro/E, I capture this conditional logic in the Relations editor using the IF statement. For the standard addendum coefficient of 1, the fillet radius becomes \(0.38M\). This is a typical value used in spur gear design to avoid sharp corners at the root that could initiate cracks.
6. Duplicating and Pattern Array of the Teeth
Once the single tooth is created, I need to replicate it around the gear axis to obtain the complete set of \(Z\) teeth. A direct circular pattern of the original tooth feature is not straightforward in some Pro/E workflows because the tooth feature was defined with reference to a fixed sketched location. Therefore, I first use Copy → Paste Special to create a rotated copy of the tooth. In the transformation options, I select Apply move/rotate transformation to copy, and then I choose rotation about the gear axis by an angle of \(360/Z\) degrees. I add this angle as a relation so that it updates automatically. Figure 8 shows the second tooth created by this rotated copy.
After the second tooth exists, I can use the Pattern tool. I select the second tooth and choose a dimension pattern, using the rotation angle as the dimension to increment. The pattern increment is also set to \(360/Z\), and the number of instances is \(Z-1\). However, I first enter only a small number to verify the geometry. Figure 9 shows the result after the first pattern instance, which creates the third tooth. Then I open the Relations editor and set the pattern increment to \(360/Z\) and the pattern member count to \(Z-1\). After regenerating the model, the full array of teeth appears as shown in Figure 10. All teeth are equally spaced around the gear center, and the gear looks like a complete spur gear.
The parametric nature of this pattern is crucial: if I later change \(Z\) from 25 to 30, the pattern will automatically contain 29 additional teeth (since the first tooth is original and the second is the copied one). The increment angle will also update to \(360/30 = 12^\circ\). This automatic update is why the parametric model is so powerful for design variations.
7. Adding the Keyway and Central Bore
In practice, a spur gear must be mounted on a shaft and transmit torque. For this purpose, I create a central bore and a keyway using the Extrude (cut) feature. The bore diameter and keyway dimensions can be parameterized as well, although in this example I use standard values based on the pitch diameter. Figure 11 shows the gear with a simple rectangular keyway cut into the bore.
The keyway is positioned symmetrically around the vertical axis, and its width and depth are defined by standard keyway dimensions. To keep the model fully parametric, I could relate the keyway width to the shaft diameter, but for simplicity I leave these as fixed dimensions in this tutorial. The key insight is that even without parameterizing the keyway, the tooth profile and gear blank respond to changes in \(M\), \(Z\), \(B\), and \(\alpha\).
8. Verification and Regeneration of the Parametric Model
To verify the correctness of the parametric spur gear model, I perform a series of test regenerations with different input parameters. For example, I set \(M=2\), \(Z=40\), \(B=15\), and \(\alpha=20^\circ\). The model automatically recalculates all diameters and updates the tooth profile. I also try changing the pressure angle to \(25^\circ\), which alters the base circle radius and hence the involute curvature. The regenerated gear geometry remains valid, with all features correctly updated. This confirms that the relations and equations are robust and that the model behaves as a true parametric template.
The key formulas that drive the regeneration are summarized in Table 2:
| Dependent Quantity | Relation in Pro/E | Purpose |
|---|---|---|
| Pitch diameter \(D\) | \(D = M \cdot Z\) | Defines the reference circle for tooth thickness |
| Base diameter \(D_b\) | \(D_b = D \cdot \cos(\alpha)\) | Defines the circle from which the involute is generated |
| Tip diameter \(D_a\) | \(D_a = D + 2(M + X)\) | Outer boundary of the gear |
| Root diameter \(D_f\) | \(D_f = D – 2(M + c^* – X)\) | Inner boundary of the tooth space |
| Involute angle | \(ang = 90 \cdot t\) | Parameter for the involute equation |
| Involute base radius | \(r = D_b/2\) | Radius of the base circle |
| Unwrapped length | \(s = \pi r t/2\) | Arc length unwound from base circle |
| Pattern angle | \(\theta = 360/Z\) | Angular spacing between adjacent teeth |
| Number of pattern instances | \(Z-1\) | Total teeth excluding the original |
This table is not only a concise reference for the model but also serves as a checklist for any engineer who wants to replicate the parametric approach in a different CAD system.
9. Advantages of Parametric Modeling for Spur Gears
There are numerous benefits to using a parametric model for spur gears. First and foremost, design iterations become trivial. In a traditional non-parametric drawing, changing the number of teeth from 25 to 30 would require redrawing the tooth profile, recalculating the base circle, and repositioning all teeth. With my Pro/E parametric model, I merely change the value of \(Z\) in the parameter table and click regenerate. The entire gear updates instantly.
Second, the model serves as a reusable template. Instead of starting from scratch for every new gear, I can simply copy the template file and alter the parameters. This is especially valuable in engineering environments where many spur gears of different sizes are designed daily. The time saved by eliminating repetitive work is substantial.
Third, the parametric approach minimizes human error. Because all geometry is driven by formulas and relations, there is little chance of accidentally entering an inconsistent dimension. The base circle, tip circle, and root circle are always linked to the module and teeth count. In contrast, manual calculations often suffer from rounding errors or mistakes in trigonometric functions. The equation-based involute curve is mathematically exact, ensuring a high-quality tooth profile.
Fourth, the model can be easily extended to include other gear features such as hubs, spokes, chamfers, or lightweight holes. Every additional feature can be parameterized and constrained to update with the master parameters. For example, the hub diameter can be related to the root diameter, and the keyway can be related to the shaft diameter. This creates a complete, fully constrained mechanical component that responds to a few top-level inputs.
10. Practical Considerations and Troubleshooting
While the parametric modeling process is straightforward, I have encountered some common issues that require attention. One such issue is the orientation of the involute curve relative to the tooth centerline. If the mirrored curve is not symmetrically positioned, the tooth becomes asymmetric, leading to non-uniform gear meshing. To avoid this, I always calculate the correct angular offset based on the tooth thickness at the pitch circle. Alternatively, I use a datum plane that bisects the tooth space; this can be created by referencing the center of the tooth and the midpoint of the base circle arc.
Another issue is the choice of \(t\) range in the involute equation. For gears with a high number of teeth, the involute curve may need to extend beyond \(90^\circ\) to reach the tip circle. In my standard equation, I use \(ang = 90 \cdot t\), which gives a range of 0° to 90°. This is sufficient for most standard spur gears, but if the tip circle is larger than the base circle and the tooth is high, the involute may not reach the tip. In such cases, I adjust the maximum angle to \(120^\circ\) or higher by using \(ang = 120 \cdot t\) or a conditional formula. However, for the common range of tooth counts (e.g., 20 to 100 with standard addendum), \(90^\circ\) works well.
I also pay careful attention to the direction of the involute curve. The equations I provided generate an involute that lies below the base circle for negative values of \(t\), but since \(t\) starts at 0, the curve starts exactly on the base circle. Some designers create the tooth profile only above the base circle and use a root fillet to blend into the root circle. This is acceptable, but for gears with fewer than about 17 teeth, the base circle may be larger than the root circle. In that case, the involute undercuts the root, and a correction (profile shift) is required. My parametric model includes the shift coefficient \(X\), allowing the user to apply profile shift if needed.
A third practical issue is the order of feature creation. In Pro/E, the initial tooth feature must be created before the pattern. The copy-paste special approach is a reliable way to create a second tooth that can be patterned. However, some users prefer to create a datum curve array and use it to assemble multiple tooth solids. Both methods work, but the copy-pattern approach is simpler and requires fewer features.
11. Example: Regenerating a Modified Spur Gear
To demonstrate the power of the parametric method, I walk through an example. Suppose I want a spur gear with module \(M=2.5\), number of teeth \(Z=32\), pressure angle \(\alpha=20^\circ\), addendum coefficient \(h_a^*=1\), clearance coefficient \(c^*=0.25\), and face width \(B=20\) mm. I open the parameter table in Pro/E and update the values. Then I press the regeneration button. The model recalculates:
$$D = 2.5 \times 32 = 80 \text{ mm}$$
$$D_b = 80 \cdot \cos(20^\circ) \approx 75.18 \text{ mm}$$
$$D_a = 80 + 2(1+0) \times 2.5 = 85 \text{ mm}$$
$$D_f = 80 – 2(1+0.25-0) \times 2.5 = 73.75 \text{ mm}$$
The involute curve is regenerated using the new base diameter, the pattern angle becomes \(360/32 = 11.25^\circ\), and 31 pattern instances are created. The resulting gear has the correct geometry. If I also change the face width to 20, the extrusion depth and the tooth width update accordingly. This entire process takes less than a second in Pro/E, whereas manually redrawing the gear might take an hour or more.
This example highlights why I strongly advocate parametric modeling for spur gears. It is not just a convenience; it is a fundamental shift in how engineers approach repetitive design tasks. The term spur gears appears throughout this workflow because the straight teeth and planar symmetry make them ideal candidates for parametric treatment. Unlike helical gears, spur gears do not require helical angle relationships or spiral geometry, so the parameter set remains small and the equations remain simple.
12. Extending the Parametric Approach to Other Gear Types
Although this article focuses on spur gears, the same parametric philosophy can be extended to helical gears, bevel gears, and worm gears. For helical gears, the face width and helix angle are added as parameters, and the tooth profile is swept along a helical path. For bevel gears, the geometry is more complex due to the tapered tooth shape, but parametric relations still apply. The key lesson is that any dimension that can be expressed as a function of a few basic parameters can be automated in a CAD system. In the case of spur gears, the clear relationships between module, tooth count, and diameters make them the perfect starting point for learning parametric modeling.
I have also used the same template to create gear pairs for motion analysis. By modeling two spur gears with the same module and pressure angle, I can assemble them in Pro/E and simulate their meshing. The parametric model ensures that when I change one gear’s tooth count, the center distance automatically updates (since center distance equals the sum of pitch radii). This is extremely useful for kinematic studies and interference checks.
13. Future Improvements to the Parametric Gear Template
There is always room for improvement. One addition I plan to make is the automatic calculation of the minimum number of teeth to avoid undercut. The standard formula \(Z_{\min} = 2h_a^* / \sin^2(\alpha)\) can be embedded in a relation, and the model could warn the user if the selected tooth count is below this threshold. Although Pro/E does not have a built-in warning system for arbitrary relations, I can use analysis features to check the condition. Alternatively, I can create a program that runs in Pro/E and prompts the user with a message when the parameters are invalid.
Another improvement is to parameterize the keyway dimensions according to national standards. For instance, a keyway for a shaft of diameter \(d\) has a nominal width \(w\) and depth \(h\). These can be looked up from a table and entered into the relation editor. In a fully automated system, I could even use a lookup table within Pro/E, driven by the shaft diameter. However, this requires additional programming and is beyond the scope of this article.
I also consider adding the ability to generate a rack or an internal gear using the same involute equations. For an internal gear, the tooth profile is inverted, and the root circle becomes the outer circle while the tip circle is on the inside. The involute curve is still valid, but the construction of the tooth space changes. These extensions would make the parametric gear template even more versatile.
14. Conclusion
In this article, I have described a comprehensive and systematic approach to creating parametric involute spur gears in Pro/Engineer. Starting from the fundamental design parameters—module, teeth number, pressure angle, addendum, and dedendum coefficients—I established a fully constrained geometric model that updates automatically when any of these parameters are modified. The key steps included:
- Defining parameters and relations in Pro/E.
- Creating the four basic circles (pitch, base, tip, root) and linking their dimensions to the parameters.
- Generating the involute curve using the Cartesian equation derived from the unwrapping of the base circle.
- Mirroring the involute to create a symmetric tooth profile.
- Extruding the gear blank and the single tooth.
- Using copy-paste special and pattern tools to generate all teeth.
- Adding a keyway and bore for practical mounting.
The parametric model I have developed is a powerful time-saving tool. It enables engineers to create precise spur gears of any standard size within minutes, without tedious manual calculations. The use of relations and equations ensures that all geometric dimensions are consistent and mathematically correct. The term spur gears has been emphasized repeatedly because this methodology is most directly applicable to their straight-tooth geometry, but the same principles can be adapted to other types of gears.
As CAD systems continue to evolve, parametric design becomes even more important. The ability to capture design intent in a set of parameters and relations is not just a convenience—it is a best practice that reduces errors, accelerates development, and facilitates design optimization. I believe that any engineer working with spur gears should master this parametric approach. Whether you are a student learning mechanical design or a practicing engineer needing to generate gear models quickly, the workflow presented here will serve as an excellent foundation.
Finally, I encourage readers to apply this method to their own gear design tasks. Start with the simple template I have described, then customize it with additional features such as fillets, chamfers, hubs, and standard keyways. Experiment with different values of module, pressure angle, and tooth count to observe how the involute profile changes. By doing so, you will gain a deeper understanding of gear geometry and the power of parametric modeling in Pro/Engineer.