
In the realm of mechanical transmission systems, bevel gears play a pivotal role in transmitting motion and power between intersecting shafts. Among these, the miter gear—a specific type of straight bevel gear with a 1:1 ratio and typically a 90-degree shaft angle—holds significant importance due to its simplicity and widespread use in applications such as differential drives, right-angle gearboxes, and precision instruments. The accurate three-dimensional modeling of miter gears is crucial for virtual prototyping, finite element analysis, and computer-aided manufacturing. However, traditional CAD modeling approaches often rely on approximations, such as using the involute profile from the back cone to represent the tooth flank, which introduces errors and compromises design fidelity. To address this, we present a novel, precise modeling method for miter gears utilizing SolidWorks, grounded in the rigorous mathematical derivation of the spherical involute—the true tooth surface of a straight bevel gear. This article delves into the theoretical foundations, detailed mathematical formulations, and step-by-step implementation of what we term the “Boundary Surface Method,” enabling the creation of highly accurate digital twins of miter gears. We will extensively use mathematical equations and tables to elucidate concepts, and throughout this discussion, the term ‘miter gear’ will be emphasized to highlight its specific application context.
The core challenge in modeling a miter gear lies in its geometry: the tooth profile is not a simple planar curve but a complex three-dimensional surface that tapers from the larger outer end to the smaller inner end towards the cone apex. Each tooth is defined by a spherical involute, a curve traced on a sphere centered at the cone apex. Common simplification methods, which project a planar involute onto the back cone, fail to capture this true spatial curvature, leading to inaccuracies in stress analysis and manufacturing simulations. Our approach abandons these approximations. Instead, we start from first principles—the generation theory of the straight bevel gear tooth surface. We derive the exact parametric equations for the spherical involute at both the large end and small end of the gear tooth. These equations are then discretized and used to generate precise curves in SolidWorks, which are subsequently lofted using boundary surfaces to form the solid tooth. Finally, a circular pattern creates the complete miter gear. This method guarantees dimensional accuracy and offers a parametric framework adaptable to various miter gear specifications.
To establish a solid theoretical foundation, let us revisit the generation principle of a straight bevel gear tooth surface. Imagine a base cone with its apex at point O and a base cone angle $\delta_b$. A generating plane C, a circular disc with radius equal to the cone distance R and its center coinciding with O, is tangent to this base cone. As this plane rolls without slipping on the base cone, a line on the plane, tangent to the base cone, sweeps out the tooth surface—a spherical involute cone. The intersection of this surface with a sphere of radius R centered at O yields the spherical involute curve. This is the true profile of the miter gear tooth. To mathematically describe it, we define coordinate systems. Let $S(x, y, z)$ be a fixed coordinate system: origin at the cone apex O, z-axis along the cone axis (pointing from apex to base), x-axis along the radial line of the spherical involute’s starting point on the base cone, and y-axis determined by the right-hand rule. An auxiliary moving coordinate system $S_1(x_1, y_1, z_1)$ is attached to the generating plane: origin also at O, $z_1$-axis along the instantaneous axis of rotation ON during rolling, $x_1$-axis lying in the generating plane perpendicular to $z_1$, and $y_1$ by the right-hand rule.
Consider a point K on the spherical involute at the large end. In the moving frame $S_1$, its coordinates are given by:
$$ x_1 = R \sin\psi, \quad y_1 = 0, \quad z_1 = R \cos\psi $$
where $\psi$ is the angle between OK and the instantaneous axis ON. The condition of pure rolling dictates that the arc length on the generating plane equals the arc length on the base cone’s base circle:
$$ \overset{\frown}{NK} = \overset{\frown}{NA} $$
This leads to:
$$ \psi R = \phi R \sin\delta_b \quad \Rightarrow \quad \psi = \phi \sin\delta_b $$
Here, $\phi$ is the angle on the base circle between the starting radius and the radius to the point of tangency. Thus, in $S_1$:
$$ x_1 = R \sin(\phi \sin\delta_b), \quad y_1 = 0, \quad z_1 = R \cos(\phi \sin\delta_b) $$
Transforming back to the fixed frame $S$ via rotation matrices $M_1$ and $M_2$, we obtain the parametric equations for the large-end spherical involute (right-hand flank) as:
$$ \begin{cases}
Q_x(\phi) = R\left[ \cos(\phi \sin\delta_b) \sin\delta_b \cos\phi + \sin(\phi \sin\delta_b) \sin\phi \right] \\
Q_y(\phi) = R\left[ \cos(\phi \sin\delta_b) \sin\delta_b \sin\phi – \sin(\phi \sin\delta_b) \cos\phi \right] \\
Q_z(\phi) = R \cos(\phi \sin\delta_b) \cos\delta_b
\end{cases} $$
The parameter $\phi$ ranges from 0 to $\phi_{\text{max}} = \frac{1}{\sin\delta_b} \arccos\left( \frac{\cos\delta_a}{\cos\delta_b} \right)$, where $\delta_a$ is the tip cone angle. For the small-end spherical involute on the same flank, we simply replace the cone distance R with $(R – B)$, where B is the face width of the miter gear:
$$ \begin{cases}
Q_x^{\text{small}}(\phi) = (R – B)\left[ \cos(\phi \sin\delta_b) \sin\delta_b \cos\phi + \sin(\phi \sin\delta_b) \sin\phi \right] \\
Q_y^{\text{small}}(\phi) = (R – B)\left[ \cos(\phi \sin\delta_b) \sin\delta_b \sin\phi – \sin(\phi \sin\delta_b) \cos\phi \right] \\
Q_z^{\text{small}}(\phi) = (R – B) \cos(\phi \sin\delta_b) \cos\delta_b
\end{cases} $$
The above equations define one flank of the tooth. For a complete miter gear tooth, we need both the left and right flanks. Symmetry considerations allow us to derive the left-flank equations. We introduce another coordinate system $S_2(x_2, y_2, z_2)$ rotated by an angle $\theta$ about the z-axis relative to S. The angle $\theta$ comprises two parts: $\theta_1$, the angle on the base circle from the starting point of the spherical involute to the point corresponding to the pitch cone, and $\theta_2$, half of the angular tooth thickness at the pitch cone on the large end. Specifically:
$$ \theta_1 = \arccos\left( \frac{Q_x(\phi_p)}{R \sin\delta_b} \right), \quad \text{where } \phi_p = \frac{1}{\sin\delta_b} \arccos\left( \frac{\cos\delta}{\cos\delta_b} \right) $$
Here, $\delta$ is the pitch cone angle. And:
$$ \theta_2 = \frac{\pi m}{4 R \sin\delta} $$
where $m$ is the module at the large end of the miter gear. Thus, $\theta = \theta_1 + \theta_2$. The right-flank coordinates in $S_2$ are:
$$ \begin{cases}
x_2 = Q_x(\phi) \cos\theta + Q_y(\phi) \sin\theta \\
y_2 = Q_y(\phi) \cos\theta – Q_x(\phi) \sin\theta \\
z_2 = Q_z(\phi)
\end{cases} $$
By reflecting across the plane of symmetry (changing the sign of the y-component), we obtain the left-flank coordinates in S:
$$ \begin{cases}
P_x(\phi) = Q_x(\phi) \cos 2\theta + Q_y(\phi) \sin 2\theta \\
P_y(\phi) = Q_x(\phi) \sin 2\theta – Q_y(\phi) \cos 2\theta \\
P_z(\phi) = Q_z(\phi)
\end{cases} $$
Similarly, for the small end left flank, replace R with $(R – B)$. These sets of equations fully describe the precise geometry of a single miter gear tooth’s active surfaces.
To organize the key geometric parameters involved in defining a miter gear, the following table provides a summary:
| Symbol | Description | Typical Units |
|---|---|---|
| $m$ | Module at large end | mm |
| $z$ | Number of teeth | – |
| $\alpha$ | Pressure angle | degrees |
| $\delta$ | Pitch cone angle | degrees |
| $\delta_a$ | Tip cone angle | degrees |
| $\delta_b$ | Base cone angle ($\delta_b = \delta – \alpha$ for standard gears) | degrees |
| $R$ | Cone distance (pitch radius / $\sin\delta$) | mm |
| $B$ | Face width | mm |
| $\phi$ | Parameter for spherical involute (0 to $\phi_{\text{max}}$) | radians |
With the mathematical framework established, we proceed to the 3D modeling workflow in SolidWorks, which we call the Boundary Surface Method. The process is highly systematic and ensures precision at every step. First, we compute discrete points on the spherical involute curves. Using mathematical software like MATLAB, we discretize the parameter $\phi$ over its valid range for both large and small ends, and for both left and right flanks. For each $\phi_i$, we compute the corresponding $(x, y, z)$ coordinates using the derived equations. These point clouds are saved into separate text files (e.g., Large_Right.txt, Large_Left.txt, Small_Right.txt, Small_Left.txt). The file format is simple: three columns for x, y, z coordinates, each row representing a point. This numerical computation is critical for capturing the exact curvature of the miter gear tooth.
Next, we launch SolidWorks and begin a new part file. We utilize the “Curve Through XYZ Points” feature (found under Insert > Curve > Curve Through XYZ Points) to import each text file. This function reads the coordinate data and generates interpolated 3D sketch curves—these are our precise spherical involute curves. Typically, we generate four curves: large-end right flank, large-end left flank, small-end right flank, and small-end left flank. These curves lie on their respective spherical surfaces centered at the origin, which will be the cone apex of our miter gear. To visualize the starting geometry, imagine these curves as the skeletal outlines of the tooth flanks at the outer and inner diameters.
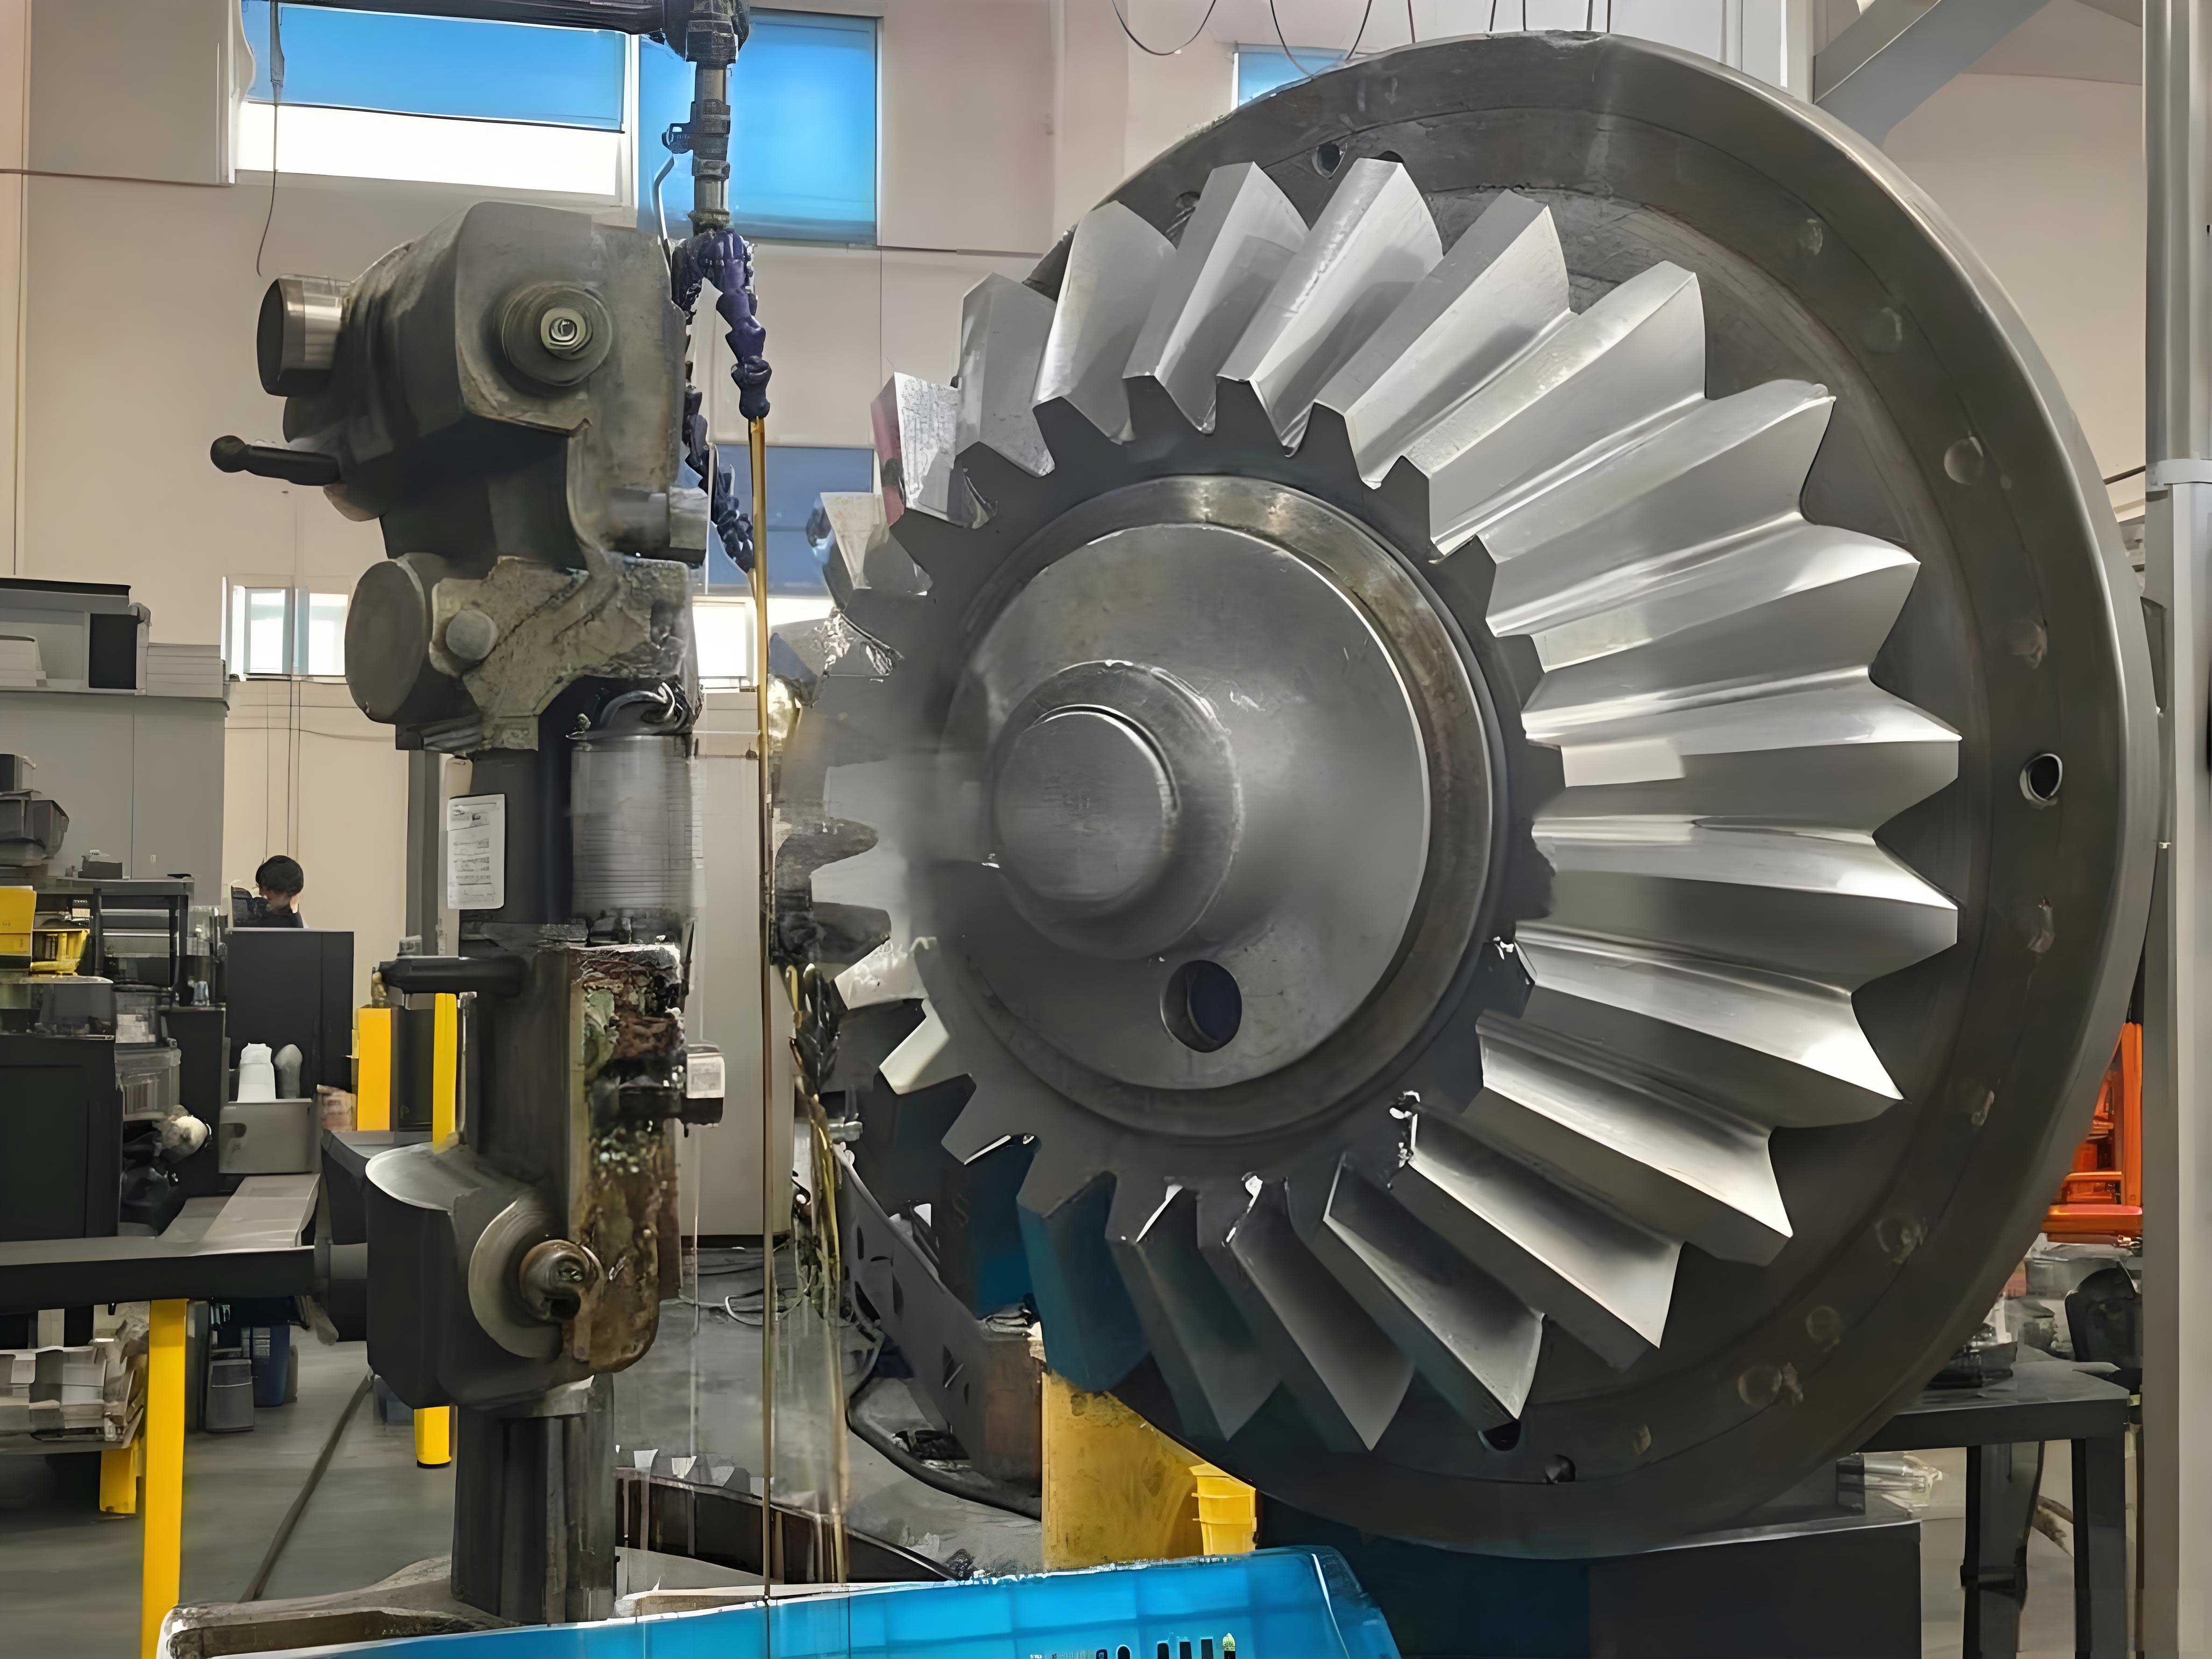
The spherical involute curves alone do not define the entire tooth profile; we need to cap them with the tip and root circles. For a miter gear, the tip and root are conical surfaces. We create two conical surfaces: one representing the tip cone (with angle $\delta_a$) and one for the root cone. The intersection of these cones with spheres of radii R and (R-B) gives circular arcs at the large and small ends, respectively. In SolidWorks, we can sketch these arcs on appropriate planes. Specifically, for the large end, we sketch a circular arc on a plane perpendicular to the cone axis at a distance corresponding to the large-end tip radius. We then use the “Trim Entities” tool to trim the spherical involute curves with these arcs, obtaining the complete tooth profile curves from root to tip at both ends. This step ensures the tooth has the correct addendum and dedendum.
Now comes the core of the Boundary Surface Method. We use the “Boundary Surface” feature (Insert > Surface > Boundary Surface) to create the tooth flank surfaces. A boundary surface is defined by curves in two directions. For each tooth flank (e.g., the right flank), we select the trimmed large-end spherical involute curve and the trimmed small-end spherical involute curve as the first direction profiles. Often, we also specify guide curves or use the “Tangent to Face” option to ensure smooth transition. This operation generates a smooth, doubly-curved surface that accurately represents the true tooth flank of the miter gear. We repeat this for the left flank, resulting in two surfaces that meet at the tip and root. To close the tooth, we also create surfaces for the tip cone segment and the root cone segment, typically using “Fill Surface” or “Planar Surface” features. The result is a closed, watertight surface body representing a single tooth of the miter gear.
To convert this surface model into a solid body suitable for further CAD operations, we employ the “Thicken” feature (Insert > Boss/Base > Thicken). We select all the surface bodies constituting the tooth and specify a thickness of zero (or a nominal value if material addition is needed). This converts the surfaces into a solid tooth. It is crucial to check for any gaps or overlaps during this process; the precision of our curves usually guarantees a clean conversion. We now have a single, solid tooth positioned correctly relative to the cone apex.
The final step is replicating this tooth around the axis to form the complete miter gear. We use the “Circular Pattern” feature. We define the axis of rotation as the z-axis (the cone axis), set the number of instances equal to the number of teeth $z$, and the angular spacing to $360/z$ degrees. The pattern feature instances the solid tooth body around the axis, creating a full set of teeth. Subsequently, we can add the gear’s central hub, keyway, or other features using standard SolidWorks sketching and extrusion tools. The result is a highly accurate 3D solid model of the miter gear, ready for simulation, drafting, or CAM processing.
To illustrate the process with concrete data, consider designing a standard miter gear with the following parameters: module $m = 4 \text{ mm}$, number of teeth $z = 20$, pressure angle $\alpha = 20^\circ$, shaft angle $90^\circ$ (so pitch cone angle $\delta = 45^\circ$), face width $B = 20 \text{ mm}$. We first calculate derived parameters:
| Parameter | Calculation | Value |
|---|---|---|
| Pitch diameter at large end | $d = m z = 4 \times 20$ | 80 mm |
| Pitch radius | $r = d/2$ | 40 mm |
| Cone distance R | $R = r / \sin\delta = 40 / \sin 45^\circ$ | 56.57 mm |
| Base cone angle $\delta_b$ | $\delta_b = \delta – \alpha = 45^\circ – 20^\circ$ | 25° |
| Tip cone angle $\delta_a$ | $\delta_a = \delta + \arctan(h_a / R)$ where addendum $h_a = m$ | ~48.2° |
| $\phi_{\text{max}}$ for large end | $\phi_{\text{max}} = \frac{1}{\sin 25^\circ} \arccos\left( \frac{\cos 48.2^\circ}{\cos 25^\circ} \right)$ | ~1.45 rad |
Using these values, we compute the spherical involute points. For example, for the large-end right flank, we evaluate $Q_x(\phi), Q_y(\phi), Q_z(\phi)$ for $\phi$ from 0 to 1.45 rad with, say, 100 points. The coordinates for the first few points might look like:
| $\phi$ (rad) | $Q_x$ (mm) | $Q_y$ (mm) | $Q_z$ (mm) |
|---|---|---|---|
| 0.000 | 23.91 | 0.00 | 51.28 |
| 0.015 | 23.95 | 0.35 | 51.27 |
| 0.030 | 23.99 | 0.70 | 51.24 |
After importing all curves and following the modeling steps, we obtain a precise 3D model. The accuracy of this miter gear model can be verified by measuring the tooth thickness at various cross-sections and comparing with theoretical values. For instance, the arc tooth thickness at the large-end pitch circle should be $s = \pi m / 2 = 6.283 \text{ mm}$. Our model consistently matches such dimensions within numerical tolerance, validating the method.
The Boundary Surface Method offers several advantages over traditional approximation techniques. Firstly, it is mathematically exact, as it uses the true spherical involute equations. This is particularly important for high-precision miter gears used in aerospace or robotics, where tooth engagement and load distribution must be simulated accurately. Secondly, the method is parametric; by changing the input parameters (m, z, α, etc.) in the mathematical scripts and regenerating the curve files, we can quickly create new miter gear models without re-deriving equations manually. This facilitates design iteration and family-of-parts modeling. Thirdly, the workflow seamlessly integrates with SolidWorks, a widely used CAD platform, making it accessible to engineers without requiring specialized gear design software.
However, there are considerations and potential enhancements. The method requires external computation (e.g., in MATLAB) to generate the point files, which adds a step compared to using built-in gear toolkits. Yet, this separation allows for greater control and verification. Additionally, for very small miter gears with high tooth counts, the spherical involute curves become extremely subtle, and the point density in the discretization must be increased to avoid faceted surfaces. In practice, using a few hundred points per curve suffices for most applications. Furthermore, this method can be extended to other bevel gear types, such as spiral bevel gears, by incorporating the spiral angle into the parametric equations—though that is beyond the current scope focused on straight miter gears.
From an application perspective, the accurate 3D model of a miter gear enables numerous downstream processes. It can be directly used for static and dynamic Finite Element Analysis (FEA) to assess stress concentrations, root bending stress, and contact patterns. The model can be exported to CAM software to generate toolpaths for milling or grinding, ensuring the manufactured gear matches the design intent. It also serves as a basis for creating detailed assembly drawings and for interference checking in complex gearboxes. In educational settings, this modeling approach provides a clear visualization of the true tooth geometry, enhancing understanding of gear theory.
To further illustrate the versatility, consider a case where we need a miter gear pair with modified tooth geometry for backlash control. By adjusting the parameter $\theta_2$ in our equations, we can intentionally alter the tooth thickness, thereby controlling the backlash when meshed with a conjugate gear. This is easily accomplished by recalculating the left and right flank curves with the modified $\theta$ value. Such customization is straightforward with our parametric approach but would be cumbersome with approximate methods.
In conclusion, we have presented a comprehensive and precise methodology for the three-dimensional modeling of miter gears using SolidWorks, grounded in the rigorous derivation of the spherical involute tooth surface. The Boundary Surface Method, as detailed, involves: (1) deriving the exact parametric equations for the spherical involute at both large and small ends for both tooth flanks; (2) discretizing these equations to generate point clouds; (3) importing points into SolidWorks to create 3D curves; (4) trimming these curves with tip and root arcs; (5) using boundary surfaces to form the tooth flanks; (6) thickening surfaces to create a solid tooth; and (7) patterning the tooth circumferentially to complete the miter gear. This process ensures high geometrical accuracy, which is paramount for advanced engineering analyses and manufacturing. The method is fully parametric, enabling rapid generation of miter gear variants by changing basic design parameters. We have demonstrated its efficacy through mathematical formulations, step-by-step descriptions, and illustrative tables. As industries continue to demand higher precision and efficiency in power transmission components, such accurate digital modeling techniques become indispensable. The miter gear, with its simple yet critical role in right-angle drives, serves as an excellent example of how foundational mathematical principles can be leveraged to achieve superior CAD outcomes. Future work may involve automating the entire workflow via SolidWorks API or extending the method to hypoid and spiral bevel gears, further broadening its applicability in gear design and manufacturing.