
In my extensive work with gear manufacturing and quality control, I have often encountered the challenge of inspecting the complete tooth profile of straight bevel gears, particularly those used as electrodes for electrical discharge machining (EDM). These miter gears, which are a specific type of straight bevel gear with a 90-degree shaft angle, require precise form verification to ensure the accuracy of the final molded components, such as those in differential assemblies. Traditional methods are typically limited to measuring the chordal thickness and chordal height at the large end, leaving the full involute profile unchecked. This gap in inspection can lead to downstream defects in forged gears. To address this, I developed and implemented a cost-effective, high-precision inspection technique utilizing computational design and optical projection. This article details my first-person perspective on this methodology, which combines computer-aided calculation of the tooth form, creation of magnified layout drawings, and final verification using a standard optical projector.
The core problem lies in the three-dimensional geometry of miter gears. The tooth profile changes from the large end to the small end, and the back-cone development presents an equivalent spur gear whose tooth form must be precisely controlled. For the large-end inspection, we focus on the profile derived from this back-cone development. The standard parameters for the miter gear in question, which is representative of many used in automotive applications, are as follows:
| Parameter | Symbol | Value | Unit |
|---|---|---|---|
| Number of Teeth | $z$ | 20 | – |
| Transverse Module at Large End | $m_t$ | 5.05 | mm |
| Pressure Angle | $\alpha$ | 19° 40′ | degree |
| Addendum Coefficient | $h_a^*$ | 0.8 | – |
| Radial Modification Coefficient | $x$ | 0.39 | – |
| Addendum | $h_a$ | 2.07 | mm |
| Whole Depth | $h$ | 9.34 | mm |
| Circular Tooth Thickness at Pitch Circle | $s$ | 6.272 | mm |
| Chordal Thickness at Large End | $s_e$ | 6.268_{-0.160}^{-0.260}$ | mm |
| Chordal Addendum at Large End | $h_e$ | 2.12 | mm |
| Accuracy Grade | – | 8 (GB11365-89) | – |
Manually drawing an accurate, magnified involute profile for such miter gears is prone to error. Therefore, the first step in my process is the algorithmic computation of the tooth profile coordinates based on fundamental involute geometry. The logic flow for this calculation is structured around the back-cone development. Key derived geometric quantities include the pitch cone angle $\delta$, the equivalent number of teeth for the large-end spur gear $z_v$, the equivalent base circle radius $r_b$, and the equivalent tip circle radius $r_a$. For a miter gear with a 90-degree shaft angle, the pitch cone angle is 45 degrees, simplifying some relations. The equivalent number of teeth is calculated as:
$$z_v = \frac{z}{\cos \delta}$$
For our gear with $z=20$ and $\delta=45^\circ$, $z_v \approx 28.28$.
The fundamental equations governing the involute profile are rooted in the geometry of the base circle. The radius vector $r_y$ to any point on the involute, the corresponding pressure angle $\alpha_y$ at that radius, and the tooth thickness $s_y$ on that radius are interrelated. The core formula for the involute function is:
$$\text{inv}(\alpha_y) = \tan \alpha_y – \alpha_y$$
where $\alpha_y$ is in radians. The radius $r_y$ is related to the base radius $r_b$ by:
$$r_y = \frac{r_b}{\cos \alpha_y}$$
The tooth thickness $s_y$ at any radius $r_y$ is given by:
$$s_y = r_y \left( \frac{s}{r} + 2(\text{inv}(\alpha) – \text{inv}(\alpha_y)) \right)$$
where $r$ is the pitch radius ($r = m_t z / 2$) and $s$ is the circular tooth thickness at the pitch circle.
For practical inspection, we need the chordal thickness $s_{yn}$ at various vertical distances from the pitch line. This requires calculating the coordinates of symmetric points on the tooth flank. I developed a software routine that iterates from the tip towards the root. The algorithm initializes with the tip radius $r_a$ and calculates the corresponding pressure angle $\alpha_a$, then works downwards. For a series of vertical coordinates $Y_n$ (where $Y=0$ at the pitch line), the corresponding radius $r_{yn}$ and the chordal thickness $s_{yn}$ are computed. A critical intermediate variable is the vertical distance $i$ from the pitch circle center to the midpoint of the chordal thickness at a given radius. The computation flow follows these steps iteratively:
- Start with the tip radius $r_a = r + h_a$.
- Calculate the pressure angle at the tip: $\alpha_a = \arccos(r_b / r_a)$.
- Define a series of Y-coordinates from the tip downward.
- For each $Y_n$, solve for the corresponding radius $r_{yn}$ and pressure angle $\alpha_{yn}$ using geometric relations involving the involute.
- Compute the tooth thickness $s_{yn}$ at $r_{yn}$ using the formula above.
- Calculate the chordal thickness $s_{yn}$ (which is very close to the arc thickness for small angles) and its horizontal projection for drawing.
A sample output table from the computation software for key points is shown below. This data forms the backbone for creating the magnified drawing.
| Point Index (n) | Vertical Distance from Pitch Line, $Y_n$ (mm) | Radius $r_{yn}$ (mm) | Chordal Thickness $s_{yn}$ (mm) | X-coordinate for Left Flank (mm) | X-coordinate for Right Flank (mm) |
|---|---|---|---|---|---|
| 0 (Tip) | $Y_0 = h_a$ | $r_a = 52.70$ | $s_{a} \approx 0.21$ | -$s_{a}/2$ | +$s_{a}/2$ |
| 1 | 1.80 | 51.43 | 1.15 | -0.575 | +0.575 |
| 2 | 1.50 | 51.13 | 1.89 | -0.945 | +0.945 |
| 3 (Pitch) | 0.00 | 50.50 | 6.272 | -3.136 | +3.136 |
| 4 | -1.00 | 49.50 | 8.95 | -4.475 | +4.475 |
| 5 (Near Root) | -$[h – (r_0 – r)]$ | $r_f \approx 43.16$ | 11.32 | -5.66 | +5.66 |
Note: The values are illustrative based on typical calculations. The actual software outputs a dense point cloud for a smooth curve. The pitch radius $r = m_t \cdot z / 2 = 5.05 \times 20 / 2 = 50.5$ mm. The root radius $r_f = r – (h – h_a) = 50.5 – (9.34 – 2.07) = 43.23$ mm.
With the coordinate data in hand, the next phase is creating the master drawing for inspection. I use a dimensionally stable, transparent tracing paper or polyester film. This sheet is fixed onto the table of a jig borer or a coordinate measuring system with a precise X-Y stage. Using the calculated coordinates multiplied by a magnification factor (typically 20:1 or 50:1 to enhance measurement resolution), I plot the points sequentially. The Y-axis corresponds to the tooth depth direction, and the X-axis corresponds to the chordal thickness direction. The left and right flanks are plotted symmetrically. The involute portion from the base circle to the tip is drawn by smoothly connecting the computed points with a fine, 0.2-0.3 mm line. The tip land, which is usually flat or rounded, is represented by a horizontal line segment connecting the two tip points. The profile below the base circle, which is non-involute and often a radial line or fillet, is approximated by a straight line parallel to the Y-axis. This line connects the lower end of the involute curve to the root fillet. The root fillet itself is drawn as a circular arc with a radius $\rho_f$:
$$\rho_f = 0.1 \times m_t \times 20 = 0.1 \times 5.05 \times 20 = 10.1 \text{ mm (actual size)}$$
After magnification by factor 20, this fillet radius becomes 202 mm on the drawing. This completes the nominal tooth form outline.
To assess manufacturing tolerances, I then create a tolerance band on the same drawing. According to the gear accuracy standard (e.g., GB11365-89 grade 8), the allowable variation in tooth thickness is specified. For our miter gear, the chordal thickness tolerance at the large end is $6.268_{-0.160}^{-0.260}$ mm. Multiplying this tolerance range by the magnification factor, I offset the entire nominal tooth profile inward (towards the tooth center) by the magnified value of the lower tolerance limit (e.g., -0.260 mm) to create the “minimum material” boundary. Sometimes, a second line offset by the upper limit is drawn to show the full tolerance zone. The resulting drawing shows the nominal tooth form and an inner boundary representing the allowable manufacturing variation. This drawing becomes the master template for optical comparison.
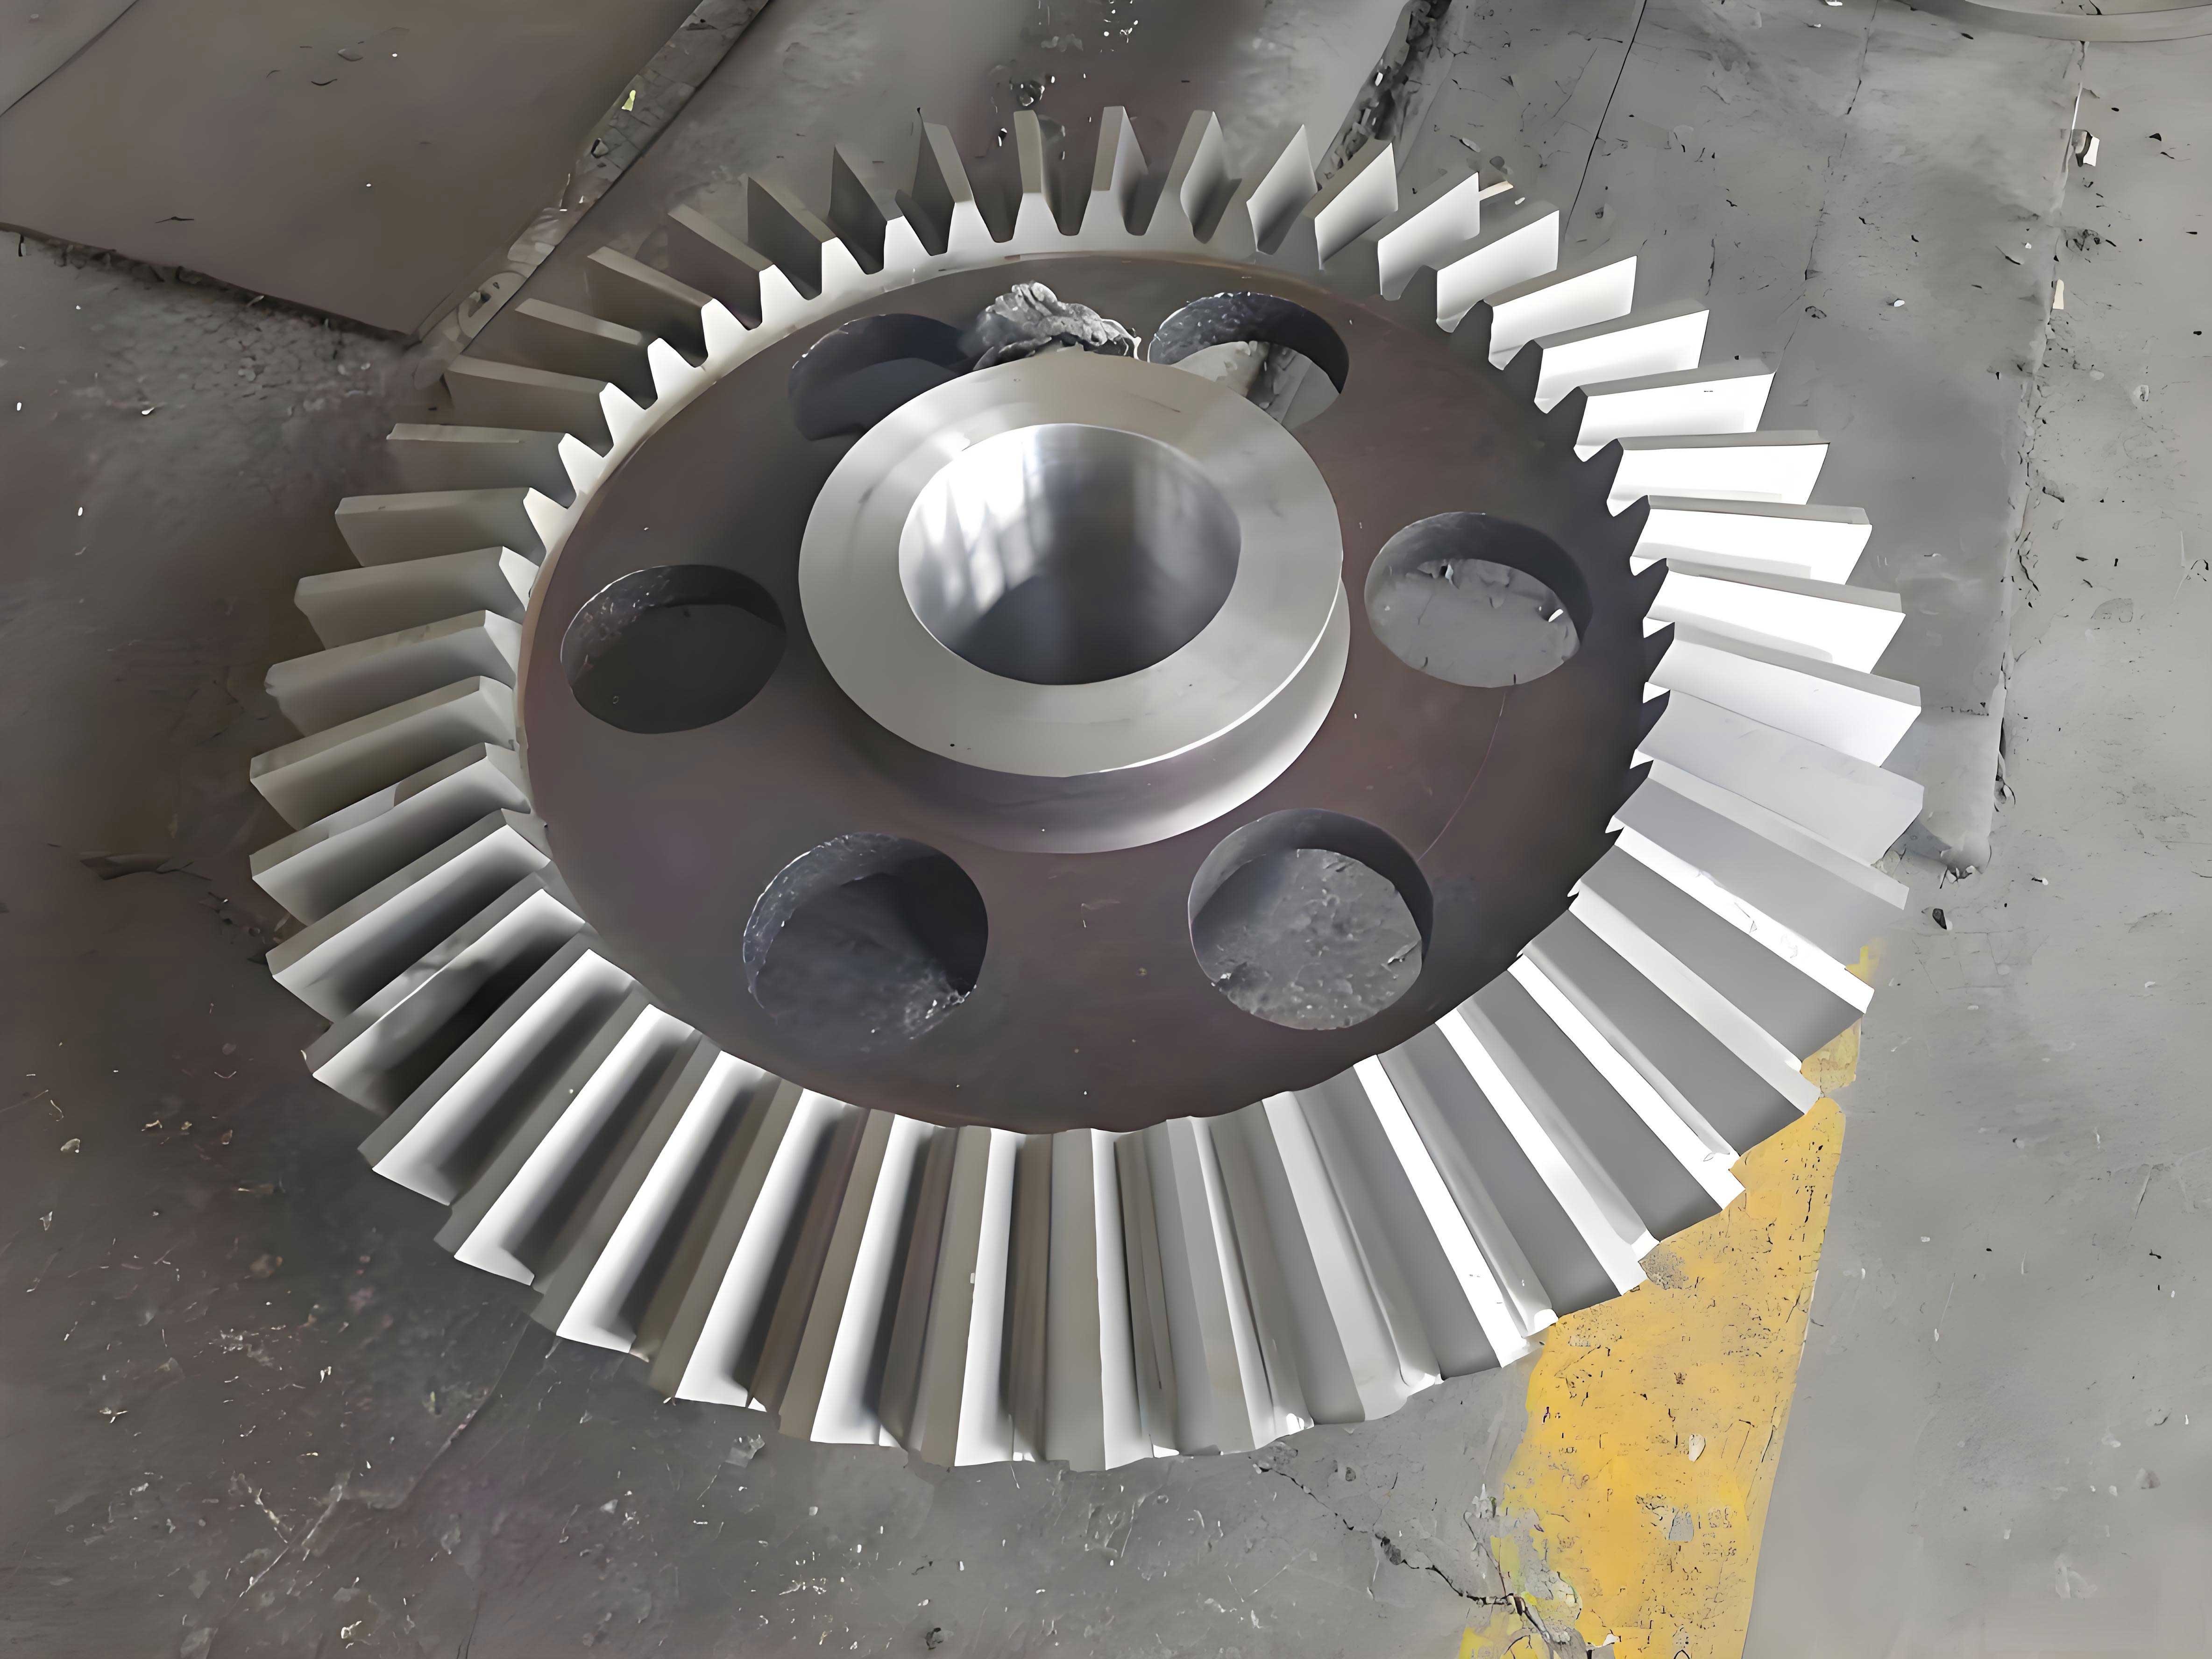
The inspection is performed using a standard optical projector, such as a JTT600-B1 model. The setup is crucial. The miter gear is mounted on a precision mandrel (arbor) which is itself clamped in a fixture on the projector stage. The fixture includes a locating block and clamping screws to ensure the gear’s axis is properly oriented. The key alignment step is to rotate the gear so that the optical axis of the projector is coincident with the pitch cone angle line (45 degrees for a standard miter gear). Since the root cone angle is smaller than the pitch cone angle, transmitting light through the gear from behind (transmission mode) does not clearly illuminate the entire tooth profile near the root. Therefore, I employ reflected light illumination. To enhance reflectivity and contrast, the back-cone surface of the gear’s large end is polished or lightly coated to increase its shine. This allows the projector to clearly display the full tooth contour as a dark silhouette against a bright background on the viewing screen.
The master drawing, created on transparent paper, is placed on the projector’s viewing screen, which is typically equipped with a crosshair reticle. The drawing is carefully aligned so that its Y-axis (tooth depth direction) and the horizontal line representing the tip are parallel to the reticle’s axes. The magnification of the projector lens (e.g., 20x) must match the magnification factor used in creating the drawing for a direct 1:1 comparison. With both the magnified real image of the miter gear tooth and the master drawing superimposed on the screen, a detailed qualitative and quantitative assessment is made.
The specific inspection items I check for each tooth of the miter gear are as follows:
- Involute Profile Integrity: I visually assess whether the projected involute portion of the tooth flank is smooth and continuous, free from waves, flats, or undercuts. Any irregularity indicates tool wear or machine error during gear cutting.
- Pressure Angle Verification: The angle of the involute profile near the pitch line is checked. Using the protractor function of the projector reticle or by aligning with pre-drawn angular lines on the master drawing, I verify that the pressure angle matches the specified $19^\circ40’$. A deviation suggests incorrect tool geometry or setup.
- Dimensional Conformance:
- Whole Depth (h): The total vertical distance from the tip to the root is measured against the drawing.
- Chordal Addendum (h_e): The vertical distance from the tip to the pitch line.
- Chordal Thickness (s_e): The horizontal width of the tooth at the pitch line. The projector’s measuring stage or the reticle scale is used to ensure it falls within the tolerance band drawn on the master.
- Root Fillet Contour: The form and radius of the root fillet are compared to the drawn arc. An incorrect fillet can be a source of stress concentration in the final forged part.
- Composite Tooth Form Error: This is the most comprehensive check. I observe whether the entire projected tooth profile, from tip to root, falls within the tolerance band outlined on the master drawing. If any part of the real tooth image protrudes outside the nominal form or inside the minimum material boundary, the tooth is out of specification. This effectively checks for profile error, pitch error effects, and runout in a single view.
If any of these checks reveal a discrepancy beyond the allowable limits, the miter gear electrode is rejected. This immediate feedback allows for prompt adjustment of the gear cutting machine, regrinding of the cutting tool, or correction of the EDM electrode preparation process. The methodology is particularly effective for low to medium volume production where dedicated gear measuring centers are not economically justified.
The accuracy of this projector-based inspection method for miter gears is remarkably high. Based on repeated measurements and calibration against master gears, I have determined the limiting error of this technique to be approximately 0.8%. This uncertainty budget includes errors from drawing plotter accuracy (≈0.1 mm on drawing), projector lens distortion (minimal with quality lenses), alignment errors (≈0.05°), and human reading error (≈0.1 mm on screen). For a miter gear with a large-end tooth thickness of about 6 mm, a 0.8% error translates to ≈0.05 mm, which is more than sufficient for controlling 8-grade accuracy gears where tooth thickness tolerances are on the order of 0.1-0.3 mm. The table below summarizes the uncertainty contributors.
| Source of Uncertainty | Estimated Value (at actual gear scale) | Remarks |
|---|---|---|
| Drawing Plotting Error | ±0.005 mm | Assumes high-precision plotting on stable medium |
| Projector Magnification Calibration | ±0.1% | Regular calibration with stage micrometers |
| Workpiece Alignment (Tilt) | ±0.002 mm on profile | Using precision fixtures and mandrels |
| Reticle Reading / Image Sharpness | ±0.005 mm | Depends on operator skill and image contrast |
| Temperature Variation | ±0.003 mm | Controlled lab environment assumed |
| Combined Standard Uncertainty | ≈ ±0.008 mm | Root sum square of above |
| Expanded Uncertainty (k=2) | ≈ ±0.016 mm (0.8% of 6 mm) | Provides 95% confidence level |
In practical application at a gear manufacturing facility specializing in precision-forged differential gears, this method proved invaluable. The miter gears used as EDM electrodes for creating forging dies were consistently inspected using this protocol. It enabled the detection of subtle tool wear before it produced unacceptable electrodes, reduced scrap rates, and ensured that the forged gears met their strict functional requirements. The cost savings were significant, as the alternative—outsourcing inspection to a lab with a 3D gear measuring machine—was far more expensive and time-consuming. The required equipment (a standard optical projector, a computer for calculations, and a plotting device) is commonly available in toolrooms and quality labs.
The mathematical foundation for inspecting miter gears can be extended. The general equations for any straight bevel gear, including miter gears, involve the back-cone distance $R_v$ as the equivalent pitch radius. The equivalent spur gear parameters are:
$$R_v = \frac{R}{\cos \delta} = \frac{m_t z}{2 \cos \delta}$$
$$r_{bv} = R_v \cos \alpha$$
where $R$ is the pitch cone distance to the large end. The tooth thickness modification due to the radial coefficient $x$ is incorporated in the calculation of $s$ at the pitch circle. The formula for $s$ considering addendum modification is:
$$s = m_t \left( \frac{\pi}{2} + 2x \tan \alpha \right)$$
For our miter gear with $x=0.39$, this yields $s \approx 5.05 \times (1.5708 + 2 \times 0.39 \times \tan(19.6667^\circ)) \approx 6.272$ mm, confirming the input parameter.
Furthermore, the chordal thickness $s_{yn}$ and chordal addendum $h_{yn}$ at any point are more precisely given by:
$$s_{yn} = 2 r_{yn} \sin \left( \frac{\Delta \theta}{2} \right)$$
where $\Delta \theta$ is the angular tooth thickness at radius $r_{yn}$ in radians, calculated from the tooth thickness formula. The vertical coordinate $Y_n$ is:
$$Y_n = r_{yn} \cos \left( \frac{\Delta \theta}{2} \right) – i$$
where $i$ is the offset from the center. For high-precision work, these exact trigonometric relations are used in the software instead of approximations.
In conclusion, the integration of computational design with conventional optical metrology presents a powerful, accessible solution for the comprehensive inspection of miter gears. This methodology, developed from first-hand engineering need, fills a critical gap in quality assurance for gears used in tool and die making, especially for precision forging. By calculating the exact involute profile, creating a magnified master drawing with tolerance zones, and leveraging the comparison capabilities of an optical projector, one can achieve high-precision form verification without capital-intensive gear analyzers. The technique emphasizes the importance of mastering fundamental gear geometry—the involute curve, chordal dimensions, and tolerance interpretation—and applying it through readily available tools. For any manufacturer dealing with straight bevel or miter gears in prototyping, small batches, or electrode production, this approach offers a reliable pathway to ensure quality, reduce costs, and maintain process control. The repeated focus on miter gears throughout this process underscores their unique geometric properties and the tailored solutions required for their verification, solidifying the role of tailored metrology in advanced gear manufacturing.