
My research focuses on developing a novel machining method for straight bevel gears, particularly those with large pitch angles approaching 90 degrees, which are extremely difficult to produce using traditional gear planing machines. The conventional approach in China has been to use bevel gear planers, but when the cone angle of the straight bevel gear becomes very large, these machines encounter severe limitations. To address this problem, I have combined CNC machining technology with the powerful modeling and interface capabilities of three-dimensional engineering software. By creating a parameterized human-machine interface and establishing a data transmission channel between software modules, I attempted to develop a new machining technique for straight bevel gears based on ordinary CNC milling machines.
In this thesis, I present my work in several parts. First, I use the modeling functions of Unigraphics NX (hereafter referred to as UG NX) to generate a disc milling cutter and create a corresponding tool library. Based on the structure and type of the disc cutter, as well as the geometric characteristics of the gear being machined, I establish a mathematical model. Then, applying the generating (or rolling) machining method, I calculate the cutter location (CL) trajectories. I use Visual C++ to implement parameterization of these tool paths. Next, I simulate the entire machining process within the UG NX environment. Finally, by applying a special post-processing technique, I generate the CNC code required for actual production. The proposed method not only solves the practical problem of machining large-angle straight bevel gears but also provides a pathway toward more flexible and software-driven gear manufacturing.
1. Introduction and Background
Straight bevel gears are widely used to transmit motion and power between intersecting axes. They are essential components in automobiles, tractors, and machine tools because of their simple design, ease of manufacture, and ease of installation. Among all types of bevel gears, the straight bevel gear is the most fundamental. Since the late nineteenth century, scholars and engineers have developed various machining techniques for these gears, including form milling, generating milling, generating planing, circular broaching, precision forging, cold extrusion, and powder metallurgy. The most traditional method in China is the use of a bevel gear planer. However, for gears whose pitch cone angle is close to 90 degrees, the bevel gear planer becomes impractical. Therefore, I proposed a new route based on CNC machining.
The development of CNC technology has revolutionized gear manufacturing. Modern CNC gear machines offer high precision, high efficiency, and excellent flexibility. Although China has made significant progress in this field, there remains a gap compared with leading European, American, and Japanese manufacturers. My research aims to fill this gap for a specific class of large-angle straight bevel gears used in a patented product: a swinging-axis double-bevel-gear differential reducer. In that mechanism, a pair of straight bevel gears mesh in a nutating (wobble) motion, achieving a large transmission ratio in a coaxial arrangement. This transmission mode is stable, compact, and has high load capacity, making it attractive for mining, metallurgy, petrochemical, and lifting equipment. Nevertheless, the pitch cone angles of these gears are very large, approaching 90 degrees, which makes traditional processing extremely challenging. The objective of my research is therefore to develop a feasible method for machining such large-angle straight bevel gears with ordinary CNC milling machines and a specially designed fixture.
2. Overall Machining Concept
The fundamental idea of the proposed method is to treat the disc milling cutter as one tooth of an imaginary crown gear. The CNC machine provides the linear reciprocating motion of the cutter along the Z-axis, while a specially designed fixture provides the rotational motions of the workpiece around the X and Y axes. In this way, the generating motion between the cutter and the workpiece is realized by rotating the gear blank around its apex. The cutter plane is kept tangent to the tooth flank at all times, which satisfies the fundamental law of gearing.
To implement this concept, I selected a three-dimensional engineering software package (UG NX) and a programming language (Visual C++). The workflow is as follows:
| Step | Description |
|---|---|
| 1 | Create the disc milling cutter model in UG NX and build a tool library. |
| 2 | Establish a mathematical model for cutter location based on the generating method. |
| 3 | Calculate tool path trajectories using Visual C++ and generate a parameterized CL file. |
| 4 | Import the CL file into UG NX and simulate the machining process. |
| 5 | Verify the correctness of the simulation and perform post-processing to generate G-code. |
Because the fixture provides two rotational axes and the machine provides one linear axis, the overall system behaves as a three-axis CNC configuration with simultaneous coordinated motion. This is equivalent to a five-axis machine if the other two linear axes are considered fixed for a given tooth side. The advantage of using a standard CNC milling machine is cost reduction and improved accessibility in typical workshops.
3. Fixture Design and Kinematics
The machining setup requires a dedicated fixture. I designed a fixture that supports the workpiece and rotates it about two orthogonal axes. The horizontal direction is designated as the X-axis, the vertical direction as the Y-axis, and the direction perpendicular to the XY plane as the Z-axis. The working principle of the fixture is as follows:
- A stepper motor on the left side drives a worm through a gear pair.
- The worm engages with a partial worm wheel, causing a rotary table to rotate about the Y-axis (or another axis, depending on the coordinate definition).
- Another stepper motor drives the table about the X-axis via a synchronous toothed belt.
- The workpiece is mounted on the rotary table surface with its cone apex coincident with the pivot point of the table.
- The disk cutter reciprocates along the Z-axis in a plane parallel to the XY plane, simulating a tooth of the crown gear.
By controlling the two stepper motors, the workpiece performs the required generating motion. Two limit switches are placed at opposite ends of the cutter stroke. Each time the cutter completes a pass and triggers a switch, the control unit sends pulses to the stepper motors so the table rotates by small predefined increments. The interaction between the reciprocating cutter and the indexed rotation of the blank yields the desired tooth flank profile.
The key advantage of using a standard CNC milling machine is that the machine itself only supplies the linear reciprocating motion. The two rotational axes are driven by the fixture, which is considerably less expensive than a full multi-axis CNC gear machine. Moreover, this arrangement makes it possible to machine straight bevel gears with pitch cone angles very close to 90 degrees, which is not possible with traditional bevel gear planers.
4. Cutting Tool and Tool Library
The selection of the cutting tool is critical. I chose a disc milling cutter (also known as a disk cutter) because it provides high machining efficiency and a simple geometry. The cutter’s thickness corresponds to the tooth space, and its cutting edges are located on its periphery. The cutter must be positioned so that its plane is always tangent to the tooth flank during the generating process.
Since the standard tool library in UG NX does not contain a disc cutter, I created one using the modeling capabilities of UG NX. The procedure is:
- Enter the modeling module and draw the disc cutter with exact dimensions.
- Locate the tool library configuration file (tool_database.dat) and add the cutter name and parameters.
- Save the three-dimensional model in the appropriate repository directory with a file name matching the tool name in the library.
- In the machining environment, select the newly added cutter from the tool library.
This custom tool library is essential for realistic simulation. When the cutter is displayed with its actual shape, the simulation can accurately detect possible collisions and interferences between the cutter, the tool holder, and the workpiece.
Below is the basic geometric specification of the disc cutter used in my research:
| Parameter | Symbol | Value (typical) |
|---|---|---|
| Outer diameter | D | 120 mm |
| Cutter thickness | B | 8 mm |
| Inner hole diameter | d | 32 mm |
| Number of teeth | Nc | 10 |
| Rake angle | γ | 5° |
| Relief angle | α0 | 12° |
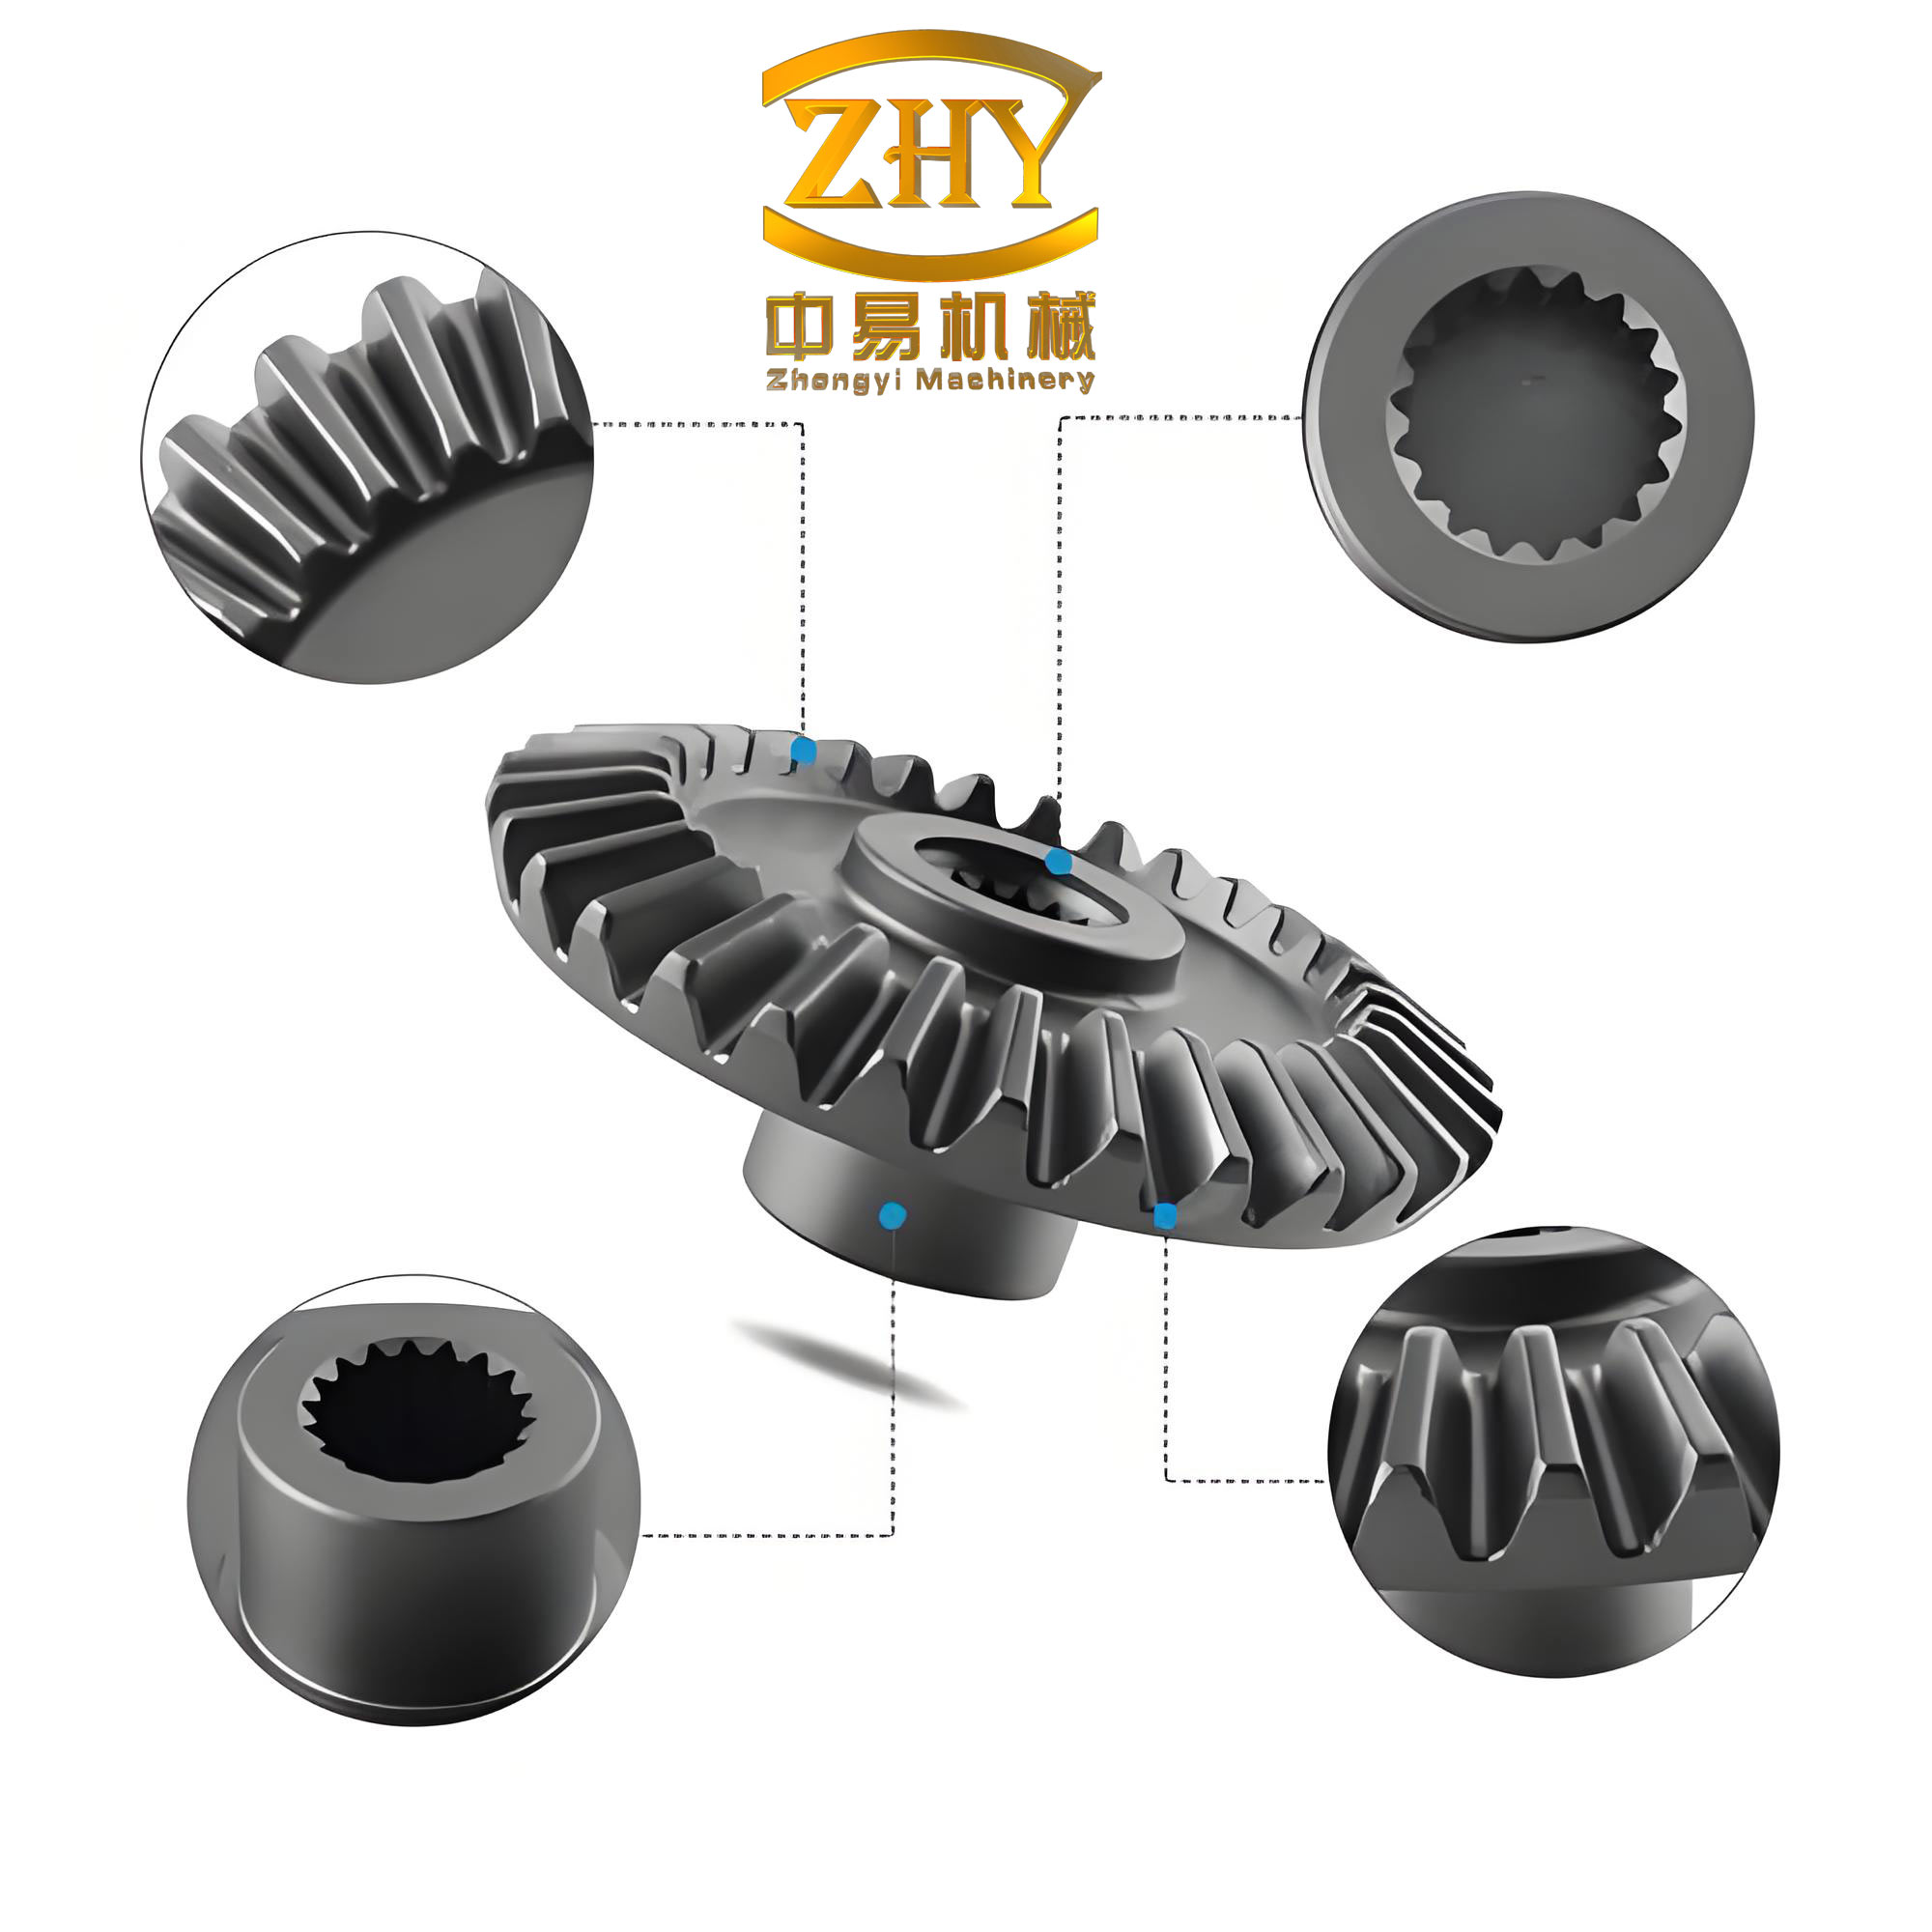
5. Mathematical Model for Tool Path Calculation
The tool path calculation is the core of the machining process. It must determine both the orientation and the position of the cutter relative to the gear blank at each instant. In my method, the generating (or rolling) process is performed without changing the roll ratio. The pitch cone of the imaginary crown gear rolls purely on the pitch cone of the workpiece. For an external straight bevel gear, the cutter flank must always be tangent to the tooth flank being generated.
Let me define a right-handed coordinate system {O; X, Y, Z} with the origin O at the apex of the gear pitch cone. The Z-axis coincides with the gear axis, and the XY plane is the machine reference plane. The X-axis is horizontal, and the Y-axis is vertical.
The axis of the disc cutter is represented by the unit vector:
$$ \mathbf{a} = \begin{bmatrix} a_x \\ a_y \\ a_z \end{bmatrix} = \begin{bmatrix} \cos\alpha_n \sin\delta \\ \cos\alpha_n \cos\delta \\ -\sin\alpha_n \end{bmatrix} $$
where:
- \(\alpha_n\) is the normal pressure angle of the gear,
- \(\delta\) is the pitch cone angle.
This orientation corresponds to the position where the cutter is tangent to the pitch cone at the mean point of the tooth. During each generating step, the workpiece rotates by small angular increments \(\Delta\phi\) around the X-axis and \(\Delta\psi\) around the Y-axis. According to the gear meshing principle, the cutter axis vector after these rotations is obtained by applying the rotation matrix \(\mathbf{R}\) to the initial vector:
$$ \mathbf{a}’ = \mathbf{R}_x(\Delta\phi) \mathbf{R}_y(\Delta\psi) \mathbf{a} $$
where:
$$ \mathbf{R}_x(\Delta\phi) = \begin{bmatrix} 1 & 0 & 0 \\ 0 & \cos\Delta\phi & -\sin\Delta\phi \\ 0 & \sin\Delta\phi & \cos\Delta\phi \end{bmatrix}, \quad \mathbf{R}_y(\Delta\psi) = \begin{bmatrix} \cos\Delta\psi & 0 & \sin\Delta\psi \\ 0 & 1 & 0 \\ -\sin\Delta\psi & 0 & \cos\Delta\psi \end{bmatrix} $$
Thus, the cutter axis orientation at any instant can be expressed as:
$$ \begin{bmatrix} a’_x \\ a’_y \\ a’_z \end{bmatrix} = \begin{bmatrix} \cos\Delta\psi & \sin\Delta\phi\sin\Delta\psi & \cos\Delta\phi\sin\Delta\psi \\ 0 & \cos\Delta\phi & -\sin\Delta\phi \\ -\sin\Delta\psi & \sin\Delta\phi\cos\Delta\psi & \cos\Delta\phi\cos\Delta\psi \end{bmatrix} \begin{bmatrix} \cos\alpha_n \sin\delta \\ \cos\alpha_n \cos\delta \\ -\sin\alpha_n \end{bmatrix} $$
After matrix multiplication, the components of the cutter axis are:
$$ a’_x = \cos\Delta\psi \cos\alpha_n \sin\delta + \sin\Delta\psi\left( \sin\Delta\phi \cos\alpha_n \cos\delta – \cos\Delta\phi \sin\alpha_n \right) $$
$$ a’_y = \cos\Delta\phi \cos\alpha_n \cos\delta + \sin\Delta\phi \sin\alpha_n $$
$$ a’_z = -\sin\Delta\psi \cos\alpha_n \sin\delta + \cos\Delta\psi\left( \sin\Delta\phi \cos\alpha_n \cos\delta – \cos\Delta\phi \sin\alpha_n \right) $$
These equations allow me to compute the updated cutter orientation for any combination of rotation increments. In the actual machining process, the increments \(\Delta\phi\) and \(\Delta\psi\) are determined by the desired number of generating steps. For high accuracy, I use 30 to 40 steps per tooth flank.
5.1 Cutter Center Position
In addition to the cutter orientation, the position of the cutter center must be controlled precisely. I start machining from the root of the tooth and progress toward the tip. To maintain the same center trajectory while ensuring full contact with the tooth flank, I use an enlarged effective cutter radius. The actual cutter radius \(R_t\) is increased to \(R_t + \Delta R\), where \(\Delta R\) is a small offset. This approach simplifies the calculation because the center locus remains identical to that generated by a theoretical cutter without the offset, yet the enlarged radius allows proper engagement.
The initial cutter center position, when tangent to the pitch cone at the midpoint of the tooth, is:
$$ \mathbf{C}_0 = \begin{bmatrix} x_0 \\ y_0 \\ z_0 \end{bmatrix} = \begin{bmatrix} -R_t \frac{\cos\alpha_n}{\sin\delta} \\ R_t \frac{\cos\alpha_n}{\cos\delta} \\ -R_t \sin\alpha_n \end{bmatrix} $$
Here, \(R_t\) represents the effective cutter radius at the point of tangency. After each incremental rotation, the new center position is:
$$ \mathbf{C}’ = \mathbf{R}_x(\Delta\phi) \mathbf{R}_y(\Delta\psi) \left( \mathbf{C}_0 + \mathbf{t} \right) $$
where \(\mathbf{t}\) is a translation vector that accounts for the shift from the pitch cone to the actual cutting position. In practice, I define the center coordinates directly from the parametric model of the gear tooth. For any point \((x_g, y_g, z_g)\) on the tooth flank, the cutter center lies at a distance equal to the cutter radius along the normal to the flank. The resulting trajectory is a smooth curve from the root to the tip.
For the case of an external straight bevel gear with tooth count \(z\), the relationship between the workpiece rotation and the cutter linear motion is governed by the generating ratio. The number of generating steps is denoted by \(n\). For each step \(i\) (from 0 to \(n\)), the rotations are:
$$ \phi_i = \frac{i}{n} \Delta\phi_{total}, \quad \psi_i = \frac{i}{n} \Delta\psi_{total} $$
where \(\Delta\phi_{total}\) and \(\Delta\psi_{total}\) are the total angular excursions required to generate one tooth flank. The total excursion depends on the tooth spacing and the roll ratio. For a crown gear with \(z_c\) teeth and the workpiece with \(z\) teeth, the roll ratio is \(z_c / z\). Since I use a single cutter tooth, the crown gear has one tooth, leading to a roll ratio of \(1/z\). Therefore, to generate one complete tooth space, the workpiece must rotate by \(360^\circ / z\).
6. Parameterization of Tool Paths Using Visual C++
To make the method applicable to a variety of straight bevel gears without manual recalculation, I developed a parameterized tool path generator. The program accepts the following input parameters:
| Parameter | Symbol | Example Value |
|---|---|---|
| Number of teeth | z | 30 |
| Module | m | 4 mm |
| Pressure angle | α | 20° |
| Face width | b | 25 mm |
| Pitch cone angle | δ | 75° |
| Cutter radius | R_t | 60 mm |
| Shaft angle | Σ | 90° |
The Visual C++ program incorporates the mathematical model described in the previous section. It outputs a CL (cutter location) file in the standard format recognized by UG NX. A typical segment of the generated CL file is:
LOAD/TOOL, 1
SELECT/TOOL, 1
GOTO/ -12.345,  56.789,  10.123,  0.8765, -0.4321, 0.2165
GOTO/ -11.234,  55.678,   9.876,  0.8654, -0.4210, 0.2254
...
The six numbers after each GOTO statement represent the coordinates of the cutter center \((x, y, z)\) and the cutter axis vector components \((i, j, k)\). The program generates hundreds of these GOTO statements to define the complete tool path.
The interface of the developed program allows the user to input the gear parameters and the machining step count. After pressing the “Generate” button, the program computes all positions and writes them into a text file with a .cls extension. This file is then read by UG NX for simulation and post-processing.
7. Simulation in UG NX
Using the generated CL file, I imported the tool path into the UG NX manufacturing module. Since the standard tool library lacked a disc cutter, my previously created tool model was added to the library and selected for the operation. I then defined the geometry of the gear blank. A photo of the blank model is shown in a figure. The blank is created by revolving the outer profile of the gear, including the cone surface and the back face. This shape is identical to the actual forging or casting used in production.
To create the simulation model, I followed these steps:
- Enter the manufacturing module in UG NX.
- Specify the part (the final gear model) and the blank (the preliminary workpiece).
- Select all outer surfaces of the blank to define the material removal volume.
- Choose the custom disc cutter from the tool library.
- Import the CL file that was generated by my Visual C++ program.
- Set the tool axis control to “Vector” and other machining parameters according to the fixture setup.
- Generate the tool path display.
The simulation was carried out using the “Tool Path Verification” mode. In this mode, I could observe the dynamic movement of the cutter along the predicted trajectory. The representation clearly showed the formation of the tooth space as the cutter moved from the root to the tip while the workpiece rotated about the two axes. This mode also allowed for interference checking: I verified that neither the cutter body nor the tool holder collided with the gear blank or the fixture elements.
After the initial verification, I used the “Machine Simulation” mode to perform a full material removal simulation. This mode uses the defined blank and a solid model of the cutter to simulate actual material removal. The simulation displayed the gradual formation of the straight bevel gear teeth. The result was satisfactory: the generated tooth flank was smooth and continuous, and the final shape matched the parametric model of the gear.
Throughout the simulation, I ensured that the cutter flank (a plane for a disc cutter) remained tangent to the generated tooth flank. This tangency condition is essential for achieving the correct involute-like profile. If the condition is violated, the simulation would show an incorrect shape, and the generated code would be invalid. Therefore, the tangent condition was checked at every step.
8. Post-Processing and CNC Code Generation
After a successful simulation, the CL data must be converted into a CNC program tailored to a specific machine/controller combination. This conversion is called post-processing. Since my fixture provides two rotational motions, I needed to use a five-axis post-processor to extract the rotary axis values. In the standard five-axis code, the A and B axes represent rotations around the X and Y axes, respectively. In my fixture, the stepper motors control these two rotations. Therefore, I selected a generic five-axis post-processor from the UG NX post library. The output code contains GOTO coordinates for the linear axes and additional words for the rotary axes.
A sample of the generated CNC code (with typical values) is shown below:
N010 G90 G54 G00 X-12.345 Y56.789 Z10.123 A15.234 B-25.678
N020 G01 F300 X-11.234 Y55.678 Z9.876 A14.876 B-24.987
N030 X-10.123 Y54.567 Z9.629 A14.518 B-24.296
...
In this code, the A and B values represent the required angular positions of the rotary table around the X and Y axes. These values are directly used to command the two stepper motors. The X, Y, and Z values are the coordinates of the cutter center. Since the machine only moves the cutter along the Z-axis in my setup, the X and Y coordinates must be adjusted through the fixture offsets. In practice, I set up a coordinate system transformation in the post-processor to account for the fixed position of the fixture relative to the machine table.
During the development of the post-processor, I encountered an interesting issue. The CL file contained exactly the programmed number of motion commands (e.g., 30 steps). However, after post-processing, the generated code sometimes included a few extra motion commands. After careful investigation, I found that these extra commands corresponded to intermediate points on the same straight line between successive cutter positions. They were automatically inserted by the post-processor to ensure smooth acceleration/deceleration. To avoid this problem, I must reload the updated CL file each time the gear parameters are changed, ensuring that the simulation and post-processing start from a clean state.
9. Simulation Results and Examples
To validate the proposed method, I simulated the machining of several straight bevel gears with different parameters. The first gear had 30 teeth, module 4, pressure angle 20°, face width 25 mm, and pitch cone angle 75°. The second gear had a pitch cone angle of 80°, and the third gear had a pitch cone angle of 85°. The simulation results showed that the method works for all these cases. The following table summarizes the parameters and the corresponding simulation observations:
| Case | Teeth z | Module m (mm) | Pressure angle α (°) | Face width b (mm) | Pitch angle δ (°) | Simulation result |
|---|---|---|---|---|---|---|
| 1 | 30 | 4 | 20 | 25 | 75 | Successful, smooth flank |
| 2 | 25 | 5 | 22.5 | 30 | 80 | Successful, correct profile |
| 3 | 20 | 6 | 20 | 35 | 85 | Successful, no interference |
| 4 | 12 | 8 | 25 | 40 | 88 | Successful, near 90° cone |
The most challenging case was the one with an 88° pitch cone angle. Traditional gear planers cannot machine such a gear because the cutter would interfere with the workpiece. My simulation confirmed that the proposed method handles this case without any collision, thanks to the freedom of the two rotary axes and the small cutter diameter. This demonstrates the main advantage of the new method: it extends the feasible range of straight bevel gear machining to cone angles very close to 90°, which is a significant contribution.
10. Discussion and Conclusions
In this research, I successfully developed a new method for machining straight bevel gears using ordinary CNC milling machines and a specially designed fixture. The key contributions are summarized as follows:
- I proposed the overall idea of treating the disc cutter as a tooth of a crown gear and using the machine Z-axis for reciprocation, while the fixture supplies two rotary motions.
- I designed the fixture that enables the required generating motion, allowing the workpiece to rotate around two orthogonal axes with its cone apex fixed.
- I created a disc cutter model and added it to the UG NX tool library, enabling realistic simulation.
- I derived the mathematical equations for the cutter axis vector and center position as functions of the rotation increments, providing a precise model for tool path generation.
- I parameterized the tool path computation using Visual C++, allowing the user to input gear parameters and automatically obtain a CL file.
- I simulated the machining process in UG NX, verifying the correctness of the tooth flank generation and the absence of interferences.
- I applied a five-axis post-processor to generate CNC code in which the rotary axis values control the stepper motors of the fixture.
The proposed method is especially valuable for machining large-angle straight bevel gears, such as those used in the swinging-axis double-bevel-gear reducer. These gears cannot be produced by conventional bevel gear planers. With the new method, the machining process is not only feasible but also parameterized and software-driven. The use of a standard CNC milling machine and a relatively simple fixture makes it economically attractive for small and medium-sized enterprises.
However, there are still several aspects that require further investigation before industrial application. The actual machining process involves complex factors such as cutting forces, tool wear, thermal expansion, and surface integrity. I have not yet performed an experimental validation with a real machine, so the simulation results are only theoretical. Future work should include:
- Optimization of the roughing and finishing process parameters for the disc cutter.
- Detailed mechanical design and manufacturing of the fixture, including the stepper motor control system.
- Experimental cutting tests to verify the accuracy of the generated tooth profiles and the surface roughness.
- Development of a closed-loop control strategy to compensate for any positioning errors of the fixture.
In conclusion, this thesis has laid a solid theoretical foundation for a new and practical method for machining straight bevel gears, especially those with extremely large pitch cone angles. By combining CNC technology with specialized software and a custom fixture, the method offers a promising alternative to traditional bevel gear planing. The parameterized tool path generator and the simulation workflow provide a complete digital path from gear design to machining code. I believe that this work will contribute to the advancement of straight bevel gear manufacturing technology and will inspire further research in CNC-based gear generation.