
In modern manufacturing, the integration of computer-aided design (CAD) and computer-aided manufacturing (CAM) has revolutionized the way components are designed and produced. This technology enables engineers to create precise digital models and directly generate machining instructions for CNC machines, significantly reducing lead times and improving accuracy. In my work, I have focused on applying CAD/CAM principles to the simulation of straight spur gear machining. The straight spur gear is a fundamental mechanical component used in countless power transmission systems, and its accurate production is critical. In this article, I describe the complete process of modeling a straight spur gear using CAXA software, generating tool paths, simulating the machining operation, and obtaining the G-code for actual CNC milling. I emphasize the use of mathematical formulas, parametric tables, and step-by-step procedures to illustrate the methodology.
1. Introduction to CAD/CAM and the Straight Spur Gear
CAD/CAM systems provide a seamless workflow from design to manufacturing. In the case of a straight spur gear, the geometry is defined by involute curves, which are generated from a base circle. The gear’s key parameters include the module (m), number of teeth (Z), pressure angle (α), and face width (B). These values determine the dimensions of the pitch circle, base circle, addendum circle, and dedendum circle. Using CAXA Manufacturing Engineer, a powerful CAD/CAM platform, I can construct a 3D solid model of the straight spur gear and then simulate its CNC milling process. The software supports feature-based modeling, parametric trajectory editing, and real-time simulation, making it ideal for educational and industrial applications.
2. Gear Parameters and Mathematical Foundations
Before modeling, I define the parameters of the straight spur gear. The following table lists the values I used in my simulation.
| Parameter | Symbol | Value | Unit |
|---|---|---|---|
| Module | m | 3 | mm |
| Number of teeth | Z | 32 | – |
| Pressure angle | α | 20 | ° |
| Pitch circle diameter | d_p = m × Z | 96 | mm |
| Base circle diameter | d_b = d_p × cos(α) | 90.2 | mm |
| Addendum circle diameter | d_a ≈ d_p + 2m | 102 | mm |
| Face width | B | 30 | mm |
The involute profile of the straight spur gear tooth is described by the polar equation:
$$ \rho = \frac{d_b}{2} \cdot \tan(t) $$
where \( t \) is a parameter ranging from 0 to a maximum value (typically 30° in my simulation) to generate the tooth flank up to the addendum circle. The Cartesian coordinates can be derived as:
$$ x = \rho \cos(t) – \frac{d_b}{2} \cdot \sin(t) $$
$$ y = \rho \sin(t) + \frac{d_b}{2} \cdot \cos(t) $$
These equations are essential for accurately drawing the involute curve in CAXA. The gear tooth space is formed by two symmetric involute flanks, one on each side of the tooth.
3. Modeling the Straight Spur Gear in CAXA
I used CAXA Manufacturing Engineer (XP version) for the 3D modeling. The process involves sketching the gear outline on a 2D plane and then extruding it to the required face width.
3.1 Step-by-Step Modeling Procedure
- Create a new part: Open CAXA and select the XY plane as the sketching plane.
- Draw the base and addendum circles: Using the circle tool, draw the base circle (diameter 90.2 mm) and the addendum circle (diameter 102 mm).
- Generate the involute curve: Use the “Formula Curve” function (f(x) icon) to input the polar equation of the involute: \( \rho = 90.2/2 \times \tan(t) \) with t from 0 to 30 degrees. This creates one side of one tooth flank.
- Position the involute: Divide the base circle into 2Z equal arcs (64 points for Z=32). The intersection of the involute with the base circle is placed at point “1” on the X-axis. I then mirror the involute about the X-axis to obtain the opposite flank for the tooth space. The mirrored curve intersects the base circle at point “2”.
- Trim and complete one tooth space: Use the trim tool to remove excess arcs and lines, leaving the closed profile of a single tooth space (i.e., the gap between two adjacent teeth).
- Array the tooth space: Perform a circular array of this closed profile around the center with 32 instances, creating the full gear silhouette. Check for any open loops.
- Add hub and keyway: Draw the inner bore (typically a circle for shaft mounting) and a keyway slot. Trim these features from the gear outline.
- Extrude: Exit the sketch and extrude the closed 2D profile by a distance equal to the face width (30 mm) using the “Extrude” (stretch material) command. This yields the 3D solid model of the straight spur gear.
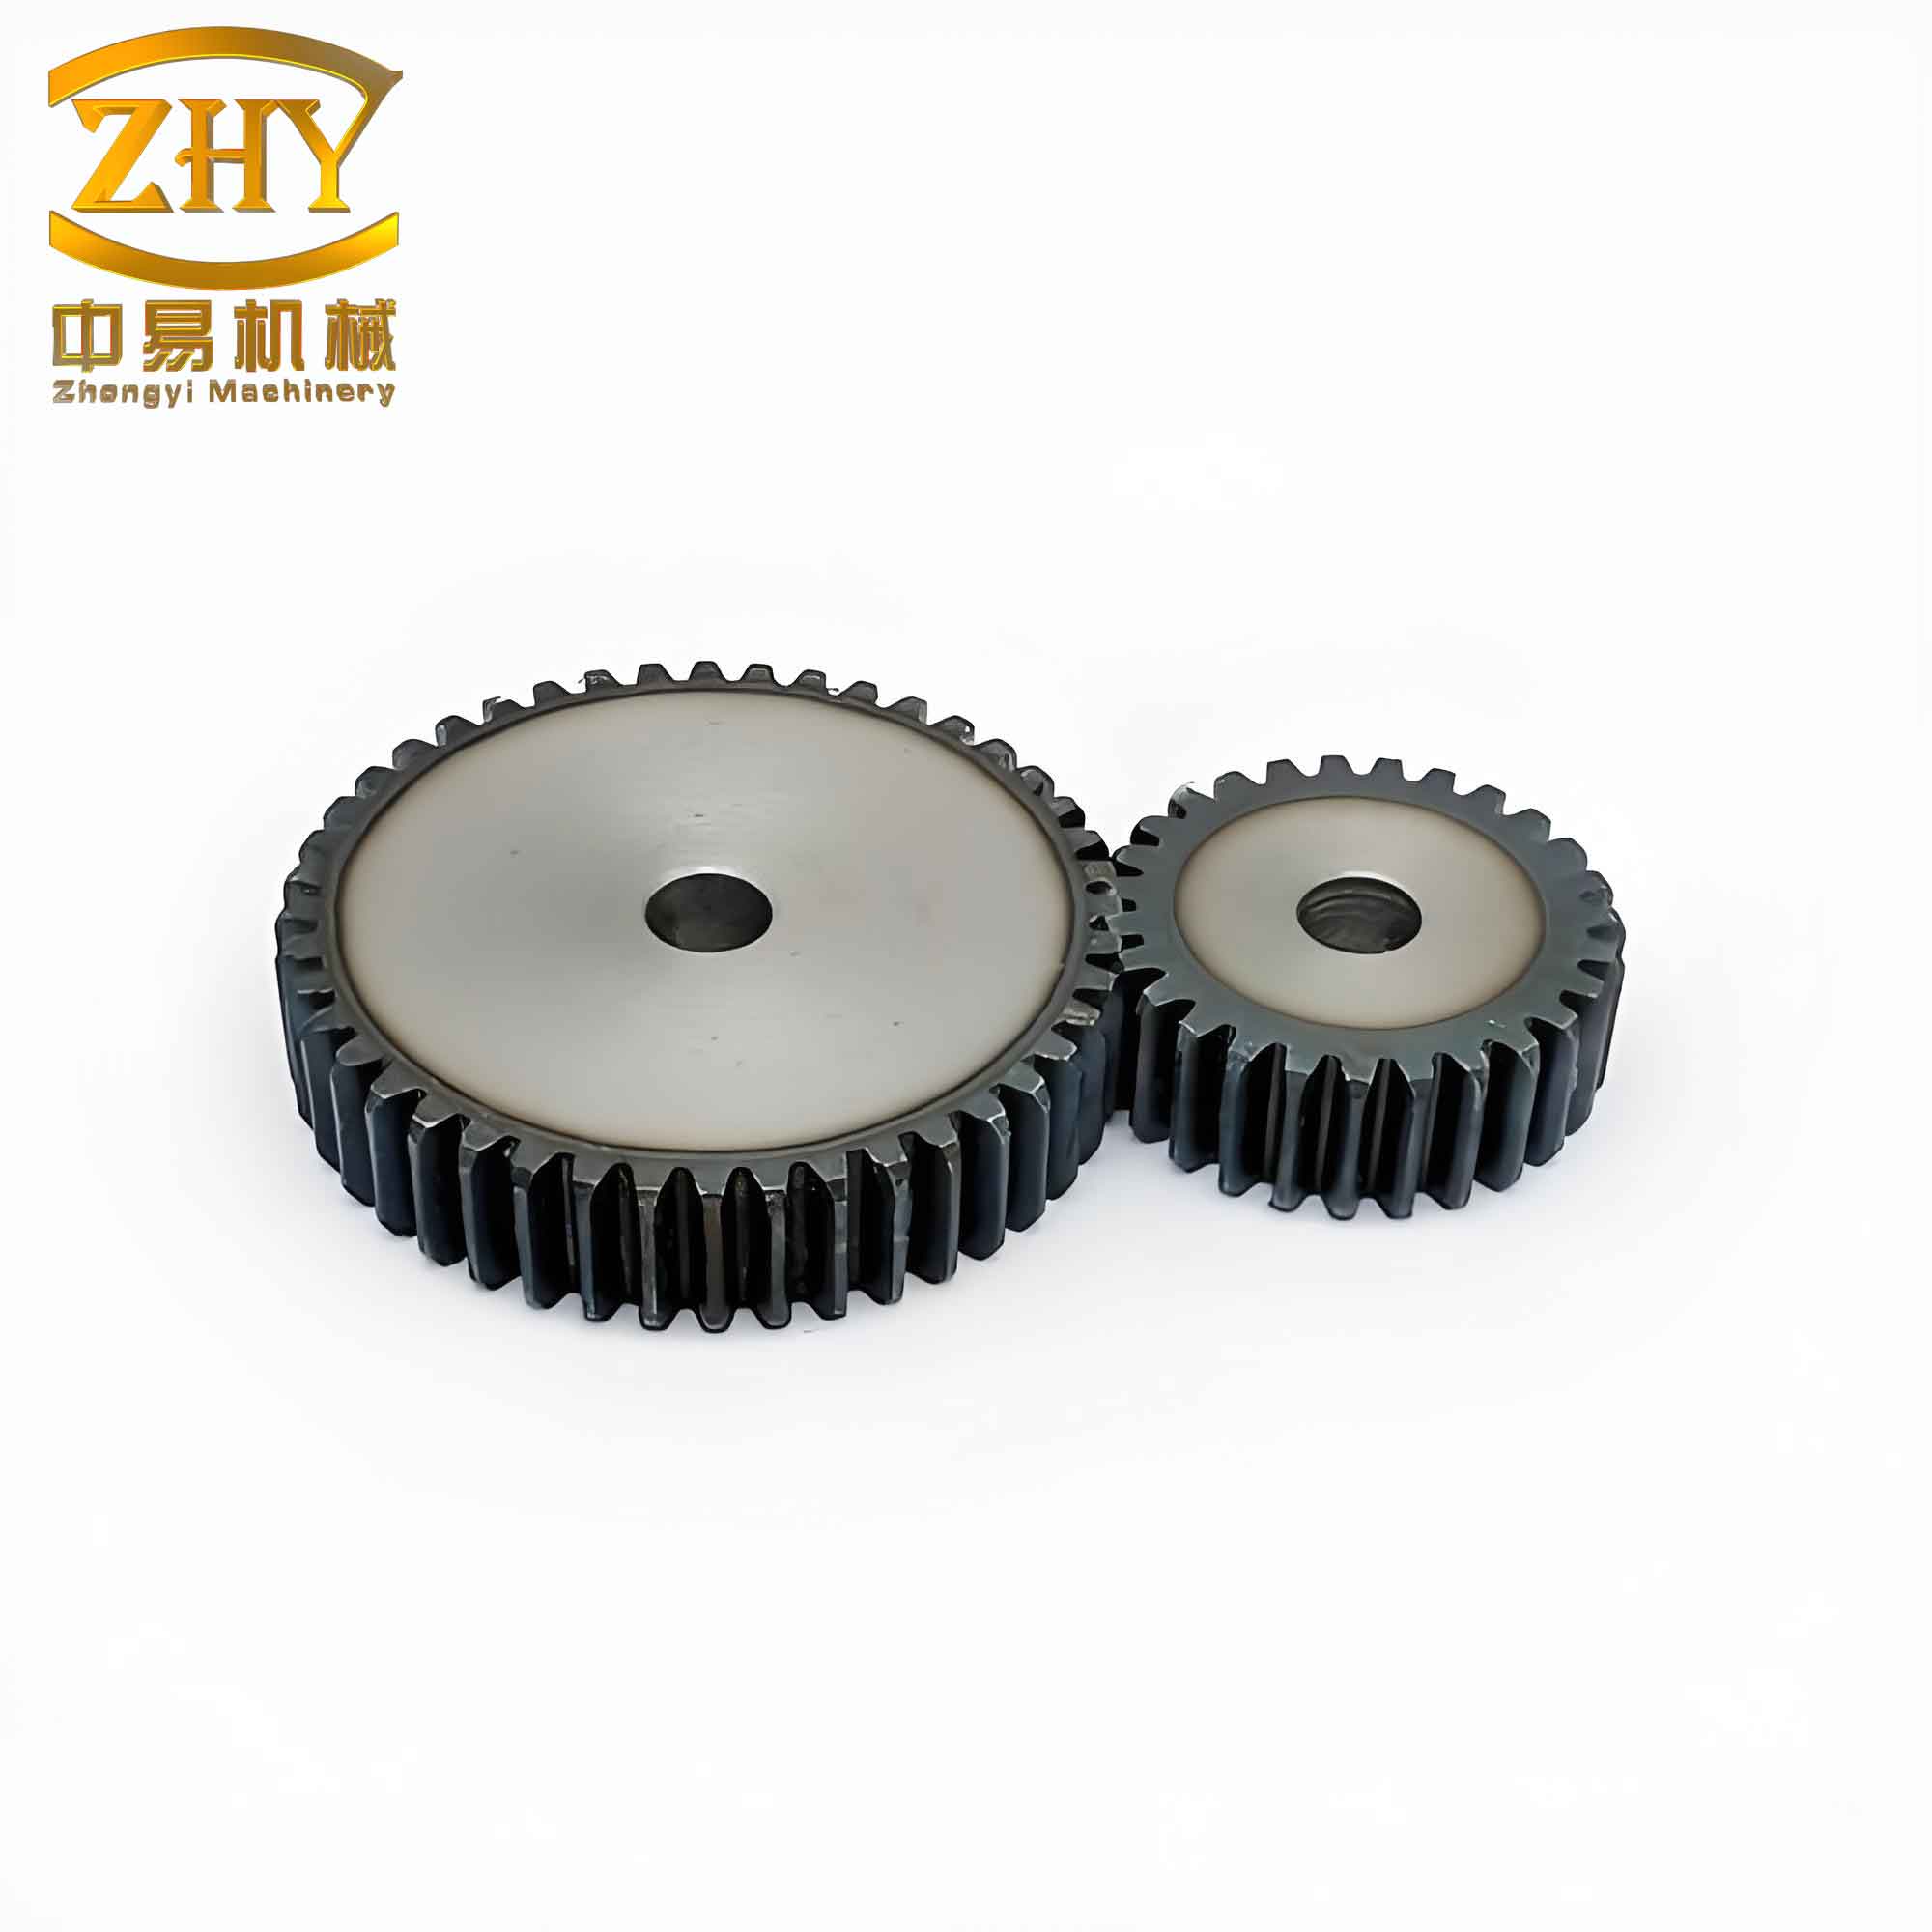
Below is an image of the completed straight spur gear model as displayed in CAXA.
4. CAM Simulation: Tool Path Generation for CNC Milling
With the 3D model ready, I proceeded to the CAM module of CAXA to simulate the machining of the straight spur gear. The process involves defining the workpiece, selecting the cutting tool, and specifying machining parameters.
4.1 Selecting the Machining Strategy
For this straight spur gear, I chose “Planar Profile Machining” (2.5-axis milling) because the gear teeth are uniform along the face width. The tool will cut layer by layer from the top face down to the bottom face.
4.2 Tool and Cutting Parameters
I defined a flat end mill with the following specifications:
| Parameter | Value |
|---|---|
| Tool diameter (D) | 10 mm |
| Corner radius (r) | 2.5 mm |
| Tool length | 50 mm |
| Number of flutes | 4 |
The cutting conditions were set as follows:
| Parameter | Value |
|---|---|
| Spindle speed (S) | 1000 rpm |
| Cutting feed rate (F) | 80 mm/min |
| Depth of cut per layer (ap) | 5 mm |
| Total number of layers | 6 (30 mm / 5 mm) |
| Machining tolerance | 0.01 mm |
4.3 Generating the Tool Path
In CAXA, I performed the following steps:
- Select the top face of the straight spur gear as the reference plane.
- Choose “Application” -> “Trajectory Generation” -> “Planar Profile Machining”.
- Define the machining parameters: layer depth 5 mm, finish allowance 0.1 mm, machining precision 0.01 mm.
- Specify the tool path direction: climb milling (conventional or climb, depending on material).
- Define entry and exit points (typically outside the workpiece to avoid collision).
- Click “OK” to generate the tool path. The software creates a series of trajectories for each layer.
The generated tool path for the straight spur gear consists of concentric contour lines around each tooth space. For a gear with 32 teeth and 6 layers, the total number of trajectory segments is substantial. Figure 3 in the original article (not included here) shows a schematic representation of these trajectories.
5. Simulation and Validation
Before exporting the G-code, I ran a real-time simulation to verify the machining process. CAXA’s “Trajectory Simulation” module allows me to visualize material removal and detect any interferences or collisions. I selected the generated tool paths, right-clicked to start the simulation, and observed the cutting action. The software renders the workpiece dynamically as metal is removed layer by layer. The simulation confirmed that the tool path correctly follows the gear tooth profile without gouging or missing areas.
6. Post-Processing and G-Code Generation
After successful simulation, I generated the CNC code using CAXA’s generic post-processor. The steps are:
- Go to “Application” -> “Post Processing” -> “Generate G-Code”.
- Choose the appropriate post-processor for the target CNC machine (e.g., Fanuc, Siemens, etc.).
- Select the tool paths and specify the output file format (typically .nc or .txt).
- Save the file. The resulting G-code contains over 1500 lines for this straight spur gear example.
A sample of the generated G-code (first few lines) is shown below:
%
O0001
N10 G90 G54 G00 X0 Y0 Z100.
N20 M03 S1000
N30 G43 H01 Z50.
N40 G00 X-60. Y-60.
N50 Z5.
N60 G01 Z-5. F80.
...
N1500 M05
N1510 M30
%
The G-code includes spindle start, tool length compensation, feed moves, and rapid positioning. It is directly transferable to a CNC milling machine through a USB or RS232 interface.
7. Discussion and Analysis
The simulated machining of the straight spur gear demonstrated the effectiveness of CAD/CAM integration. The tool paths generated by CAXA accurately followed the involute profiles, and the layer-by-layer approach ensured complete material removal. By adjusting the entry/exit points and tool parameters, I could avoid potential collisions. The use of a small corner radius on the tool helped reduce stress concentrations at the tooth root. The simulation also allowed me to verify the final geometry before actual cutting, saving time and material.
One critical aspect is the choice of the cutting parameter t for the involute. In my simulation, I used t up to 30°, which is sufficient to generate the tooth flank from base circle to addendum. For different module sizes, this range may need adjustment.
8. Conclusion
In this work, I have successfully demonstrated the CAD/CAM simulation of a straight spur gear using CAXA software. The entire process—from parametric modeling, involute curve generation, 3D solid construction, tool path planning, simulation, to G-code generation—was completed in a unified environment. The straight spur gear is an excellent candidate for this approach because its geometry is well-defined and repeatable. The method ensures high precision and reduces manual programming errors. This workflow can be extended to other gear types (helical, bevel) with suitable modifications to the tooth profile equations. The use of tables and formulas in this article provides a clear reference for engineers and students interested in gear manufacturing with CAD/CAM.
Furthermore, the ability to simulate the machining process before actual cutting minimizes risks to CNC equipment and reduces material waste. The generated G-code can be directly fed into a CNC milling machine for production of the straight spur gear. The integration of CAXA’s feature-based modeling and its powerful CAM capabilities makes it a valuable tool in modern manufacturing education and industry.
Appendix: Summary of Key Formulas for Straight Spur Gear
| Description | Formula |
|---|---|
| Pitch circle diameter | $$d_p = m \cdot Z$$ |
| Base circle diameter | $$d_b = d_p \cdot \cos(\alpha)$$ |
| Addendum circle diameter | $$d_a = d_p + 2m$$ |
| Dedendum circle diameter | $$d_f = d_p – 2.5m$$ (for standard full depth) |
| Circular pitch | $$p = \pi \cdot m$$ |
| Tooth thickness on pitch circle | $$s = \frac{\pi m}{2}$$ |
| Involute polar equation | $$\rho = \frac{d_b}{2} \tan(t), \quad 0 \le t \le \text{max}$$ |
| Number of layers for machining | $$N_{\text{layers}} = \frac{B}{a_p}$$ |
These formulas were directly implemented in CAXA’s formula curve tool to generate the precise tooth geometry of the straight spur gear.
In conclusion, the CAD/CAM simulation of a straight spur gear using CAXA is a robust and educational method that bridges design and manufacturing. By mastering this workflow, engineers can efficiently produce high-quality gears with confidence.