
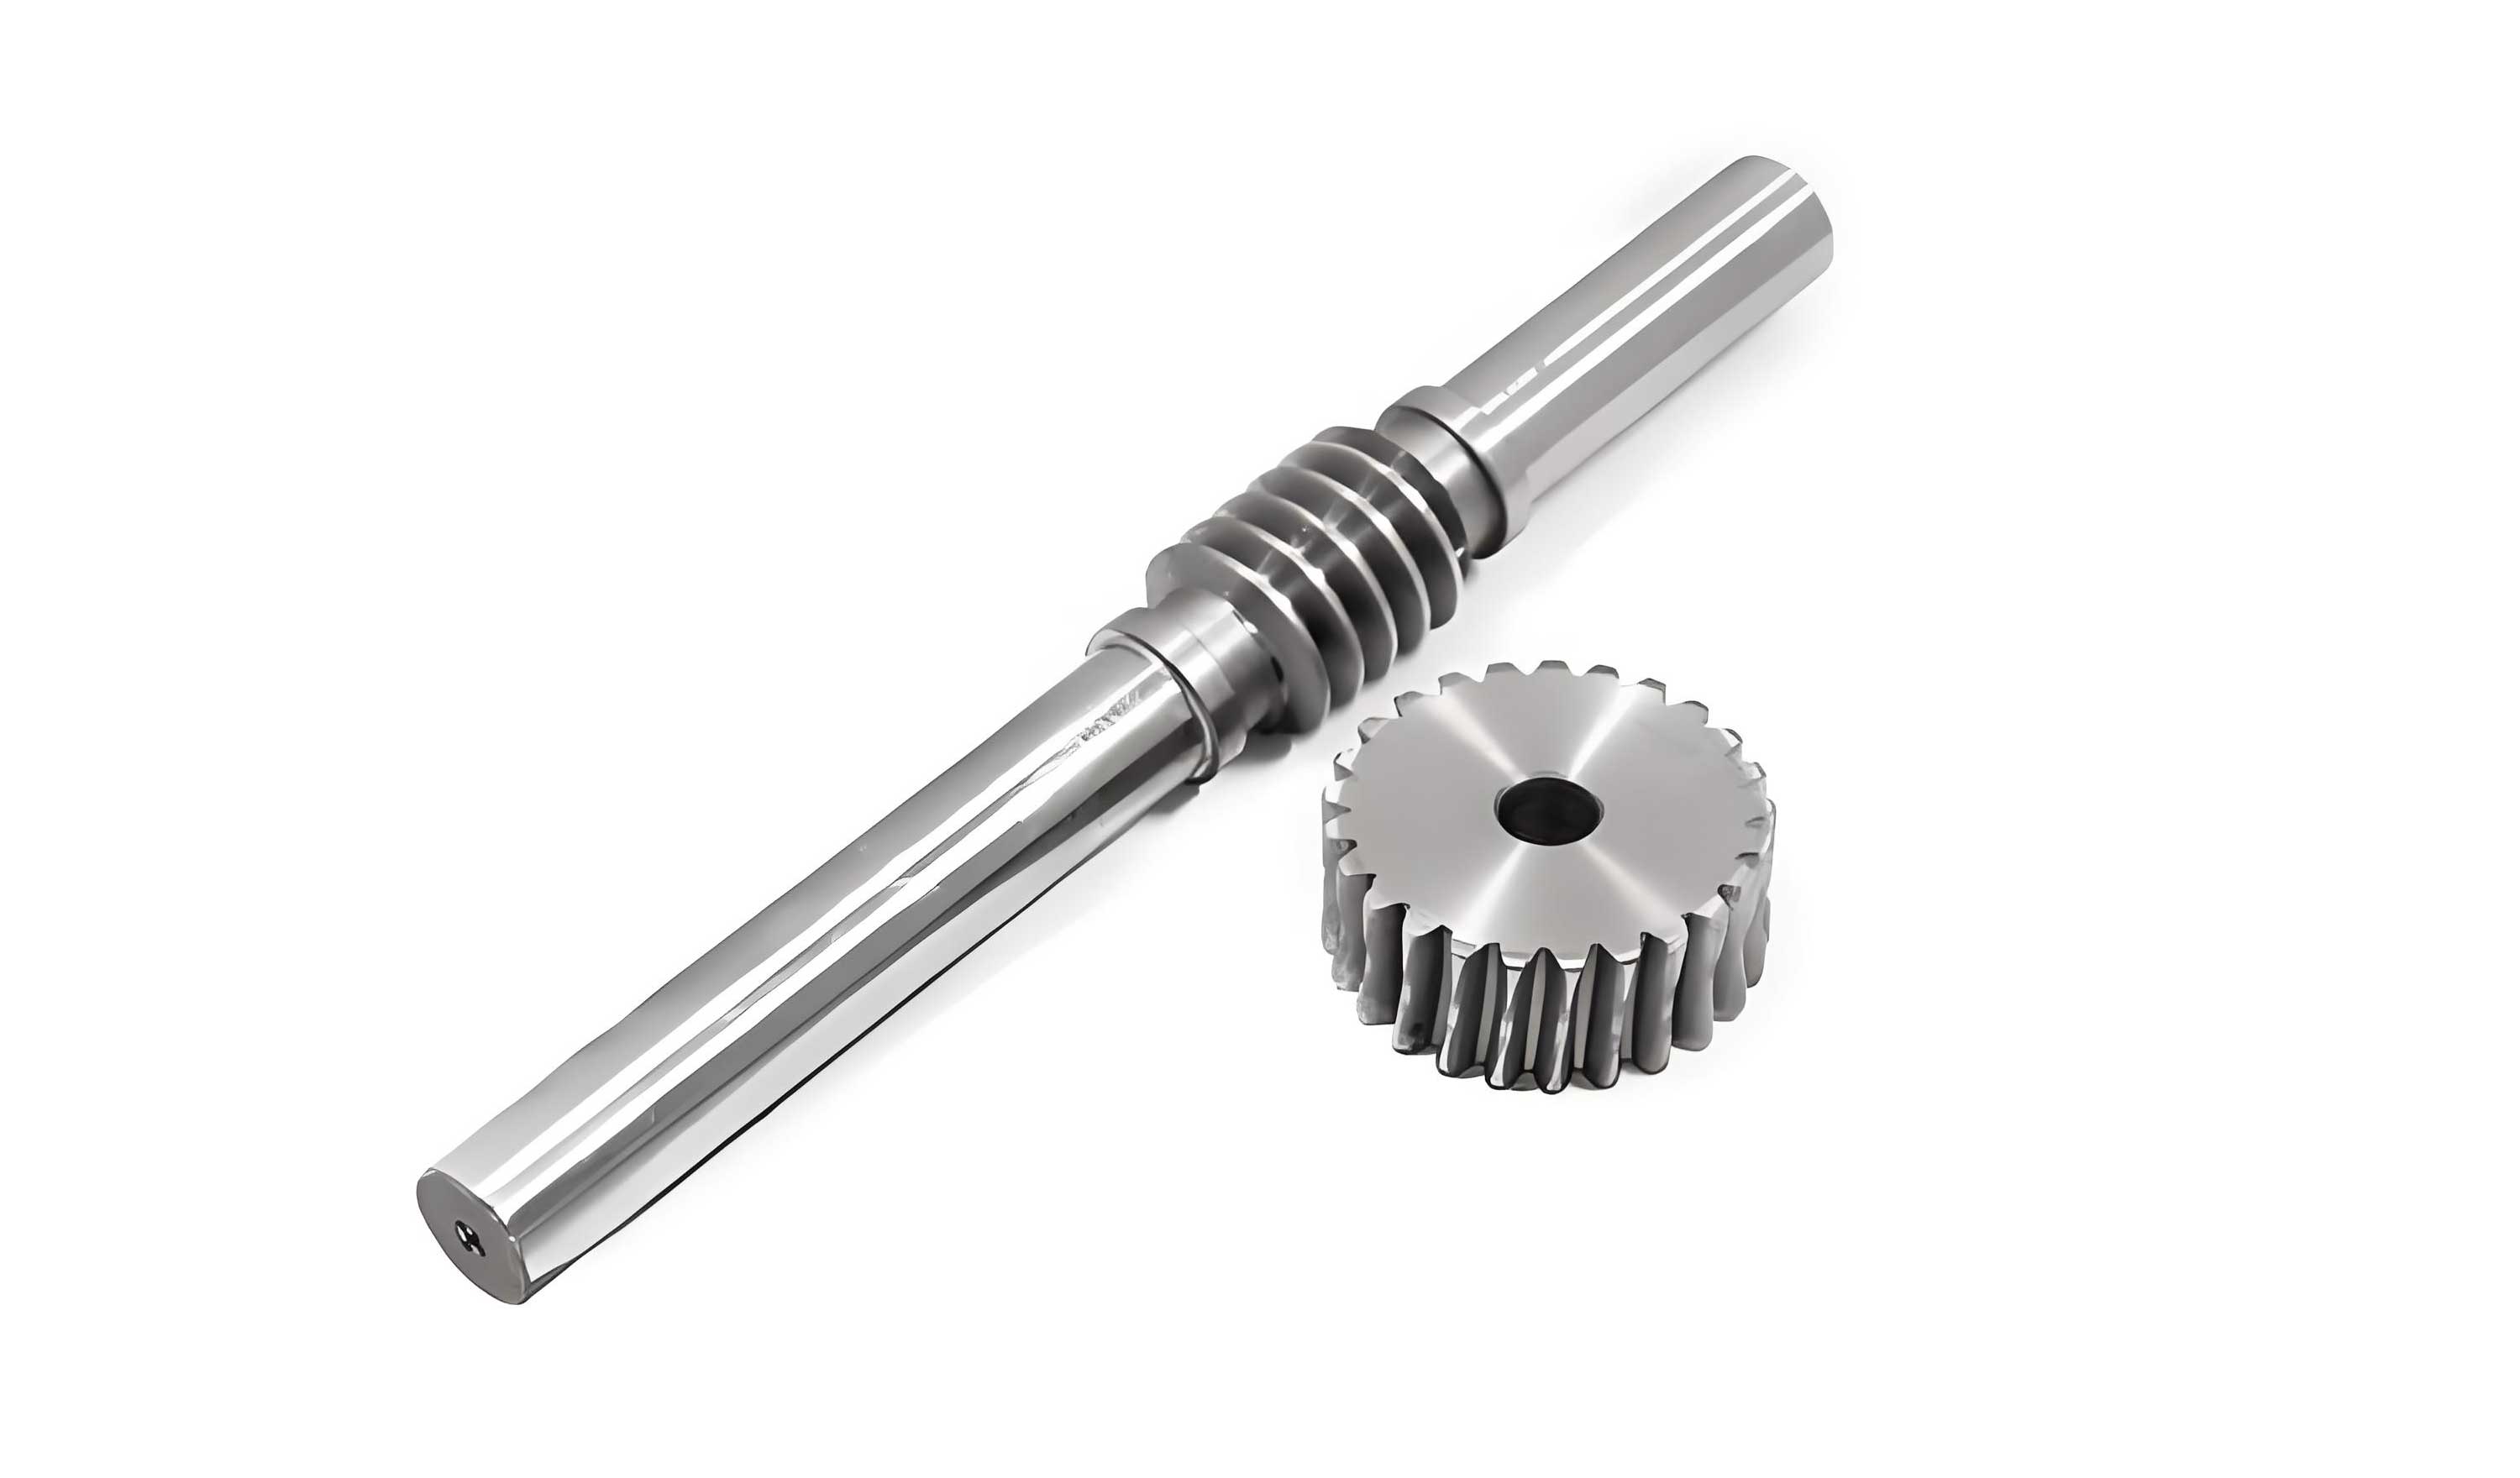
In my years of teaching foundational mechanical design, few topics present such a fascinating blend of elegant simplicity and intricate complexity as worm gear drives. The image of a compact set of worm gears efficiently transferring motion and power through a 90-degree angle is iconic in machinery. This component is ubiquitous, found in everything from humble conveyor lifts to sophisticated steering systems and high-ratio speed reducers. The challenge, and the joy, lies in moving students from recognizing this interesting shape to deeply understanding its unique kinematics, the critical forces at play, and the rationale behind its design. It is a module where theoretical mechanics meets tangible, practical application, and navigating this journey effectively requires a structured, multi-faceted approach.
The core operational principle of a worm gear set is beautifully straightforward yet distinct from parallel-axis gear trains. It consists of a screw-like worm (the driving member in most cases) meshing with a gear, often called the worm wheel, whose teeth are specially shaped to envelop the worm’s threads. The axes of the two members are non-parallel and non-intersecting, typically arranged at a 90-degree angle. When the worm rotates, its threads push against the teeth of the worm wheel, causing it to rotate. The fundamental kinematic relationship is what grants worm gears their celebrated characteristic: a high speed reduction ratio in a single stage. The velocity ratio or transmission ratio, i, is given by the ratio of the number of teeth on the worm wheel ($$z_g$$) to the number of threads on the worm ($$z_w$$), which is equivalent to the ratio of input to output speeds.
$$
i = \frac{n_{input}}{n_{output}} = \frac{z_g}{z_w}
$$
It is crucial to emphasize that this is not the ratio of pitch diameters, as it is in spur or helical gears. This distinction is the key to understanding why incredibly high ratios (from 5:1 to over 100:1 in standard sets, and potentially much higher for indexing applications) are possible with worm gears. One can achieve a large $$z_g$$ with a relatively small diameter wheel, while the worm can have as few as one thread ($$z_w=1$$, called a single-start worm). This leads directly to the primary advantages and disadvantages that form the first layer of student understanding.
I always initiate discussion by contrasting worm gear drives with the more familiar spur gear drives. We compile a comparative list, which I later formalize into a table for reference.
| Characteristic | Worm Gear Drive | Spur Gear Drive |
|---|---|---|
| Axes Configuration | Non-parallel, non-intersecting (usually 90°) | Parallel |
| Single-Stage Ratio | Very high (5:1 to 100:1+) | Moderate (1:1 to 10:1 typical) |
| Compactness | Very compact for the achieved ratio | Larger for equivalent high ratio |
| Smoothness & Quietness | Very smooth and quiet due to sliding engagement | Can be noisy; smoother than worm but less quiet |
| Efficiency | Low to moderate (40%-95%), highly dependent on ratio and lubrication | High (95%-98.5%) |
| Self-Locking Potential | Yes, when the lead angle is small enough | No |
| Primary Motion | Sliding at the mesh | Primarily rolling at the mesh |
The potential for self-locking—a condition where the worm cannot be driven backward by the wheel—is a particularly intriguing feature for applications like hoists and jacks where holding a load is critical. It arises from the friction in the system and is a direct consequence of the screw-like action. However, I stress that it is not a guaranteed property and should never be relied upon for safety-critical holding; a dedicated brake is always necessary. The major drawback, low efficiency, stems directly from the dominant sliding action, which generates significant friction and heat. This leads us naturally into discussions about materials, lubrication, and thermal design, which are more critical for worm gears than for many other gear types.
Geometry and Nomenclature: The Language of Worm Gears
Before diving into force analysis, students must be comfortable with the unique geometric parameters of a worm pair. The terminology blends the language of screws with that of gears. The worm is characterized by its axial pitch ($$p_x$$), which is the distance from one thread to the next, measured axially. The lead ($$L$$) is the axial distance the worm thread advances in one complete revolution. For a single-start worm, $$L = p_x$$; for a multi-start worm ($$z_w$$ threads), $$L = z_w \cdot p_x$$.
The lead angle ($$\gamma$$) is perhaps the most critical single geometric parameter on the worm. It is the angle between a tangent to the helix and a plane perpendicular to the worm axis. It can be calculated from the lead and the worm’s pitch circle diameter ($$d_{w1}$$):
$$
\tan \gamma = \frac{L}{\pi d_{w1}} = \frac{z_w \cdot p_x}{\pi d_{w1}}
$$
The worm wheel’s geometry is defined in its central plane—the plane that contains the worm axis and is perpendicular to the wheel axis. In this plane, the worm wheel tooth looks like a spur gear tooth, with a standard pressure angle ($$\alpha$$, typically 20° or 25°). The pitch diameter of the worm wheel is $$d_{g2}$$. The center distance ($$a$$) is the distance between the two axes:
$$
a = \frac{d_{w1} + d_{g2}}{2}
$$
Standardization is key in design. The worm’s diameter is often tied to the center distance through a quotient ($$q$$), known as the diameter factor: $$q = d_{w1} / m$$, where $$m$$ is the axial module ($$m = p_x / \pi$$). This links the worm’s size directly to the tooth size. I provide students with reference tables showing standard center distances, modules, and diameter factors to ground their future design exercises in reality.
Materials and Lubrication: The Unsung Heroes
The high sliding velocities and associated friction make material selection for worm gears a specialized decision. A hard, smooth worm meshing with a softer, conformable wheel is the universal recipe. The worm is typically made from case-hardened or through-hardened steels (e.g., AISI 4140, 4340, or carburized grades like 8620) and is ground and polished to a fine surface finish to minimize friction. The worm wheel is almost invariably made from a softer material, traditionally bronze (e.g., phosphor bronze, aluminum bronze) for its excellent compatibility with steel, good wear resistance, and conformability. For less demanding applications, cast iron or polymeric materials may be used.
Lubrication is not an afterthought; it is a critical design parameter. The right lubricant reduces friction, wears, dissipates heat, and prevents scoring. For moderate speeds and loads, an EP (Extreme Pressure) gear oil with additives to handle the high sliding pressures is sufficient. For high-speed or high-power worm gears, the lubricant’s role in cooling becomes paramount, and systems may require oil circulation with coolers. I often use a simple thermal rating exercise to show students how quickly a small, poorly lubricated unit can overheat, linking theory directly to a common mode of failure.
The Core Challenge: Three-Dimensional Force Analysis
This is the intellectual heart of the module, where students’ understanding of equilibrium and force transmission is tested. The goal is to determine the three mutually perpendicular force components on both the worm and the worm wheel: the tangential force ($$F_t$$), the radial force ($$F_r$$), and the axial force ($$F_a$$).
I start by establishing the coordinate system. We view the assembly along the axes: from the worm towards the wheel. The first step is always to determine the rotation direction of the worm ($$n_w$$) and its hand (right-hand or left-hand). The hand is determined just like a screw thread: if the threads advance away from you when turned clockwise, it is right-hand (the most common).
The force derivation proceeds logically from action-reaction pairs. Consider a right-hand worm rotating clockwise (as viewed from its driving end).
- Worm Tangential Force ($$F_{tw}$$): This is the driving force applied at the worm pitch radius. It is the force we calculate from the input torque ($$T_w$$): $$F_{tw} = \frac{2T_w}{d_{w1}}$$. Its direction opposes the worm’s rotation (it’s the reaction from the wheel).
- Worm Axial Force ($$F_{aw}$$): This is the thrust force on the worm. Its direction is determined by the screw hand and rotation, using a “right-hand rule” for right-hand worms: point the fingers of your right hand in the direction of the worm’s rotation; your thumb points in the direction of the worm’s axial force. For our example (right-hand, clockwise), the axial force points to the left.
- Wheel Forces (Action-Reaction): The worm’s axial force ($$F_{aw}$$) is resisted by the wheel’s tangential force ($$F_{tg}$$). They are an action-reaction pair: $$F_{tg} = F_{aw}$$. Similarly, the worm’s tangential force ($$F_{tw}$$) is resisted by the wheel’s axial force ($$F_{ag}$$): $$F_{ag} = F_{tw}$$.
- Radial Forces ($$F_{rw}$$ and $$F_{rg}$$): The radial force acts to separate the two gears. It is related to the wheel’s tangential force and the normal pressure angle ($$\alpha$$) in the central plane: $$F_{rw} = F_{rg} = F_{tg} \cdot \tan \alpha$$.
This logic can be summarized in a powerful and compact set of equations, which I present as the cornerstone of force analysis for worm gears:
$$
\begin{aligned}
&F_{tw} = \frac{2T_w}{d_{w1}} = F_{ag} \\
&F_{tg} = \frac{2T_g}{d_{g2}} = F_{aw} \\
&F_{rw} = F_{rg} = F_{tg} \cdot \tan \alpha
\end{aligned}
$$
Where $$T_g$$ is the output torque on the worm wheel. The relationship between input and output torque must account for efficiency ($$\eta$$): $$T_g = T_w \cdot i \cdot \eta$$.
To solidify this, I work through multiple examples on the board, systematically changing the worm’s hand or rotation direction. I then have students practice in pairs, sketching the assembly and labeling all six force vectors. A comprehensive table serves as a final reference:
| Component | Force | Magnitude Formula | Direction Determination |
|---|---|---|---|
| Worm | Tangential ($$F_{tw}$$) | $$\frac{2T_w}{d_{w1}}$$ | Opposite to worm rotation direction. |
| Axial ($$F_{aw}$$) | $$F_{tg}$$ | Right-hand rule for RH worm (fingers in rotation, thumb points). Reverse for LH worm. | |
| Radial ($$F_{rw}$$) | $$F_{tg} \tan \alpha$$ | Towards worm center (pushes worm away from wheel). | |
| Worm Wheel | Tangential ($$F_{tg}$$) | $$\frac{2T_g}{d_{g2}}$$ | Opposite to wheel rotation direction. (Drives the load). |
| Axial ($$F_{ag}$$) | $$F_{tw}$$ | Opposite to worm axial force (action-reaction). | |
| Radial ($$F_{rg}$$) | $$F_{tg} \tan \alpha$$ | Towards wheel center (pushes wheel away from worm). |
Efficiency, Thermal Considerations, and Failure Modes
With forces understood, we can delve into performance. The efficiency ($$\eta$$) of a worm gear set is a primary concern. It is predominantly a function of the lead angle ($$\gamma$$) and the coefficient of friction ($$\mu$$) at the mesh. A standard formula for efficiency when the worm is driving is:
$$
\eta = \frac{\tan \gamma}{\tan(\gamma + \phi)}
$$
Where $$\phi = \arctan \mu$$ is the friction angle. This equation reveals why efficiency increases with lead angle. For self-locking conditions (where the wheel cannot drive the worm), the efficiency drops below 50%, and mathematically, $$\gamma \le \phi$$. I have students plot $$\eta$$ versus $$\gamma$$ for different $$\mu$$ values to visualize the dramatic impact of both parameters. This directly explains the trade-off: high-ratio worm gears (small $$\gamma$$) are less efficient but may self-lock; low-ratio sets (larger $$\gamma$$) are more efficient but lose the self-locking feature.
The power lost to friction converts to heat. Therefore, thermal capacity often limits the power rating of a worm gearbox, not just the tooth strength. A simple thermal equilibrium check involves calculating the heat generated ($$H_{gen} = P_{in}(1 – \eta)$$) and ensuring the housing’s surface area can dissipate it to the environment at a safe temperature rise. This practical calculation bridges the gap between abstract force analysis and real-world enclosure design.
Failure modes follow from the operating conditions. Due to the high sliding, worm gears are most susceptible to:
- Wear and Scoring: Abrasive wear or adhesive welding (scoring) due to inadequate lubrication or overload.
- Pitting: While less common than in rolling-contact gears, surface fatigue pitting can occur on the wheel teeth.
- Overheating: Leading to lubricant breakdown and accelerated wear.
- Tooth Breakage: From shock loads or severe overload.
Design, therefore, involves both strength checks (bending stress in the wheel teeth, contact stress at the mesh) and thermal checks. I introduce the AGMA (American Gear Manufacturers Association) standards as the authoritative methodology for these detailed calculations, providing students with the conceptual steps: determine applied torques and forces, select geometry and materials, calculate stresses, apply life and safety factors, and check thermal limits.
A Structured Pedagogical Approach
Teaching this dense topic effectively requires moving beyond pure lecture. My strategy is a blended, iterative process designed to build confidence and competence.
1. Foundational Lecture with Contrast: I begin with a clear lecture, using high-quality animations and cross-sectional models to visualize the meshing action. The comparative table with spur gears is developed interactively, establishing the “why” behind worm gears.
2. Demystifying Force Analysis: This is the core skill session. I use a step-by-step, color-coded boardwork approach:
- Step 1: Draw the top and side views. Label worm rotation ($$n_w$$) and hand.
- Step 2: Calculate and draw $$F_{tw}$$ (opposing $$n_w$$).
- Step 3: Use the hand-rotation rule to determine and draw $$F_{aw}$$.
- Step 4: Apply action-reaction: $$F_{tg} = F_{aw}$$, $$F_{ag} = F_{tw}$$. Draw them.
- Step 5: Calculate and draw the radial forces.
We repeat this algorithm for four configurations (RH/CW, RH/CCW, LH/CW, LH/CCW) until the pattern is internalized.
3. Active Learning Through Manipulation: Nothing beats physical intuition. I incorporate a lab session where student teams examine and assemble different worm gear sets, measure their geometric parameters, and manually turn the input to feel the resistance, the smoothness, and even the self-locking effect in a low-efficiency set. They sketch the units and identify force directions based on their assembly.
4. Guided Problem-Solving Sessions: After the foundational lessons, we dedicate full sessions to worked examples and peer-to-peer problem-solving. I give them a problem with a specific application (e.g., a conveyor lift). They must:
- Select a preliminary geometry from standard tables based on ratio and center distance.
- Calculate all geometric parameters (lead angle, pitch diameters).
- Given an input torque, perform a complete force analysis.
- Estimate efficiency and check for potential self-locking.
- Perform a rudimentary thermal check (heat generated vs. estimated housing dissipation).
This mini-design cycle integrates all the discrete topics into a cohesive whole.
5. Leveraging Technology: I use simulation software to show stress contours on worm wheel teeth under load and to animate the flow of forces. This provides visual validation of their hand calculations. Online gear catalogs are also used as resources, showing students how manufacturers present torque ratings, thermal ratings, and dimensional data for off-the-shelf worm gears.
6. Connecting to the Big Picture: Finally, I place worm gears back into the broader mechanical systems context. We analyze product teardowns (e.g., a guitar tuner, a differential hoist) or case studies where the choice of a worm drive was critical to meeting design constraints of compactness, ratio, or self-locking. This answers the ultimate student question: “When and why would I actually use this?”
In conclusion, the study of worm gear drives is a microcosm of mechanical design itself: it requires a firm grasp of fundamental principles (kinematics, statics, materials), an appreciation for practical constraints (lubrication, heat, manufacturability), and the ability to synthesize this knowledge into a viable design. By deconstructing its complexities into logical, connected segments—from the basic ratio formula to the three-dimensional force vectors, and from material selection to thermal management—and by employing a varied teaching methodology that engages both the mind and the hands, we can equip students not only to solve exam problems but to confidently specify, analyze, and appreciate the elegant utility of worm gears in the engineered world. The moment a student’s eyes light up after correctly predicting the thrust direction in a complex assembly, or when they successfully justify choosing a worm drive over other options in a design project, is the true reward, validating this comprehensive pedagogical approach.