
In the manufacturing of heavy-duty automotive drive axles, the precision of bevel gear components is paramount. The final performance, noise characteristics, and service life of the axle assembly are directly influenced by the geometric accuracy of these gears. This article details a first-person engineering journey to solve a critical measurement bottleneck in the production of a large, ring-type driven bevel gear. The challenge was to devise an efficient, on-the-spot method for checking the circular runout of the gear’s face cone, moving away from the time-consuming and logistically complex process of using a Coordinate Measuring Machine (CMM). The solution was engineered through the systematic application of the TRIZ (Theory of Inventive Problem Solving) methodology.
1. Problem Context: The Critical Runout Specification
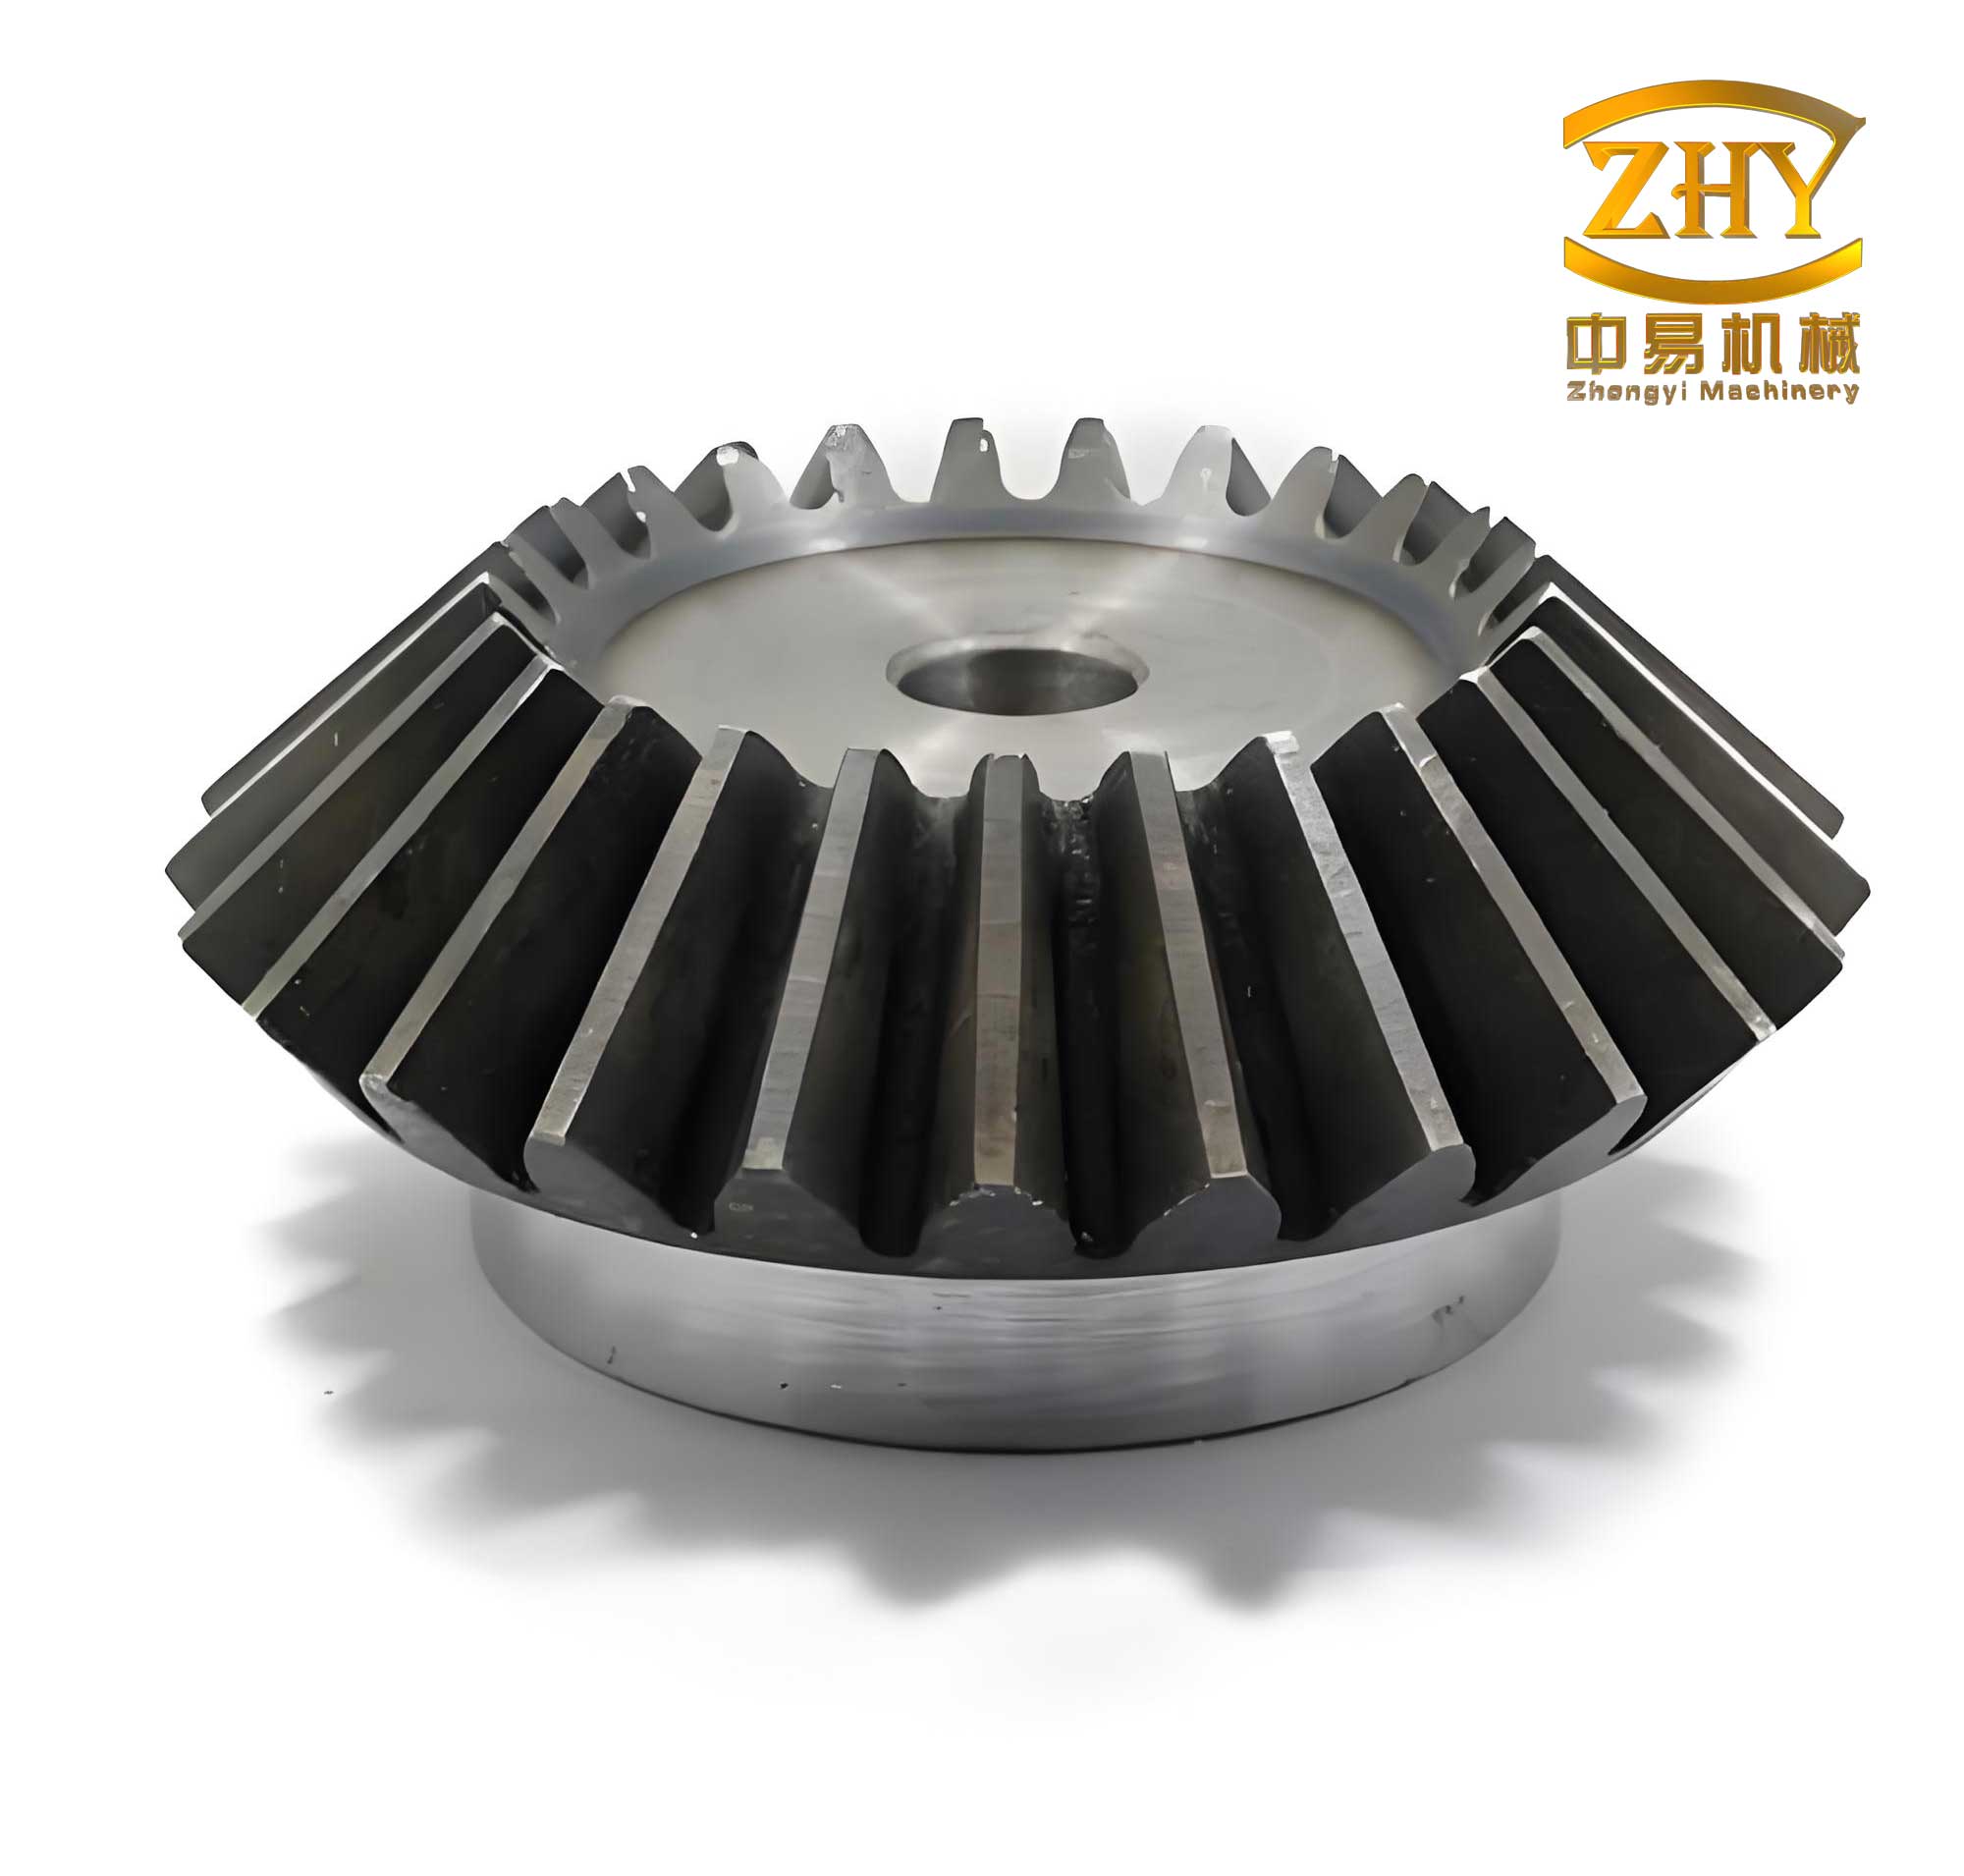
The component in question is a large-diameter driven bevel gear for a 70-ton truck rear axle. After initial rough machining, a key finishing operation involves precision turning on a vertical CNC lathe. In this operation, the gear is located using a previously machined face (Face 1) and its inner bore (Bore 1, $\phi 289.55^{+0.052}_{-0}$ mm). The CNC program machines the face cone (at an angle of $67^\circ 36’15”$), a secondary face (Face 2), and a second inner bore and taper.
The most critical quality characteristic from this turning operation is the circular runout of the newly machined face cone. This runout must be measured relative to the primary datum axis A (Bore 1) and the primary datum plane B (Face 1). The specified tolerance is a mere 0.04 mm. Any deviation exceeding this limit would lead to uneven tooth engagement during the subsequent spiral bevel tooth cutting process, causing vibration, noise, and premature failure.
The existing quality control method was a significant bottleneck. It required transporting the heavy bevel gear to a climate-controlled metrology lab, setting it up on a CMM, and using a ruby probe to meticulously collect point cloud data on the face cone. Software analysis would then calculate the runout. This process was:
- Time-consuming: Removed the part from production flow for an extended period.
- Logistically burdensome: Required handling and transportation of heavy parts.
- Reactive: Provided feedback long after the machining cycle was complete, making real-time process adjustment impossible.
The engineering objective was clear: Design a dedicated, portable fixture that could perform this runout check directly at the machine tool or at a nearby inspection station within the production cell, providing immediate feedback to the operator.
2. Systematic Problem-Solving with TRIZ
To innovate beyond conventional fixture design, the TRIZ methodology was employed. TRIZ provides a structured framework for solving inventive problems by leveraging patterns found in successful inventions across all fields of engineering.
2.1 Step 1: Standardizing the Problem (The “Bridge” Entry)
The first step in TRIZ is to translate the specific engineering problem into generic, standard parameters. This involves defining the Improving Feature and the Worsening Feature.
- Improving Feature: We needed to drastically speed up the measurement process. In the language of the 2003 TRIZ Contradiction Matrix, this is defined as Parameter #44: Productivity.
- Worsening Feature: A faster, simpler, on-machine measurement tool risks being less accurate than a lab-grade CMM. Therefore, the feature likely to deteriorate is Parameter #48: Measurement Accuracy.
This framed our technical contradiction: “If we improve Productivity, the Measurement Accuracy worsens.”
2.2 Step 2: Finding Inventive Principles (Crossing the “Bridge”)
With the two standardized parameters (44 vs. 48), we consult the TRIZ Contradiction Matrix. The matrix cell at the intersection of these parameters suggests a set of Inventive Principles that have historically resolved similar conflicts.
| Principle Number | Inventive Principle | Potential Application to Our Fixture Problem |
|---|---|---|
| 1 | Segmentation | Divide the measurement system into independent, modular parts (e.g., separable fixture and gauge). |
| 28 | Mechanics Substitution | Replace a mechanical measurement method with an optical, pneumatic, or electronic one. (Feasibility deemed low for this rugged shop-floor application). |
| 19 | Periodic Action | Replace continuous CMM measurement with periodic checks using the fixture at specified intervals. |
| 37 | Thermal Expansion | Use thermal expansion of materials to achieve precise fitting or measurement. (Not directly applicable). |
| 4 | Asymmetry | Change the shape of the fixture or its contact points from symmetrical to asymmetrical to improve functionality. |
| 13 | The Other Way Round | Make the movable part of the system (the indicator) stationary on a fixture, and rotate the fixture around the stationary part (the gear). Or, bring the gauge to the part instead of the part to the gauge. |
| 24 | Intermediary | Introduce an intermediate object – a dedicated measurement fixture – to transfer the measurement from the complex CMM to a simple dial indicator. |
| 3 | Local Quality | Make different parts of the fixture perform different functions. Optimize the local quality of the locating surfaces for precision and the clamping surfaces for rigidity. |
From this list, Principles #28 and #37 were initially discarded as less viable for the required robust, mechanical, shop-floor solution. The remaining principles—#1, #19, #4, #13, #24, and #3—formed the conceptual toolkit for our design.
2.3 Step 3: Applying the Principles to Detailed Design (The “Bridge” Exit)
The selected principles were synthesized into a coherent design concept:
- Principle #24 (Intermediary) & #13 (The Other Way Round): The core idea is to introduce a dedicated measurement fixture as an intermediary. This fixture reverses the measurement logic: instead of moving a probe to a stationary bevel gear (CMM method), the fixture, holding a stationary dial indicator, is rotated around the stationary gear’s datum axis.
- Principle #1 (Segmentation) & #3 (Local Quality): The fixture is designed as an assembly of segmented, dedicated components: a rigid body, a high-precision locating sleeve that mates with Bore 1, adjustable measurement and support arms, and a clamping mechanism. Each part is optimized for its specific function (locating, measuring, supporting, clamping).
- Principle #4 (Asymmetry): The fixture design is inherently asymmetrical. The indicator is mounted off-center on an adjustable arm, allowing it to contact the conical face at any required radial position.
- Principle #19 (Periodic Action): The fixture enables the implementation of a periodic Statistical Process Control (SPC) check. Instead of 100% CMM inspection, operators can now perform quick first-piece and periodic in-process checks, significantly improving overall production rhythm.
3. The Measurement Fixture: Detailed Design and Specifications
The finalized design is a mechanical comparator fixture. Its primary function is to provide a precise, repeatable simulation of the gear’s datum axis (A) and datum plane (B), and to hold a dial indicator in a position to measure runout on the face cone.
3.1 Core Components and Function
- Fixture Body: The central structure that integrates all other components. It features a central hub for the locating system.
- Locating Sleeve: A precision-ground sleeve that fits into the gear’s primary datum Bore 1 ($\phi 289.55$ mm). This sleeve establishes the datum axis (A) for the measurement. It is a consumable part and can be manufactured in different sizes for different bevel gear families.
- Support Arm & Foot: An adjustable arm with a hardened foot that contacts the gear’s primary datum Face 1. This establishes the datum plane (B) and ensures the fixture is seated perpendicular to the datum axis.
- Measurement Arm & Clamping Rod: A pair of adjustable, perpendicular rods. The clamping rod locks onto the gear’s inner wall for stability. The measurement rod extends radially and holds the dial indicator. The tip of the indicator contacts the face cone of the bevel gear.
- Dial Indicator: A standard dial test indicator (or lever-type indicator) with a resolution of at least 0.01 mm is mounted on the measurement arm.
3.2 Material and Heat Treatment Specifications
To ensure long-term measurement stability and wear resistance—critical for any dedicated gauge—specific materials and treatments were specified:
- Fixture Body: Material: 20Cr. Treatment: Carburize and quench to 55-60 HRC surface hardness, with an effective case depth of 0.8-1.2 mm. This provides a tough core with a wear-resistant surface.
- Locating Sleeve, Measurement/Support Arms, Clamping Rod: Material: T10A (high-carbon tool steel). Treatment: Through-hardening to 58-62 HRC for maximum wear resistance on all critical contact and sliding surfaces.
The fixture must undergo regular calibration (e.g., every 6 months) to monitor wear on the locating sleeve and support foot, ensuring measurement traceability.
4. Measurement Procedure and Data Interpretation
The operational procedure is straightforward, enabling quick use by machine operators:
- Setup: Place the machined bevel gear on a flat, stable surface (machine table or inspection bench). Mount the dial indicator into the fixture’s holder.
- Location: Insert the fixture’s locating sleeve into the gear’s Bore 1. Adjust the support foot so it firmly contacts Face 1. Lock the clamping rod gently against the inner wall of the bore to stabilize the fixture without distorting it.
- Indicator Positioning: Adjust the measurement arm radially so the indicator contact point rests on the face cone, approximately mid-face. Ensure the indicator stem is perpendicular to the cone surface (using the sine of the cone angle, $\sin(67^\circ 36′)$, as a guide for setup). Pre-load the indicator by 1-2 revolutions of the dial and set the dial to zero.
- Runout Measurement: Slowly and smoothly rotate the entire fixture 360 degrees around the locating sleeve (simulating rotation around datum axis A). Observe the total indicator movement (TIR). The runout error ($\Delta_i$) at that specific radial position is calculated as:
$$ \Delta_i = M_{max} – M_{min} $$
where $M_{max}$ and $M_{min}$ are the maximum and minimum indicator readings during the rotation. - Multi-Point Validation: To ensure the entire conical surface is within tolerance, repeat steps 3 and 4 at multiple radial positions (e.g., near the inner edge, middle, and outer edge of the face cone). The bevel gear runout is the maximum $\Delta_i$ value found across all measured diameters.
- Acceptance: Compare the maximum $\Delta_i$ to the drawing specification (0.04 mm). If $\Delta_i \le 0.04$ mm, the gear passes this inspection point.
| Radial Measurement Position | Indicator Reading – Max (mm) | Indicator Reading – Min (mm) | Runout $\Delta_i$ (mm) | Within Spec (0.04 mm)? |
|---|---|---|---|---|
| Inner Diameter (A) | +0.012 | -0.010 | 0.022 | Yes |
| Mid Diameter 1 (B) | +0.025 | -0.005 | 0.030 | Yes |
| Mid Diameter 2 (C) | +0.032 | -0.012 | 0.044 | No |
| Outer Diameter (D) | +0.018 | -0.015 | 0.033 | Yes |
| Final Result (Max $\Delta_i$): | 0.044 mm | REJECT | ||
5. Conclusion and Broader Implications
The development of this bevel gear runout measurement fixture successfully resolved the core contradiction between productivity and measurement accuracy. By applying TRIZ principles, we transitioned from a lab-bound, high-precision but low-productivity method (CMM) to a shop-floor, high-productivity system that retains the necessary accuracy for process control.
The tangible benefits are significant:
- Dramatic Time Savings: Measurement time reduced from ~30 minutes (including handling) to under 3 minutes at the machine.
- Real-Time Process Control: Immediate feedback allows for on-the-spot machine adjustment, preventing the production of non-conforming parts.
- Enhanced Flexibility: The modular design, with interchangeable locating sleeves, makes the fixture adaptable to a family of similar ring-type bevel gears, providing an excellent return on investment.
- Robustness: Designed with shop-floor conditions in mind, the fixture is durable and easy to use, requiring minimal training.
This case exemplifies how systematic innovation tools like TRIZ can guide engineers beyond incremental improvements to create elegant, effective solutions. The designed fixture is more than just a measurement tool; it is a catalyst for a more responsive, efficient, and controlled manufacturing process for critical automotive bevel gear components. The principles applied here—modularity, intermediary functions, and local quality optimization—can be effectively translated to the design of similar special-purpose gauging solutions across the precision machining industry.