
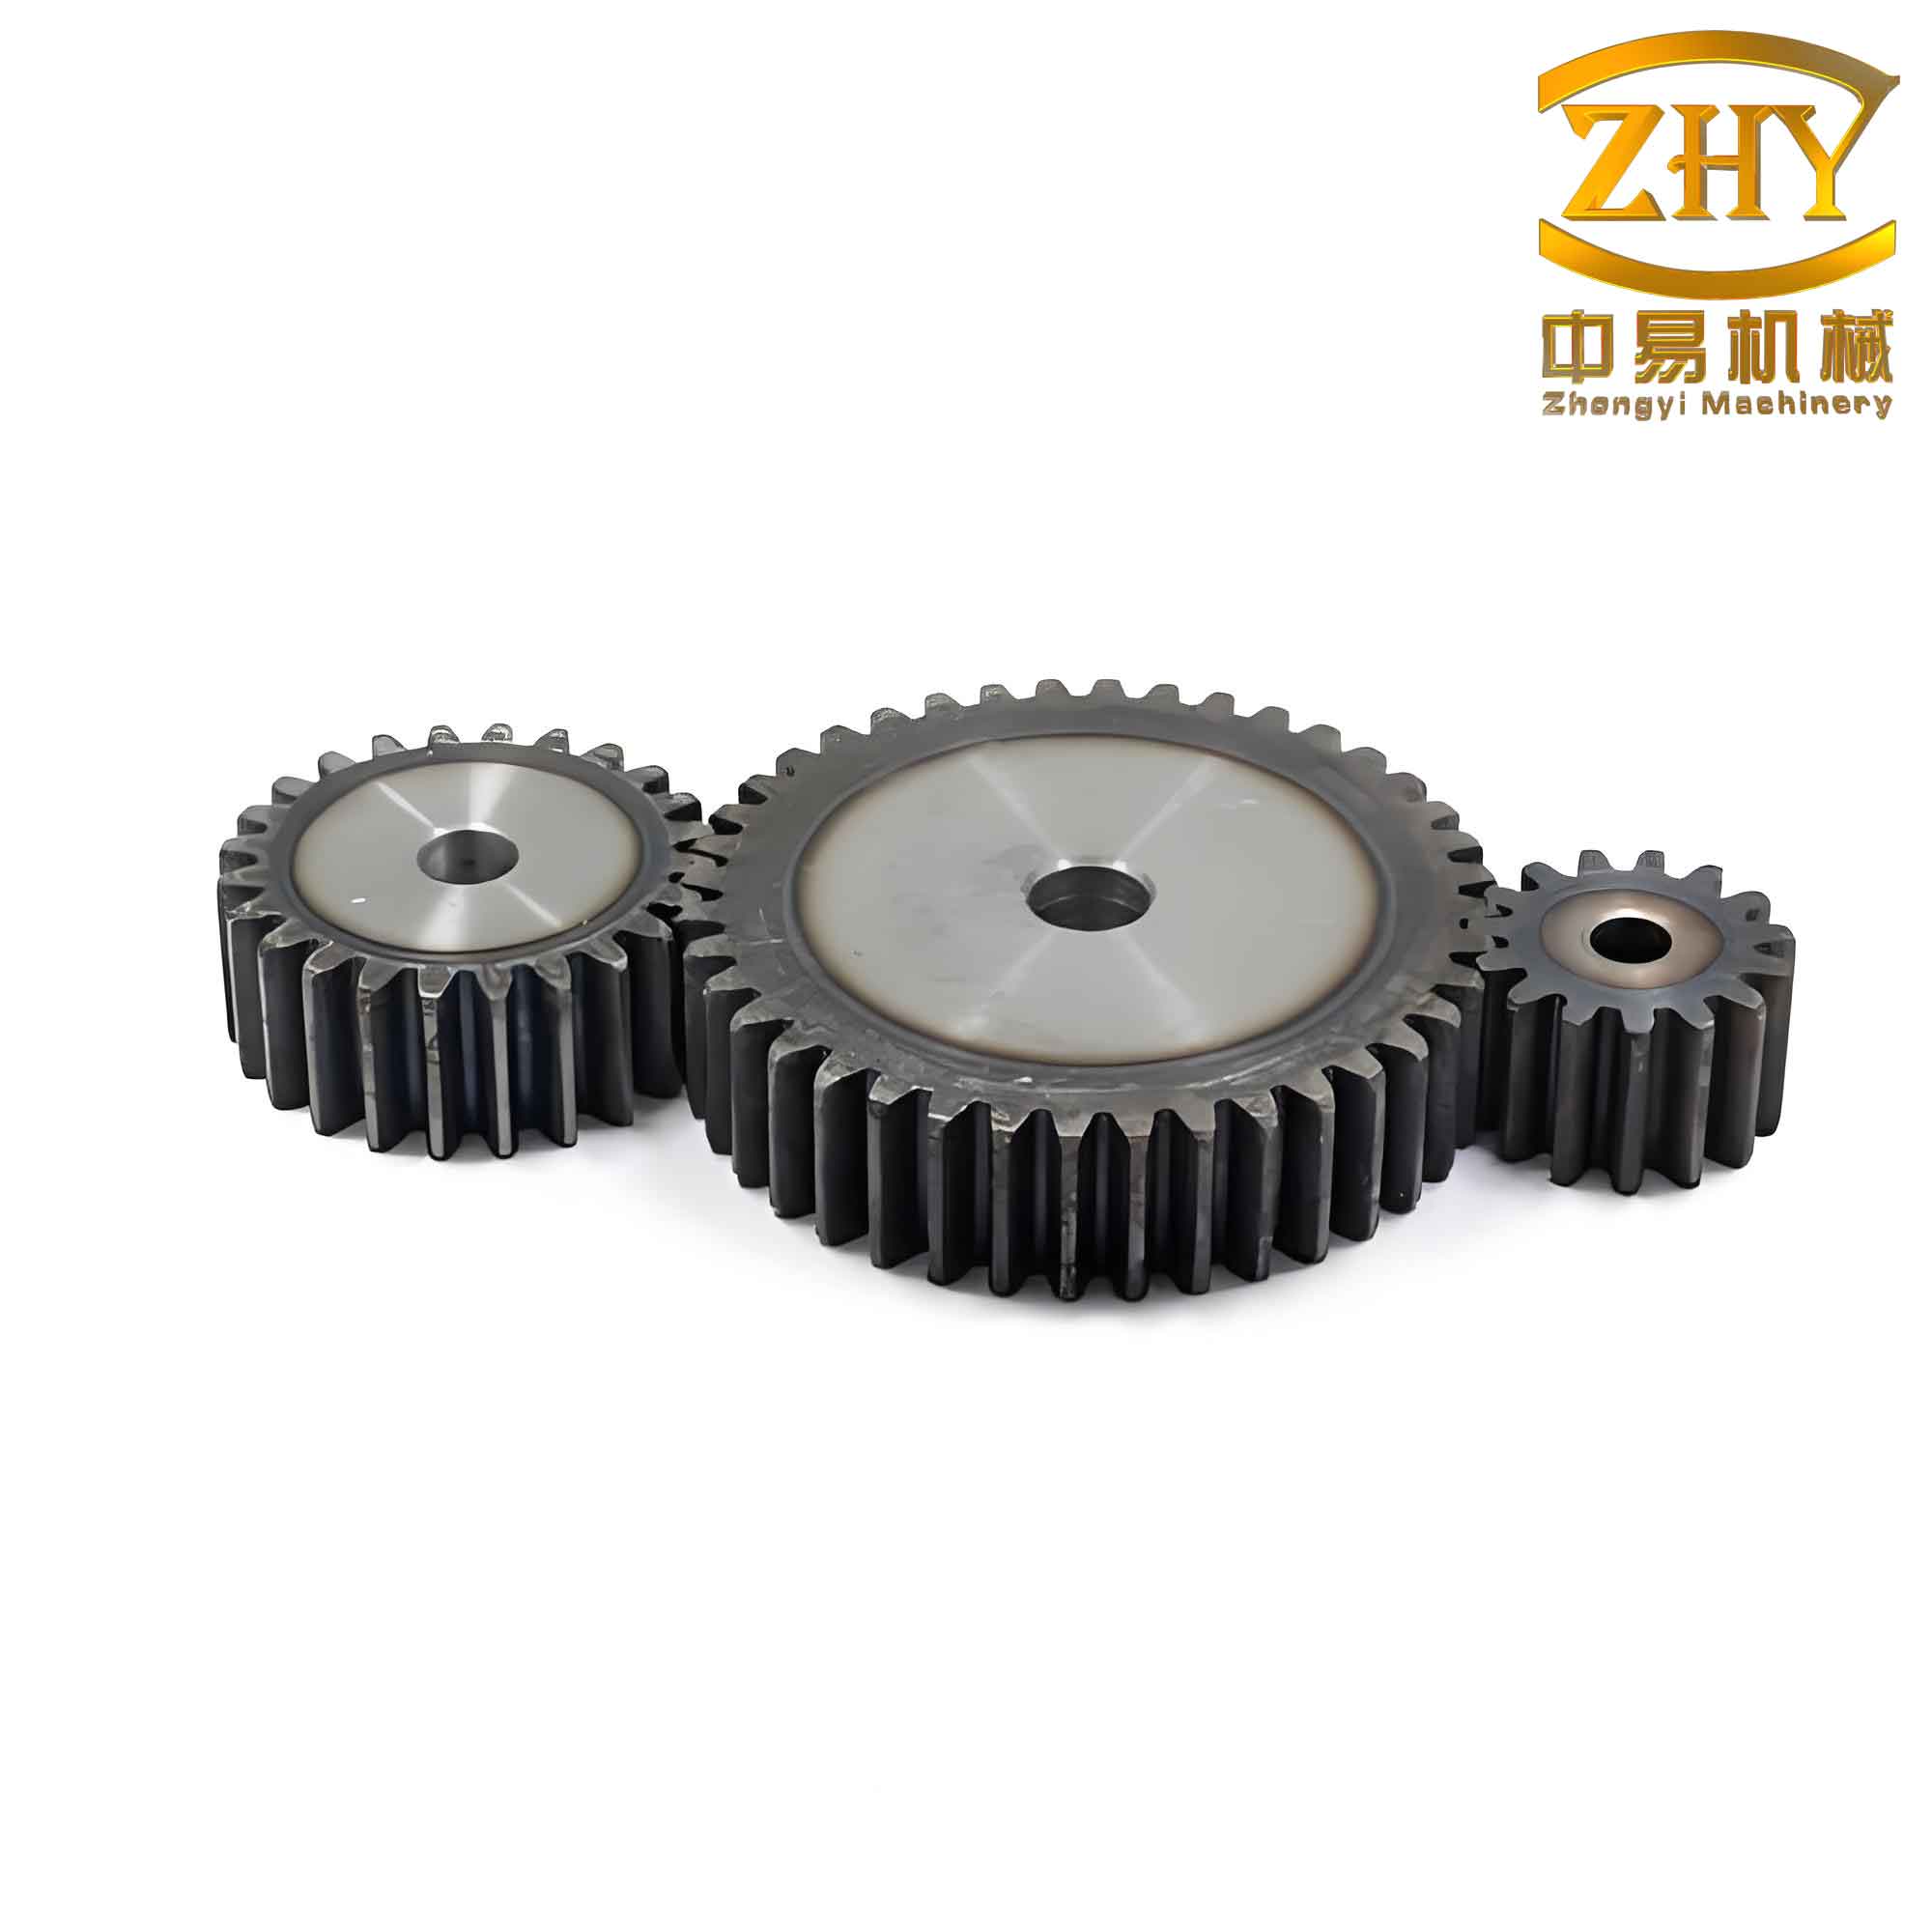
In the field of mechanical design, the transmission characteristics of straight spur gears are highly valued due to their stable operation, precise transmission ratios, reliable performance, and wide applicability across various power, speed, and size ranges. As a result, straight spur gears are extensively used in industries ranging from automotive to aerospace. However, the three-dimensional (3D) modeling process for straight spur gears is inherently complex and time-consuming. The primary challenge lies in the fact that different straight spur gears have varying parameters such as the number of teeth, module, and face width. For each unique parameter combination, a separate model must be constructed, leading to significant repetitive labor, waste of human resources, and extended product development cycles. To address this, I aimed to develop an automatic modeling program for straight spur gears that minimizes designer workload, shortens development time, and enhances modeling efficiency. Using Pro/E, one of the most comprehensive and tightly integrated product development environments available, I leveraged the Pro/Toolkit development kit alongside Visual Studio 2005 to create a secondary development program for the parametric automatic modeling of straight spur gears.
The core workflow for the automatic modeling of straight spur gears involves several sequential steps. First, a dynamic link library (DLL) file is created in Visual Studio 2005. This DLL file is then registered with Pro/E using a registration file named protk.dat. After successful registration, a new Pro/E file is opened, and a custom “Features” menu becomes available. By selecting the “Straight Spur Gear” option from this menu, a dialog box appears, prompting the user to input the relevant parameters for the straight spur gear. Upon entering these parameters, the program automatically generates the 3D model. If additional features such as holes or keyways are required, the user can proceed with subsequent operations within the same interface.
| Step | Description | Tools/Methods |
|---|---|---|
| 1 | Create DLL project | Visual Studio 2005 (MFC DLL Wizard) |
| 2 | Set development environment | Include and library paths for Pro/Toolkit |
| 3 | Define Pro/E-VS2005 interface | user_initialize() and user_terminate() functions |
| 4 | Create parameter dialog | MFC dialog (modal for input, non-modal for hole) |
| 5 | Sketch gear profile | ProSectionEntityAdd(), circle and tooth geometry |
| 6 | Extrude blank | ProFeatureCreate() with extrusion elements |
| 7 | Cut single tooth | UserSktExtrusionCut_gear() function |
| 8 | Pattern teeth | ProPatternCreate() |
| 9 | Add hole (optional) | Non-modal MFC dialog + Pro/E placement |
| 10 | Add keyway (optional) | Similar cut operation, controlled via menu |
The implementation of the automatic modeling program for straight spur gears begins with establishing the development environment. Assuming Pro/E 4.0 and Visual Studio 2005 are installed on the client machine, I created a new MFC DLL project using the MFC DLL Wizard. The reason for choosing an MFC DLL type project is that Pro/E registration requires a .dll file for program invocation, and this format also allows full utilization of the MFC class libraries provided by Visual Studio 2005. Next, I configured the development environment by setting the include directories and library directories so that the compiler and linker can locate the Pro/Toolkit header files and library files. This step is critical for establishing the connection between Visual Studio 2005 and Pro/E.
After configuration, I defined the interface functions between Pro/E and Visual Studio 2005. The standard entry point is the user_initialize() function, which is executed when the DLL is loaded by Pro/E. Within this function, I declared variables to store resource file names, command IDs, and error status. For example, I used ProFileName to store the message file path and ProError for return values. The user_terminate() function is defined to clean up resources when the application terminates. The typical declaration follows the format:
$$ \text{extern “C” int user_initialize(int argc, char* argv[], char* version, char* build, wchar_t errbuf[80])} \\
\text{extern “C” void user_terminate()} $$
To facilitate user interaction, I designed dialog boxes for parameter input. Two approaches exist for creating dialogs in Pro/E secondary development: the UI dialog technique (which creates Pro/E-style dialogs but is cumbersome and cannot exist independently) and the MFC resource-based dialog technique. I chose the latter due to its simplicity. A modal dialog was created to capture the primary parameters of the straight spur gears, such as module (m), number of teeth (z), and face width (b). The key geometric parameters for straight spur gears are defined by standard equations:
The pitch circle diameter:
$$ d = m \times z $$
The addendum circle diameter (outside diameter):
$$ d_a = m \times (z + 2) $$
The dedendum circle diameter (root diameter):
$$ d_f = m \times (z – 2.5) $$
The base circle diameter:
$$ d_b = d \times \cos(\alpha) $$
where α is the pressure angle, typically 20° for standard straight spur gears.
Once the user inputs these parameters, the program proceeds to sketch the gear cross-section. The core function for sketching the addendum circle and tooth profile is UserCreateSection_gear(). Below is an excerpt of the code used to sketch the addendum circle, with the tooth profile code omitted for brevity:
The center of the circle is defined at the origin:
$$ \text{circle1.center[0] = 0.0} \\
\text{circle1.center[1] = 0.0} $$
The radius of the addendum circle is:
$$ \text{circle1.radius} = (m \times z + 2 \times m) / 2 $$
The type of entity is set to a circle:
$$ \text{circle1.type} = PRO\_2D\_CIRCLE $$
The entity is added to the section:
$$ \text{ProSectionEntityAdd(section, (Pro2dEntdef*)&circle1, &line_id[1])} $$
After creating the necessary datum planes, I extruded the addendum circle section to form the solid blank of the straight spur gear. This is achieved using ProFeatureCreate() with appropriate element definitions for extrusion depth (equal to the face width b). Next, I implemented a tooth profile cutting function, UserSktExtrusionCut_gear(), which uses a sketched tooth profile to perform a cut operation. This cuts one tooth space into the blank, as shown conceptually in the process. To generate all teeth of the straight spur gear, I used the ProPatternCreate() function to create a circular pattern of the single tooth cut. The number of instances equals the number of teeth z, and the angular increment between instances is 360° divided by z.
| Parameter | Symbol | Formula | Description |
|---|---|---|---|
| Module | m | User input | Determines tooth size |
| Number of teeth | z | User input | Directly affects gear ratio |
| Face width | b | User input | Defines gear thickness |
| Pressure angle | α | 20° (standard) | Constant for involute profile |
| Pitch circle diameter | d | $$d = m \times z$$ | Reference diameter for meshing |
| Addendum circle diameter | da | $$d_a = m \times (z + 2)$$ | Outer diameter of gear |
| Dedendum circle diameter | df | $$d_f = m \times (z – 2.5)$$ | Root diameter |
| Base circle diameter | db | $$d_b = d \times \cos(\alpha)$$ | Used for involute generation |
| Angular increment for pattern | Δθ | $$ \Delta\theta = 360^\circ / z $$ | Step between adjacent teeth |
For additional features such as a central hole, I implemented a non-modal dialog box. The reason for using a non-modal dialog is that it does not block the Pro/E interface, allowing the user to select reference planes and axes for hole placement interactively. The dialog asks for the hole diameter, and once the user clicks “OK”, the program waits for the user to pick a placement surface (e.g., the face of the gear) and a reference axis (e.g., the central axis of the gear). The hole is then created using ProFeatureCreate() with the appropriate hole element definitions. After the hole is created, the user can optionally add a keyway by selecting “Add Keyway” from the “Features” menu. This operation is similar to the tooth cut and creates a rectangular slot along the inner bore of the straight spur gear.
The registration of the program with Pro/E is accomplished via the protk.dat file. This is a plain text file that conveys application information to the Pro/E system. It can be edited with any text editor, but the file extension must be .dat. The registration steps are straightforward: within Pro/E, navigate to the “Tools” menu, select “Auxiliary Applications”, click “Register”, locate the protk.dat file, and click “Start”. If successful, a message indicates that the application is running. The protk.dat file includes the name of the DLL, the startup type, the text resource directory, and other configuration details. After registration, a new menu item “Features” appears on the Pro/E menu bar.
To test the program, I created a new Pro/E part file and selected “Straight Spur Gear” from the “Features” dropdown menu. A dialog box appeared allowing input of parameters such as module, number of teeth, and face width. After entering these values and clicking “OK”, the 3D model of the straight spur gear was automatically generated. I then clicked the “Create Hole” button to invoke the hole creation dialog, entered a diameter, selected the gear face as the placement surface and the central axis as the reference, and the hole was created. Finally, I closed all dialogs and selected “Add Keyway” from the “Features” menu to automatically generate a keyway in the gear model. The entire process was quick and efficient, demonstrating the effectiveness of the secondary development approach.
The development of this automatic modeling program for straight spur gears significantly reduces the time and effort required for gear design. By automating the repetitive tasks of sketching, extruding, and patterning, designers can focus on more critical aspects of product development. The use of Pro/Toolkit and Visual Studio 2005 provides a robust and flexible platform for creating custom add-ins that extend the capabilities of Pro/E. In conclusion, this work successfully meets the computer-aided process design (CAPP) requirements for straight spur gears, offering a practical solution for parametric automatic modeling.
| Aspect | Manual Modeling | Automatic Modeling (This Program) |
|---|---|---|
| Modeling time for one gear | 15–30 minutes | < 1 minute (including parameter input) |
| Repetitive work for different parameters | High (each gear modeled from scratch) | Low (parameters entered and model regenerated) |
| Error risk | Moderate (human errors in sketching) | Low (standardized algorithm) |
| Learning curve for new users | Steep (requires Pro/E expertise) | Gentle (user-friendly dialog interface) |
| Integration with CAPP | Limited | High (can be extended for process planning) |
The program described above has been thoroughly tested with various parameter sets for straight spur gears, including different modules, tooth counts, and face widths. In all cases, the generated models were accurate and ready for further analysis or manufacturing. The use of standardized formulas ensures that the geometry conforms to industry standards for straight spur gears. Future work could extend this program to include helical gears, bevel gears, or other complex gear types, further enhancing the productivity of gear designers.