
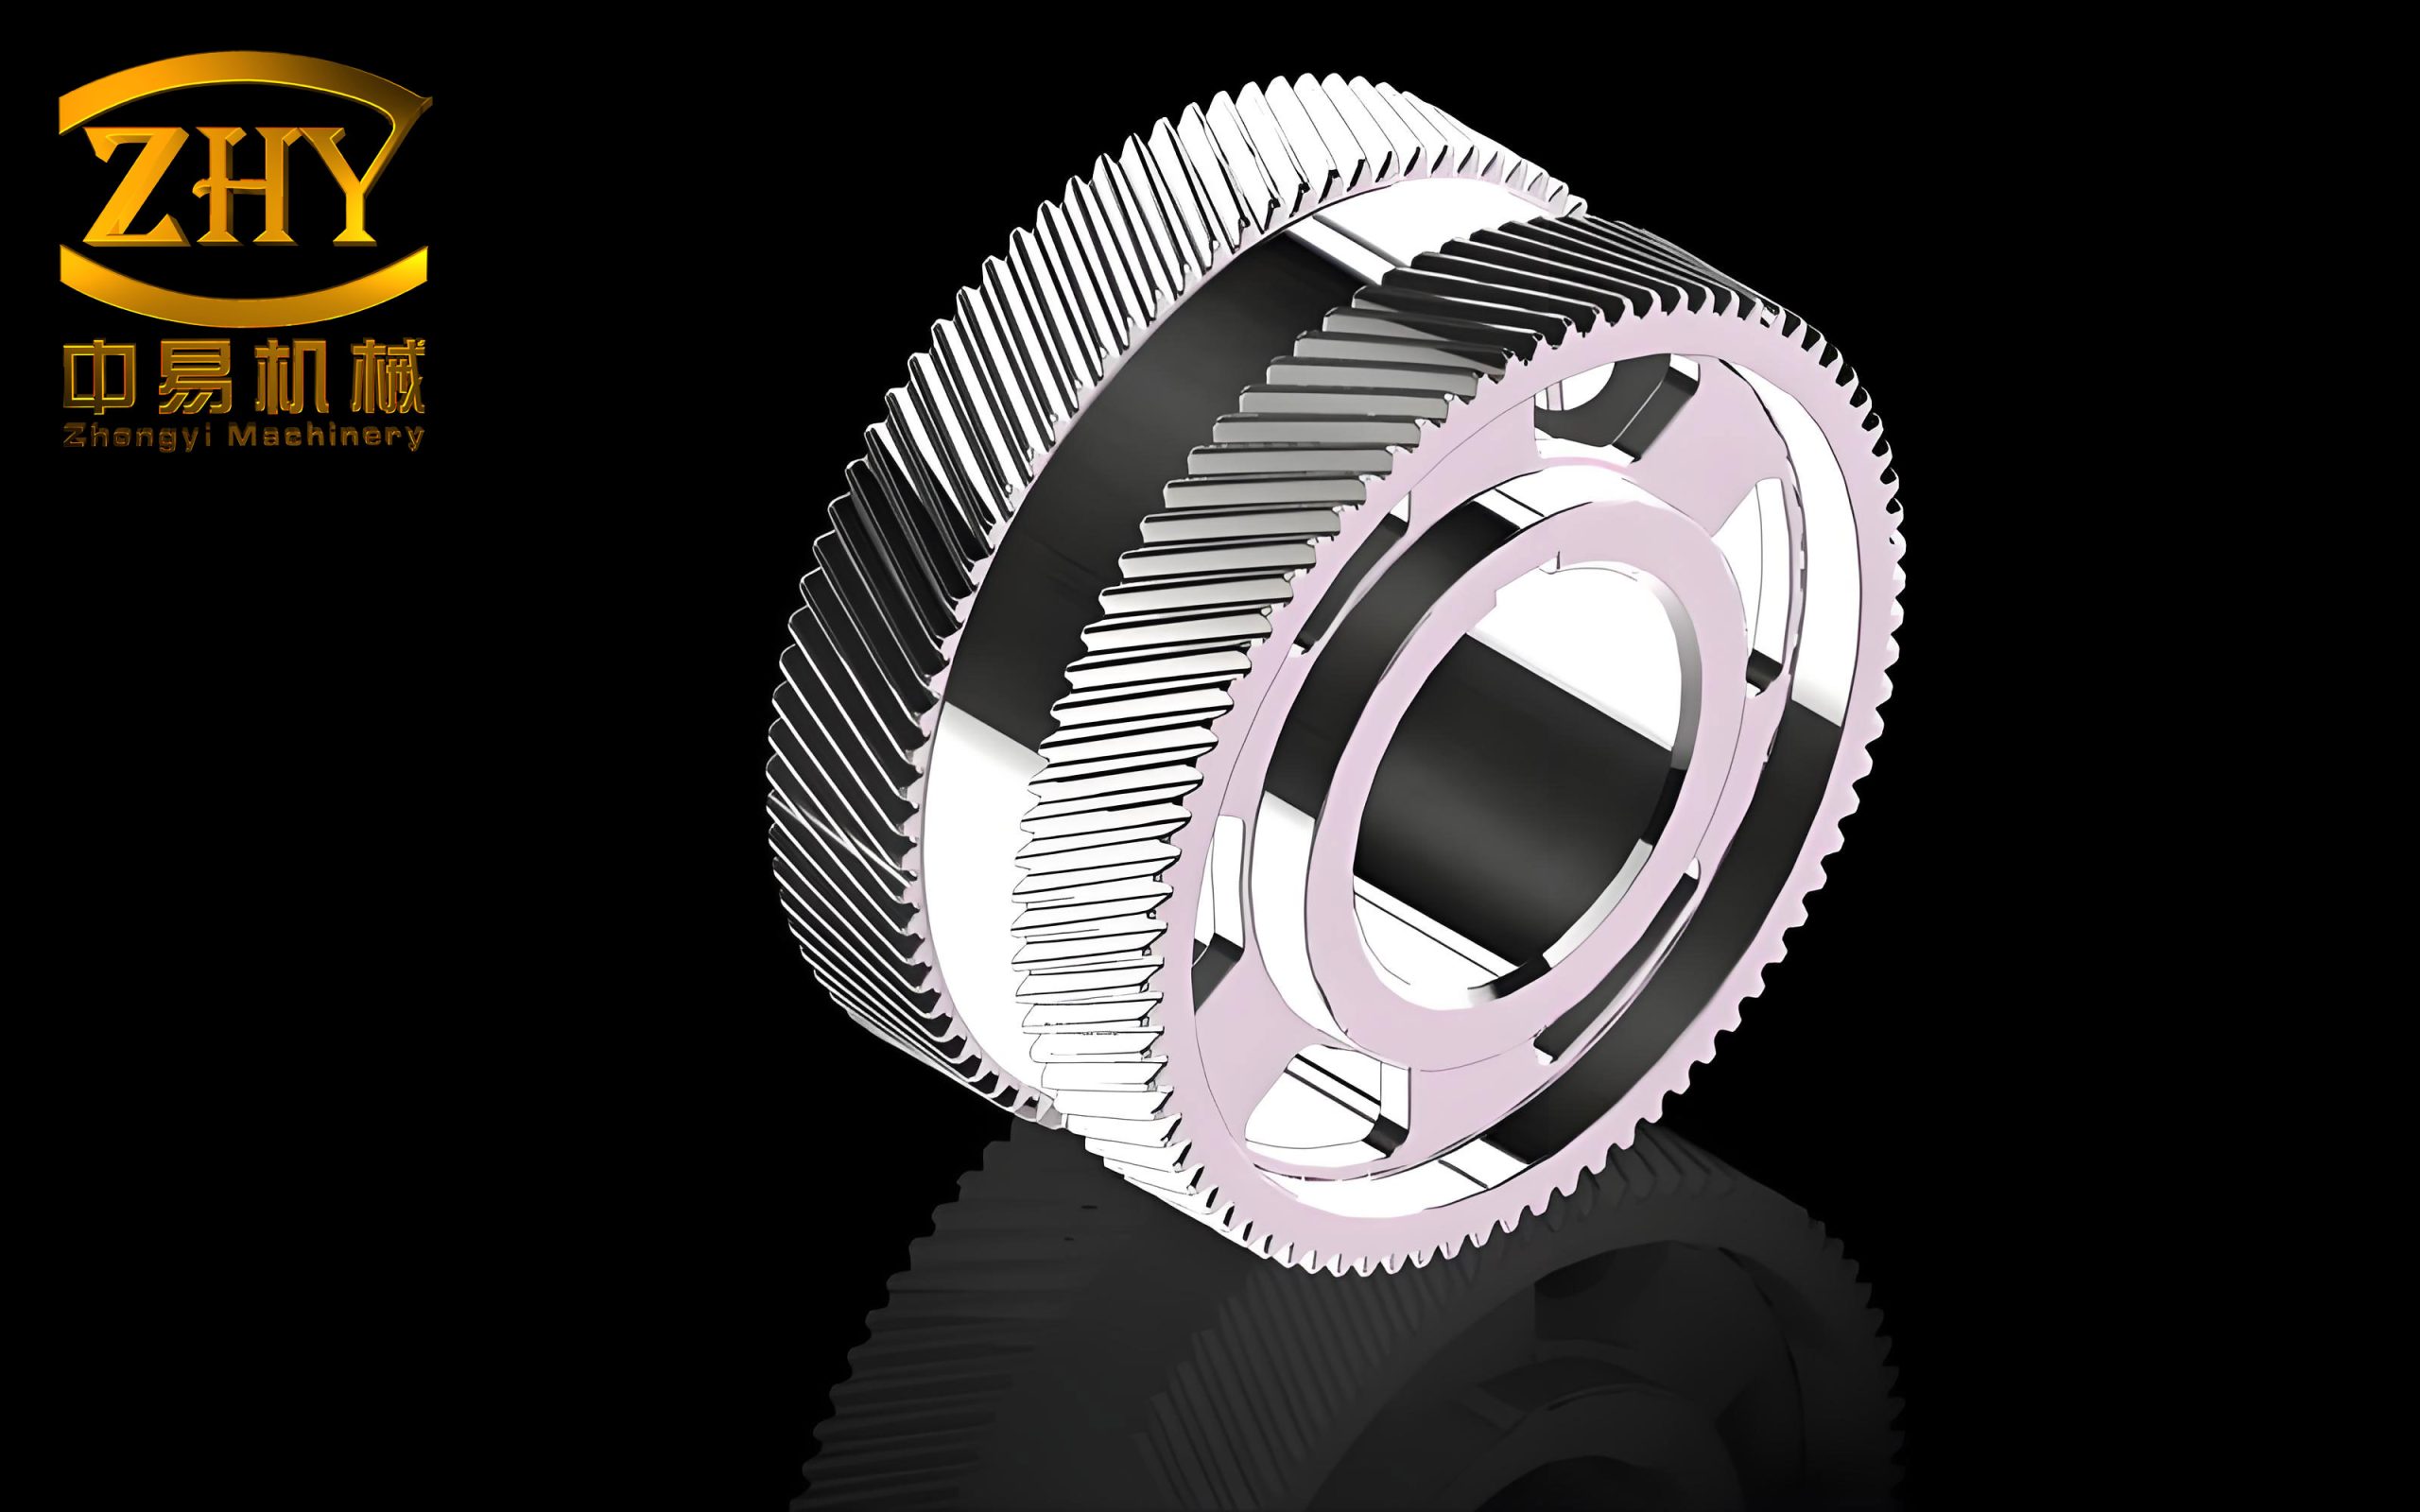
In my work as a maintenance engineer for rolling mill equipment, I have often encountered failures of herringbone gears due to pitting, tooth breakage, and excessive wear. These gear shafts are critical components in heavy-duty rolling mills, where they transmit high torque under cyclic loading. The teeth experience alternating contact stresses at the meshing surfaces and alternating bending stresses at the root fillets. The dynamic loads caused by manufacturing inaccuracies, assembly errors, and external load fluctuations further aggravate the stress state. To achieve a long and reliable service life, the herringbone gears must possess high contact strength, high bending fatigue resistance, adequate impact toughness, excellent wear resistance, high transmission accuracy, and low operating noise. The key lies in selecting appropriate materials, applying correct heat treatments, and optimizing the surface hardening process. In this article, I share my experience and analytical approach to significantly extend the life of herringbone gears in rolling mills.
1. Material Selection for Herringbone Gears
The material for herringbone gear shafts must exhibit good machinability, enabling a high surface finish after cutting. However, metallurgical defects such as segregation, non-metallic inclusions, and forging internal cracks are the primary factors determining the quality of these shafts.
Inclusions break the continuity of the metal matrix. Under stress, sharp inclusions create stress concentration and initiate microcracks. Inclusions and the base metal have different thermal expansion and deformation behavior, which may generate microcracks during forging or heat treatment. Sulfides significantly reduce the transverse reduction of area and impact toughness. Adding titanium or rare earth elements, or performing high-temperature diffusion annealing to spheroidize sulfides, can improve resistance to brittle fracture.
Gaseous impurities are even more critical. Oxygen and nitrogen form oxides and nitrides. Hydrogen is the most harmful gas, causing hydrogen flakes (white spots) and hydrogen embrittlement. The hydrogen content limit for embrittlement is far lower than that for white spots. Inclusions reduce fatigue strength; the larger the inclusion, the lower the fatigue limit. Therefore, I emphasize the need for high purity steel, preferably vacuum-degassed material, for herringbone gears.
Segregation leads to large composition differences across the forging, so the time required for pearlite transformation varies. To complete transformation in all zones, prolonged soaking is needed, which coarsens grains and reduces strength and toughness. In segregated zones, enrichment of carbon, sulfur, phosphorus, and molybdenum causes embrittlement, and cracks may form during heat treatment. Hydrogen and inclusions accumulate in segregated areas, increasing this risk.
Forging must be carried out properly. Forging refines the dendritic structure, welds porosity and shrinkage cavities, densifies the material, and disperses segregated zones and inclusions. Improper forging leaves internal defects, such as microcracks, that drastically reduce mechanical properties.
Based on these considerations, I require herringbone gear materials to meet the specifications shown in Table 1.
| Defect Type | Acceptance Standard |
|---|---|
| Central porosity | Grade ≤ 2.0 |
| General porosity | Grade ≤ 2.0 |
| Internal/external cracks | None |
| White spots | None |
| Oxide inclusions | Grade ≤ 2.0 |
| Sulfide inclusions | Grade ≤ 2.0 |
After heat treatment, the steel must have high strength, high toughness, high wear resistance, and minimal quench distortion. The carbon content of steel for herringbone gears should be in the medium-carbon range (0.35–0.50% C). Alloying elements such as Cr, Ni, Mo, and Mn are added to improve hardenability; V, Ti, and Al are used to refine grain size; and Mo or W can prevent or reduce temper embrittlement.
In my practice, I frequently use 40CrNiMo or similar grades. These steels offer excellent hardenability and good tempering stability, providing high mechanical properties after quenching and tempering (Q&T). They are ideal for heavily loaded herringbone gear shafts.
2. Quenching and Tempering (Q&T) Treatment
After rough machining, alloy structural steel for herringbone gears must undergo Q&T to obtain a uniform fine tempered sorbite microstructure. This improves the overall mechanical properties, ensuring high strength and toughness in the tooth core, enhancing bending strength and impact resistance, eliminating coarse free ferrite that drastically lowers fatigue strength, and boosting resistance to fatigue crack initiation. Additionally, Q&T prepares the microstructure for subsequent surface hardening, enabling a uniform and dense hardened layer. The hardness after Q&T should be controlled around 280–320 HB. This prevents a sharp drop in hardness from the hardened layer to the core, thus maintaining good transition layer properties.
3. Running-in of Herringbone Gear Teeth
After machining and before surface hardening, I recommend a running-in procedure for the herringbone gear teeth. This process smooths the rough tooth surfaces and brings the contact area of meshing teeth to above 80%. The running-in is carried out in two steps:
- Step 1: Install the herringbone gear shafts in the gearbox, apply red lead powder to the tooth surfaces, and run at low speed. Observe the contact pattern and adjust the meshing as needed. After uniform contact, apply a grinding compound and continue lapping until the surfaces are smooth and the contact area reaches over 80%.
- Step 2: Connect the gearbox to the rolling mill and run without load for 1–2 hours. Then, roll one billet under light load. Do not run heavy loads during break-in because the tooth surface hardness after Q&T is only about 280 HB (shear yield strength approximately $$\tau_s \approx 0.6 \times HB \times 9.8 \approx 1650 \text{ kg/cm}^2$$). If the shear stress from loading exceeds this value, internal cracks may form in the teeth.
Excessive load during running-in produces large alternating contact shear stresses. The maximum contact shear stress does not occur at the surface but at a certain depth below the surface. Under cyclic stress, a fatigue crack nucleates, propagates, and eventually causes spalling (pitting). Once a fatigue crack forms, subsequent surface hardening cannot eliminate it; the gear life will be severely limited. Therefore, I strictly control the load and closely monitor the tooth surfaces during break-in. When the contact area reaches about 80%, stop immediately to ensure quality.
After running-in, I also inspect the tooth surfaces for scuffing (galling). In the Q&T condition, the surfaces are relatively soft and have poor finish, so local temperature rise may cause adhesive wear, tearing metal from the tooth surface along the sliding direction. To prevent this, I control the lubricant temperature and use higher viscosity oil to improve scuffing resistance.
4. Surface Hardening of Herringbone Gear Teeth
The most common failure mode of herringbone gears in rolling mills is fatigue spalling of the tooth surfaces. In many domestic mills, the typical service life is only 1–2 years, after which the gear shafts must be replaced due to severe pitting. To avoid fatigue spalling, the maximum contact shear stress at a certain depth below the surface must be less than or equal to the allowable value. The allowable shear stress depends primarily on the tooth hardness.
Surface hardening (flame or induction) strengthens the surface layer, providing high strength, hardness, and wear resistance. It also introduces beneficial compressive residual stresses in the hardened layer, which reduce the effective external stress and improve fatigue resistance. Meanwhile, the core retains its high strength and toughness from the Q&T condition, so the herringbone gear tooth neither breaks nor suffers surface spalling.
The contact pressure on the tooth surface creates a stress field not only at the surface but also to a considerable depth. The maximum contact shear stress occurs below the surface (the critical point). If the hardened layer is too thin and the underlying transition zone has low resistance to plastic deformation, repeated plastic deformation will initiate a fatigue crack in the transition region. Alternatively, inadequate support beneath the hardened layer may cause the surface layer to crush, forming vertical cracks. These initial cracks become fatigue sources and propagate, leading to spalling.
To prevent spalling, the hardened layer must have sufficient depth and hardness. The required depth depends on the depth of the maximum contact shear stress, and the hardness depends on the magnitude of that shear stress.
4.1 Determination of Hardened Layer Depth and Hardness for Herringbone Gears
First, I calculate the maximum contact shear stress and its depth below the surface for a specific herringbone gear set used in a three-high rolling mill. The data are as follows:
- Motor power: 2000 kW, speed: 500 rpm
- Main reducer ratio: 5:1
- Gear stand: center distance 800 mm
- Herringbone gear shaft: module mn = 20 mm, number of teeth z = 40, helix angle β = 30°, face width B = 400 mm
- Material: 40CrNiMo
Since the main reducer is equipped with a flywheel, I consider the flywheel effect and take the transmitted power as 1.5 times the rated power. Thus, the power for calculation is $$P = 1.5 \times 2000 = 3000 \text{ kW}$$ (approximately 4080 hp). In a three-high mill, the power from the middle gear shaft splits to the upper and lower herringbone gear shafts. Due to uneven load distribution, I use a distribution factor of 1.2. Hence, the load on one herringbone gear shaft is:
$$
P_{\text{gear}} = \frac{3000}{2} \times 1.2 = 1800 \text{ kW}
$$
The rotational speed of the herringbone gear shaft is:
$$
n = \frac{500}{5} = 100 \text{ rpm}
$$
The tangential force at the base circle is:
$$
F_t = \frac{P_{\text{gear}}}{\omega r_b} = \frac{1800 \times 1000}{2\pi (100/60) \times r_b}
$$
where $r_b$ is the base circle radius. For a helical gear, the base circle radius is $r_b = \frac{m_n z}{2 \cos\beta} \cos\alpha_t$, with normal pressure angle $\alpha_n=20^\circ$. After calculation, $F_t \approx 1.2 \times 10^5$ N.
The contact stress between two cylinders (approximating meshing teeth near the pitch line) is given by Hertz theory. The maximum contact stress is:
$$
\sigma_H = \sqrt{ \frac{F_t}{B \pi} \cdot \frac{1}{\rho_1} + \frac{1}{\rho_2} \cdot \frac{1 – \nu_1^2}{E_1} + \frac{1 – \nu_2^2}{E_2} }
$$
For steel, $E = 2.06 \times 10^5$ MPa, $\nu = 0.3$. The radius of curvature at the pitch point for gear 1 and gear 2 are $\rho_1 = \rho_2 = r_b \sin\alpha_t$. Assuming equal radii, $\rho = 150$ mm. Then:
$$
\sigma_H = \sqrt{ \frac{1.2 \times 10^5}{400 \times \pi} \cdot \frac{2}{150} \cdot \frac{2 \times 1.69}{2.06 \times 10^5} }^{-1} \approx 850 \text{ MPa}
$$
The maximum contact shear stress $\tau_{\text{max}}$ occurs at depth $z_0$ below the surface. For two cylinders, the shear stress distribution along the depth is given by:
$$
\tau = \sigma_H \cdot \frac{\sqrt{2}}{2} \cdot \left( \frac{z}{b} \right) \cdot \left[ 1 – \left( \frac{z}{b} \right)^2 \right]^{1/2}
$$
where $b$ is the half-width of the contact area:
$$
b = \sqrt{ \frac{4F_t}{\pi B} \cdot \frac{\rho_1 \rho_2}{\rho_1 + \rho_2} \cdot \frac{1 – \nu^2}{E} }
$$
Calculations give $b \approx 5.2$ mm. The maximum shear stress occurs at $z = 0.786 b \approx 4.1$ mm. The value of $\tau_{\text{max}}$ is approximately $0.3 \sigma_H \approx 255$ MPa (about 26 kg/mm²).
To prevent spalling, the hardened layer depth should be at least 2–3 times the depth of the maximum shear stress, considering that actual pits are observed at depths of 3–5 mm. I therefore set the hardened layer depth to $\delta = 4.1 \times 2 \approx 8.2$ mm, rounded to 8–10 mm.
The required hardness of the hardened layer must ensure that the shear strength at the critical depth exceeds the applied shear stress. The shear yield strength of steel relates to hardness by $\tau_s \approx 0.6 \times HB \times 9.8$ (kg/mm²). Setting the safety factor to 1.2, the required hardness is:
$$
HB \geq \frac{1.2 \times \tau_{\text{max}}}{0.6 \times 9.8} \approx \frac{1.2 \times 26}{5.88} \approx 530 \text{ HB}
$$
I target a surface hardness of 55–60 HRC (equivalent to 560–660 HB).
4.2 Residual Stresses after Surface Hardening
During surface hardening, only the surface layer is heated and rapidly cooled, while the core remains unaffected. This creates thermal stress (tensile at the surface, compressive in the core during heating; reversed during cooling) and transformation stress (compressive at the surface due to martensite expansion, tensile in the core). The combination results in a residual stress profile: compressive stress at the surface, tensile stress in the transition zone, and tensile or compressive in the core.
The peak tensile stress occurs near the boundary of the hardened layer. Its magnitude depends on the temperature gradient during heating. A larger gradient leads to a higher tensile peak and shifts it closer to the surface. To reduce the tensile peak and make the stress distribution smoother, the temperature gradient should be minimized—for instance, by preheating the workpiece.
4.3 Factors Influencing Residual Stress
Carbon content: As carbon content increases, the surface compressive residual stress increases significantly because the specific volume of martensite rises, increasing transformation stress.
Hardened layer depth: When the depth reaches a certain value, the beneficial compressive stress at the surface begins to decrease. If the layer is too thin, the tensile peak near the boundary becomes very large, risking crack formation. A deeper layer moves the tensile peak further inward, which is favorable for preventing cracking.
Hardness distribution across the layer: If the hardness drops abruptly at the boundary between the hardened layer and the transition zone, the tensile stress peak remains close to the surface, which is dangerous. A gradual transition (wide transition zone) reduces the tensile peak but also lowers the surface compressive stress. I find that a transition zone width of 1–3 times the hardened layer depth is a good compromise.
Tempering after hardening: Low-temperature tempering (150–200°C) significantly reduces residual stresses while maintaining high hardness. Higher tempering temperatures (above 300°C) greatly diminish the compressive stress and lower hardness. Self-tempering (when the surface temperature reaches 250–300°C during the process) also reduces tensile stress with minimal hardness loss.
Hardened zone distribution: When only part of the tooth surface is hardened, a harmful tensile stress appears at the boundary between hardened and unhardened areas. For herringbone gears, the hardened zone should start well below the tooth root to avoid superimposing tensile stress with the bending stress at the root fillet. I maintain a distance of at least 5–8 mm from the root fillet. Adjacent hardened layers (e.g., on two flanks of the same tooth) should not overlap, to avoid a sharp tensile stress peak that can cause cracks.
Grinding: Grinding after surface hardening removes part of the hardened layer and reduces compressive stress. Excessive grinding may heat the surface and temper the martensite, introducing tensile stress. Since surface hardening of herringbone gears using flame or induction produces very little distortion, I avoid grinding altogether. This preserves the maximum beneficial compressive stress at the surface, which greatly improves fatigue life.
5. Flame Surface Hardening Process for Herringbone Gear Teeth
I use a tooth-by-tooth single-side continuous flame hardening method for the herringbone gears. The target hardened layer depth is 8–10 mm. The hardened width along the tooth flank is set to cover the active profile from the tooth tip to a point about 5 mm from the root fillet (see Table 2 for parameters). The hardness is specified as 55–60 HRC.
5.1 Determination of Acetylene Consumption
The total acetylene consumption is calculated as:
$$
Q_a = v \cdot B_e \cdot q_a
$$
where:
- $v$ = traverse speed (cm/min), selected from Table 2 to achieve the required layer depth. For $\delta = 8$ mm, $v \approx 10$ cm/min.
- $B_e$ = effective nozzle width, taken as 30 mm (3 cm).
- $q_a$ = unit acetylene consumption (L/cm²·h). From Figure (relationship between hardened depth and acetylene consumption), for $\delta = 8$ mm, $q_a \approx 15$ L/cm²·h.
Thus,
$$
Q_a = 10 \text{ cm/min} \times 3 \text{ cm} \times 15 \text{ L/cm²·h} \times (60 \text{ min/h}) / (100 \text{ cm²/cm²})?
$$
Wait: treat units carefully. Better: $v$ in cm/min, $B_e$ in cm, so area per minute = $v \cdot B_e$ cm²/min. Multiply by 60 to get cm²/h, then by $q_a$ L/cm²·h. So:
$$
Q_a = (10 \text{ cm/min} \times 3 \text{ cm}) \times 60 \text{ min/h} \times 15 \text{ L/cm²·h} \div 1000?
$$
Actually: $v \cdot B_e \cdot 60$ gives cm²/h. $Q_a = v B_e \times 60 \times q_a$ L/h. Plug numbers: $10 \times 3 \times 60 \times 15 = 27,000$ L/h.
I select a nozzle with multiple holes. Table 3 shows the recommended nozzle parameters for the required flow rate. I choose a mixing chamber with jet hole diameter 1.5 mm, mixing chamber diameter 5 mm, nozzle hole diameter 1.2 mm, and 18 holes. The distance from the nozzle to the tooth surface is 8 mm.
5.2 Oxygen Consumption
Oxygen consumption is typically 1.2–2.0 times the acetylene consumption. I set it to 1.5 times, so $Q_o = 1.5 \times 27,000 = 40,500$ L/h.
5.3 Process Parameters Summary
| Required Hardened Depth (mm) | Traverse Speed (cm/min) |
|---|---|
| 2 | 25 |
| 4 | 18 |
| 6 | 14 |
| 8 | 10 |
| 10 | 7 |
| Jet Hole Diameter (mm) | Mixing Chamber Diameter (mm) | Nozzle Hole Diameter (mm) | Max Number of Holes |
|---|---|---|---|
| 1.0 | 4.0 | 0.8 | 12 |
| 1.5 | 5.0 | 1.2 | 18 |
| 2.0 | 6.5 | 1.6 | 24 |
Acetylene pressure is set to 0.5–1.0 kg/cm², oxygen pressure to 3–5 kg/cm². The heating temperature is 850–900°C. Self-tempering surface temperature is controlled at 250–300°C after quenching.
Through careful material selection, proper Q&T treatment, controlled running-in, and optimized flame hardening with appropriate layer depth (8–10 mm) and hardness (55–60 HRC), I have successfully extended the service life of herringbone gear shafts in our rolling mill from less than 2 years to over 5 years. The key is to ensure that the hardened layer depth exceeds the depth of the maximum contact shear stress and that the transition zone is gradual to avoid tensile stress peaks. The elimination of grinding after hardening preserves beneficial compressive stresses. These practices, combined with clean steel and proper forging, can significantly improve the durability of herringbone gears in heavy-duty applications.