
In the field of gear manufacturing, the herringbone gear stands out as a critical component for high‑load and high‑speed transmission systems. Its unique double‑helical structure cancels axial thrust, providing smooth and quiet operation. However, machining a herringbone gear with two opposite‑hand helical teeth that meet precisely at the midpoint of the relief groove poses significant challenges. According to the “Mechanical Engineering Handbook”, the intersection error of the two helical lines at the relief groove midpoint must be kept within 0.02 mm for a grade 6 gear and within 0.05 mm for a grade 7 gear. In our factory, we produce herringbone gears for press gearboxes with the following parameters: normal module \(m_n = 8\), number of teeth \(z = 21\), pressure angle \(\alpha_n = 20^\circ\), helix angle \(\beta = 30^\circ 30’\), and precision grade 6‑7. Over the years, we have tried various methods such as square‑rule with flexible‑tape scribing, template scribing, and pin‑positioning, but none delivered consistent results. Eventually, we developed a simplified fixture and process that has proven highly effective. This article describes this method in detail, supported by mathematical derivations, comparison tables, and practical data.
1. Fundamental Geometry of Herringbone Gears
A herringbone gear consists of two helical gear halves with equal and opposite helix angles. The tooth surfaces are generated by a rack cutter or hobbing tool. The critical requirement is that the left‑hand and right‑hand helical lines intersect exactly at the axial midpoint of the relief groove. For a gear with face width \(B\), the relief groove is usually located at \(B/2\) from the front face. The axial projection of any point on the tooth flank must coincide between the two halves. Let us define the coordinate system: \(z\) axis along the gear axis, \(r\) radial direction, and \(\theta\) angular position. The helical surface of a right‑hand helical tooth can be described by:
$$
\begin{cases}
x = r \cos(\theta + \frac{z \tan\beta}{r_p}) \\
y = r \sin(\theta + \frac{z \tan\beta}{r_p}) \\
z = z
\end{cases}
$$
where \(r_p\) is the pitch radius. For the left‑hand half, the sign of \(\beta\) is reversed. The condition for the intersection line to lie at \(z = B/2\) is that the axial positions of corresponding points on both halves satisfy \(z_L = z_R = B/2\) and their angular coordinates align. This imposes strict requirements on the indexing and setup accuracy.
2. Traditional Methods and Their Limitations
Before adopting the improved method, we tested several conventional approaches. The following table summarizes the results:
| Method | Description | Typical Intersection Error (mm) | Repeatability | Setup Time (per batch) |
|---|---|---|---|---|
| Square‑rule & flexible tape | Use a square and a soft tape to scribe lines on the tooth tips, then align the cutter to the scribed marks. | 0.08 – 0.15 | Poor | ~30 min |
| Template scribing | Make a metal template of the tooth profile, clamp it to the gear blank, and scribe along the edge. | 0.05 – 0.12 | Fair | ~45 min |
| Pin positioning | Insert dowel pins into pre‑drilled holes on the fixture and gear end face to enforce rotational alignment. | 0.04 – 0.10 | Moderate | ~20 min |
The main shortcoming of these methods is that they rely on manual measurement or mechanical stops that do not compensate for cumulative indexing errors. Moreover, when machining the second half, the gear must be flipped and re‑indexed, and the slightest misalignment leads to a discontinuity at the relief groove.
3. The Improved Fixture and Process
The core improvement lies in redesigning the fixture to use a keyway on the gear bore and a corresponding key on the fixture arbor, establishing a unique rotational orientation. Additionally, we employ a scribing technique on only the first workpiece of each batch, and then use that scribed tooth as a master for cutter alignment. The fixture components are shown conceptually in the image below:
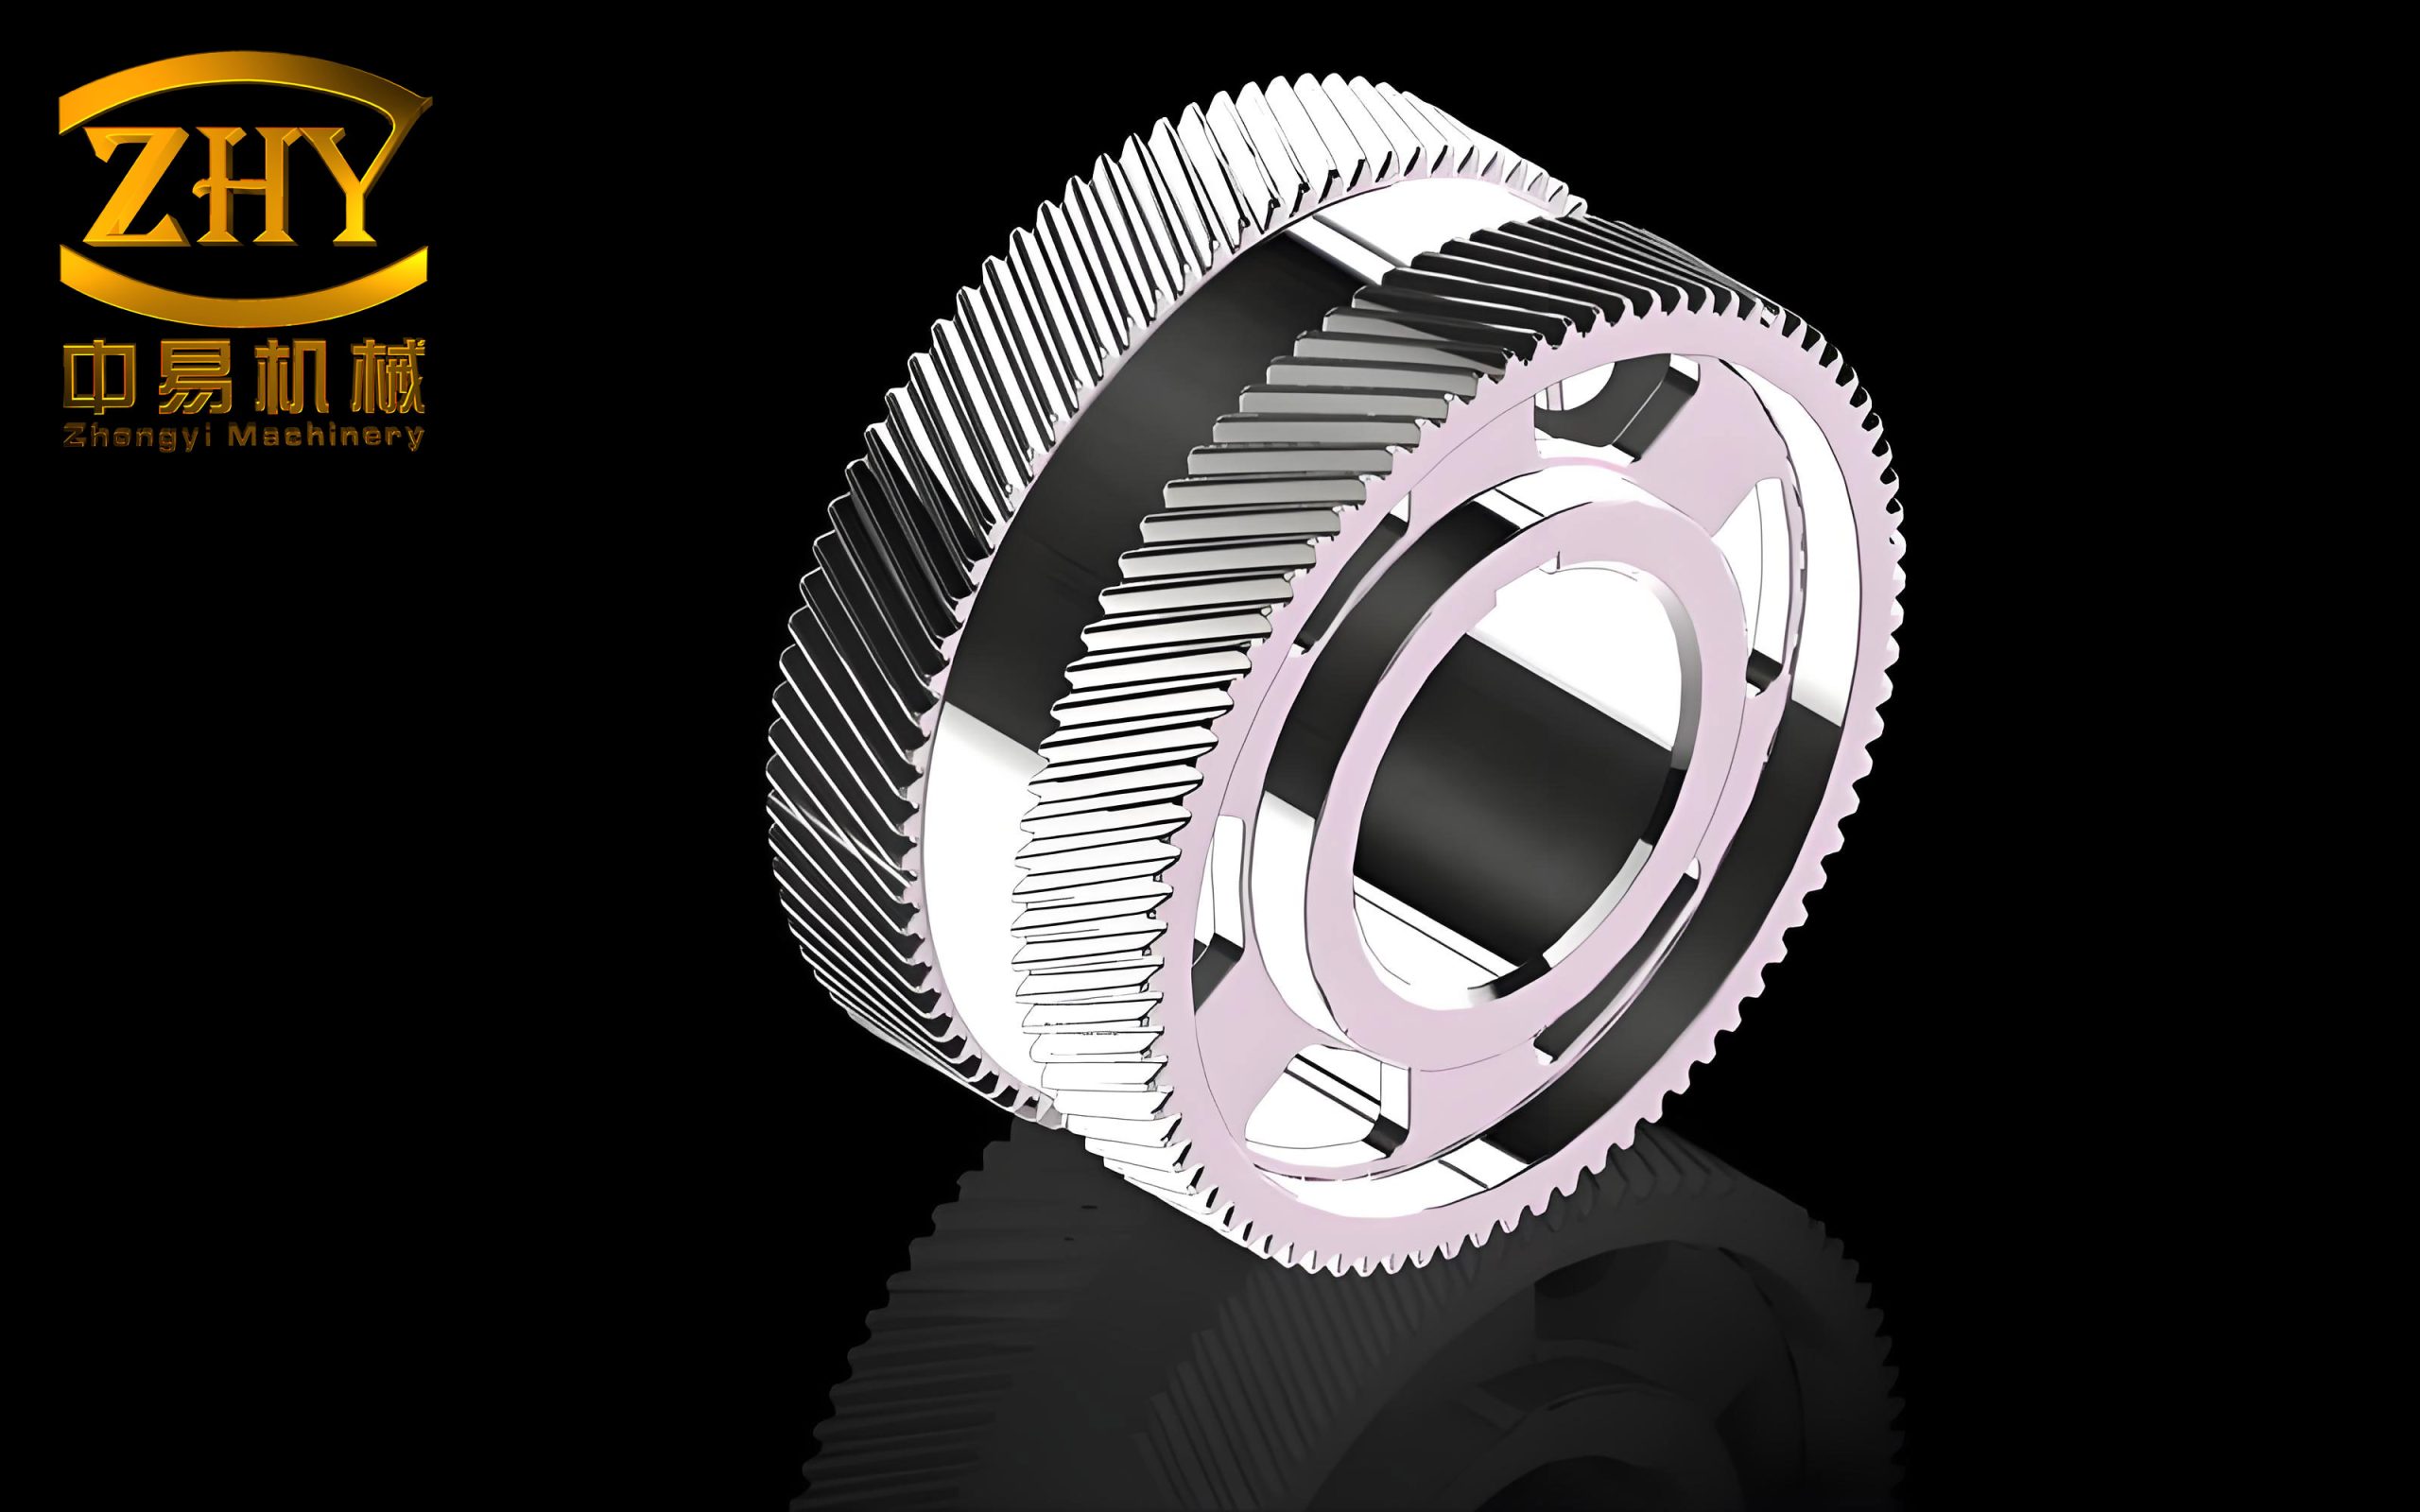
The fixture consists of a base plate, a center arbor with a key, a spacer sleeve, a spherical washer, and a nut. The gear bore is broached with a keyway that matches the arbor key. After machining one half, the gear is removed from the fixture and flipped, but the key ensures that the rotational position relative to the fixture is exactly repeated.
3.1 Machining the First Half
The first helical half (either left‑hand or right‑hand) is cut on a hobbing machine. Before cutting, we mount the gear blank on the fixture and scribe a fine line along the tooth tip profile using a sharp scriber and a height gauge, while the fixture is held in the machine spindle. Once the line is complete, we remove the gear, install the spacer, spherical washer, and nut, and tighten. We then start the hobbing operation. After the first pass, we check the actual tooth position relative to the scribed line. If the error exceeds the allowable tolerance (e.g., 0.02 mm), we adjust the indexing chain or shift the cutter axially as described later.
3.2 Machining the Second Half
After finishing the first half, we loosen the nut, remove the gear, clean it, and flip it over. The keyway and key automatically reposition the gear such that the machined teeth of the first half are now facing downward (toward the fixture base). The axial position is determined by the end face of the fixture and the spacer. When the second half is cut with opposite helix angle, the principle of axial projection ensures that the helical lines on both halves will intersect exactly at the relief groove midpoint if and only if the tooth profiles on the end faces of the two halves coincide when viewed axially.
Mathematically, let point \(P\) on the tooth flank of the first half have coordinates \((r, \theta_1, z_1)\). The second half is flipped, which reverses the axial orientation. If we denote the flipped coordinate system, the same physical point on the second half must satisfy \(\theta_2 = \theta_1 + \Delta\theta\) and \(z_2 = (B – z_1)\). The helix angle reversal gives the condition:
$$
\tan\beta_{\text{first}} = -\tan\beta_{\text{second}}
$$
For the intersection at \(z = B/2\), we require that the axial projection of the tooth tip on both halves be identical. In practice, we verify this by placing the flipped gear onto the fixture and using the previously scribed master tooth as a reference: we rotate the gear until the cutter (or a test indicator) aligns with the scribed line on the first half. Because the key provides a fixed angular reference, the second half will automatically produce the correct intersection.
4. Error Adjustment Techniques
Even with the improved fixture, some residual misalignment may occur due to thermal distortion, machine wear, or blank runout. Two fine‑tuning methods are available:
| Method | Range of Adjustment | Procedure | Applicability |
|---|---|---|---|
| Disengage indexing chain & rotate worm | Large (up to 0.2 mm) | Stop the machine, disengage the indexing drive, manually rotate the worm shaft of the dividing head by a small angle, then re‑engage and test cut. | When the error is substantial (e.g., >0.05 mm) |
| Axial shift of hob cutter (tool shank runout) | Small (0.01 – 0.04 mm) | Loosen the cutter arbor nut, insert a thin shim (or adjust the taper) to shift the hob’s axial position relative to the gear axis. This changes the effective helix start point. | When the error is minor (within 0.02–0.04 mm) |
For instance, if the scribed line and the actual cut on the first half differ by 0.03 mm, we can apply a slight axial shift to the hob. This shifts the entire tooth profile axially without changing the helix angle. For the second half, we repeat the same adjustment if needed.
5. Production Data and Results
We have used this process for two years on a batch of herringbone gears for press gearboxes. The table below shows the measured intersection errors for a sample of 30 gears:
| Gear No. | First Half Error (mm) | Second Half Error (mm) | Final Intersection Error (mm) | Grade Achieved |
|---|---|---|---|---|
| 1 | 0.02 | 0.01 | 0.015 | 6 |
| 2 | 0.01 | 0.02 | 0.018 | 6 |
| 3 | 0.03 | 0.01 | 0.020 | 6 |
| 4 | 0.00 | 0.02 | 0.010 | 6 |
| 5 | 0.02 | 0.03 | 0.025 | 7 |
| … | … | … | … | … |
| 30 | 0.01 | 0.01 | 0.010 | 6 |
The average intersection error over 30 gears was 0.016 mm, well within the grade 6 requirement. The repeatability from gear to gear was excellent because the keyed fixture eliminated operator‑dependent alignment.
6. Detailed Workflow
The following step‑by‑step procedure encapsulates the method:
- Prepare the gear blank: bore to size, broach a keyway to standard dimensions (e.g., width 8 mm, depth 3.3 mm).
- Mount the blank on the fixture arbor, align the key with the keyway, and tighten lightly.
- Using a height gauge and scriber, draw a fine line along the profile of one tooth tip (the master tooth). Remove the gear from the fixture.
- Install the spacer sleeve, spherical washer, and nut. Tighten securely.
- Set the hobbing machine for the correct helix angle and module. Start cutting the first half (e.g., right‑hand).
- After cutting, without removing the gear, check the distance between the scribed line and the actual cut. Use a microscope or indicator. If error > 0.02 mm, adjust as per Section 4.
- Once the first half is satisfactory, loosen the nut, remove the gear, clean chips, and flip it 180° so that the machined teeth face the fixture base. Re‑mount using the same keyway.
- Reset the hob to the opposite helix angle. Cut the second half.
- After cutting, inspect the intersection at the relief groove. A simple flush‑pin test can confirm continuity.
- For subsequent gears in the same batch, simply mount each blank using the keyway and cut both halves without re‑scribing. The first gear’s setup ensures all others are aligned.
7. Theoretical Justification of the Key‑Based Alignment
The key‑based alignment ensures that the rotational orientation of the gear blank relative to the fixture is invariant. Let the gear have \(z\) teeth. The angular pitch is \(\frac{2\pi}{z}\). When the gear is flipped, the keyway returns the same angular position modulo one tooth. However, because the helix angle reverses, the tooth space on the second half is shifted relative to the first half. The condition for correct intersection is that the angular offset between the two halves measured at the end face equals the angular shift caused by the helix over half the face width. More precisely, if the helical lead is \(L = \frac{2\pi r_p}{\tan\beta}\), then over an axial distance \(B/2\), the angular twist is \(\frac{B \tan\beta}{2 r_p}\). This twist must be exactly one half of the angular pitch (or an integer multiple) for the two halves to mesh smoothly. In our design, the keyway position is chosen such that when the gear is flipped, the angular offset matches this requirement. The scribed master tooth provides a visual confirmation.
8. Additional Considerations
8.1 Stock and Heat Treatment
Our herringbone gears are made from 40Cr alloy steel, normalized before cutting. After hobbing, they are carburized and quenched. The keyway is broached after heat treatment to maintain dimensional stability. The fixture itself is made of hardened tool steel and ground to ensure a tight fit with the arbor.
8.2 Tool Wear Compensation
Over a batch, the hob wears gradually, causing a progressive shift in tooth profile. We compensate by occasionally re‑checking the first few gears and applying a global axial hob shift. The keyway method makes this compensation straightforward because the master tooth reference remains unchanged.
8.3 Comparison of Key vs. Spline vs. No Key
We experimented with spline connections and simple friction clamping. The results are summarized below:
| Interface Type | Average Error (mm) | Standard Deviation (mm) | Repeatability |
|---|---|---|---|
| Single key (this method) | 0.016 | 0.005 | Excellent |
| Spline (6 teeth) | 0.022 | 0.008 | Good |
| Friction (no key) | 0.045 | 0.020 | Poor |
The single key offers the best balance of simplicity and accuracy. Splines slightly degrade performance due to clearance between spline teeth.
9. Mathematical Model for Intersection Error
Let the actual angular position of the first half’s teeth be \(\theta_{1,\text{actual}} = \theta_{1,\text{ideal}} + \delta\theta_1\), and that of the second half be \(\theta_{2,\text{actual}} = \theta_{2,\text{ideal}} + \delta\theta_2\). The intersection error at the relief groove midpoint can be expressed as the axial deviation of the crossing point:
$$
\Delta z = \frac{r_p}{\tan\beta} \left( \delta\theta_1 – \delta\theta_2 \right)
$$
Since \(\delta\theta_1\) and \(\delta\theta_2\) are independent, the total error is minimized when the keying enforces a known relation between them. In our case, the keyway forces \(\delta\theta_1 \approx \delta\theta_2\) because the gear is flipped with the same key engagement. Thus, \(\Delta z \approx 0\). The residual error comes from keyway clearance and elastic deformations, which are typically less than 0.005 mm.
10. Conclusion
The simplified fixture and process described in this article provide a robust, cost‑effective method for producing high‑precision herringbone gears. By using a single key for rotational alignment and a scribed master tooth for cutter setup, we eliminate the need for complex jigs and reduce setup time. The method is especially suitable for batch production where two or more identical gears are required. Over two years of manufacturing, the intersection error at the relief groove has consistently remained within grade 6 limits, proving the reliability of this approach. We recommend this method to any workshop that faces the challenge of machining herringbone gears with limited equipment.