
In the field of mechanical design, straight spur gears are widely used due to their stable transmission, precise transmission ratio, and high efficiency. However, the three-dimensional modeling process for straight spur gears is often tedious and repetitive, especially when different parameters such as number of teeth, module, and face width vary. To reduce manual labor and shorten product development cycles, I implemented an automatic modeling program for straight spur gears using the secondary development toolkit Pro/Toolkit of Pro/Engineer (Pro/E) combined with Visual Studio 2005. This program allows users to quickly generate a solid model of a straight spur gear through an interactive dialog interface. This paper details the entire development process, including the workflow, environment setup, key programming techniques, and registration steps, with extensive use of tables and formulas to summarize the methodology.
1. Development Workflow for Automatic Modeling of Straight Spur Gear
The general steps for secondary development of Pro/E using Pro/Toolkit are as follows: determine the running mode (e.g., dynamic link library), design menus and write message files, set up the development environment, write source code, create a registration file, compile the executable (DLL), register it in Pro/E, and finally run the application. The specific flow for straight spur gear automatic modeling is illustrated in the following procedure.
First, I created a Visual Studio 2005 dynamic link library (MFC DLL) project. After successful registration via a Protk.dat file, a new Pro/E part file is opened. The user selects the “Features” menu from the Pro/E menu bar, then clicks “Straight Spur Gear” to invoke an MFC dialog. In this dialog, I input the relevant parameters of the straight spur gear (module, number of teeth, face width, etc.). The program then automatically generates the solid model. If holes or keyways are needed, subsequent steps allow adding those features. The complete workflow is summarized in Table 1.
| Step | Description | Key Functions / Actions |
|---|---|---|
| 1 | Create MFC DLL project in Visual Studio 2005 | Select MFC DLL wizard |
| 2 | Configure include and library paths for Pro/Toolkit | Set additional include directories and library directories |
| 3 | Define Pro/E and Visual Studio interface functions | user_initialize() and user_terminate() |
| 4 | Design MFC dialog for parameter input | Modal dialog to input module, teeth, face width, etc. |
| 5 | Sketch addendum circle and tooth profile | Use ProSectionEntityAdd() and custom functions |
| 6 | Extrude the sketched section to create gear blank | Protrusion feature creation |
| 7 | Cut single tooth using the tooth profile | UserSktExtrusionCut_gear() |
| 8 | Array the cut feature to create all teeth | ProPatternCreate() |
| 9 | Add hole feature (non-modal dialog for user interaction) | Select placement plane and axis, input diameter |
| 10 | Add keyway feature (similar process) | User selects “Keyway” menu item |
2. Setting Up the Development Environment
Before writing any code, I ensured that both Pro/E 4.0 and Visual Studio 2005 were installed on the client machine. The development environment configuration is crucial for linking the Pro/Toolkit libraries. The required header files are located in the Pro/Toolkit installation directory (e.g., .../proeWildfire 4.0/protoolkit/includes), and the library files are in the .../proeWildfire 4.0/protoolkit/i486_nt/obj folder. I added these paths in Visual Studio’s project properties under “C/C++” -> “General” -> “Additional Include Directories” and “Linker” -> “General” -> “Additional Library Directories”. The specific settings are listed in Table 2.
| Configuration Item | Value / Path |
|---|---|
| Include directories | C:\Program Files\proeWildfire 4.0\protoolkit\includes |
| Library directories | C:\Program Files\proeWildfire 4.0\protoolkit\i486_nt\obj |
| Linker -> Input -> Additional Dependencies | wsock32.lib; mpr.lib; protk_dll.lib |
| Character Set | Use Multi-Byte Character Set (or Unicode, matching Pro/Toolkit) |
After setting up the paths, I wrote the interface functions. The entry point user_initialize() is called when the application loads. It registers menu buttons and initializes the dialog. The code skeleton is as follows:
extern "C" int user_initialize(int argc, char *argv[], char *version, char *build, wchar_t errbuf[80])
{
    ProFileName MsgFile;
    ProError status;
    uiCmdCmdId cmd_id1, cmd_id2, cmd_id3;
    ProStringToWstring(MsgFile, "Message.txt");
    // ... add menu actions ...
    return status;
}

extern "C" void user_terminate()
{
    AFX_MANAGE_STATE(AfxGetStaticModuleState());
}
3. Key Geometric Parameters and Formulas for Straight Spur Gear
The automatic modeling relies on standard straight spur gear geometry. The basic parameters are the module m, number of teeth z, and face width b. From these, all other dimensions are derived. The formulas used in the program are summarized in Table 3.
| Parameter | Symbol | Formula |
|---|---|---|
| Pitch circle diameter | d | $$ d = m \cdot z $$ |
| Addendum circle diameter | da | $$ d_a = m \cdot (z + 2) $$ |
| Dedendum circle diameter | df | $$ d_f = m \cdot (z – 2.5) $$ |
| Base circle diameter | db | $$ d_b = m \cdot z \cdot \cos(\alpha) $$ (pressure angle α = 20°) |
| Face width | b | User input (typically 10m to 30m) |
| Tooth thickness (on pitch circle) | s | $$ s = \frac{\pi m}{2} $$ |
For the involute tooth profile, I used the parametric equations in polar coordinates:
$$ r_b = \frac{d_b}{2} $$
$$ r = \frac{r_b}{\cos(\theta)} $$
$$ \text{Involute angle: } \phi = \tan(\theta) – \theta $$
Where θ is the pressure angle at a given radius r. The profile is generated by sampling points along the involute curve and creating a spline. The program then uses these points to define the tooth cut shape.
4. Implementation of the Modeling Functions
4.1 Sketching the Addendum Circle and Tooth Profile
I implemented a function UsrCreateSection_gear() to create the section containing the addendum circle and the tooth profile outline. The addendum circle is drawn using a circle entity with center at (0,0) and radius = da/2. The code snippet for adding the circle is:
Pro2dEntdef circle1;
circle1.center[0] = 0.0;
circle1.center[1] = 0.0;
circle1.radius = (m * z + 2 * m) / 2;  // addendum radius
circle1.type = PRO_2D_CIRCLE;
ProSectionEntityAdd(section, (Pro2dEntdef*)&circle1, &line_id[1]);
The tooth profile is more complex. I generated a set of points along the involute curve from the base circle to the addendum circle, then created a polyline or spline. The number of teeth determines the angular spacing: angular pitch = 360°/z. Each tooth occupies half of that angle on each side of the symmetry axis. The program automatically calculates the required angular increments for the involute points.
4.2 Extrusion and Teeth Cutting
After sketching the cross-section (addendum circle + one tooth outline), I performed a protrusion extrusion to create a solid blank of the straight spur gear. The extrusion depth equals the face width b. Then, I used the tooth profile as a cutting tool to remove material from the blank. The function UserSktExtrusionCut_gear() creates an extruded cut feature using the previously defined section. The key Pro/Toolkit calls are:
ProSolidCreate(&solid, ...);
ProSectionTo3D(...);
// Create a cut feature
ProFeatureCreate(solid, ... cut_elem_tree);
After a single tooth cut is created, I used the array function to replicate it around the axis. The function:
ProPatternCreate(&feature, PRO_PATTERN_GENERAL, elem_tree);
I set the pattern type to general (axis array) with the number of instances equal to z-1 and angular increment of 360°/z. Table 4 lists the main functions and their purposes.
| Function Name | Purpose |
|---|---|
UsrCreateSection_gear() |
Create the section sketch containing addendum circle and tooth profile |
UserSktExtrusionCut_gear() |
Cut one tooth using the sketched profile |
ProPatternCreate() |
Array the cut feature to generate all teeth |
ProSectionEntityAdd() |
Add geometric entities to a section |
ProFeatureCreate() |
Create a new feature (extrude, cut, etc.) |
ProSolidRegenerate() |
Regenerate the solid model after feature creation |
4.3 Adding Hole and Keyway Features
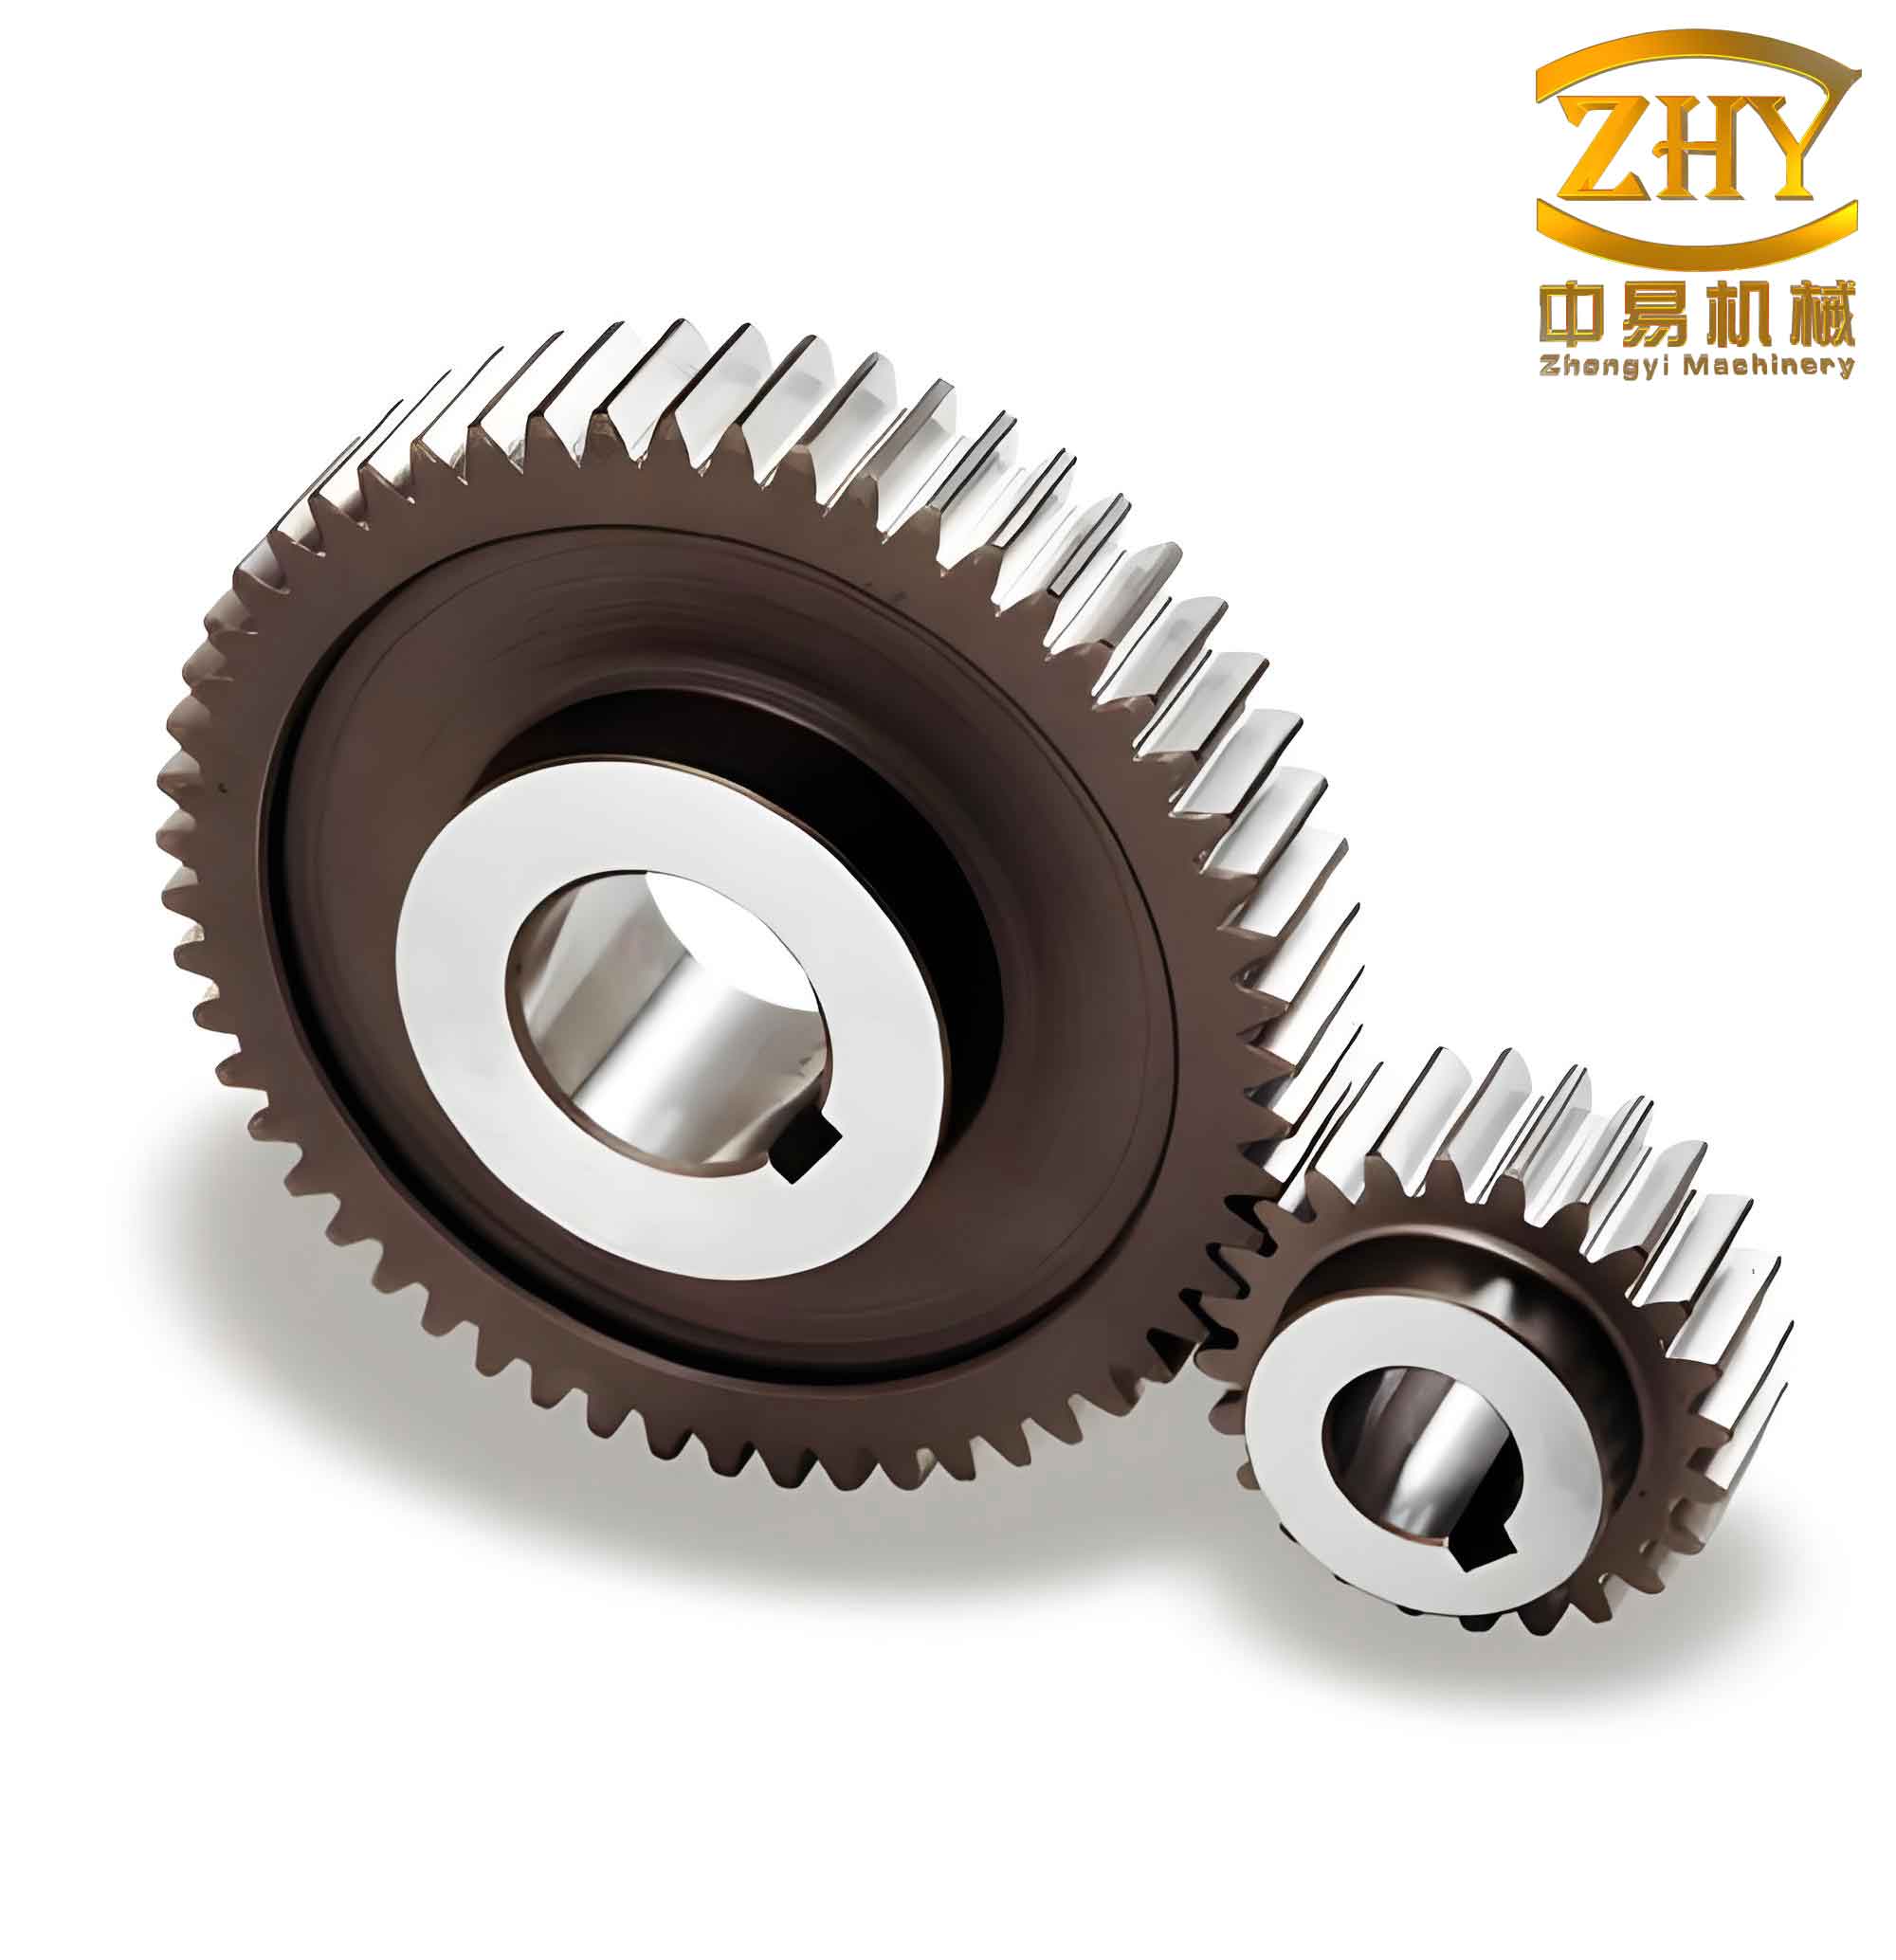
After the gear body with teeth is complete, I allowed users to add a central hole and a keyway. For the hole, I used a non-modal MFC dialog so that the user could interact with the Pro/E graphics window to select the placement plane and reference axis. The dialog accepts the hole diameter. I called Pro/Toolkit functions like ProHoleCreate() with the appropriate placement references (planar surface and coaxial axis). For the keyway, I created a simple rectangular cut through a separate menu command. The keyway dimensions (width, depth) are predefined or input via another dialog. The final model with a central hole is shown after the hole feature is added. To give a visual context, the following image illustrates a typical straight spur gear generated by this program.
5. Registration of the Pro/Toolkit Application
The Protk.dat registration file informs Pro/E about the application. It is a plain text file with the extension .dat. The file contains the name, startup type (dll), executable path, and other configuration. An example of the Protk.dat file content is shown in Table 5.
| Keyword | Value / Description |
|---|---|
| NAME | GearAutoModel |
| EXEC_FILE | C:\MyProjects\GearAutoModel\Debug\GearAutoModel.dll |
| TEXT_DIR | C:\MyProjects\GearAutoModel\text |
| STARTUP | dll |
| ALLOW_STOP | TRUE |
| REVISION | Wildfire 4.0 |
| END |
To register, I opened Pro/E, went to “Tools” -> “Auxiliary Applications”, clicked “Register”, selected the Protk.dat file, and then clicked “Start”. A message “GearAutoModel is running” appears if successful. After registration, a new “Features” menu item appears in the Pro/E menu bar. The straight spur gear automatic modeling program is then ready for use.
6. Running the Program and Results
Upon successful registration, I started a new Pro/E part file. I selected “Features” -> “Straight Spur Gear” from the menu. An MFC dialog box appeared (Figure 8 in the original text but described here without figure numbering). The dialog allows input of module, number of teeth, face width, pressure angle (default 20°), and optionally a hole diameter and keyway dimensions. After clicking “OK”, the program automatically generated the straight spur gear solid model within seconds. If the user checks the “Add hole” option, a second non-modal dialog prompts to select the placement plane and axis, then the hole is created. Figure 9 and Figure 10 (conceptual) show the finished gear with a hole and keyway, respectively.
I tested the program with multiple parameter sets. Table 6 lists a few examples of input parameters and the resulting gear dimensions.
| Module m (mm) | Number of Teeth z | Face Width b (mm) | Pitch Diameter d (mm) | Addendum Diameter da (mm) | Dedendum Diameter df (mm) |
|---|---|---|---|---|---|
| 2 | 20 | 15 | 40 | 44 | 35 |
| 3 | 30 | 20 | 90 | 96 | 82.5 |
| 4 | 16 | 25 | 64 | 72 | 54 |
| 5 | 12 | 30 | 60 | 70 | 47.5 |
The program successfully generated accurate 3D models for all test cases. The time required for each straight spur gear model was less than 10 seconds, which is significantly faster than manual modeling. This efficiency gain is particularly valuable for design iterations or when generating multiple gear variants for a transmission system.
7. Conclusion
I developed a fully functional automatic modeling program for straight spur gears using Pro/E secondary development with Pro/Toolkit and Visual Studio 2005. The program provides a user-friendly dialog interface where the designer inputs the basic parameters, and then the solid model of the straight spur gear is automatically created, including the involute tooth profile, optional central hole, and keyway. The integration of MFC dialogs allows convenient interaction with the CAD environment. The use of formulas and tables in this paper summarizes the key geometric relationships and programming steps. This automated approach dramatically reduces repetitive modeling work and shortens the product development cycle for straight spur gear designs. Future work could extend the program to helical gears, bevel gears, or other complex gear types, further enhancing the productivity of mechanical designers.