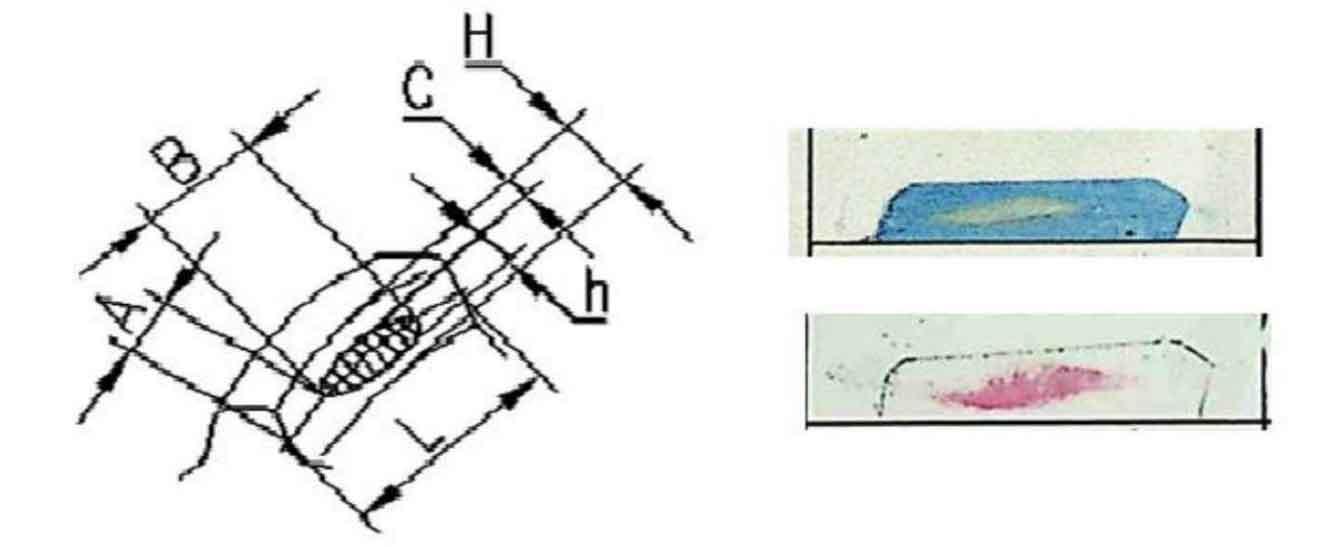
The inspection of meshing contact area of spiral bevel gear in machining and assembly is traditionally colored meshing inspection. That is, the spiral bevel gear pair is installed on the special meshing equipment or special meshing tooling, painted on one spiral taper surface, operated the spiral bevel gear pair, observed and measured the contact mark on the tooth surface of the other spiral bevel gear, and the final processing method of the tooth surface of the spiral bevel gear is generally tooth grinding, The inspection of meshing contact area in gear grinding process is carried out on a special bevel gear rolling inspection machine (such as Gleason no.523 universal rolling inspection machine) (see figure a), and the inspection standard is the meshing instruction prepared by the design.
The rough machining of spiral bevel gear tooth surface is usually tooth milling, and the process is arranged before the heat treatment of spiral bevel gear parts. The detection of tooth surface in tooth milling process is generally not required in the meshing manual, Most machining processes use the special meshing rolling machine (see Fig. b) or special tooling (such as meshing disc, see Fig. C) of the thinned “standard gear” in the non loading system Carry out meshing coloring inspection. The inspection of meshing contact area in the assembly process is carried out on the transmission brake shell. The difference from the gear grinding process is that the rolling of spiral bevel gear pair rotates the gear manually, and the force limiting loading requirements required in the meshing instructions are difficult to achieve.

