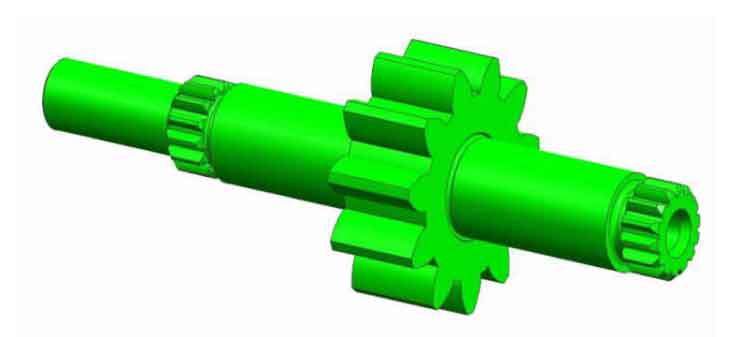
The distribution of gear cracks is shown in Fig. 1 and Fig. 2. Carry out magnetic particle flaw detection on the parts with gear cracks and combined with magnifying glass inspection (the gear cracks are shown in Fig. 3), cut the gear cracks vertically, and observe the cross-section morphology of the gear cracks by metallographic method. The gear cracks are perpendicular to the surface, the broken line extends into the base body, the two sides of the gear cracks are well matched, the tail end is sharp, and there are no inclusions in the matrix near the gear cracks Raw material defects such as oxide scale and looseness.
After grinding, there is residual grinding tensile stress on the part surface. Grinding cracks will occur when the grinding tensile stress exceeds the tensile strength of the material. Grinding stress may cause gear cracks on the gear surface immediately or after a period of time. However, no gear cracks are found in the magnetic flaw detection before the gear is put into storage, indicating that the gear cracks are not generated during the magnetic flaw detection, but appear after natural aging during the inventory process.


