
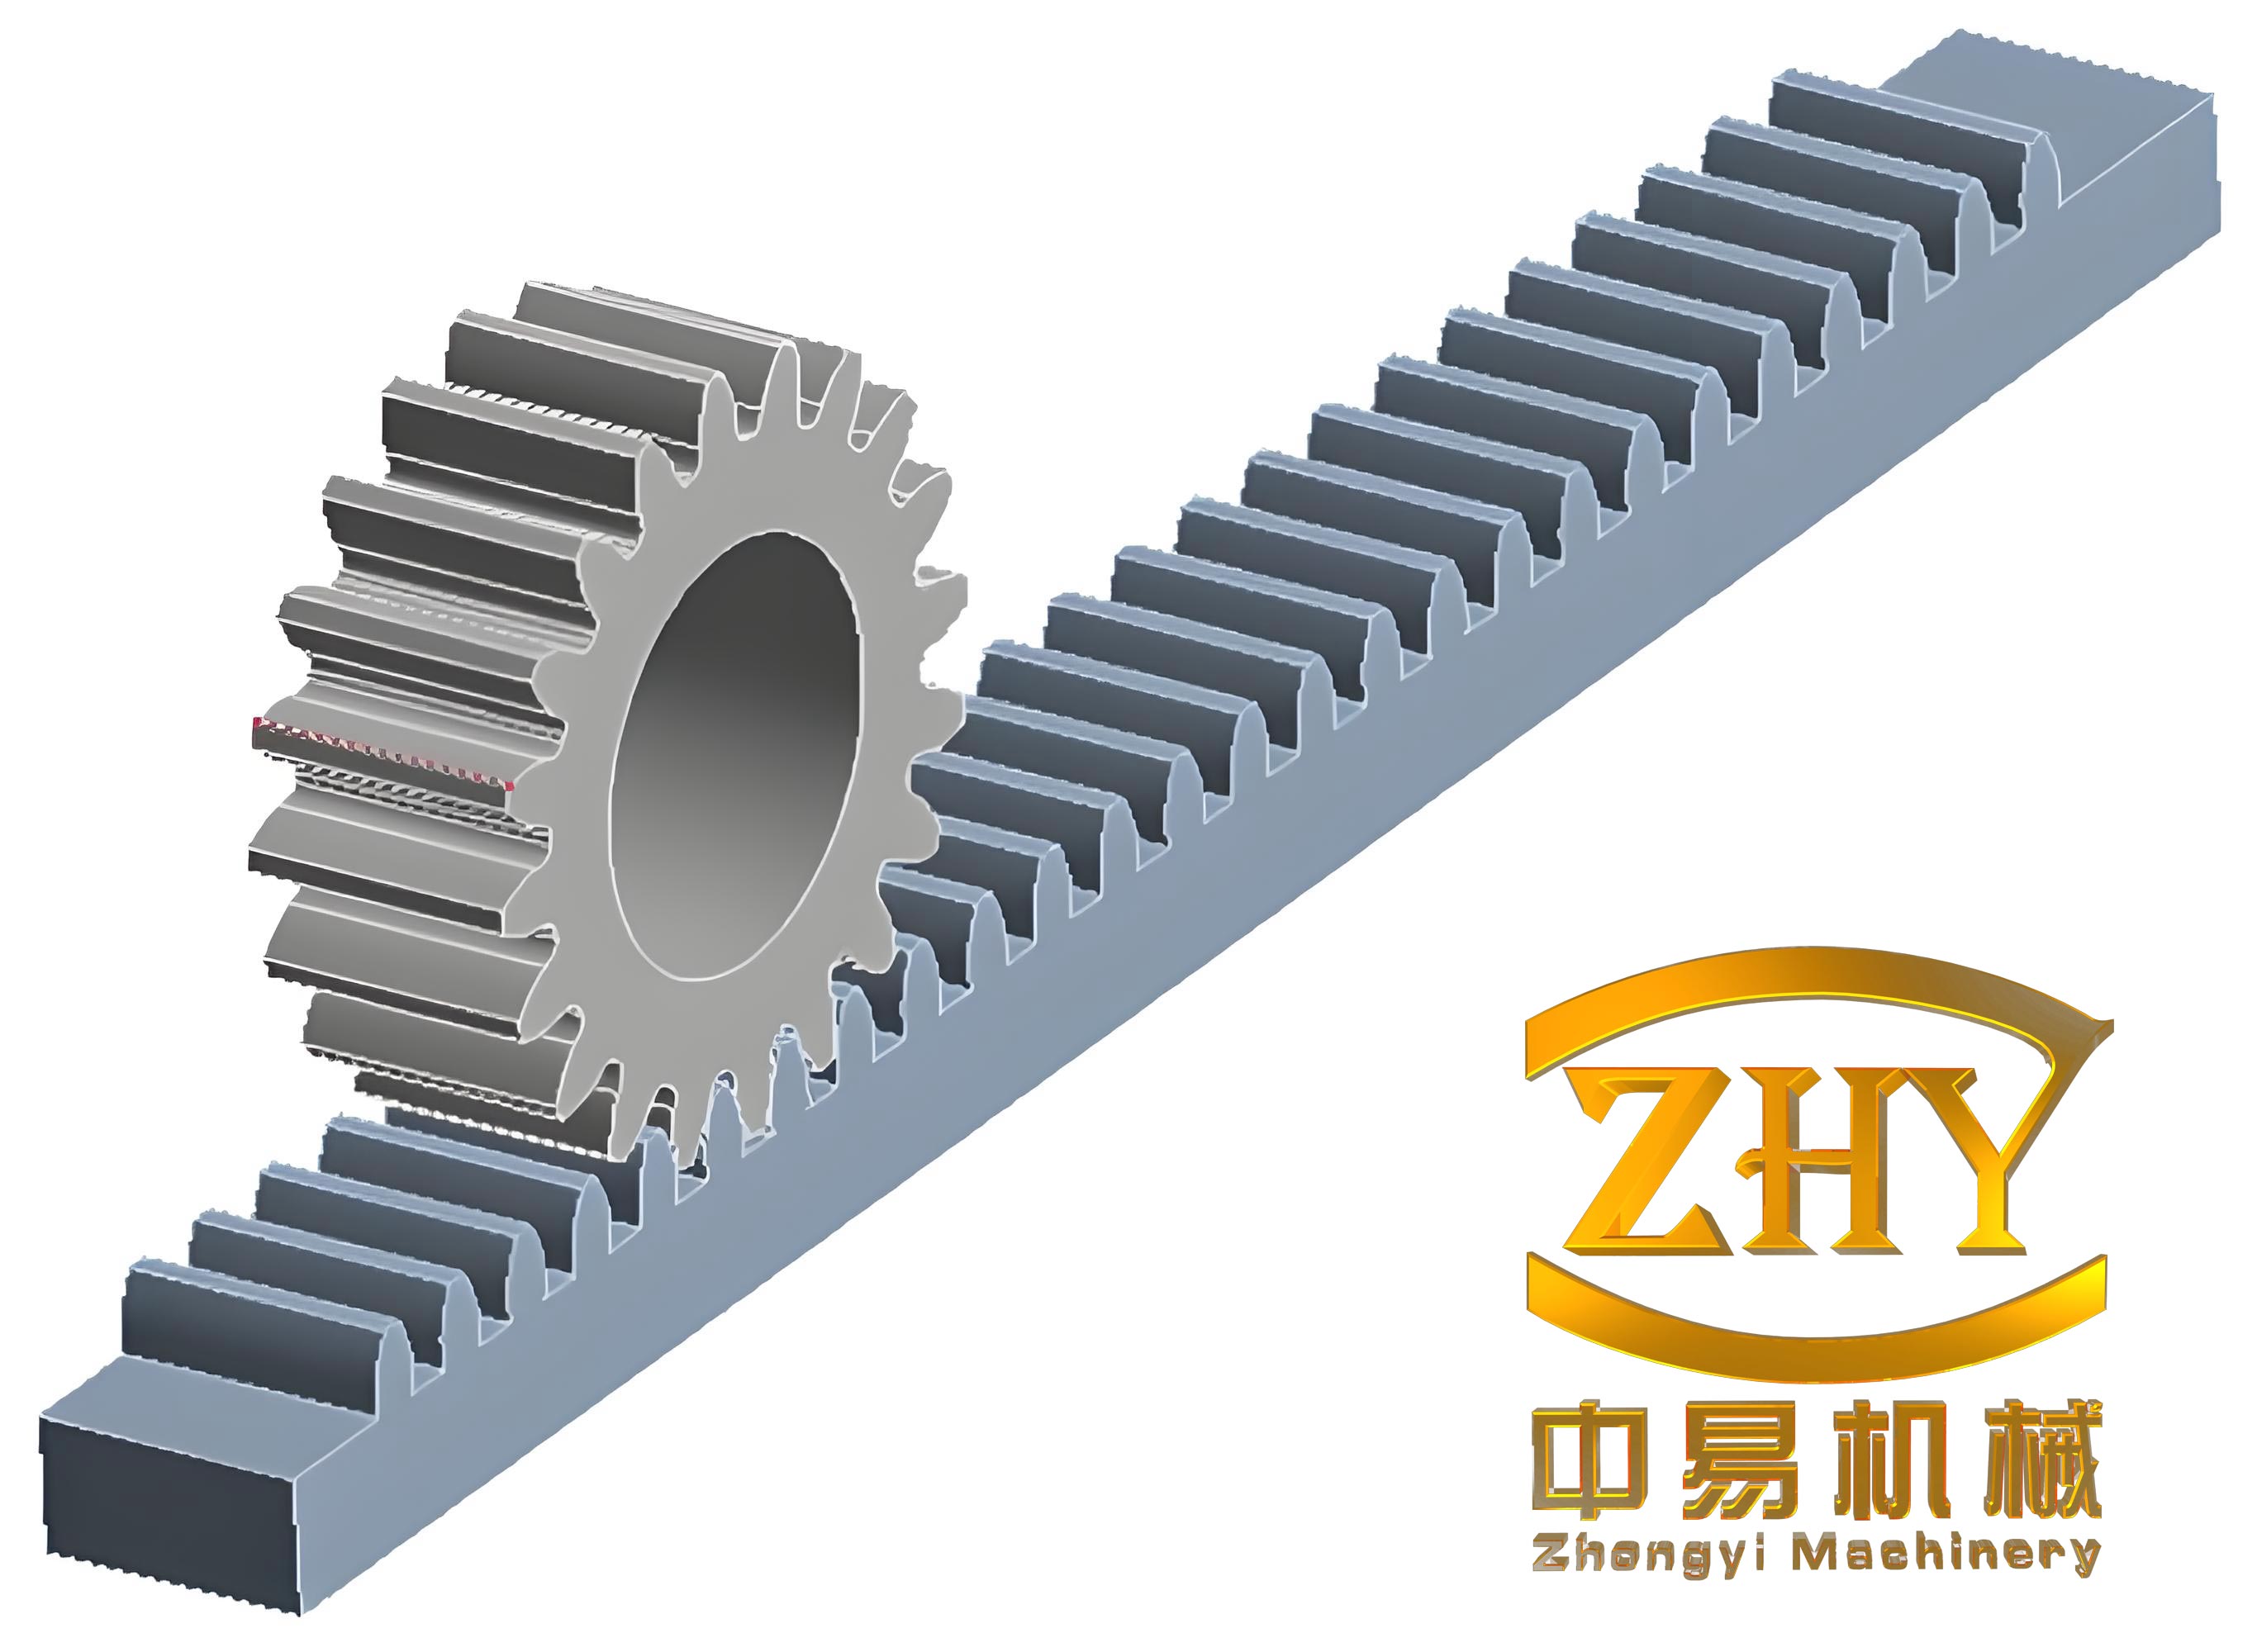
In my extensive experience with high-precision CNC machine tools, particularly large horizontal lathes and floor-type boring mills, achieving and maintaining precise linear motion over long distances is a paramount challenge. The ubiquitous solution for such long-travel axes is the rack and pinion gear drive. Its advantages—simplicity of manufacture, cost-effectiveness, ease of maintenance, and high reliability—are undeniable. However, a fundamental limitation of any standard rack and pinion gear pair is inherent backlash, which directly translates to positional error during direction reversals, critically degrading the machine’s accuracy. To overcome this, the dual rack and pinion gear system, coupled with a specially designed feed box, has become the industry standard. This article delves into the operational principles, detailed design considerations, and, most importantly, a meticulous step-by-step assembly and adjustment process I have developed and validated for effectively eliminating backlash in these systems.
The core problem with a single rack and pinion gear mesh is the designed-in clearance between the tooth flanks, essential for lubrication and preventing binding due to manufacturing tolerances and thermal expansion. This clearance, or backlash, causes a dead zone in the motion transfer when the driving direction changes. In a precision CNC system, this is unacceptable. The dual rack and pinion gear approach ingeniously solves this by using two pinions, actively preloaded against opposite flanks of the same rack. This configuration ensures one pinion is always in positive contact with the rack regardless of the driving direction, thereby eliminating the mechanical dead zone. The critical component that enables this constant preload is the “anti-backlash” or “floating” gear train within the feed box.
Fundamental Working Principle and Mathematical Foundation
The principle can be visualized as a force loop. Two output pinions (Gear A and Gear B) engage the same rack. They are driven by a common input but through a train that allows for controlled relative phase adjustment between them. A floating shaft assembly, typically containing helical gears, is axially preloaded. This axial preload is converted into a rotational displacement of one output pinion relative to the other via the helical gear interaction. Mathematically, the relationship between axial preload, helical gear geometry, and the resulting tangential preload on the rack and pinion gear mesh is crucial.
The axial force ($F_a$) applied to the floating helical gear generates a tangential force ($F_t$) due to the helix angle ($\beta$):
$$F_t = F_a \cdot \tan(\beta)$$
This tangential force acts through the gear train to apply a torque that rotates one output pinion slightly relative to its counterpart. This rotation forces the pinions apart onto opposite sides of the rack and pinion gear teeth. The final preload force ($F_{preload}$) exerted by each pinion on the rack tooth flank is a function of this transmitted torque and the pinion’s pitch radius ($r_p$):
$$F_{preload} = \frac{T_{preload}}{r_p}$$
where $T_{preload}$ is the torque resulting from $F_t$ after accounting for the gear train’s ratio and efficiency. The system must be designed so that $F_{preload}$ is sufficient to overcome expected operational forces (like cutting force variations) without causing excessive friction or wear. The total positional error ($\Delta P$) from a theoretically perfect system can be modeled as a function of residual backlash ($b$), transmission error ($TE$) from manufacturing inaccuracies, and torsional wind-up ($\theta_{wind-up}$) in the shafts:
$$\Delta P = b + TE + r_p \cdot \theta_{wind-up}$$
The goal of our assembly process is to drive $b$ to zero and minimize the other contributors through precise adjustment.
The Core Mechanism: A Detailed Look at the Dual Pinion Feed Box
The feed box is the heart of the system. Its design directly dictates the effectiveness and longevity of the backlash elimination. Key design considerations I always emphasize include:
- Gear and Shaft Rigidity: All shafts, especially the output pinion shafts, must have high torsional and bending stiffness to minimize wind-up under preload and cutting forces. Similarly, gears must be designed for strength and wear resistance.
- Helical Gear Quality: The helical gears on the floating shaft are the “transducers” converting axial motion to rotary motion. Their quality and consistent helix angle are critical for smooth, predictable adjustment.
- Preload Mechanism: This usually consists of a stack of disc springs (Belleville washers) or a calibrated compression spring housed in a threaded preload nut/sleeve. This mechanism applies and maintains the constant axial force ($F_a$).
- Adjustable Coupling: One of the two output pinions is mounted via an adjustable coupling, such as a clamping or shrink disc (often called a “lock bushing” or “compression sleeve”). This allows for the final rotational positioning of that pinion during assembly to ensure perfect alignment with the rack before the preload is fully applied.
Table 1 below summarizes a typical comparison between a standard single rack and pinion gear drive and the dual preloaded system.
| Feature | Single Rack and Pinion Gear Drive | Dual Preloaded Rack and Pinion Gear Drive |
|---|---|---|
| Backlash | Inherent and unavoidable. Requires software compensation. | Mechanically eliminated to near-zero levels. |
| Positional Accuracy | Lower, dependent on compensation accuracy which can vary. | Higher and more consistent, based on mechanical preload. |
| Stiffness | Lower, especially at direction reversal. | High and constant, as the drive is always engaged. |
| Design Complexity | Low. | Higher, requires precise feed box and adjustment. |
| Maintenance | Simple. | Requires periodic check of preload. |
| Best Application | Non-precision or manually compensated long travels. | High-precision CNC long-travel axes (e.g., Z-axis on large lathes). |
The Critical Assembly and Backlash Elimination Process: A Step-by-Step Guide
The theoretical design is only half the battle. The actual performance is locked in during assembly. A haphazard approach will lead to insufficient preload, excessive binding, rapid wear, or even inability to mesh with the rack. The following process, refined through practice, ensures reliable and repeatable results. It is divided into three main phases: Sub-assembly of the Feed Box, Pre-installation Preparation, and Final Installation & Adjustment.
Phase 1: Sub-Assembly of the Feed Box
This phase involves assembling all components into the feed box housing on the bench. Standard bearing press fits, gear alignment, and lubrication apply here. However, two steps are absolutely critical and must be performed with foresight for the final installation:
- Assembly of the Floating (Anti-Backlash) Shaft: This shaft is not axially locked in its bearings. It carries the key helical gear and terminates at the preload adjustment sleeve. During this bench assembly, the preload sleeve must be backed off completely, providing zero axial force. Then, a critical temporary step must be taken: Using a dedicated temporary pull-screw threaded into the end of the floating shaft, manually pull the entire shaft assembly axially outward (away from the gear train) by a specified distance, typically 8-12 mm. Lock it in this extracted position using a spacer or a locknut on the pull-screw. This creates an “axial reserve,” guaranteeing that during final installation, there is sufficient travel available to apply the full preload via the sleeve. Neglecting this step risks finding the shaft already at its limit, making final adjustment impossible without complete disassembly.
- Assembly of the Output Pinion Shafts: One shaft has its pinion fixed (often keyed or splined). The other shaft’s pinion is mounted via the adjustable coupling (e.g., a shrink disc). During sub-assembly, this coupling must not be tightened. The pinion should be slid onto the shaft and positioned approximately, but the clamping screws of the coupling are left fully loose. This leaves this pinion as the “free” or “adjustable” gear. The housing must have an access window (an “operation port”) to reach this coupling later.
Phase 2: Pre-Installation Preparation and Mounting
With the feed box sub-assembled, it is ready to be mounted onto the machine’s moving element (e.g., the carriage of a lathe). The rack is assumed to be already installed and aligned on the machine bed.
- Lift and position the feed box onto its mounting surface on the carriage/saddle. Insert the mounting bolts but do not fully tighten them. The box must be allowed a slight degree of freedom for the final meshing step.
- Manually rotate the adjustable output pinion (by reaching through the operation port) to initiate rotation of the entire gear train inside the box. This helps align the teeth.
- Gently and slowly move the entire carriage/saddle (or manually turn the input shaft if possible) to bring the two output pinions into the tooth spaces of the stationary rack. The combination of rotating the adjustable pinion and the slight movement ensures the teeth find their correct mating positions without “tooth-on-tooth” jamming, which could damage the high-precision rack and pinion gear teeth.
- Once the pinions are fully seated into the rack along the entire engagement length, progressively and evenly tighten all mounting bolts of the feed box to its base. The connection is now rigid.
Phase 3: Final Adjustment and Backlash Elimination
This is the culmination of the process, where the mechanical preload is applied to eliminate the backlash in the rack and pinion gear system.
- Lock the Adjustable Pinion: Through the access window, now tighten the clamping screws of the adjustable coupling (shrink disc) to its specified torque. This secures the second output pinion in its current, correctly meshed position. The gear train is now a solid, closed loop from input to both output pinions, except for the controlled flexibility of the floating shaft.
- Release the Floating Shaft: Carefully remove the temporary pull-screw, spacer, or locknut that was holding the floating shaft in its extended position. The shaft will now be free to move axially under the force of the preload mechanism.
- Apply the Axial Preload: Following the technical drawing specifications, tighten the preload adjustment sleeve/nut. This compresses the stack of disc springs, applying a calibrated axial force ($F_a$) to the floating shaft. As described by the helical gear principle, this force causes a slight rotational shift in the gear train, which manifests as the two output pinions being forced to rotate minutely in opposite directions. Since they are engaged with the same fixed rack, this rotational force translates into one pinion pressing firmly against the left flank of the rack teeth and the other against the right flank.
- Verify Preload/Torque: The correct preload is often verified by measuring the input torque required to initiate movement of the output pinions (with the rack disengaged temporarily) or by using a torque wrench on the adjustment nut itself. The torque should meet the designer’s specification—sufficient to eliminate any perceptible lash but not so high as to cause excessive friction, heat generation, or accelerated wear of the rack and pinion gear components.
Table 2 provides a consolidated checklist for the critical assembly steps.
| Phase | Step | Key Action | Purpose & Rationale |
|---|---|---|---|
| Sub-Assembly | Floating Shaft Prep | Pull out shaft 10mm and lock with temp screw. | Ensures available axial travel for final preload adjustment. |
| Output Shaft Prep | Leave adjustable pinion coupling (shrink disc) loose. | Allows rotational alignment for easy meshing with the rack during installation. | |
| Installation | Box Mounting | Mount box loosely, engage pinions with rack by manual rotation & slight movement. | Prevents tooth jamming and damage to high-precision rack and pinion gear teeth. |
| Base Securing | Tighten mounting bolts fully after pinions are seated. | Establishes rigid connection between drive and moving component. | |
| Final Adjustment | Pinion Locking | Tighten adjustable pinion coupling to spec. | Completes the solid kinematic chain from input to both output gears. |
| Preload Application | Remove temp screw, tighten preload sleeve to specified torque. | Activates the anti-backlash mechanism, applying force to eliminate clearance in the rack and pinion gear mesh. | |
| Verification | Check input torque or adjustment torque per specs. | Confirms preload is sufficient for zero backlash without causing overload. |
Performance Validation and Practical Considerations
After completing the adjustment, performance must be validated. On a CNC machine, this involves running a laser interferometer or a ballbar test specifically for the axis in question. The reversal error (often shown as a “spike” in the ballbar plot) should be reduced to a minimal value, typically within a few microns, confirming the effectiveness of the dual rack and pinion gear preload. It’s important to monitor the system during the initial run-in period. A slight temperature rise in the feed box is normal as the preload settles, but it should stabilize.
Long-term reliability depends on maintaining this preload. Disc springs can relax slightly over time (a process called “setting”), and wear on the gear teeth, though minimal with proper lubrication, can reintroduce lash. Therefore, a preventive maintenance schedule should include periodic checks of the preload torque, perhaps every 6-12 months for heavy-use machines. The beauty of this design is that adjustment is straightforward: simply re-tighten the preload sleeve to the specified torque, following the same final adjustment step, without needing to disassemble the feed box or remesh the rack and pinion gear.
Conclusion: The Path to Reliable Precision
The dual rack and pinion gear feed drive is a robust and elegant solution for precision long-travel linear axes in machine tools. Its success hinges not just on competent design but overwhelmingly on a disciplined, foresighted assembly and adjustment procedure. The process I have detailed—emphasizing the preparatory locking of the floating shaft, the strategic use of an adjustable pinion coupling for easy meshing, and the final controlled application of axial preload—transforms a collection of high-precision parts into a dynamically preloaded, zero-backlash system. This methodology, proven in countless applications on数控卧车 (CNC horizontal lathes) and other equipment, ensures that the inherent advantages of the rack and pinion gear transmission—simplicity and reliability—are fully realized without sacrificing the critical requirement for exceptional positional accuracy and stiffness. By mastering this process, builders and maintainers of precision machinery can reliably achieve performance that meets the most demanding tolerances. The integration of precise helical gears, a robust preload mechanism, and this careful assembly protocol makes the dual rack and pinion gear system a cornerstone of modern, high-performance linear motion design.