
In the realm of mechanical power transmission, the gear is a fundamental component, with the involute spur gear being one of the most widely applied types. The rapid advancement of computer technology has propelled mechanical design beyond simple two-dimensional drafting towards an integrated CAD/CAE/CAM approach. This evolution necessitates the use of parametric design for mechanical parts. Traditional methods for the parametric design of gears generally fall into two categories: one involves secondary development of existing software, requiring programming skills; the other utilizes UG software for parametric design but often suffers from poor readability due to the necessary conversion of the involute equation.
This article explores a method for the parametric design of cylindrical spur gears using the native commands within UG software. Furthermore, it leverages the UG machining module to simulate the toolpath for gear manufacturing, generating the corresponding post-processing code, thereby enhancing machining efficiency.
The core idea of parametric gear design is to utilize UG’s expression functionality. By embedding the mathematical equations for the involute curve and the geometric dimension formulas related to the spur gear, we can create an associative set of curves, including the involute. Through subsequent feature operations, a fully parametric and precise 3D model of the spur gear is built. This approach allows for data-driven model regeneration simply by modifying the gear parameters in the expressions, significantly boosting the design efficiency for spur gears.
The parametric design process for a spur gear primarily consists of two major parts: sketching the involute tooth profile and generating the solid gear body. The foundational step involves understanding and implementing the mathematics behind the gear.
An involute curve is generated as the trace of a point on a straight line that rolls without slipping on a base circle. From this definition, we derive its polar coordinate equations. For any point K on the involute, the relationship is governed by the pressure angle $\alpha_k$ and the roll angle $\theta_k$.
The fundamental equations are:
$$ \cos\alpha_k = \frac{r_b}{r_k} $$
$$ \theta_k = \tan\alpha_k – \alpha_k $$
Where $r_b$ is the base circle radius and $r_k$ is the radius to point K.
Since UG requires Cartesian coordinates for curve generation, these equations must be transformed, using a parameter $u$ which represents the roll angle in radians at a given point:
$$ x = r_b \sin u – r_b u \cos u $$
$$ y = r_b \cos u + r_b u \sin u $$
$$ u = \alpha_k + \theta_k $$
This parametric form is essential for creating the curve within UG’s “Law Curve” function.
The primary driving parameters for a standard spur gear are the module (m), number of teeth (z), and pressure angle (α). Additional standard parameters include the addendum coefficient (h_a*) and dedendum coefficient (c*). From these, all other critical diameters are calculated.
The key design formulas for a spur gear are summarized below:
$$ d = m \cdot z \quad \text{(Pitch Diameter)} $$
$$ d_b = d \cdot \cos(\alpha) \quad \text{(Base Circle Diameter)} $$
$$ d_a = d + 2 \cdot h_a^* \cdot m \quad \text{(Addendum Circle Diameter)} $$
$$ d_f = d – 2 \cdot (h_a^* + c^*) \cdot m \quad \text{(Dedendum Circle Diameter)} $$
To implement this parametrically in UG, we first create expressions. These can be entered directly into UG’s expression editor or written in a plain text file (with an `.exp` extension) and imported. The following table outlines a basic set of expressions for a spur gear.
| Parameter Name | Expression | Description / Value |
|---|---|---|
| m | 3 | Module |
| z | 14 | Number of Teeth |
| alpha_deg | 20 | Pressure Angle (degrees) |
| alpha_rad | radians(alpha_deg) | Pressure Angle (radians) |
| ha_star | 1 | Addendum Coefficient |
| c_star | 0.25 | Dedendum Coefficient |
| gear_width | 10 | Face Width (mm) |
| d | m * z | Pitch Diameter |
| db | d * cos(alpha_rad) | Base Circle Diameter |
| da | d + 2 * ha_star * m | Addendum Diameter |
| df | d – 2 * (ha_star + c_star) * m | Dedendum Diameter |
After defining these parameters, the four key circles (addendum, pitch, base, and dedendum) are sketched on the XC-YC plane using the “Sketch” tool. Their diameters are constrained using the expression names (da, d, db, df), ensuring they are concentric at the origin (0,0).
A single tooth space is bounded by two mirror-image involute curves. To create these parametrically, we must calculate the angular position for the second involute. This involves finding the angle on the base circle that corresponds to the tooth thickness on the pitch circle.
First, we calculate the half-tooth-thickness angle on the pitch circle:
$$ \gamma = \frac{180^\circ}{z} $$
The involute roll angle from the base circle to the pitch circle is:
$$ \text{inv}\alpha = \tan(\alpha_{\text{rad}}) – \alpha_{\text{rad}} $$
Where $\alpha_{\text{rad}}$ is the standard pressure angle in radians. This angle, $\text{inv}\alpha$, is the difference between the roll angle and the pressure angle at the pitch point.
Therefore, the total angular span on the base circle for one side of the tooth, from the tooth centerline to the involute at the pitch point, is $\gamma + \text{inv}\alpha$. For the full tooth space (two involutes), the angle between them on the base circle is:
$$ \theta_{\text{base}} = 2 \cdot (\gamma + \text{inv}\alpha) $$
We need to create a datum plane rotated by this angle $\theta_{\text{base}}$ from the XC-ZC plane around the ZC axis. This plane will serve as the mirror plane or reference for positioning the second involute curve for our spur gear.
Creating the involute curves requires additional expressions to define the law curves. The parameter `t` is UG’s internal system variable that runs from 0 to 1.
| Expression | Formula | Purpose |
|---|---|---|
| rb | db / 2 | Base circle radius |
| alpha_k_rad | arccos(db / da) | Pressure angle at addendum circle |
| roll_angle_max | tan(alpha_k_rad) – alpha_k_rad | Max roll angle (base to addendum) |
| u_max_rad | alpha_k_rad + roll_angle_max | Max ‘u’ parameter in radians |
| t | t | UG system variable (0 to 1) |
| xt | rb * sin(u_max_rad * t) – rb * u_max_rad * t * cos(u_max_rad * t) | X-coordinate for 1st involute |
| yt | rb * cos(u_max_rad * t) + rb * u_max_rad * t * sin(u_max_rad * t) | Y-coordinate for both involutes |
| zt | 0 | Z-coordinate |
| xt_mirror | -xt | X-coordinate for 2nd involute |
| theta_base_deg | deg( 2 * (rad(gamma) + inv_alpha_rad) ) | Angle for datum plane |
Using the “Law Curve” command, the first spur gear involute is created with (xt, yt, zt), placed on the XC-YC plane. The second involute is created using (xt_mirror, yt, zt), but its coordinate system reference is set using the previously created datum plane rotated by `theta_base_deg`. This method, using two separate law curves linked to parameters, preserves full associativity, unlike a simple mirror or rotate copy operation which can break parametric links.
With both involute curves drawn, the tooth profile is completed in a sketch. The involutes are projected into the sketch. The crucial step is connecting the bottom of the involutes to form the dedendum. This process differs based on the number of teeth in the spur gear, as it depends on the relative sizes of the dedendum circle ($d_f$) and the base circle ($d_b$).
- Case 1: Number of Teeth $z < 41$ (or $d_f < d_b$): Here, the dedendum circle is smaller than the base circle. The involute curve only exists outside the base circle. Therefore, the tooth flank below the base circle is not an involute. A common and acceptable approximation is to draw a straight line from the start point of the involute (on the base circle) tangent to the involute, extending it inward until it intersects the dedendum circle. The root fillet is then created between this line and the dedendum circle arc.
- Case 2: Number of Teeth $z \ge 41$ (or $d_f \ge d_b$): In this case, the dedendum circle is larger than the base circle. The tooth flank profile is entirely involute down to the dedendum circle. The sketch is completed by trimming the dedendum circle with the two involute curves. The root fillet is typically added at the very bottom, connecting the two involute curves with a small radius tangent to both.
Consequently, to achieve fully parametric design for all spur gears, two separate part templates should be created: one for gears with $z < 41$ and one for gears with $z \ge 41$.
The solid model of the spur gear is generated in two straightforward steps:
- Create the Gear Blank: Use the “Extrude” command on the dedendum circle ($d_f$) sketch profile, setting the distance equal to the face width (`gear_width`). This creates a solid cylinder.
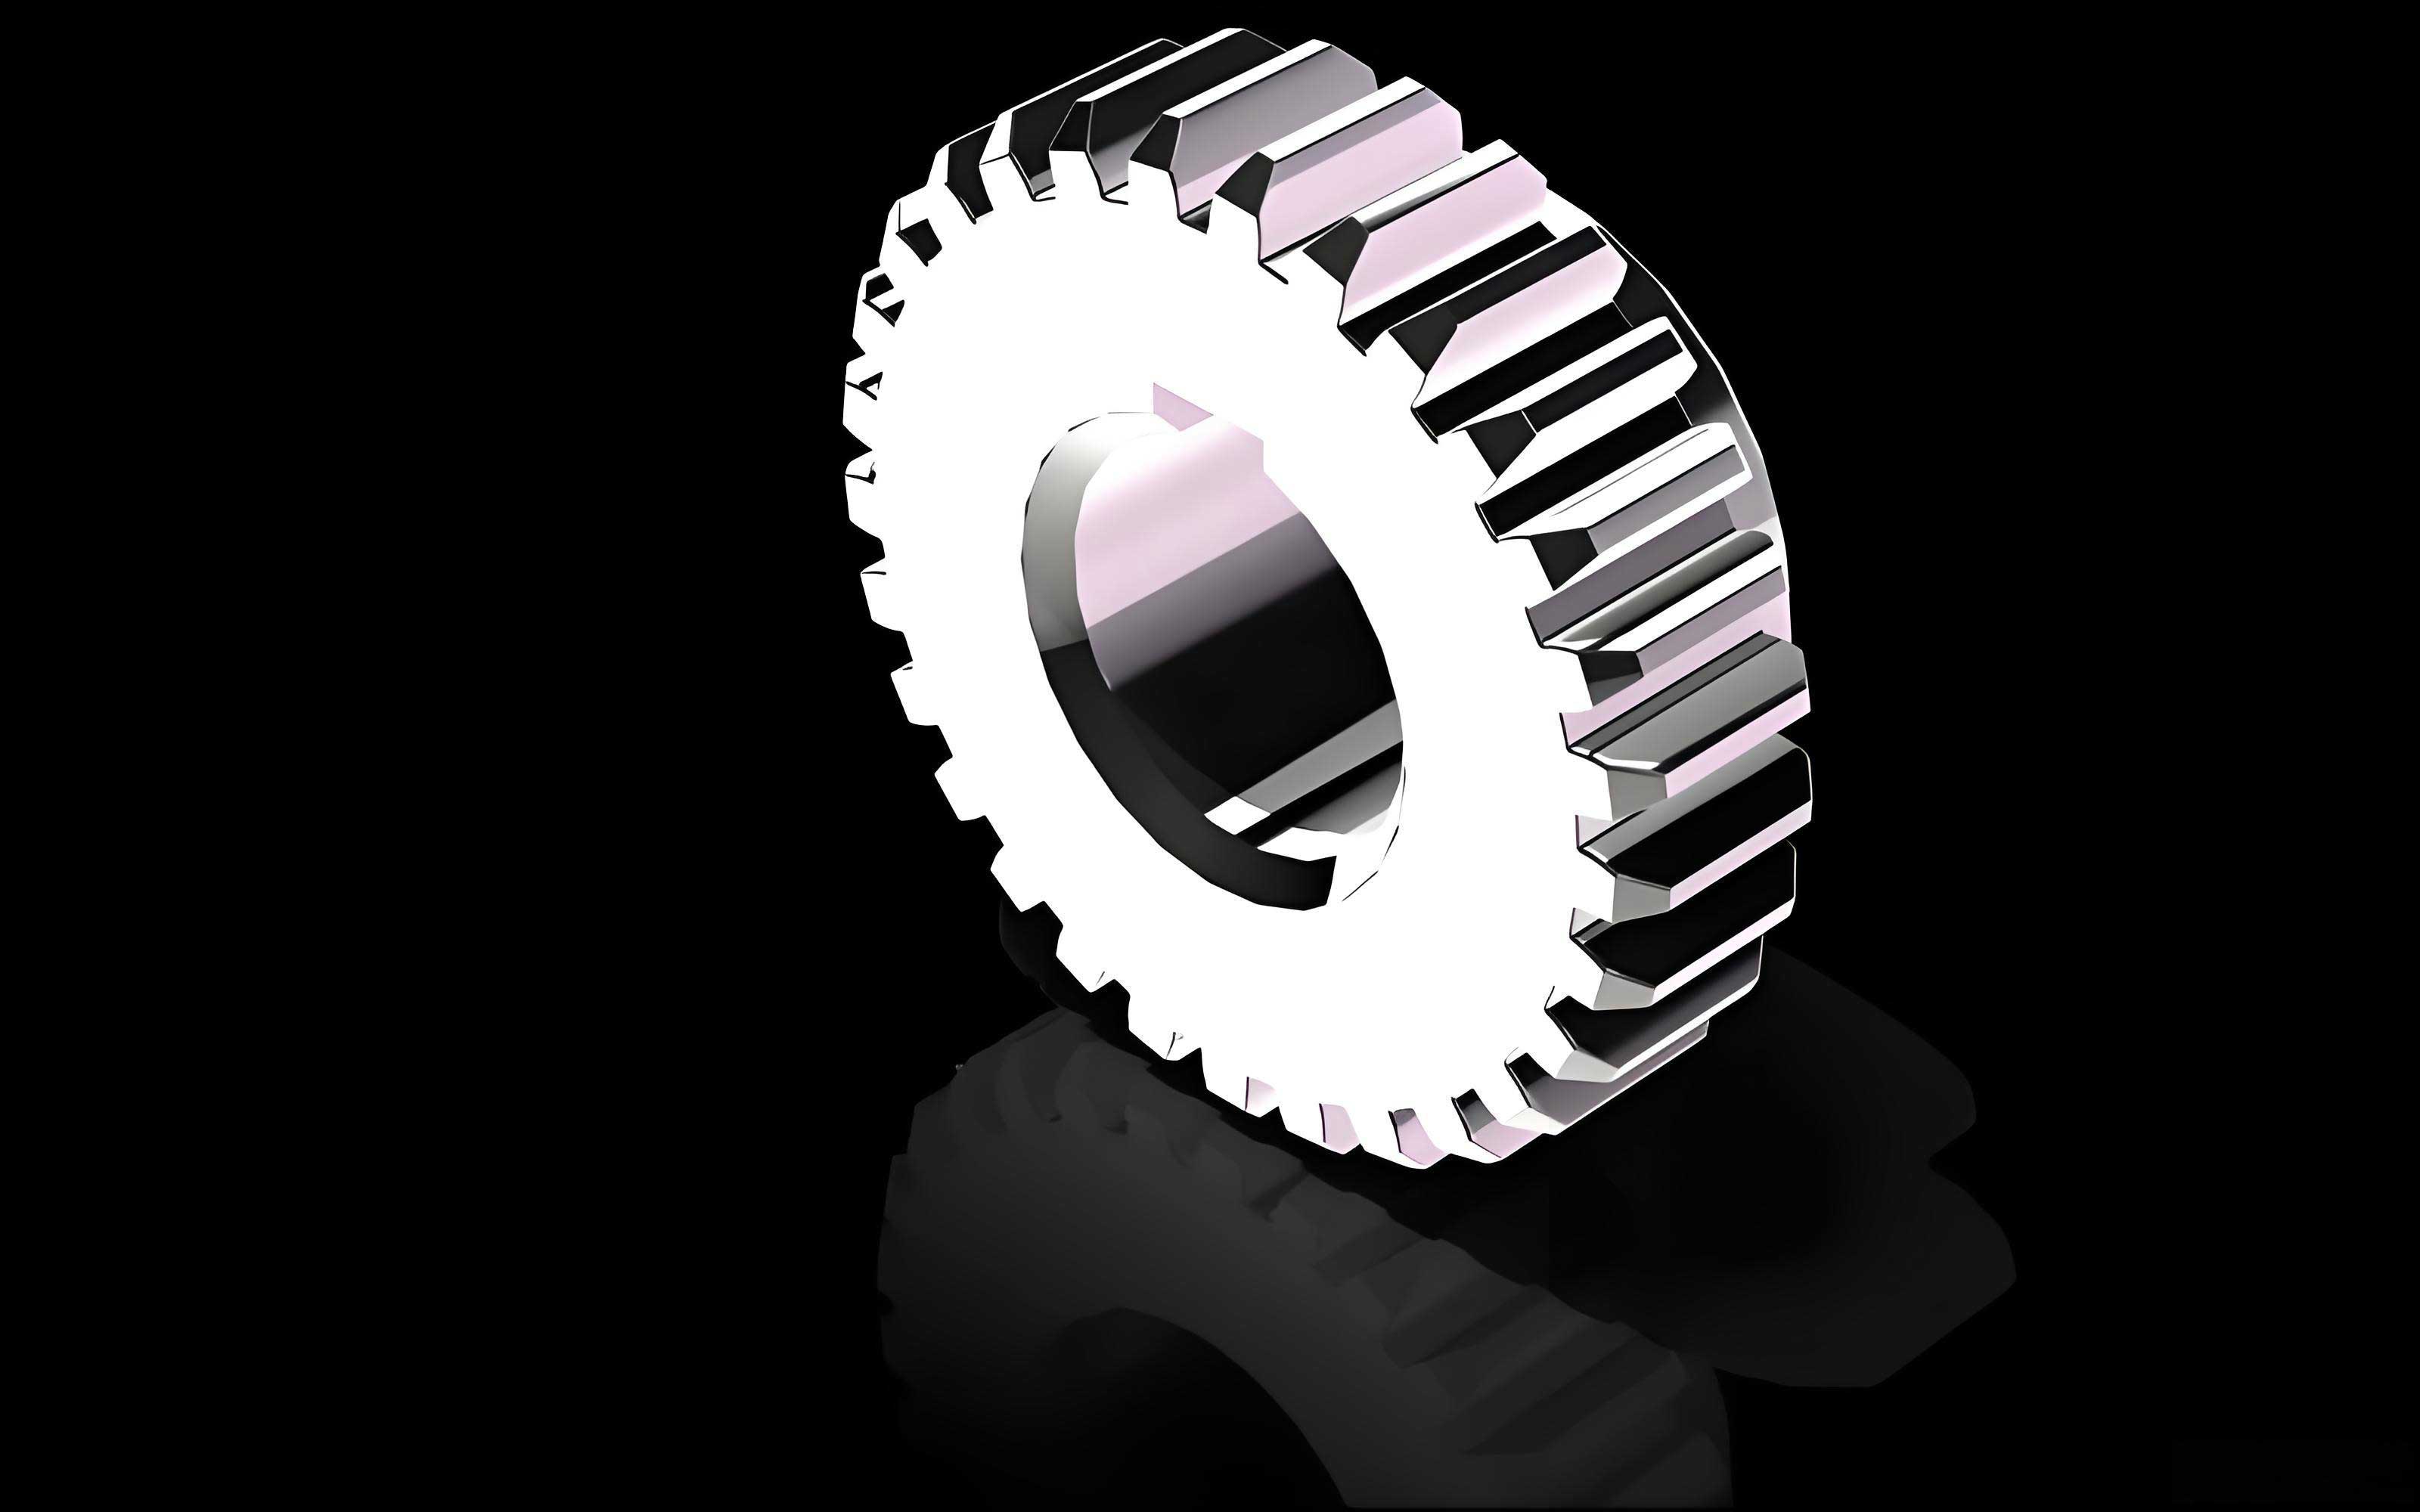
- Create the Teeth: Extrude the completed tooth profile sketch as a “solid” body. Then, use the “Circular Pattern” feature to instance this single tooth around the central axis, using the number of teeth (`z`) as the count. Finally, perform a “Boolean Unite” operation to merge the patterned teeth with the initial gear blank cylinder, resulting in the complete solid spur gear.
By modifying the driving parameters (m, z, alpha_deg) in the expressions and updating the model, a new spur gear is automatically generated, demonstrating successful parametric design.
Moving from design to manufacturing, UG’s CAM module provides powerful tools for generating toolpaths and simulating the CNC machining of the designed spur gear.
The standard CNC programming workflow within UG is as follows:
- Initialize the Manufacturing Environment: Start a “Manufacturing” session and select a suitable template (e.g., “mill_planar” for 3-axis milling).
- Setup and Geometry Definition:
- Define the Machine Coordinate System (MCS) or “Work Zero,” typically on the top face and center of the gear.
- Set a Safety Plane for tool approach and retraction.
- Specify the Part Geometry as the 3D solid model of the spur gear.
- Define the Blank Geometry, which could be a cylindrical stock slightly larger than the gear’s addendum diameter.
- Create Operations and Set Parameters: An “Operation” encapsulates a specific machining step. Key parameters include:
- Tool Selection: Choosing an appropriate end mill (diameter, flute length, number of flutes).
- Cutting Method: e.g., Profile Contouring for the tooth spaces.
- Cutting Parameters: Spindle speed, feed rate, stepover, depth of cut.
- Non-Cutting Moves: Approach, engagement, retract, and clearance motions.
- Toolpath Generation and Simulation: After setting parameters, UG calculates the toolpath. The “Tool Path Visualization” and “2D/3D Dynamic Material Removal” simulation are critical for verifying that the tool does not gouge the part, collides with the fixture, or leaves uncut material.
- Post-Processing: The calculated toolpath (in CLSF – Cutter Location Source File format) is generic. A post-processor, specific to the target CNC machine controller (e.g., Fanuc, Siemens, Heidenhain), translates this generic data into the specific G-code and M-code instructions that the machine can execute.
For machining a spur gear from a solid blank, a multi-operation process is typically required. The table below outlines a potential process plan for a spur gear with $z=14$, $m=3$ mm, and a face width of 10 mm.
| Step | Operation Type | Objective | Tool (Example) | Key Parameters |
|---|---|---|---|---|
| 1 | Face Milling | Machine top face flat | Φ80 Face Mill | Roughing feed, full depth |
| 2 | Cavity Mill / Volume Mill | Rough out material between teeth | Φ10 End Mill | High stepover, ~0.5 mm leftover stock |
| 3 | Profile Contour (Finishing) | Finish machine tooth flank involute profiles | Φ6 or Φ4 End Mill | Low stepover, 0.0 mm leftover stock, high tolerance |
| 4 | Face Milling / Z-Level Finish | Finish machine top/bottom faces | Φ10 End Mill | Fine feed, final depth |
For the roughing operation (Step 2), a larger tool is used to quickly remove bulk material. The toolpath would follow the general shape of the tooth gaps, leaving a uniform stock allowance (e.g., 0.5 mm) on the walls for the finishing pass. The finishing operation (Step 3) is the most critical for the spur gear’s performance. A smaller diameter end mill is necessary to navigate the tight curvature of the involute profile near the base circle, especially for gears with a low number of teeth. The finishing pass uses very small stepovers to achieve a smooth surface finish and tight dimensional tolerances on the involute flanks.
After verifying all toolpaths through simulation, the final step is post-processing. UG comes with a library of generic post-processors and a tool called “Post Builder” to create custom ones. Selecting the correct post-processor for your specific 3-axis milling machine generates the final NC code. This code will contain all the movements (G01, G02, G03), spindle commands (M03, M05), feed rates (F), and other machine-specific instructions needed to physically produce the designed spur gear. A small snippet of generated G-code might look like the structure below, representing linear and circular interpolation moves to trace the involute contour of a tooth space.
N10 G90 G54 G00 X30.0 Y0.0 S2500 M03
N20 G43 Z10.0 H01
N30 Z-2.0
N40 G01 Z-11.0 F300
N50 X28.452 Y1.874 F800 (Start of involute path)
N60 G03 X27.125 Y3.201 I-1.327 J0.0 (Circular interpolation approximating involute)
N70 G01 X25.001 Y4.567
... (More path points)
N200 G00 Z20.0 M05
N210 M30
In conclusion, leveraging the native expression and modeling capabilities of UG software provides an efficient and robust method for the parametric design of involute spur gears. By separating the logic for gears with low and high tooth counts, a fully associative model is achieved. Furthermore, integrating this model with UG’s comprehensive CAM environment enables a seamless transition from design to manufacturing. The ability to simulate toolpaths ensures process reliability, and the post-processing functionality delivers ready-to-use machine code, encapsulating a complete CAD/CAM solution for spur gear development. This integrated approach significantly reduces lead time, minimizes errors, and enhances the overall quality and efficiency of producing custom spur gears.